How to Draw Biodiversity: A Fun Earth Science Art Project
Bring the wonders of our planet to life with this creative biodiversity drawing project. Designed for young artists ages 7+, this activity combines basic shapes to build a complex ecosystem featuring marine and land animals. Grab your pencils, an eraser, and some colored markers to illustrate the beauty of life on Earth.
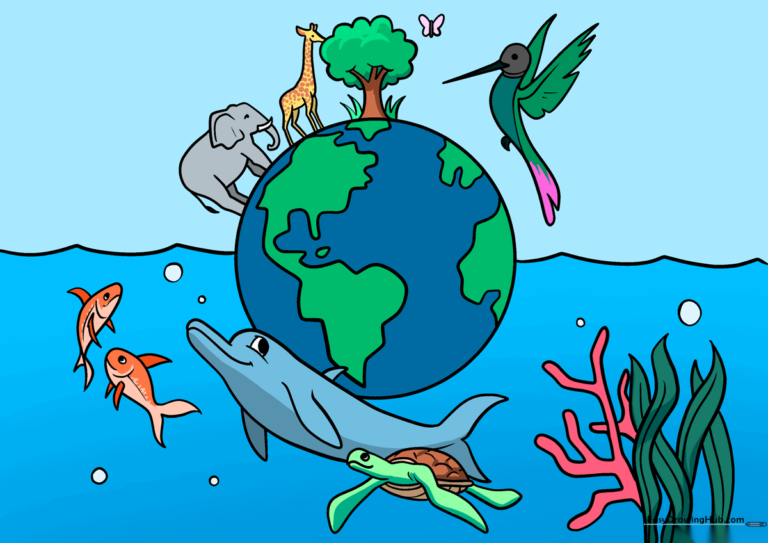
🎯 Final Result
Step-by-Step Instructions
Step 1: Sketching the Sea Turtle
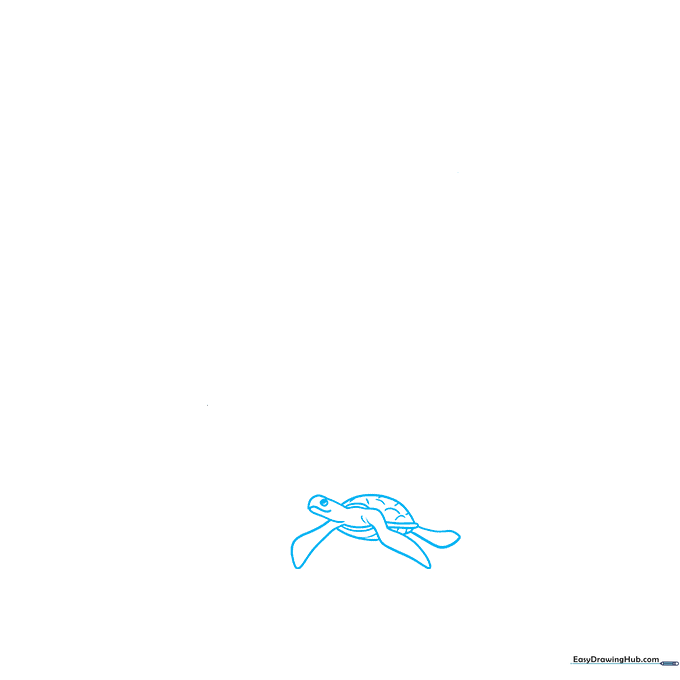
Start by drawing the sea turtle in the foreground. Use long, fluid curved lines to form the head and flippers. Tip: Keep your pencil pressure light so you can easily refine the turtle's smiling face and shell texture later.
Step 2: Adding the Dolphin
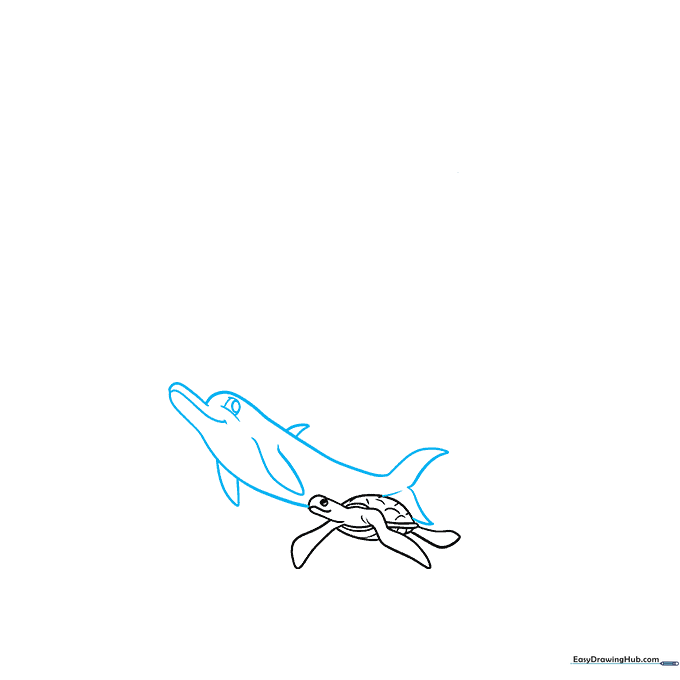
Next, sketch the dolphin using smooth, sweeping curves for its sleek body and fins. Focus on making the dorsal fin and tail end in sharp, graceful points. Tip: Draw the eye near the top of the head to give it a friendly, cartoonish expression.
Step 3: Illustrating Marine Life
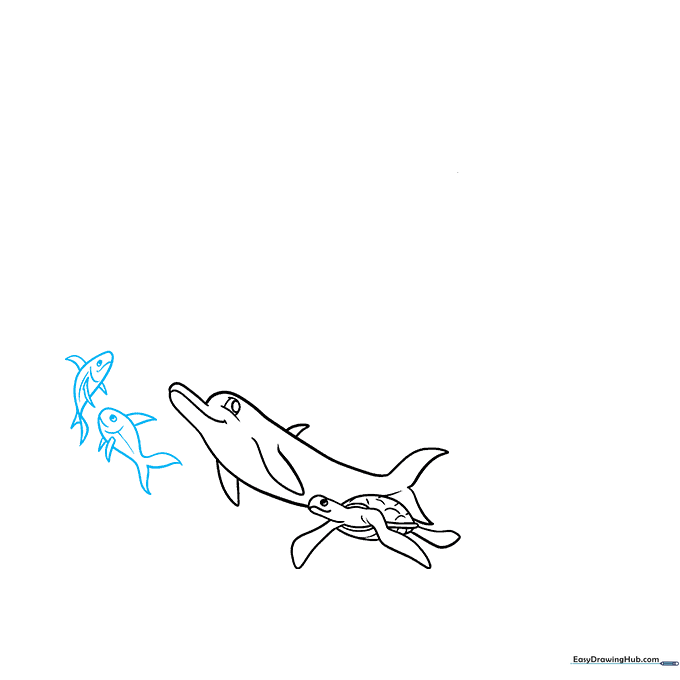
Add a small fish to the scene using simple curved lines for the body and tail. Tip: Use tiny ovals for the eyes to keep the character consistent with your dolphin and turtle.
Step 4: Drawing the Earth and Flora
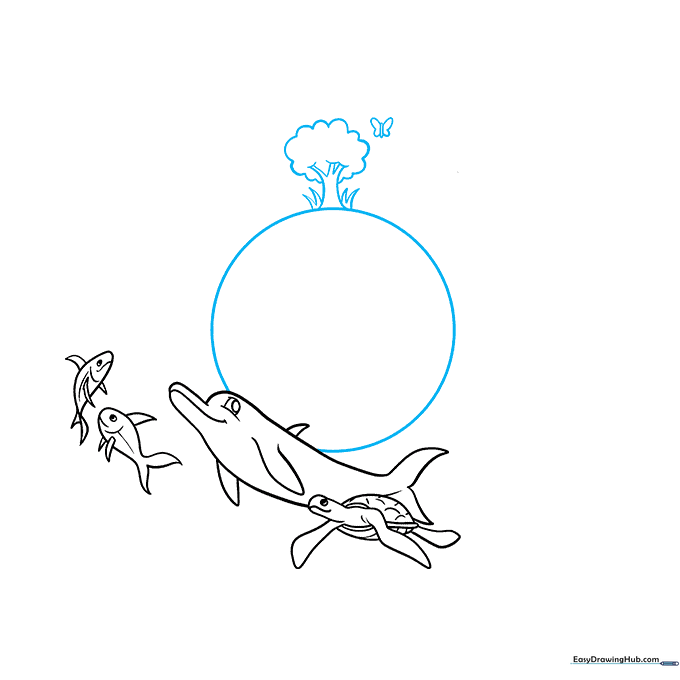
Draw a large circle behind the dolphin to represent Earth. On top, sketch a simple tree and a butterfly using heart-shaped wings. Tip: Don't worry about perfect circles; a slightly imperfect shape makes the drawing feel more organic.
Step 5: Mapping the Continents

Add detail to your planet by sketching the shapes of the continents. Focus on the Americas and the western coast of Africa. Tip: Use a reference map if you want to be accurate, or let your imagination create unique island shapes!
Step 6: Adding Water and Bubbles
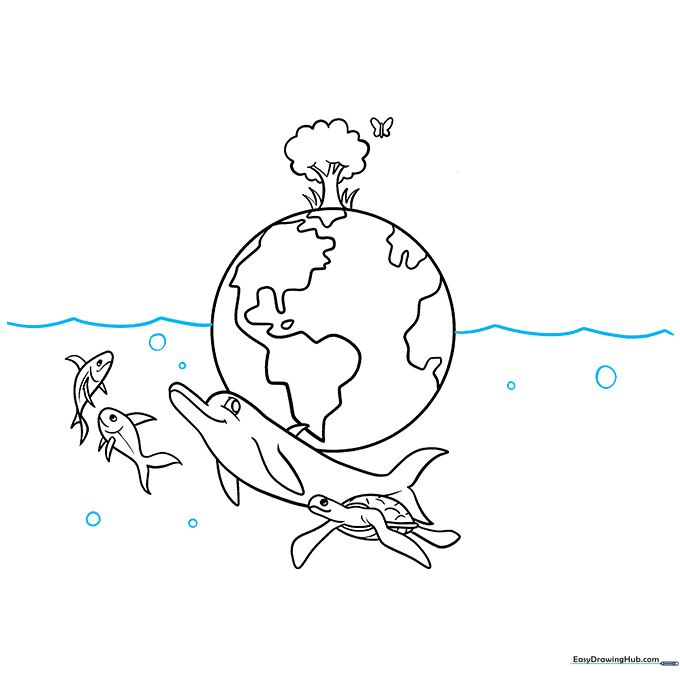
Draw a wavy line across the middle of the page to separate the ocean from the sky. Add circles of varying sizes beneath the line to represent bubbles. Tip: Varying the bubble sizes creates a sense of depth in the water.
Step 7: Underwater Details
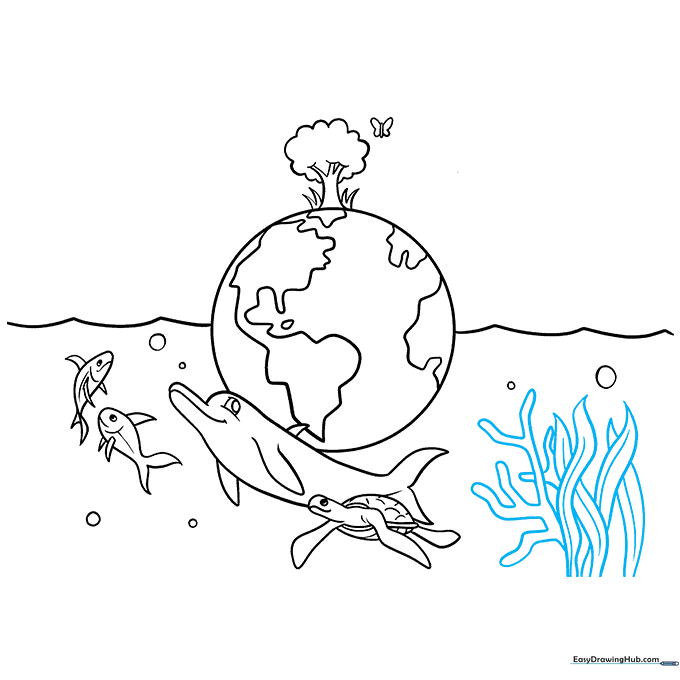
Fill the ocean floor with seaweed and coral. Use pointed, leaf-like shapes for the seaweed. Tip: Draw a central vein in each leaf to give the seaweed a realistic, textured look.
Step 8: Adding Land Animals
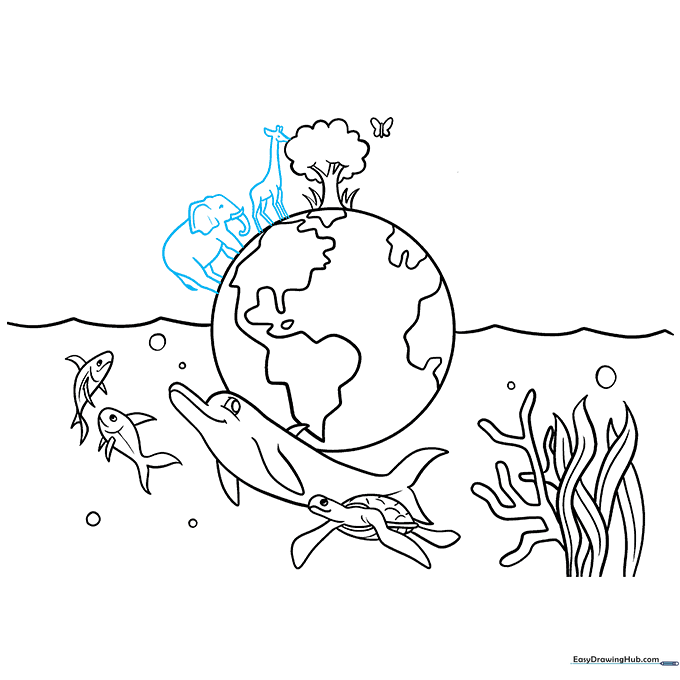
Sketch an elephant and a giraffe standing on the surface of your planet. Keep their forms simple and rounded. Tip: Focus on the long neck of the giraffe and the large ears of the elephant to make them instantly recognizable.
Step 9: The Final Touch
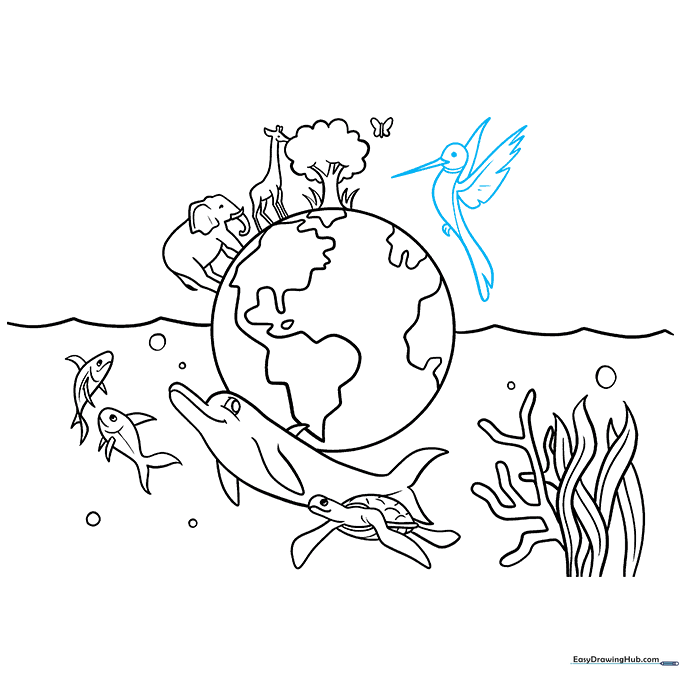
Add a hummingbird hovering near the planet. Pay attention to the sharp, pointed beak and wings. Tip: Use quick, light strokes for the wings to suggest movement.
Step 10: Bringing it to Life with Color
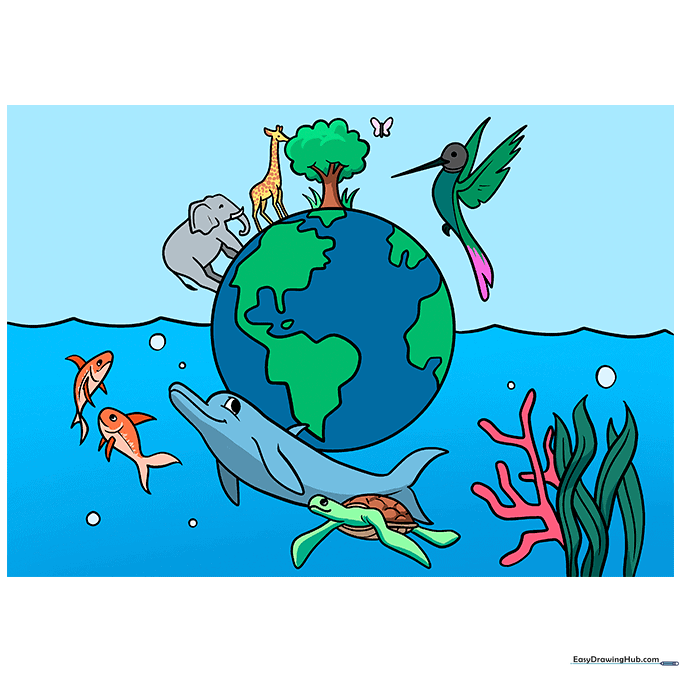
Now for the fun part: coloring! Use vibrant greens for the land and plants, and deep blues for the ocean and sky. Tip: Use different shades of blue to show the depth of the water and make your animals pop.
More Tutorials


