How to Draw Billie Eilish: Easy 10-Step Portrait Guide
Capture Billie Eilish’s iconic style with this approachable portrait tutorial, perfect for artists ages 8 and up. You will need a pencil, an eraser, and a piece of paper to follow along. This guide focuses on facial proportions and hair styling, helping you build confidence in drawing realistic features.
🎯 Final Result

Step-by-Step Instructions
Step 1: Establishing Facial Proportions
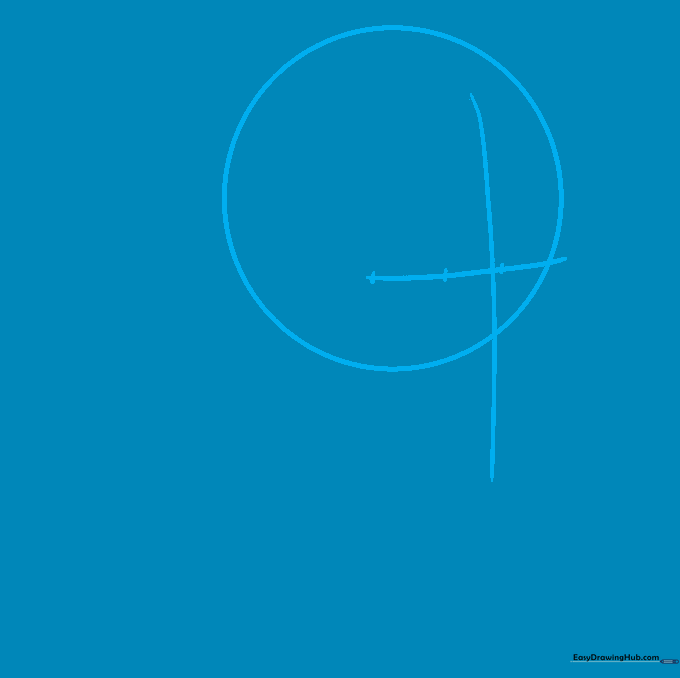
Start by drawing a light circle for the head. Cross it with a vertical and horizontal line to create a guide for the facial features. Teacher's Tip: Keep these lines faint—they are just a map, not part of the final drawing!
Step 2: Defining the Nose and Chin

Use the intersection of your guide lines to place the nose. Sketch the bridge and nostril with soft, curved lines. Then, use the bottom of the vertical line to define the curve of the chin. Tip: Use a light touch; you can always darken your lines later.
Step 3: Sketching the Eyes
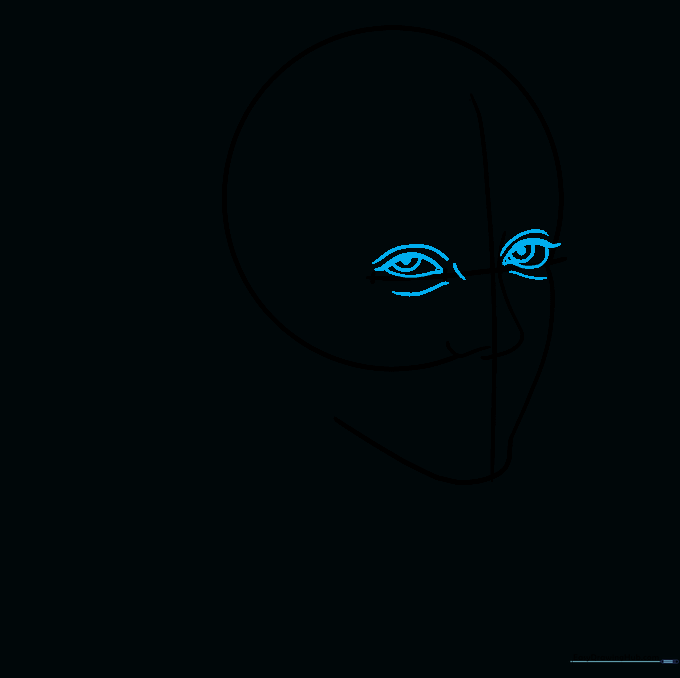
Erase the circle where the eyes will sit. Draw the almond-shaped eyes using the horizontal line as a guide. Add the pupils and irises. Tip: Make sure the eyes are level with each other by checking the distance from the center line.
Step 4: Adding Brows and Lips
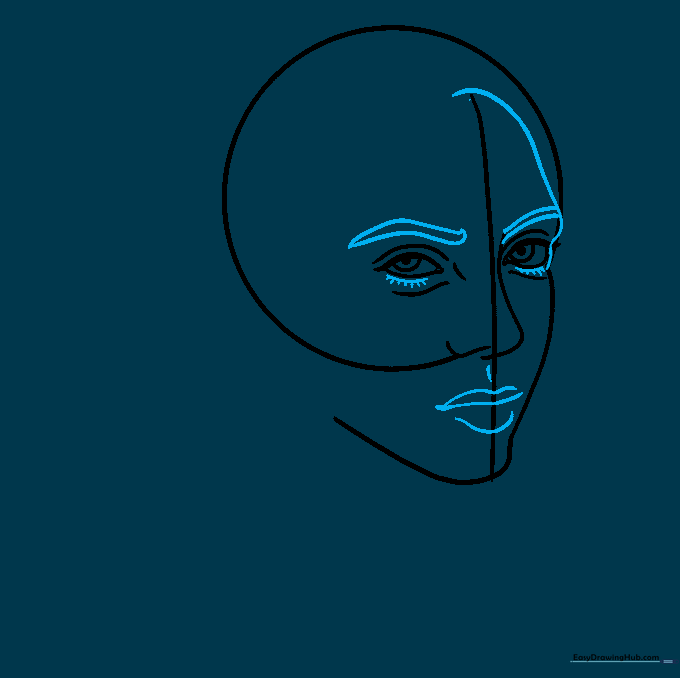
Remove the horizontal guide line. Add eyelashes, eyebrows, and the lips. Use small, quick strokes for the lashes to give them a natural look. Tip: Keep the lips slightly parted for a relaxed expression.
Step 5: Starting the Hairline
Erase the vertical guide line. Begin drawing the hair using overlapping curved lines to create volume. Tip: Think of hair in 'clumps' rather than individual strands to make it look more stylized.
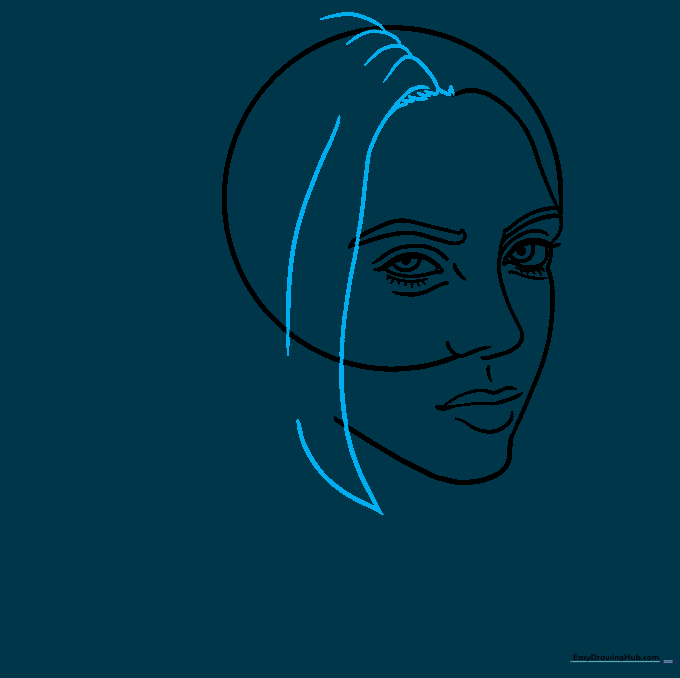
Step 6: Shaping the Head and Neck
Outline the top of the head and add the neck. Ensure the hair flows naturally over the shoulders. Tip: Use long, sweeping lines for the hair to show movement.
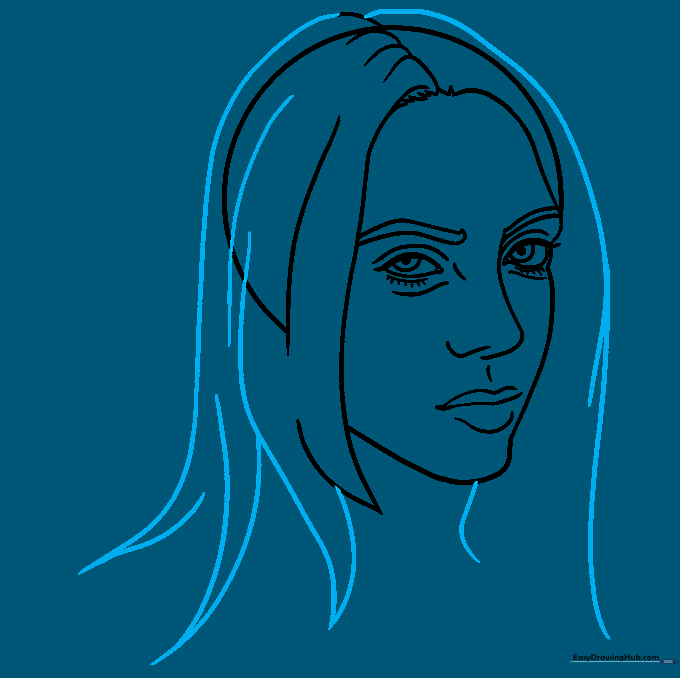
Step 7: Refining the Hair
Clean up your drawing by erasing any remaining guide lines. Add more locks of hair to fill out the style. Tip: Vary the length of your hair strokes to add texture.
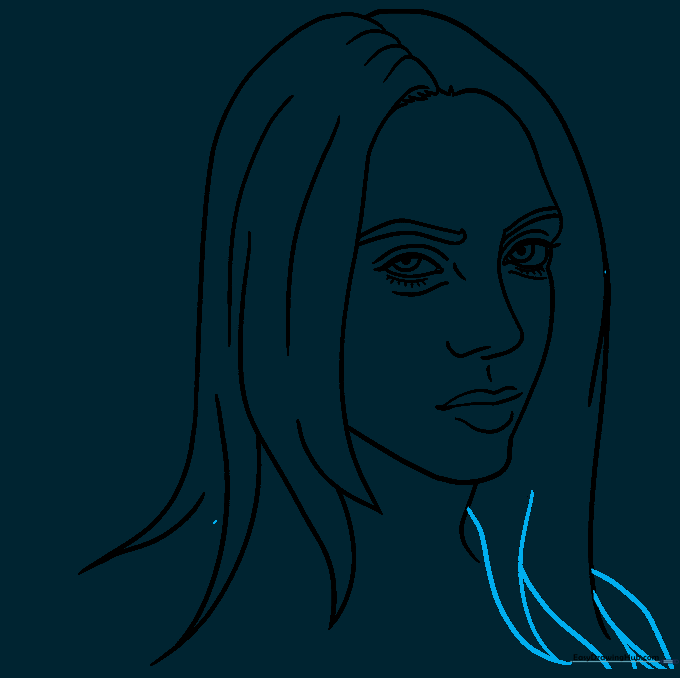
Step 8: Adding Hair Texture
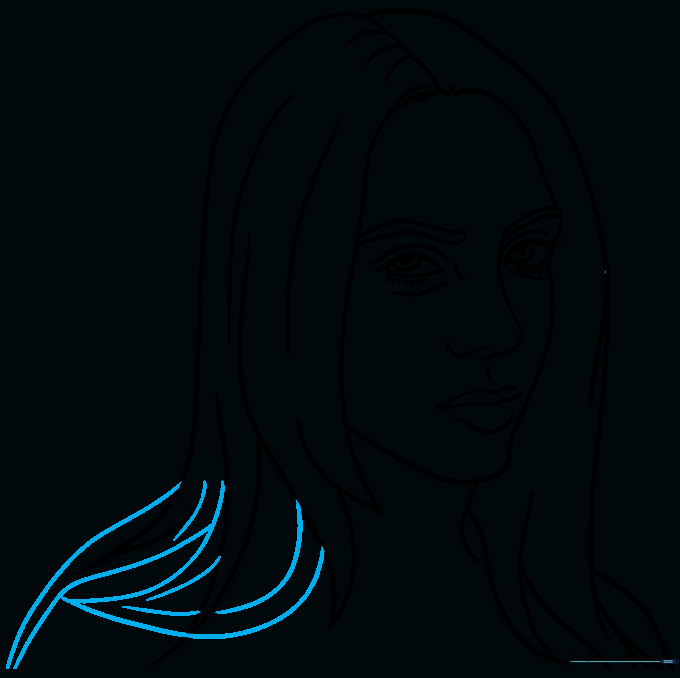
Add more locks on the opposite side to balance the drawing. Use curved lines to add depth to the hair. Tip: Press harder with your pencil on the shadowed areas of the hair.
Step 9: Drawing the Collar
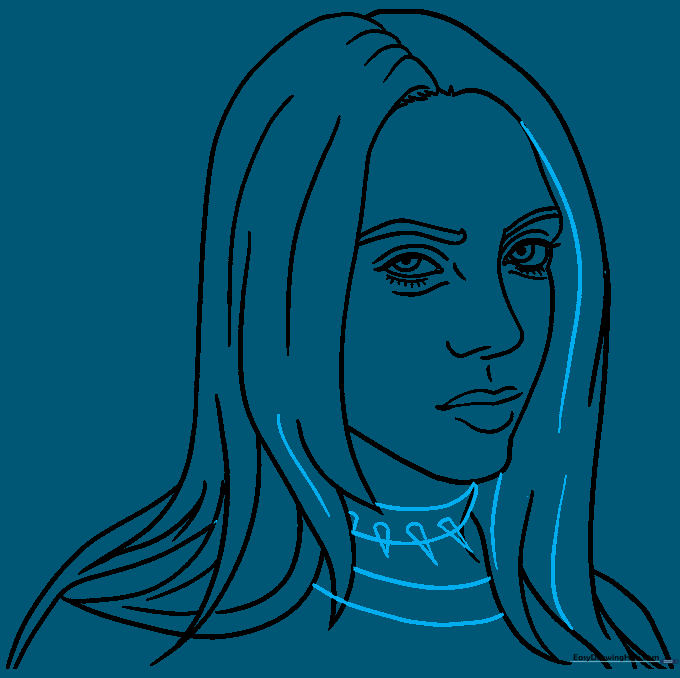
Draw the collar of the shirt and a spiked choker necklace. Use small triangles to represent the spikes. Tip: Keep the spikes uniform in size for a clean look.
Step 10: Final Coloring

Time to color! Use black for the hair and clothing to match Billie's classic style. Tip: Use a light grey for shading the skin to give your portrait a professional finish.
More Tutorials


