How to Draw Bendy: Easy 10-Step Cartoon Tutorial
Bring the iconic ink-demon to life with this step-by-step drawing guide designed for artists of all ages. You will only need a pencil, an eraser, and a piece of paper to master Bendy’s classic 1930s cartoon style. Follow along to practice your line work and character proportions in a fun, creative session.
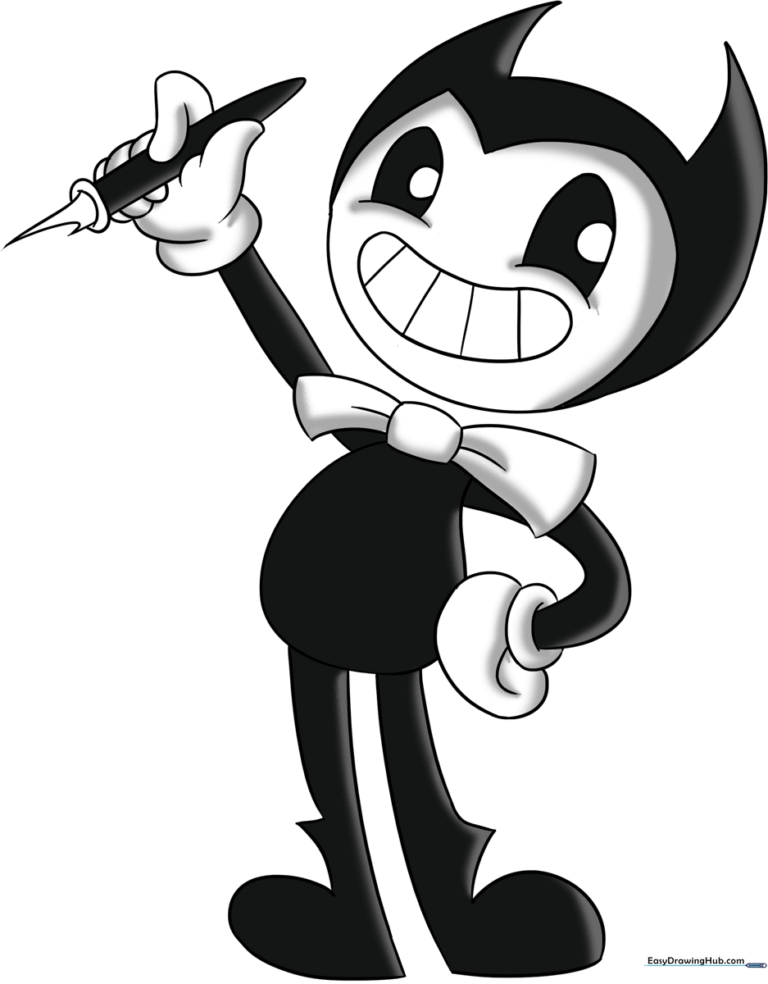
🎯 Final Result
Step-by-Step Instructions
Step 1: Sketching the Head

Draw a light circle to serve as the base for the head. Teacher's Tip: Keep this circle about the size of a golf ball; it acts as your anchor for the rest of the character.
Step 2: Defining the Horns

Extend two curved lines upward from the head to form sharp, pointed horns. Connect them with a rounded 'M' shape across the top. Teacher's Tip: Use short, quick strokes to get that signature 'ink' look.
Step 3: Adding the Bowtie
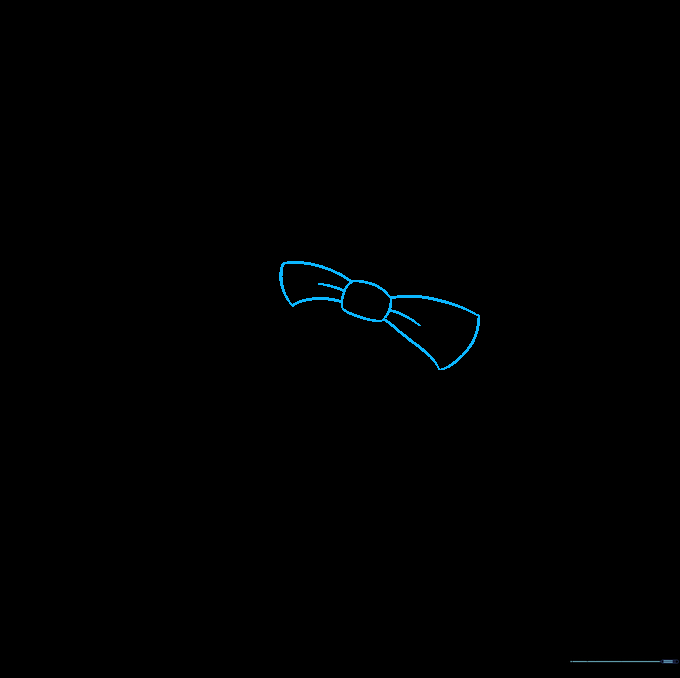
Draw a small rectangle for the center knot, then add two curved lobes on either side. Add small lines near the knot to show fabric folds. Teacher's Tip: Make the bow slightly wider than the chin for a balanced look.
Step 4: Sketching the Torso

Use a long, fluid curved line to outline the torso, looping it back to create a simple, rounded body shape. Teacher's Tip: Keep the torso small to maintain Bendy's classic 'rubber hose' animation style.
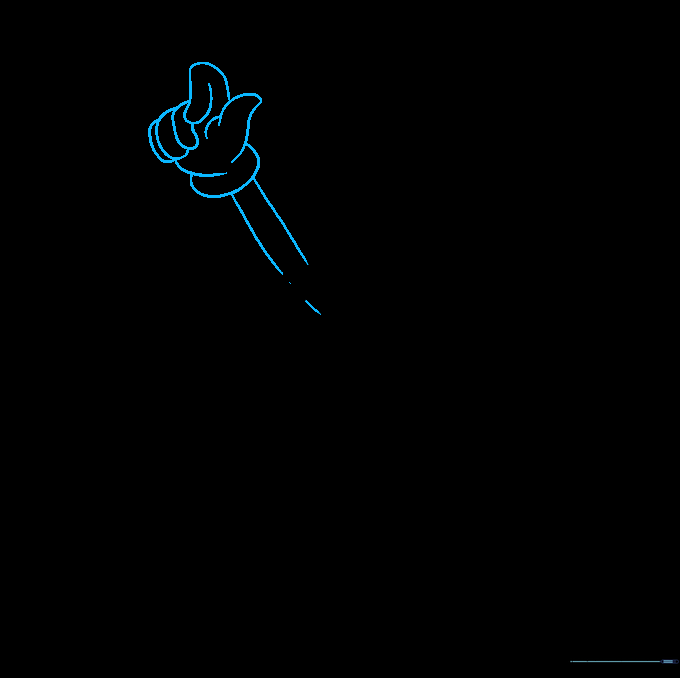
Step 5: The First Arm

Draw two parallel curved lines for the arm, ending in an oval for the glove. Teacher's Tip: Bendy's arms are very flexible, so don't be afraid to make them look a bit noodle-like!
Step 6: The Second Arm
Repeat the process for the second arm, positioning it to match the first. Teacher's Tip: Check that both arms are roughly the same length to keep the character symmetrical.
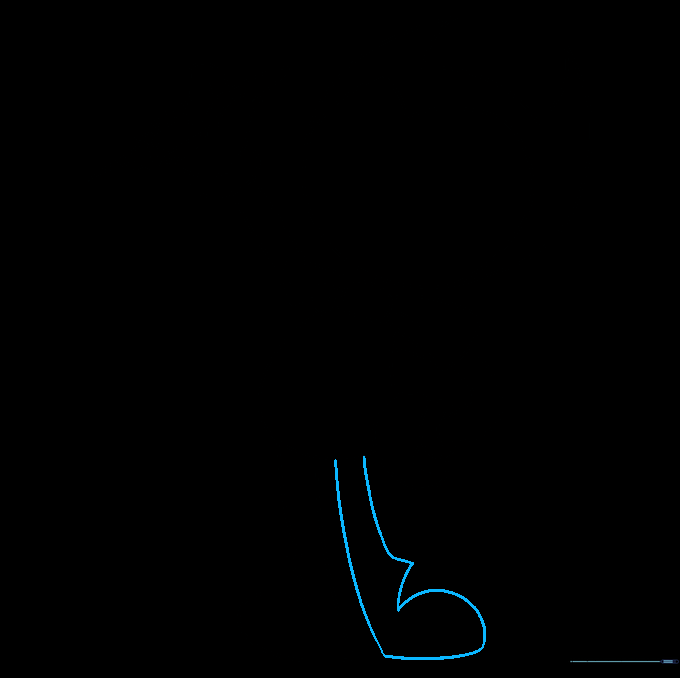
Step 7: Adding the Pen and Leg
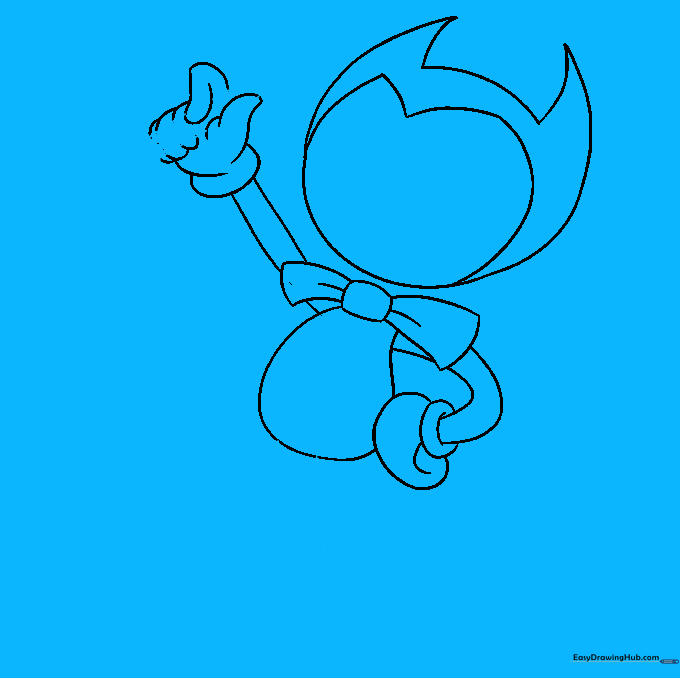
Draw a simple pen in one hand, then sketch the first leg with a distinct knee point. Teacher's Tip: The knee should be a sharp angle to contrast with the rounded limbs.
Step 8: The Second Leg
Add the second leg, mirroring the first. Teacher's Tip: Ensure the feet are flat on the ground to give Bendy a stable stance.
Step 9: Facial Features
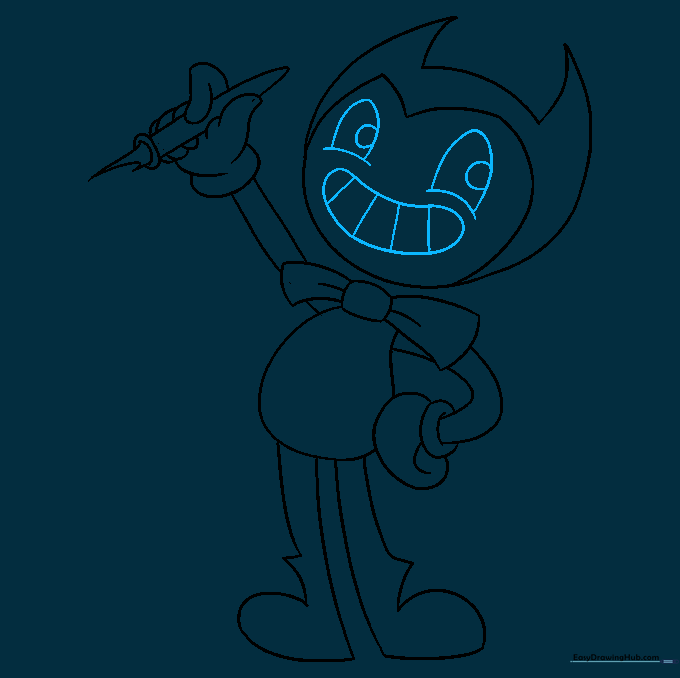
Draw two inverted 'U' shapes for the eyes, adding small circles for pupils. Finish with a wide, toothy grin. Teacher's Tip: The wide smile is Bendy's most recognizable feature—make it nice and big!
Step 10: Final Inking

Use a black marker to fill in the body, leaving the face and gloves white. Teacher's Tip: Use smooth, steady strokes to fill in the black areas for a professional, clean finish.
More Tutorials


