How to Draw Bender from Futurama: Easy 9-Step Guide
Ready to bring everyone's favorite bending unit to life? This tutorial is perfect for artists ages 7+ who want to practice geometric shapes and character proportions. All you need is a pencil, an eraser, and a piece of paper to start building your own robot masterpiece.
🎯 Final Result

Step-by-Step Instructions
Step 1: Sketching the Head Visor
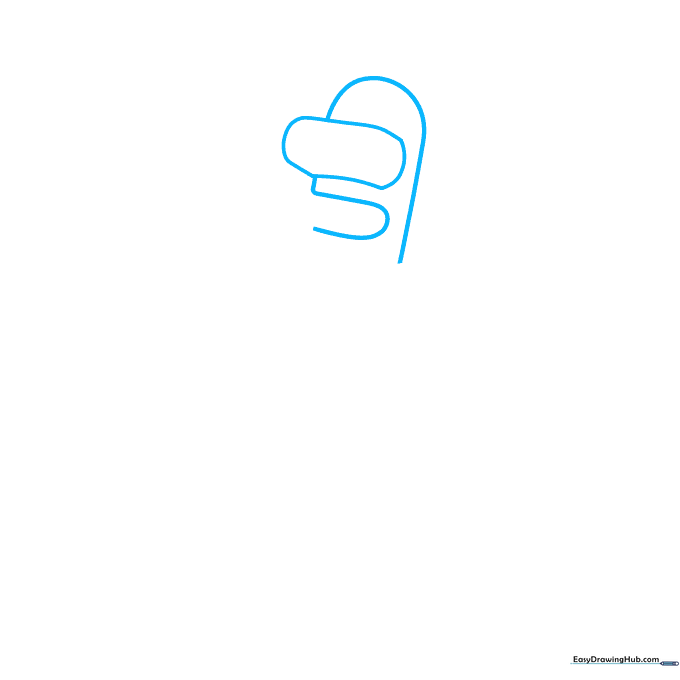
Start by drawing a rounded rectangle for Bender’s visor. Teacher's Tip: Keep your pencil lines light and loose; this acts as your 'map' for the rest of the face, and you'll want to erase these guidelines later.
Step 2: Defining the Jawline
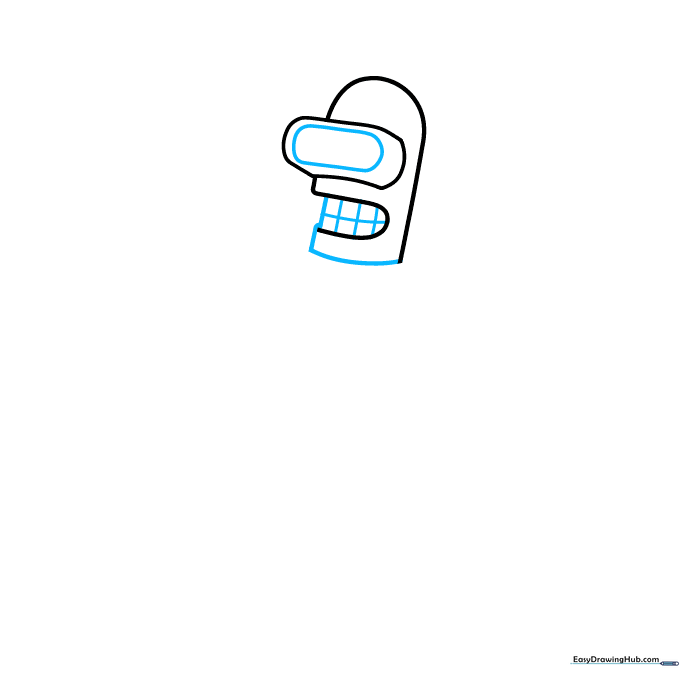
Enclose the bottom of the head with a curved line and add horizontal lines inside the visor to represent his teeth. Tip: Use a ruler if you struggle with straight lines, but try freehand for a more authentic cartoon look.
Step 3: Adding Eyes and Antenna
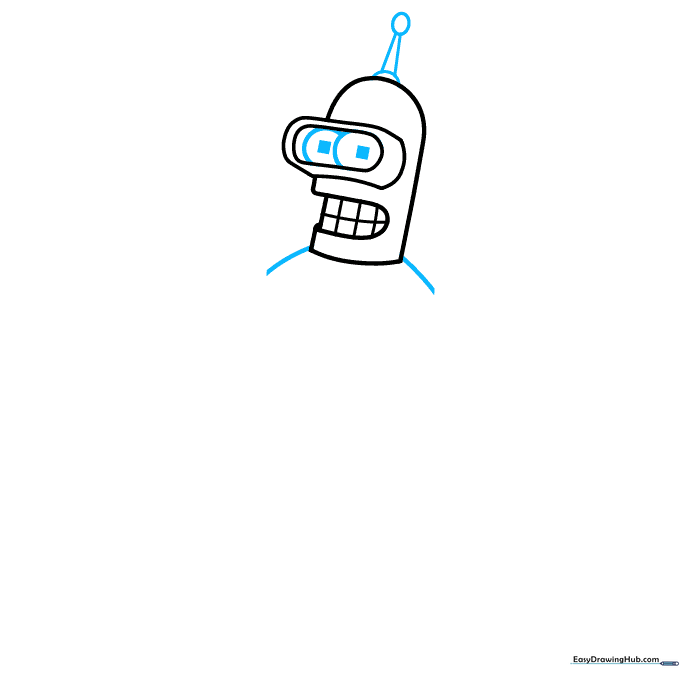
Draw two circles for eyes inside the visor with small square pupils. Add the antenna on top using a half-circle, a triangle, and an oval. Tip: The antenna is the 'crown' of the robot, so make sure it's centered to keep him balanced.
Step 4: Sketching the First Arm
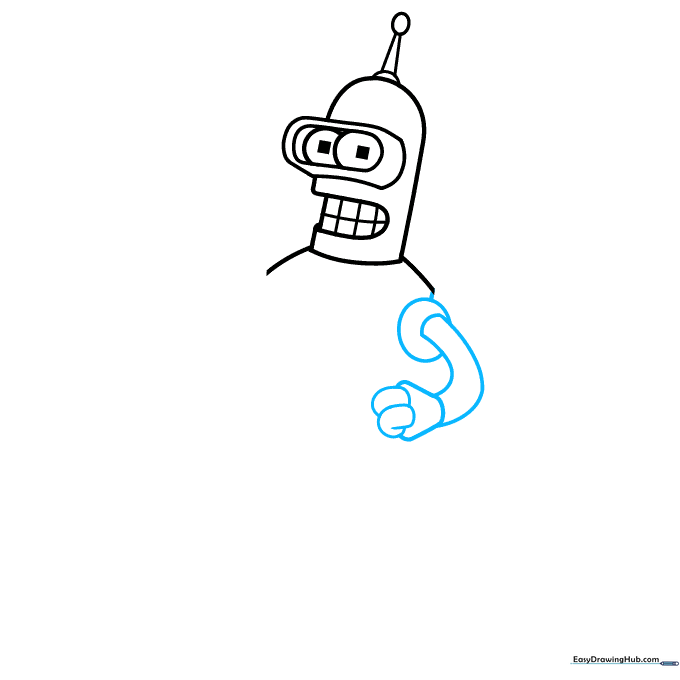
Start the arm with an oval for the shoulder, followed by parallel curved lines. Finish with a rounded triangle for the hand. Tip: Think of the arm as a series of connected tubes to help with the perspective.
Step 5: Forming the Torso
Draw a straight vertical line for the front of the torso and a semicircle for the opposite shoulder. Tip: Keep the torso slightly wider than the head to give him that classic, sturdy robot look.
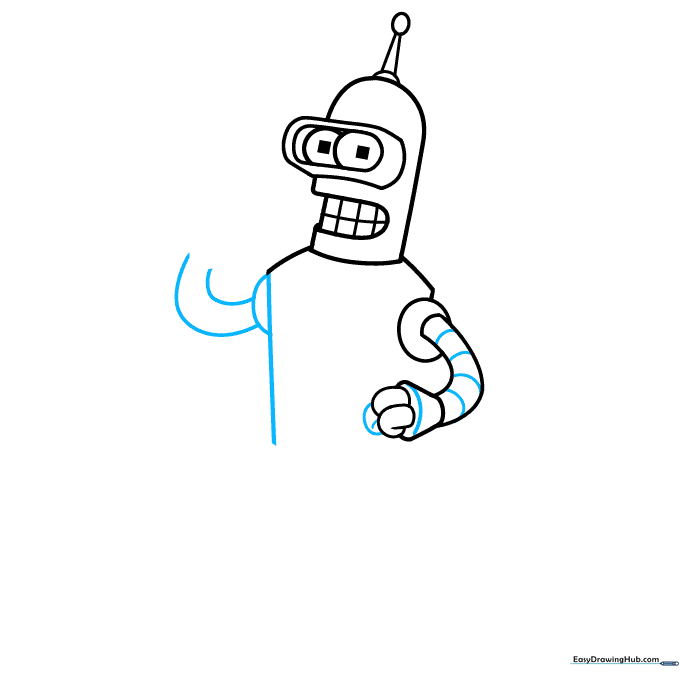
Step 6: Drawing the Second Hand
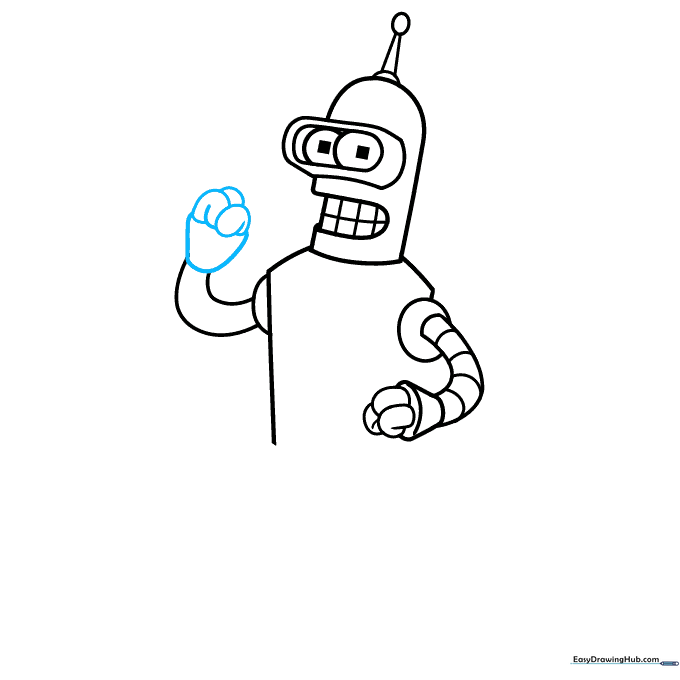
Mirror the process from step 4 to draw the second hand, using curved lines for the fingers. Tip: Don't worry if the hands aren't identical; robots are often a bit asymmetrical!
Step 7: Detailing the Chest
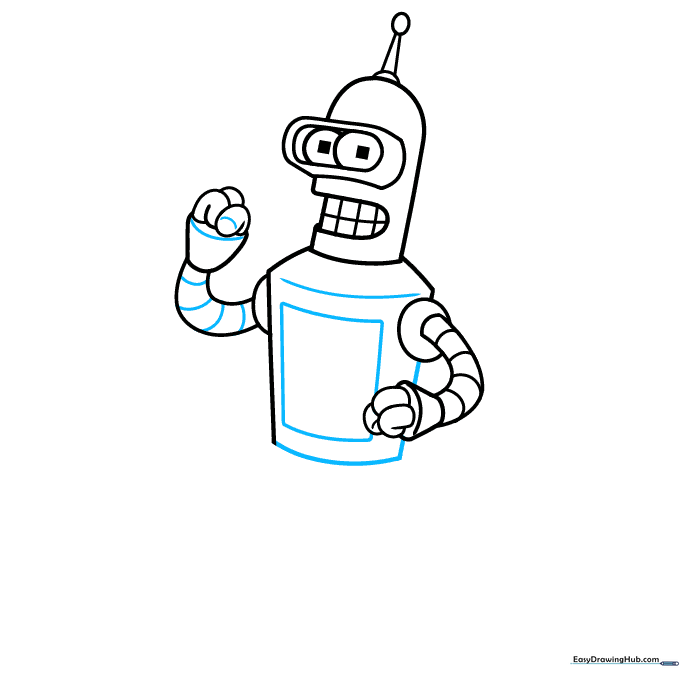
Add a square on the chest and refine the torso with curved lines. Tip: This square is the 'door' to his storage compartment, so make sure the lines are clean and sharp.
Step 8: Adding Legs and Feet

Draw a knob inside the chest square. Extend two pairs of curved lines for the legs and finish with half-circles for the feet. Tip: Use long, sweeping strokes for the legs to give him a taller appearance.
Step 9: Final Touches

Finish the legs by adding horizontal bands to represent his metallic segments. Tip: Erase any overlapping guidelines from your initial sketch to make the final drawing pop.
Step 10: Coloring Your Robot

Use shades of gray for his body and yellow for his eyes and teeth. Tip: Add a little bit of brownish-gray near the chin to create a 'five o'clock shadow' effect for extra character detail!
More Tutorials


