How to Draw Ben 10: Easy 10-Step Guide for Kids
Ready to bring the hero of the Omnitrix to life? This tutorial is perfect for young artists ages 6 and up. Grab your favorite graphite pencil, an eraser, and some markers to follow along as we break down Ben Tennyson’s iconic look into simple, manageable shapes.
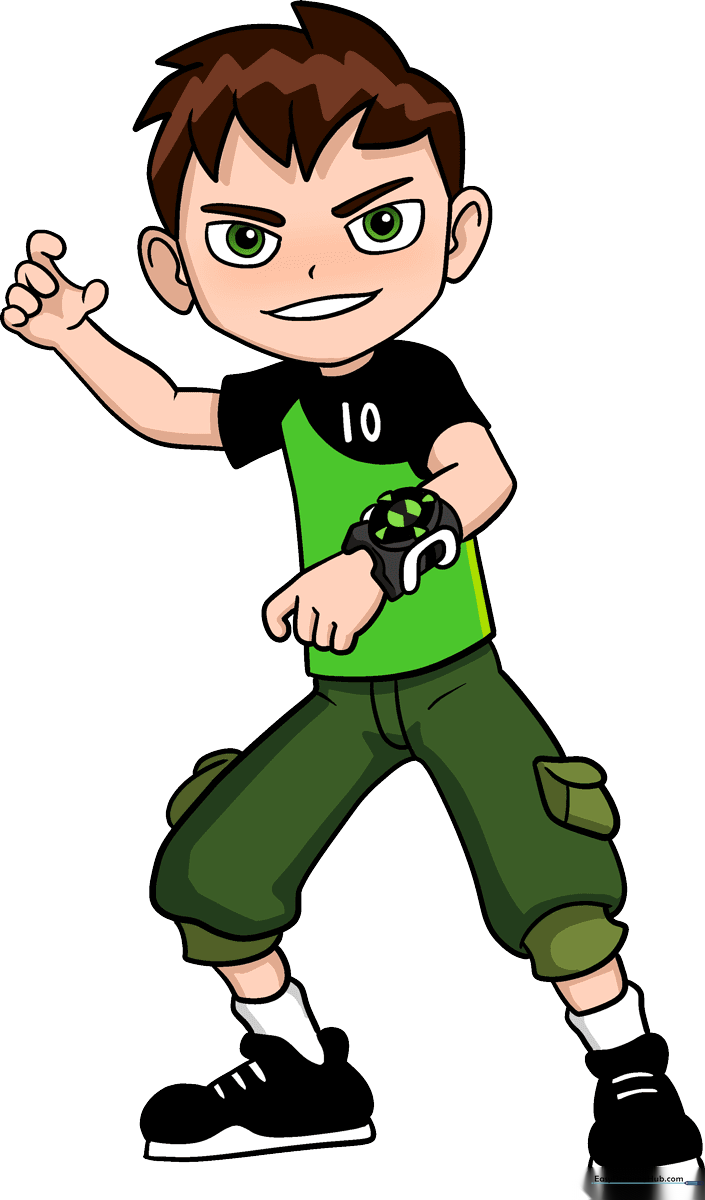
🎯 Final Result
Step-by-Step Instructions
Step 1: Sketching the Eyes
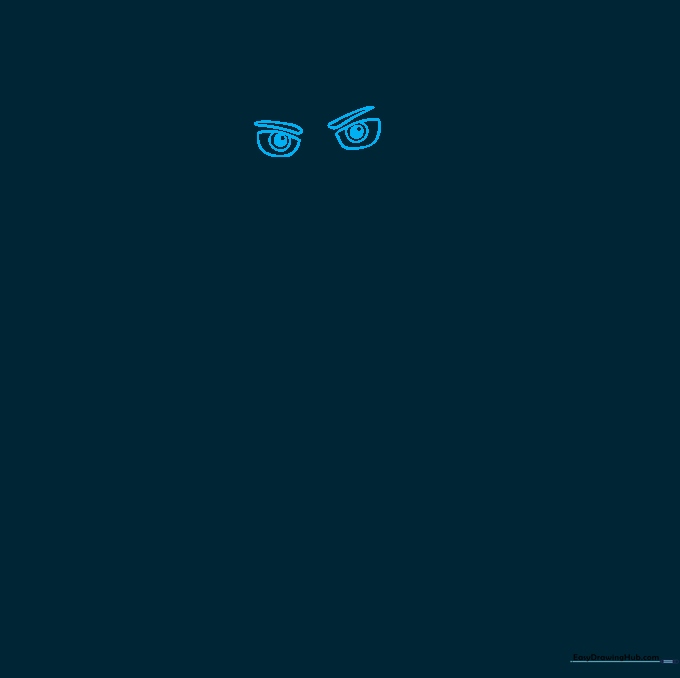
Draw two rounded rectangles for the eyes. Inside each, add three circles, shading the smallest one to create a pupil. Tip: Keep the eyes symmetrical to give Ben his determined look.
Step 2: Defining the Face
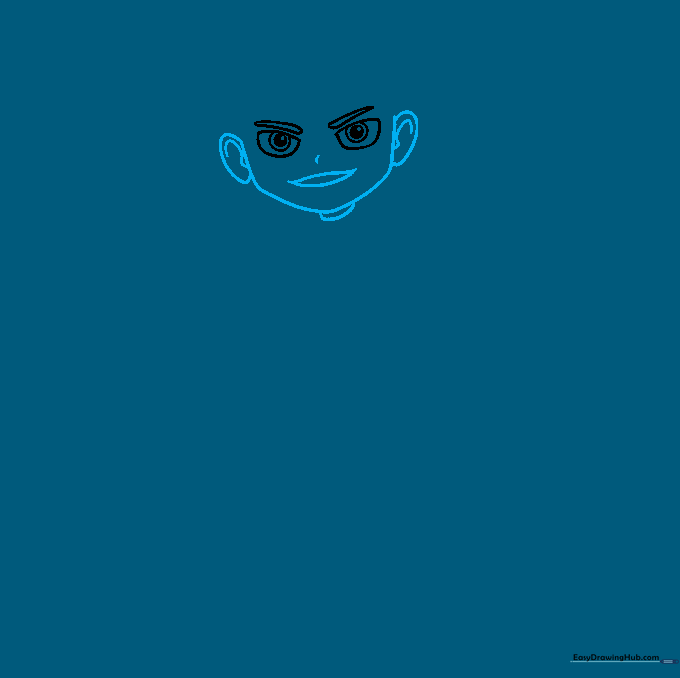
Outline the chin and cheeks using a long, smooth curve. Add the ears and neck. Tip: Use a light touch for the jawline so you can easily adjust the shape if it looks too pointy.
Step 3: Drawing the Spiky Hair
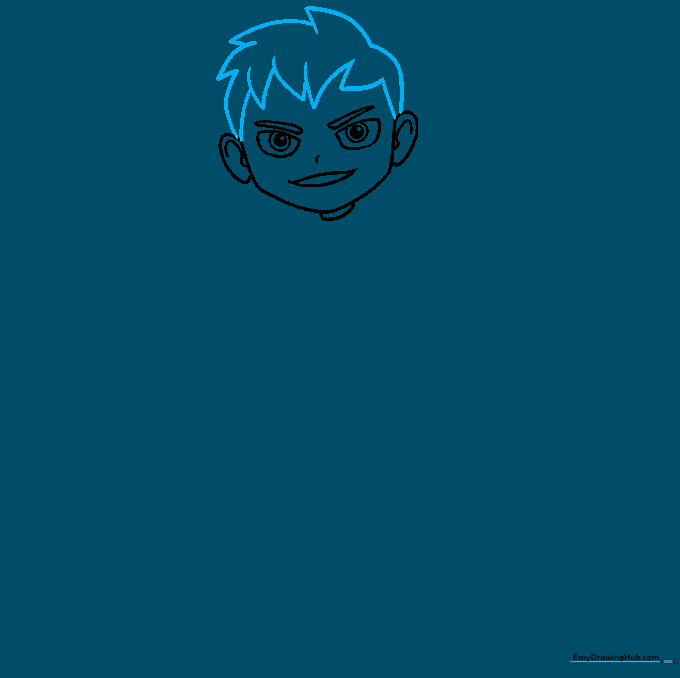
Create Ben's signature manga-style hair by drawing pairs of curved lines that meet at sharp points. Tip: Think of these as 'V' shapes sitting on top of his head.
Step 4: Sketching the Torso
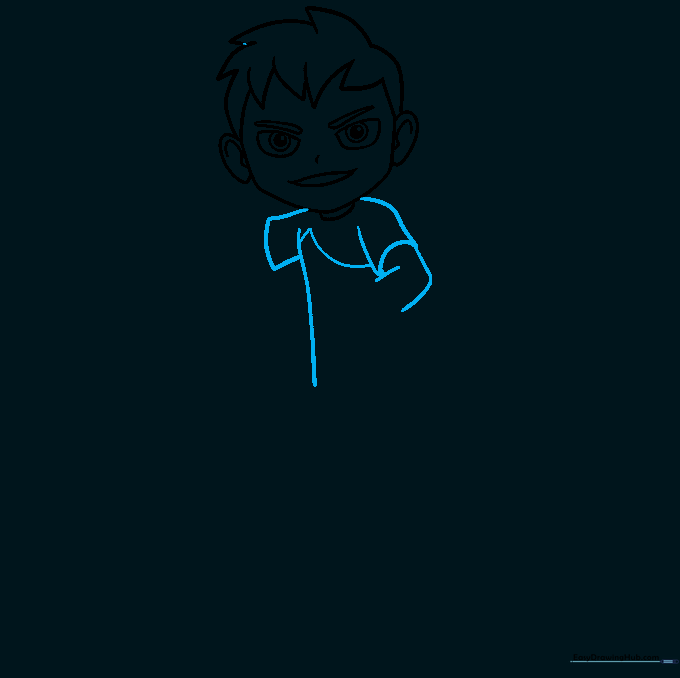
Draw the shirt sleeves and the chest pattern. Tip: Use a 'swooping' motion with your pencil to get that natural fabric fold look.
Step 5: Adding the Arm
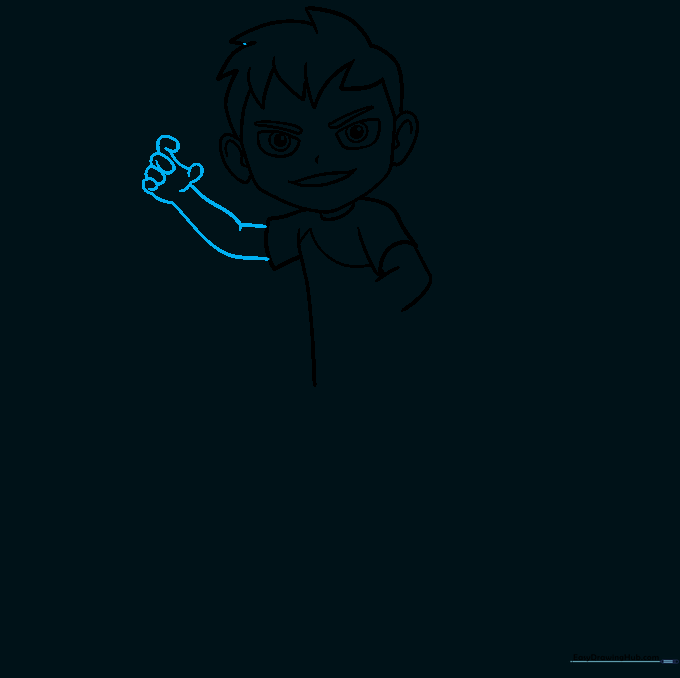
Sketch the outstretched arm, focusing on the elbow bend. Tip: Keep the fingers simple—don't worry about tiny details yet, just get the overall shape right.
Step 6: The Omnitrix
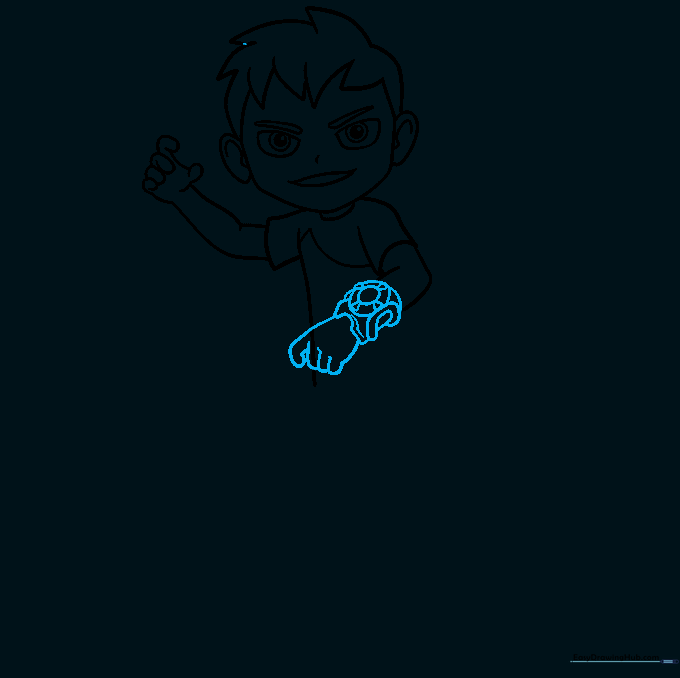
Draw the Omnitrix on his wrist using two circles and four small triangles. Tip: This is the most important detail, so take your time making it look centered on the wrist.
Step 7: Drawing the Pants

Form the pants using irregular shapes for the legs. Add lines for pockets and fabric folds. Tip: Use slightly wavy lines to show where the fabric bunches up at the knees.
Step 8: Adding Boots
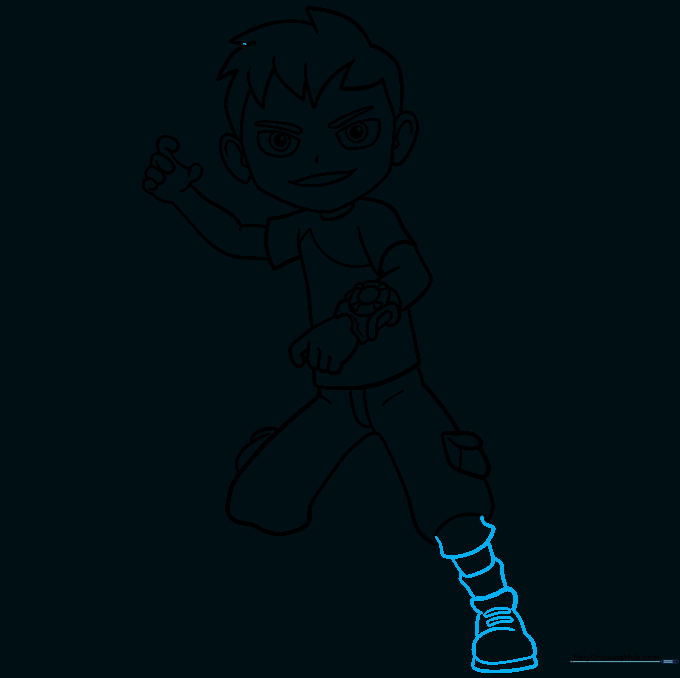
Draw the cuffs, socks, and the top of the boots. Tip: Use rectangular shapes to build the base of the boot before adding the rounded sole.
Step 9: Finalizing the Boots
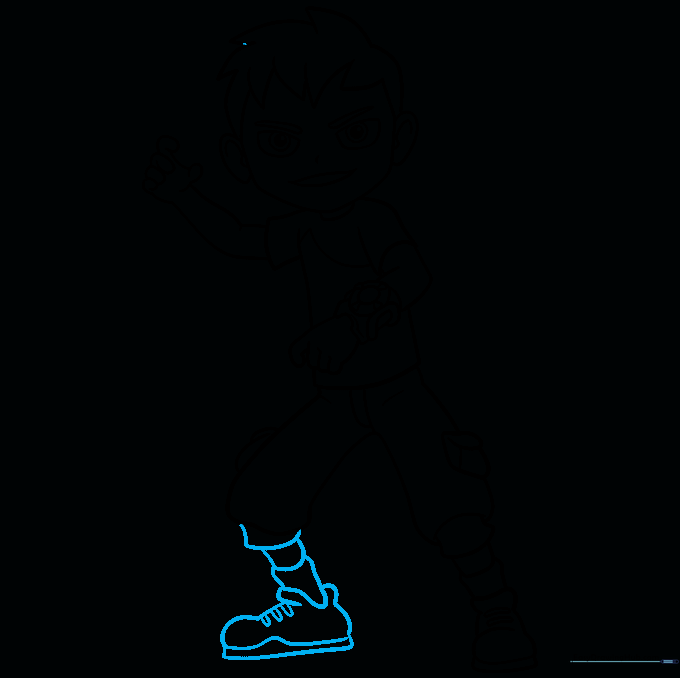
Complete the second boot, adding laces and sole details. Tip: Ensure the two boots look like they are standing on the same ground line.
Step 10: Color Your Hero
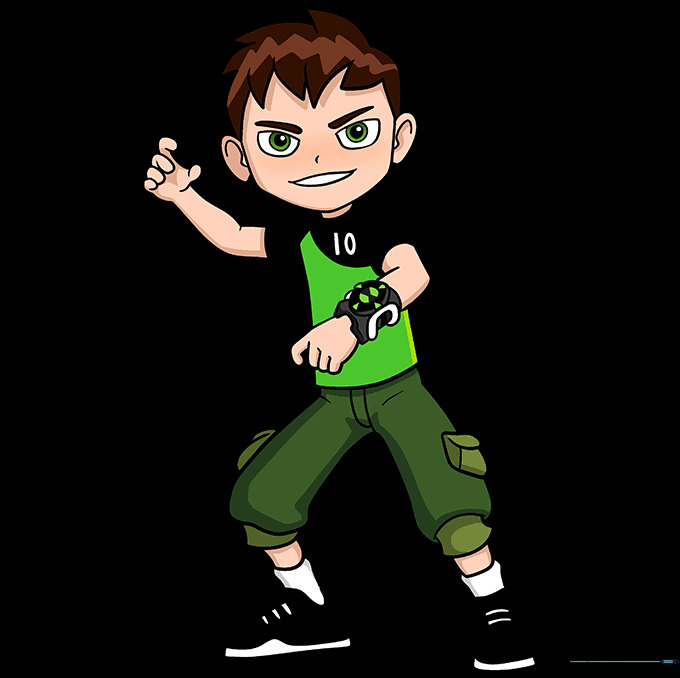
Bring Ben to life with color! Use brown for his hair and his classic green and black color scheme for his shirt. Tip: Use a light green for the Omnitrix to make it look like it's glowing!
More Tutorials


