How to Draw Bells: Easy 10-Step Holiday Art Guide
Bring the holiday spirit to life with this fun, festive drawing project! Designed for artists ages 5 and up, this tutorial breaks down the process of drawing classic bells with a holly sprig. All you need is a pencil, an eraser, and your favorite coloring supplies to create a beautiful seasonal masterpiece.
🎯 Final Result

Step-by-Step Instructions
Step 1: Sketching the First Bell

Start by drawing a soft, curved line for the top of the bell. Add short, slightly flared lines at the bottom to create the 'lip' or edge. Teacher's Tip: Keep your lines loose and rounded to give the bell a smooth, metallic look.
Step 2: Defining the Bell Mouth
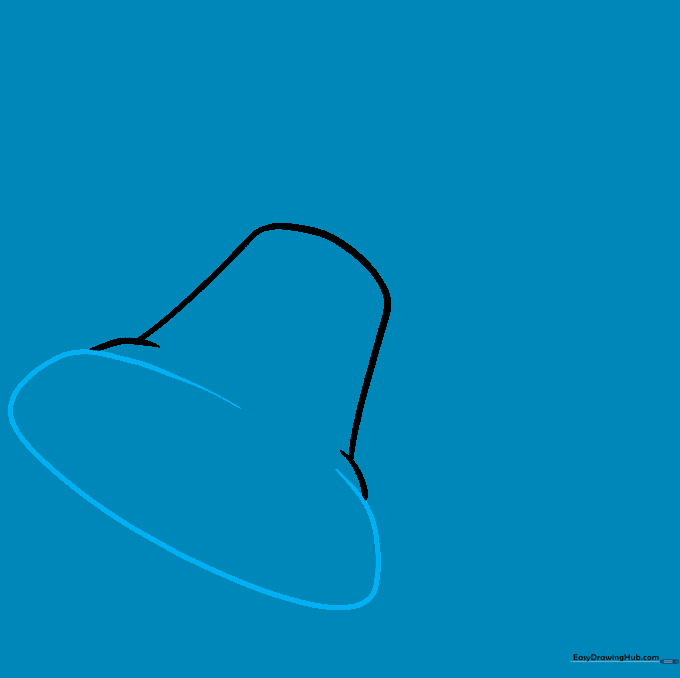
Draw a wide, curved oval shape at the bottom to define the opening of the bell. Don't worry about making it a perfect circle; a slightly flattened oval looks more natural. Tip: Leave a small gap at the top of this curve to connect it to the bell body later.
Step 3: Adding the Clapper
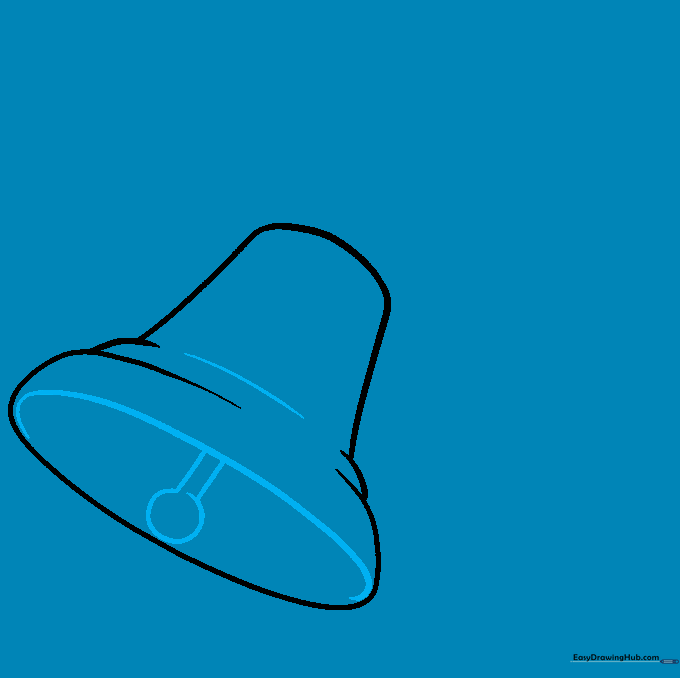
Draw a small circle hanging from a short line inside the bell's mouth—this is the clapper that makes the sound! Add a horizontal curved line across the middle of the bell to give it dimension. Tip: Make the clapper circle slightly off-center for a more dynamic, 'ringing' feel.
Step 4: Sketching the Second Bell

Repeat the process from Step 1 to draw a second bell slightly behind or to the side of the first. Overlapping the lines helps create depth. Tip: Try to keep the size consistent with your first bell so they look like a matching pair.
Step 5: Finishing the Second Bell

Complete the second bell by adding its lip and clapper. Ensure the lines behind the first bell are erased where they overlap to keep your drawing clean. Tip: Use your eraser to 'clean up' the intersection points for a professional look.
Step 6: Drawing Holly Berries

Draw three small, overlapping circles at the top center to form the holly berries. Then, sketch the jagged, prickly outline of a holly leaf. Tip: Holly leaves have sharp, pointed edges, so use short, zig-zag strokes instead of smooth curves.
Step 7: Adding More Holly Leaves
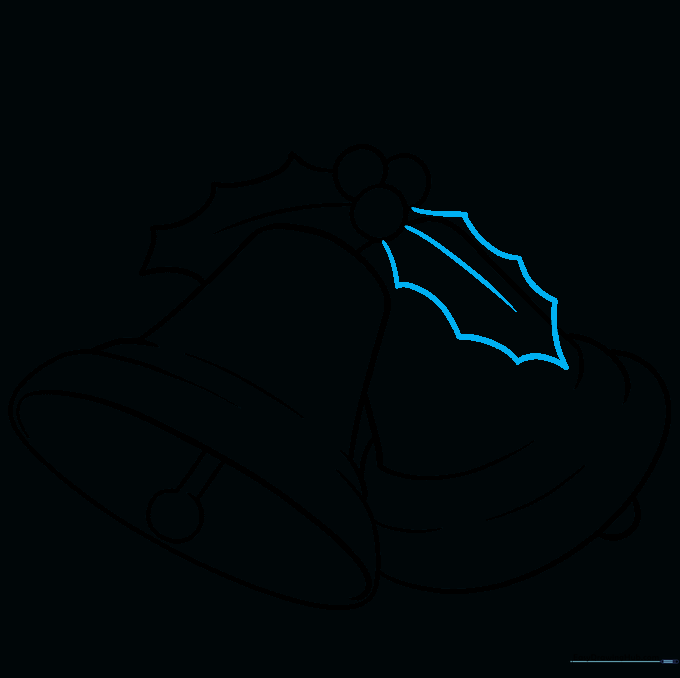
Add a second holly leaf extending from the berries. Draw a curved line down the center of each leaf to represent the vein. Tip: Vary the size of your leaves to make the arrangement look more natural and less symmetrical.
Step 8: Sketching the Decorative Bow
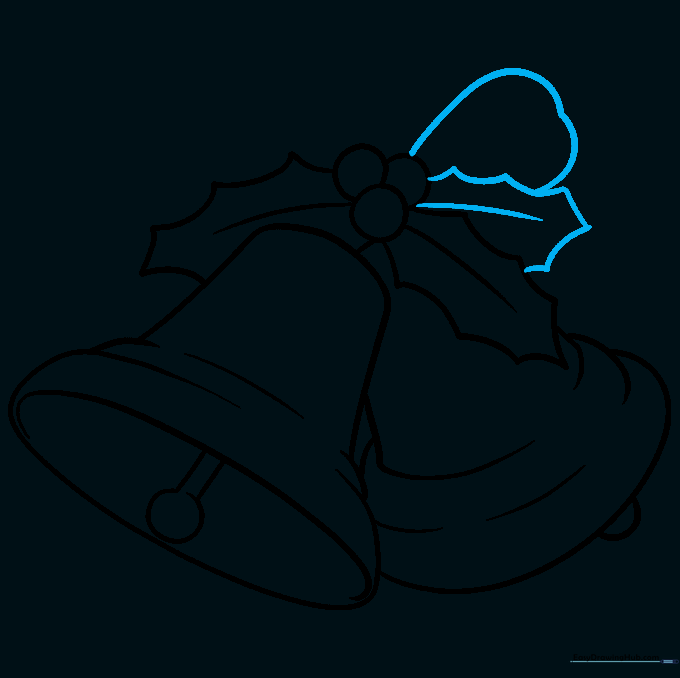
Add a third leaf for fullness, then begin drawing a ribbon bow that ties the bells together. Use soft, flowing curves for the ribbon loops. Tip: Think of the bow as two large 'C' shapes meeting in the middle.
Step 9: Finalizing the Bow
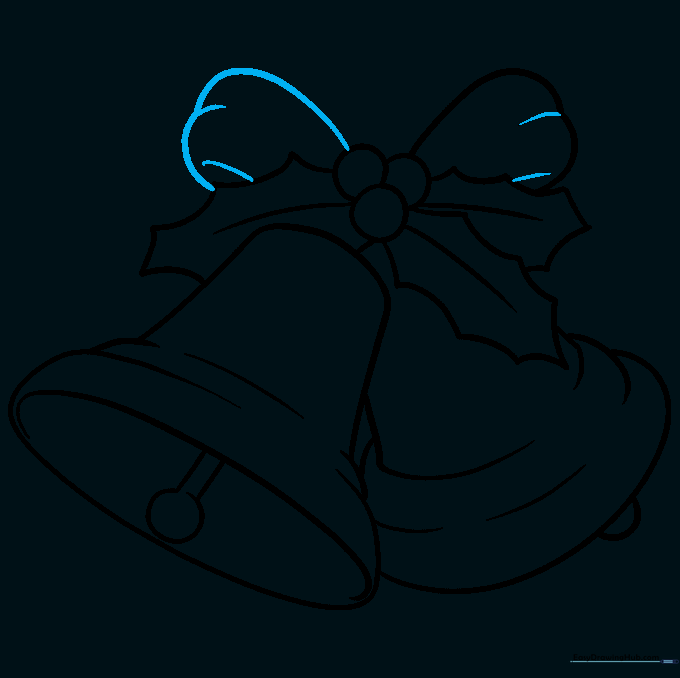
Complete the bow by adding the other side and some small curved lines to show the folds in the fabric. Tip: Adding these small 'fold' lines makes the ribbon look soft and realistic rather than flat.
Step 10: Adding Color

Time to bring your drawing to life! Use gold or yellow for the bells, bright red for the berries and bow, and deep green for the leaves. Tip: Leave a small white 'highlight' spot on the bells to make them look shiny and metallic.
More Tutorials


