How to Draw Belle: Easy 10-Step Guide for Beginners
Bring the beloved bookworm Belle to life with this easy-to-follow drawing guide, perfect for artists ages 6 and up. You will only need a pencil, an eraser, and a sheet of paper to capture her classic look. Follow along as we break down her iconic features into simple, manageable shapes.
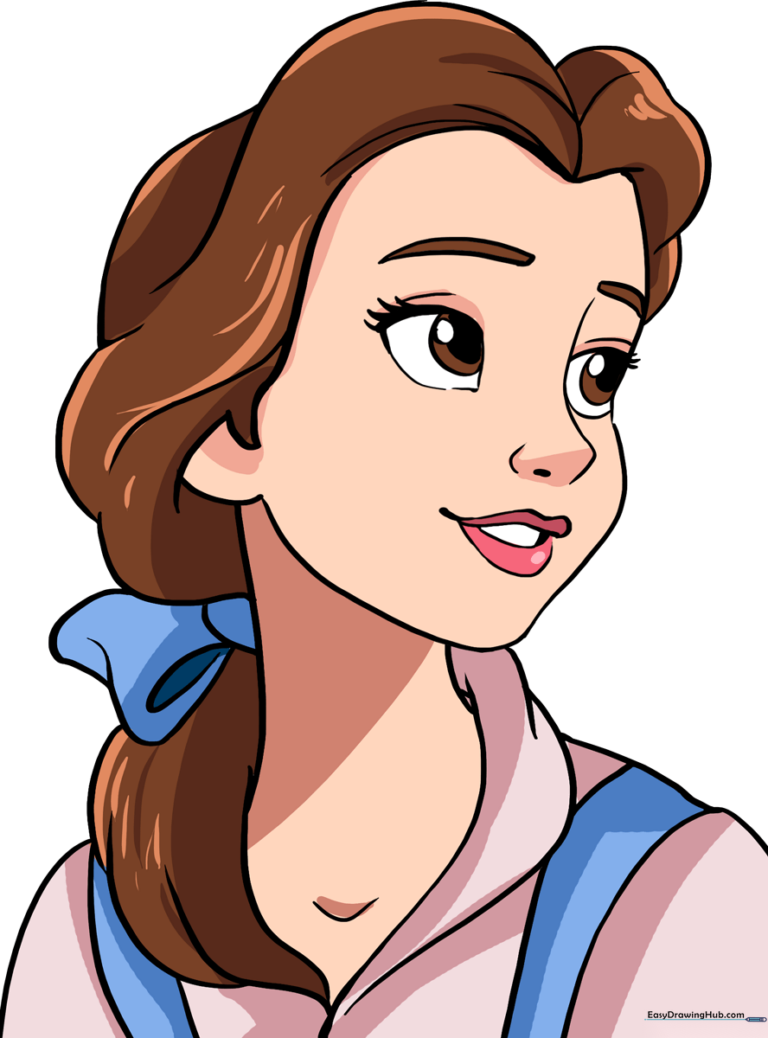
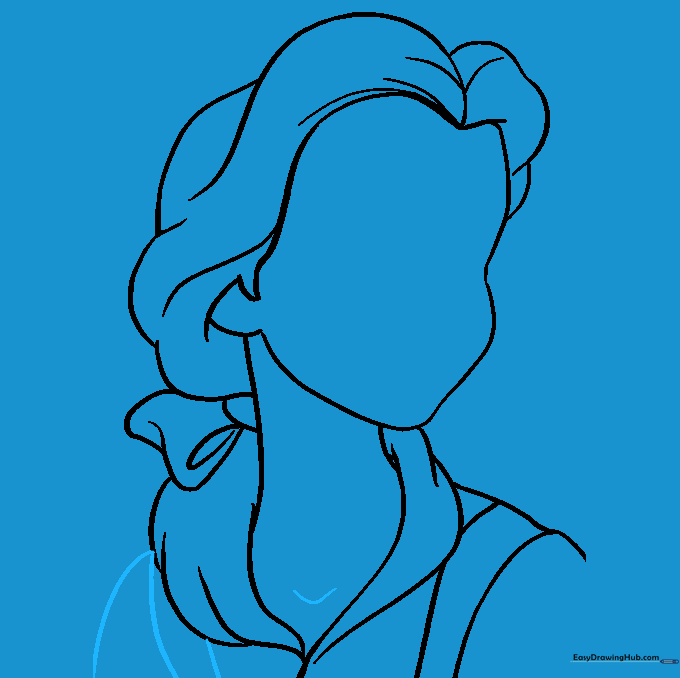
🎯 Final Result
Step-by-Step Instructions
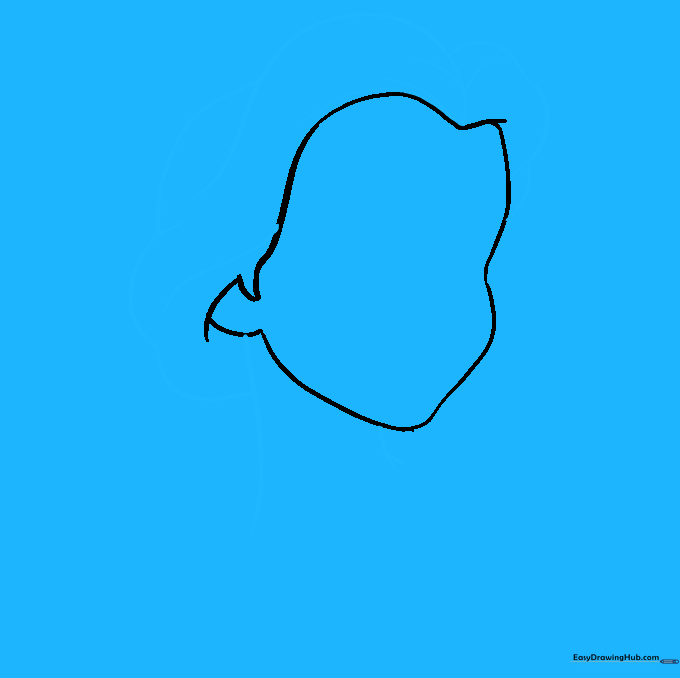
Step 1: Sketching the Face Shape

Lightly sketch the outline of Belle's face using curved lines. Teacher's Tip: Focus on the 'V' shape at the hairline; keeping your pencil pressure light now makes it much easier to erase and refine your lines later.
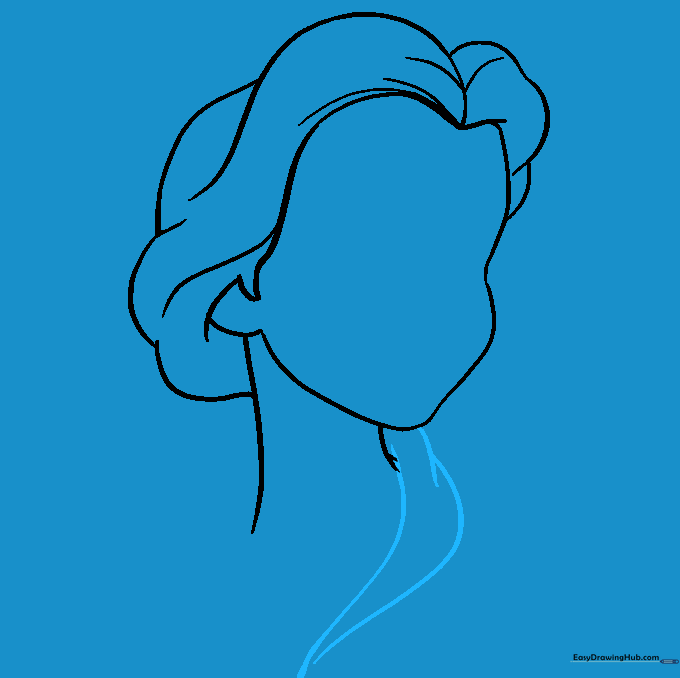
Step 2: Defining the Neck and Hair
Extend two curved lines from the chin to form the neck, then frame the face with long, wavy lines for her hair. Teacher's Tip: Let your lines overlap slightly to create a natural, flowing texture that looks more like real hair.
Step 3: Drawing the Collar
Draw the collar by extending two curved lines from the neck area, meeting at a point. Teacher's Tip: Keep these lines symmetrical to ensure the dress sits evenly on her shoulders.
Step 4: Adding the Ponytail and Bow
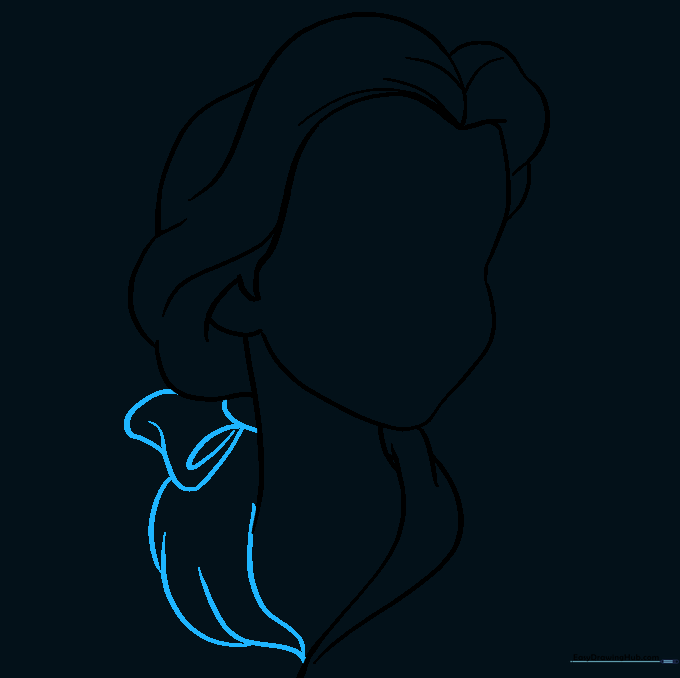
Add the bow at the base of her neck using a small circle and irregular shapes, then draw the ponytail. Teacher's Tip: Use long, sweeping strokes for the ponytail to give it a sense of movement.
Step 5: Sketching the First Shoulder

Extend a curved line from the collar, then add two lines downward to form the strap of her overdress. Teacher's Tip: Imagine the strap wrapping around the shoulder to give it a 3D look.
Step 6: Completing the Shoulders
Add a small 'U' shape to the neck for detail, then mirror the shoulder and strap process on the other side. Teacher's Tip: Check that both straps are roughly the same width for a balanced drawing.
Step 7: Drawing the First Eye

Outline the eye with curved lines, adding three circles inside for the iris and pupil. Shade the smallest circle. Teacher's Tip: Draw the eyelashes with quick, flicking motions to make them look sharp and realistic.
Step 8: Adding the Nose and Second Eye

Draw the nose with a small shaded oval and repeat the eye-drawing process for the other side. Teacher's Tip: Use the first eye as a guide to ensure the second one is placed at the same height.
Step 9: Drawing the Mouth

Use gentle, curved lines to craft her open, smiling lips. Teacher's Tip: A soft curve for the mouth helps capture Belle's kind and gentle expression.
Step 10: Adding Color

Bring Belle to life with her signature brown hair and blue-and-white outfit. Teacher's Tip: Use light pressure with your colored pencils to create smooth, even layers of color.
More Tutorials


