How to Draw Beast Boy: Easy 10-Step Cartoon Guide
Bring the Teen Titans' favorite shapeshifter to life with this easy-to-follow drawing guide, perfect for young artists ages 6 and up. You will only need a pencil, an eraser, and a piece of paper to get started. Follow these simple steps to master Beast Boy’s iconic look and sharpen your cartooning skills.
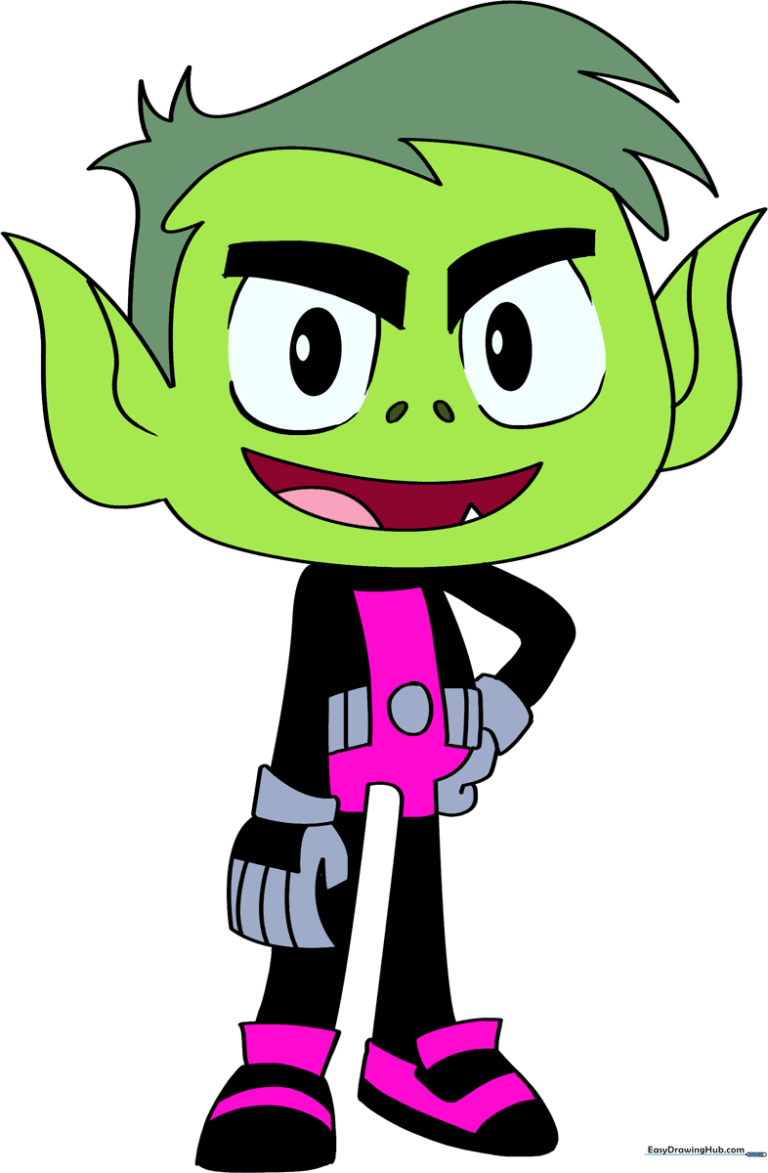
🎯 Final Result
Step-by-Step Instructions
Step 1: Sketching the Face Shape

Start by sketching Beast Boy’s face. Use a wide “U” shaped line for the chin and cheeks. Then, outline the hair at the top using jagged, curved lines. Teacher's Tip: Keep your pencil strokes very light here so you can easily erase the guidelines later!
Step 2: Adding the Ears

Draw Beast Boy’s ears by extending two curved lines from the sides of the head that meet at a point. Add a small curved line inside to show the ear fold. Teacher's Tip: Try to make both ears symmetrical to keep his head looking balanced.
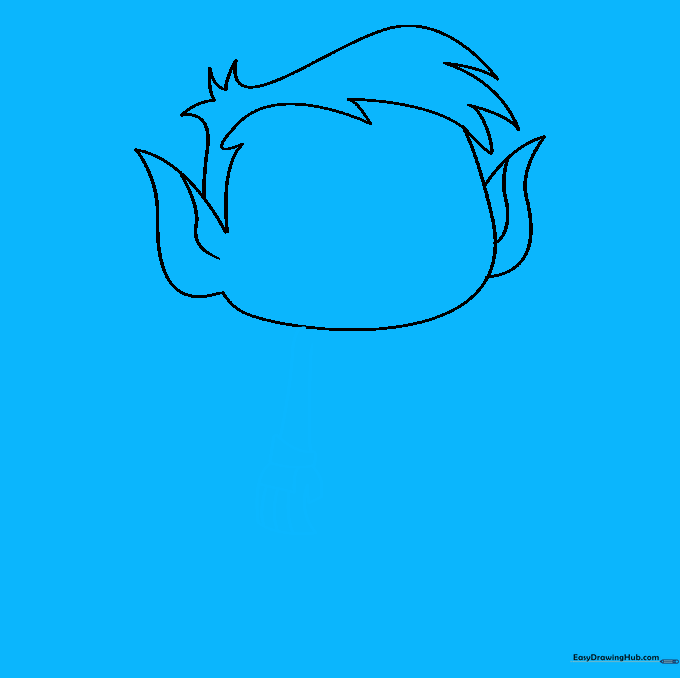
Step 3: Completing the Hairline
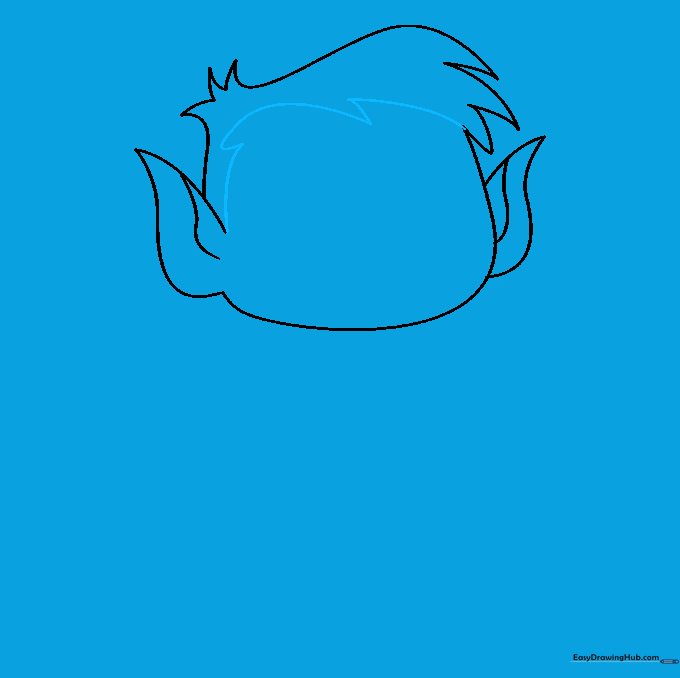
Connect the ears to the hair tufts using a series of curved lines. This creates his signature messy, energetic hairstyle. Teacher's Tip: Use short, quick strokes to give the hair a more natural, spiky texture.
Step 4: Sketching the Arm and Glove
Extend a curved line down from the head for the arm. Draw a four-sided shape for the wrist and add the fingers and thumb using overlapping curves. Teacher's Tip: Focus on the glove's boxy shape to capture his superhero style.
Step 5: Defining the Torso and Legs
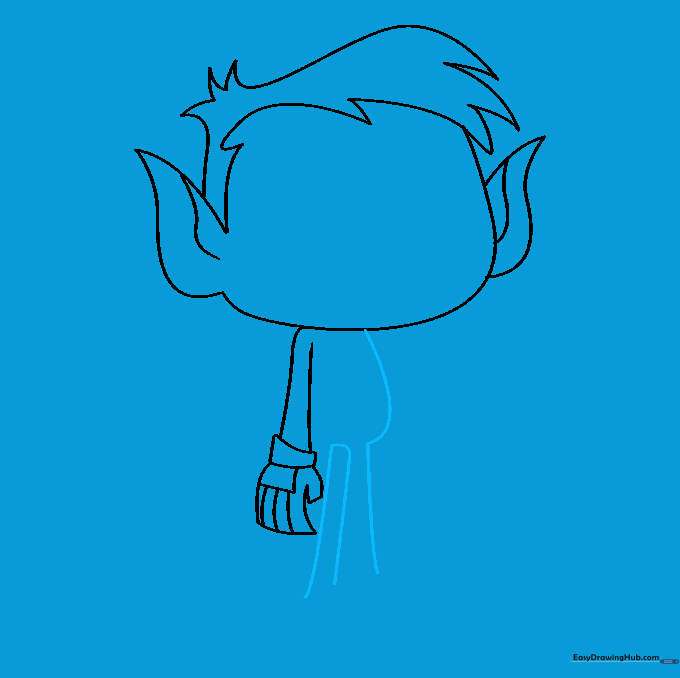
Enclose the torso with a curved line and draw three nearly straight lines to map out the legs. Teacher's Tip: Keep these lines loose; they are just placeholders for the body's structure.
Step 6: Adding the Belt and Shoes
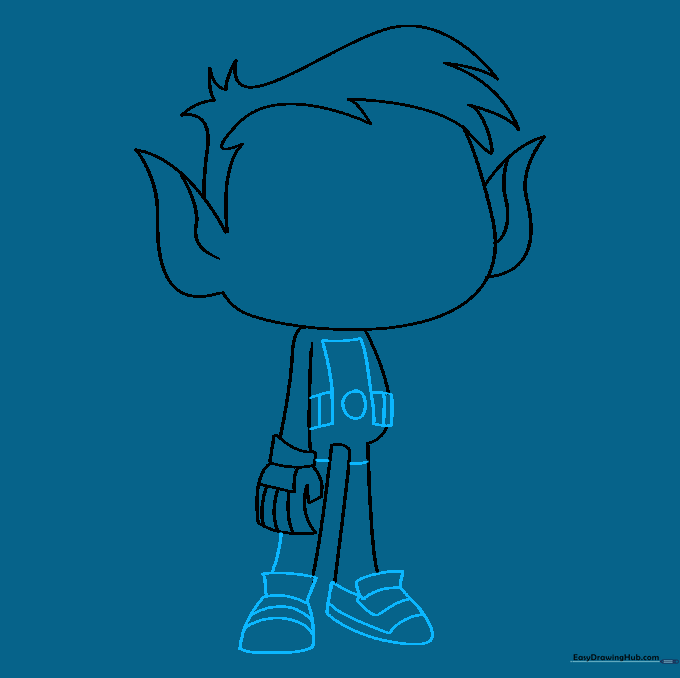
Draw a rectangle for the belt and add the shoes at the bottom. Use curved rectangles for the shoe tongues. Teacher's Tip: Adding the belt details helps ground the character and makes him look like a real hero.
Step 7: Drawing the Second Arm
Use 'V' shaped lines to draw the other arm, bent at the elbow. Enclose the wrist and glove to match the first one. Teacher's Tip: Check that the glove size matches the first one for consistency.
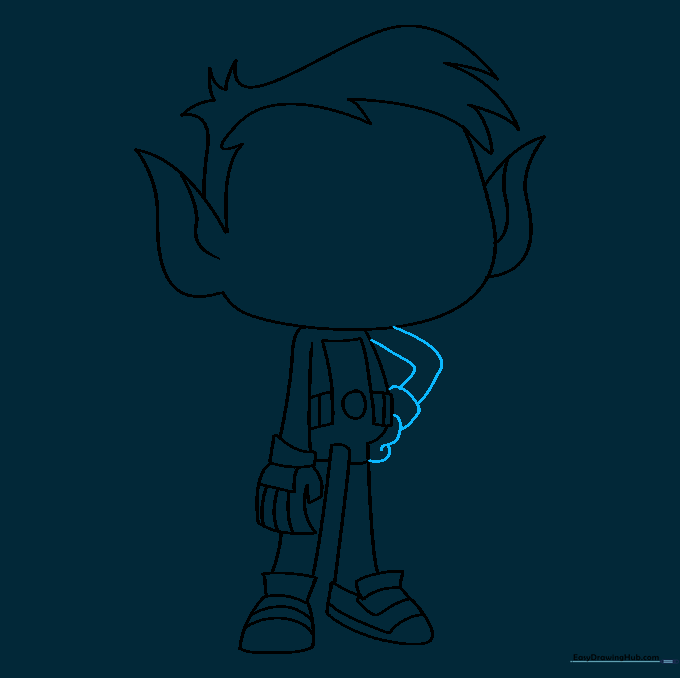
Step 8: Sketching the Eyebrows and Sockets
Sketch curved, triangular shapes for the eyebrows and oval-shaped eye sockets beneath them. Teacher's Tip: The eyebrows convey his personality—make them slightly angled to give him that confident Beast Boy look.
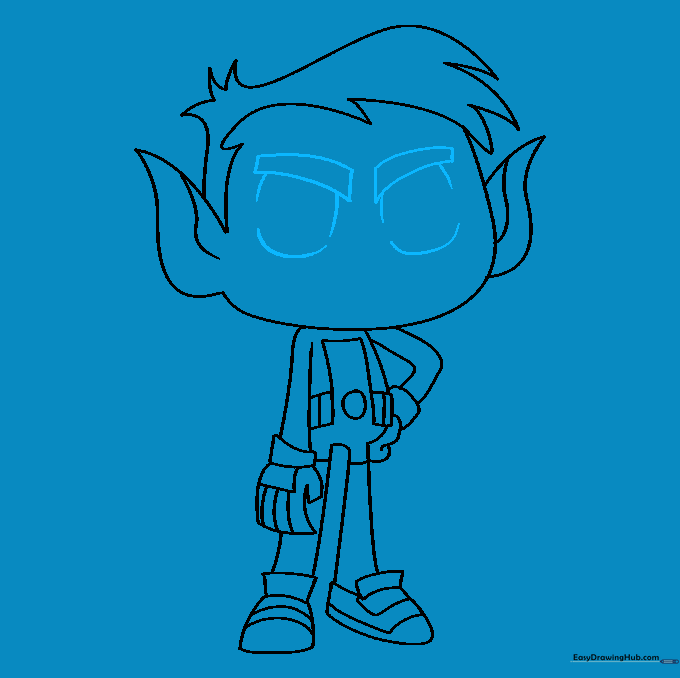
Step 9: Final Facial Details

Add the pupils, nostrils, and his signature grin. Include a tongue and tooth inside the mouth. Teacher's Tip: Take your time on the eyes—they are the most important part of capturing his expression!
Step 10: Bringing Him to Life with Color
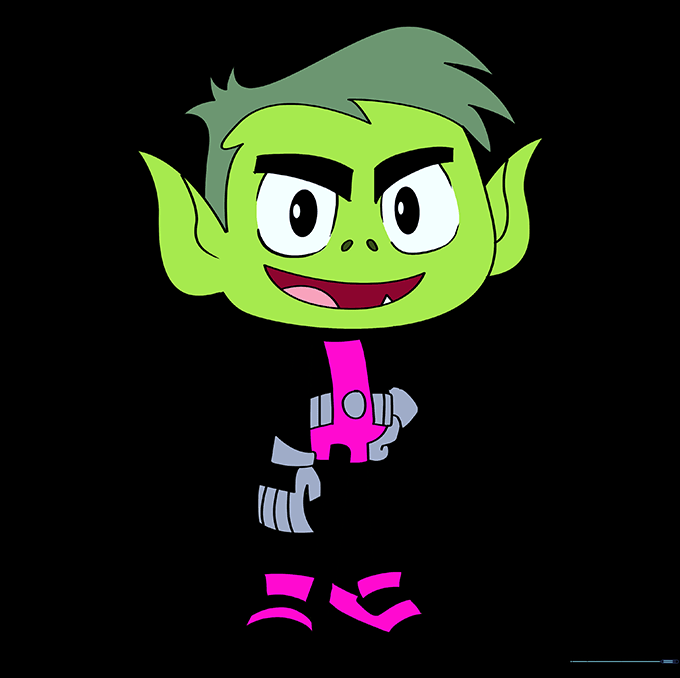
Color Beast Boy using various shades of green for his skin and hair. Teacher's Tip: Use a darker green for the shadows under his chin and hair to make your drawing pop with depth.
More Tutorials


