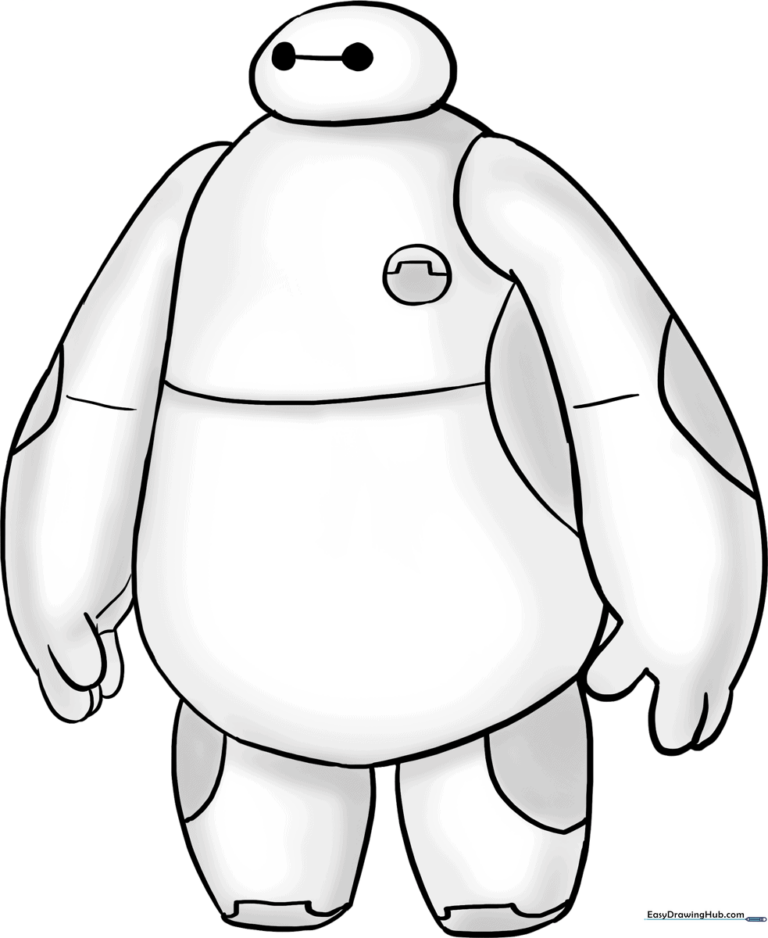
How to Draw Baymax: Easy 10-Step Guide for Kids
Ready to bring everyone's favorite healthcare companion to life? This tutorial is perfect for young artists ages 5 and up. Grab a pencil, an eraser, and a piece of paper to master Baymax’s iconic, friendly shape in just 10 simple steps.
🎯 Final Result
Step-by-Step Instructions
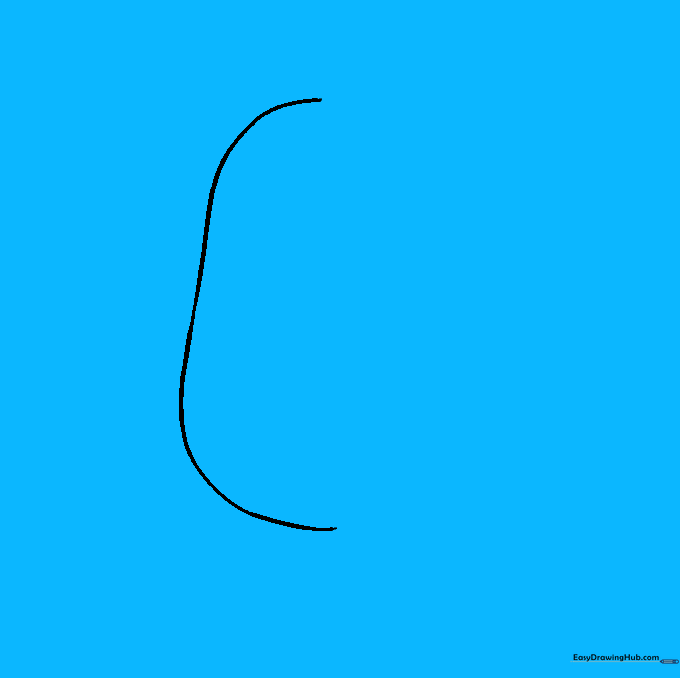
Sketching the Torso Base

Start by drawing a soft, curved line to outline the top of Baymax's torso. Teacher's Tip: Keep your pencil pressure light so you can easily adjust the shape if it looks a bit lopsided.
Closing the Torso Shape
Continue the line downward and around to fully enclose the torso. Tip: Think of drawing a large, rounded bean shape; Baymax is all about soft, friendly curves!
Adding the Head
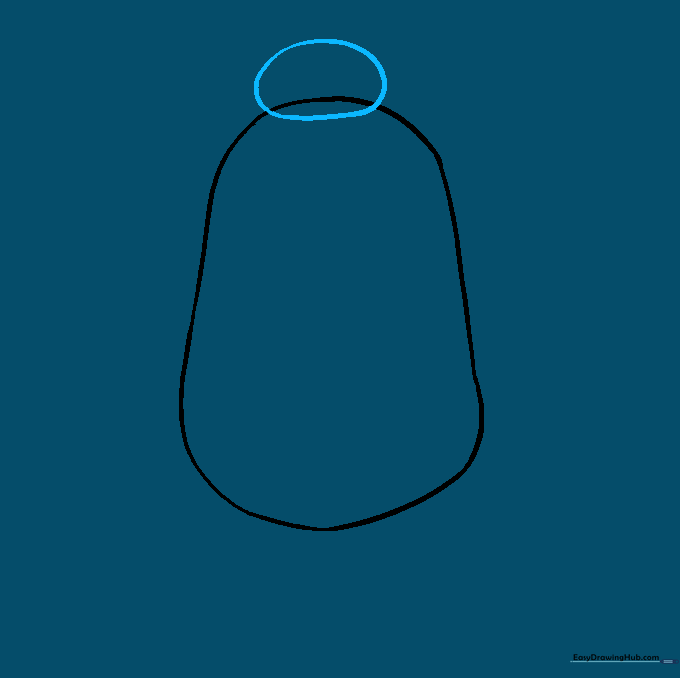
Draw a small, horizontal oval overlapping the top of the torso. Tip: Keep the head small compared to the body to capture Baymax's gentle, oversized appearance.
Drawing the First Arm
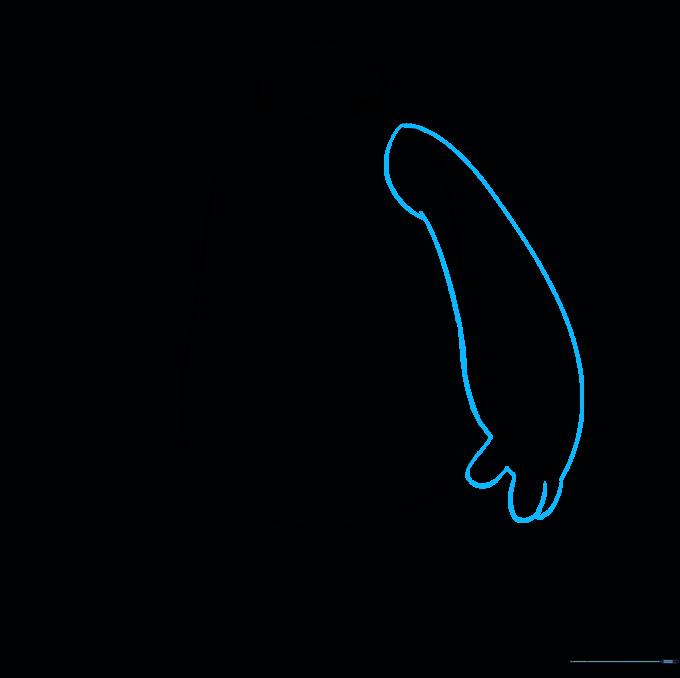
Use long, curved lines to extend the arm outward, finishing with small 'U' shapes for the fingers. Tip: Make the fingers rounded rather than pointy to keep him looking soft and huggable.
Cleaning Up the Lines

Carefully erase the overlapping lines where the head and arm meet the torso. Tip: Use a clean eraser and gentle strokes to avoid smudging your paper.
Drawing the Second Arm
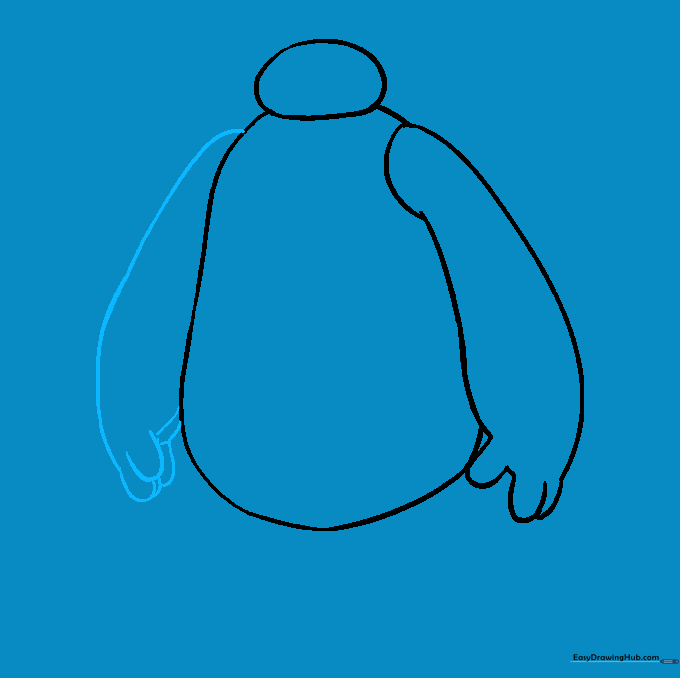
Repeat the process for the other arm, using long curves and 'U' shapes for the fingers. Tip: Try to match the thickness of the first arm to keep him symmetrical.
Adding the First Leg
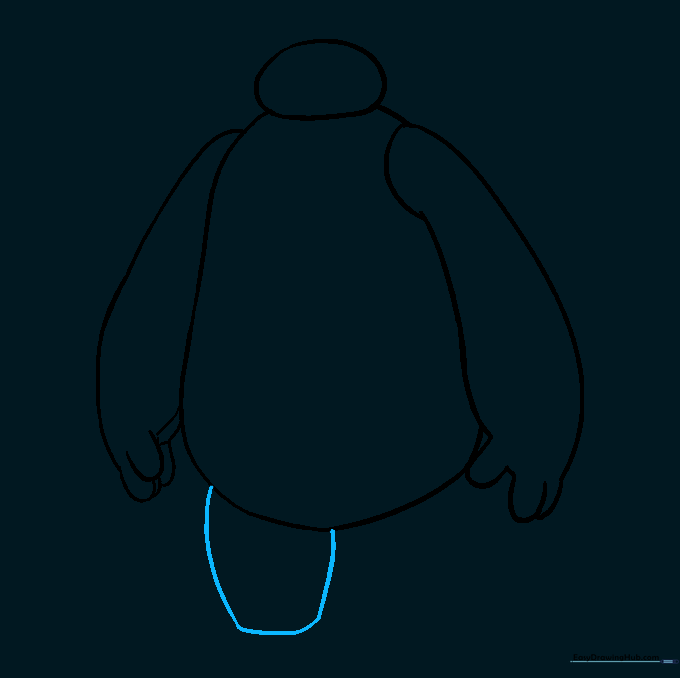
Use curved lines to enclose the first leg, keeping the bottom edge slightly flat. Tip: The flat bottom helps Baymax look like he is standing firmly on the ground.
Adding the Second Leg

Draw the second leg using similar curved lines. Tip: Ensure the legs are spaced apart to give him a stable, balanced stance.
Adding Facial and Body Details
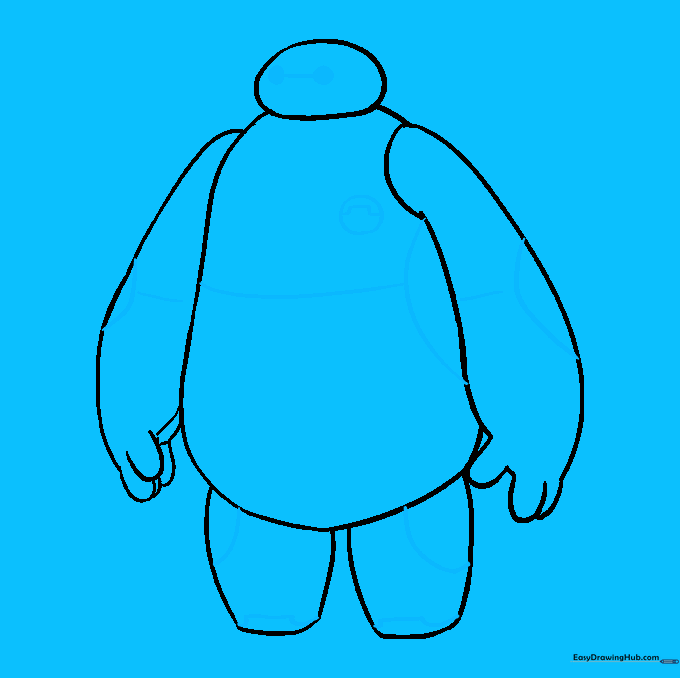
Draw two small circles for eyes connected by a straight line. Add circular details on the elbows, hips, and chest. Tip: Use a fine-liner or a sharp pencil for these smaller details to keep them neat.
Final Shading and Coloring

Baymax is primarily white, but use light gray shading along the edges to give him a 3D, rounded look. Tip: Use a blending stump or your finger to soften the gray shading for a smooth, robotic finish.
More Tutorials


