How to Draw Batman: Easy 10-Step Guide for Kids
Ready to bring the Caped Crusader to life? This tutorial is perfect for young artists ages 6 and up. Grab a pencil, an eraser, and a piece of paper to start building your own Gotham hero through simple, guided shapes.
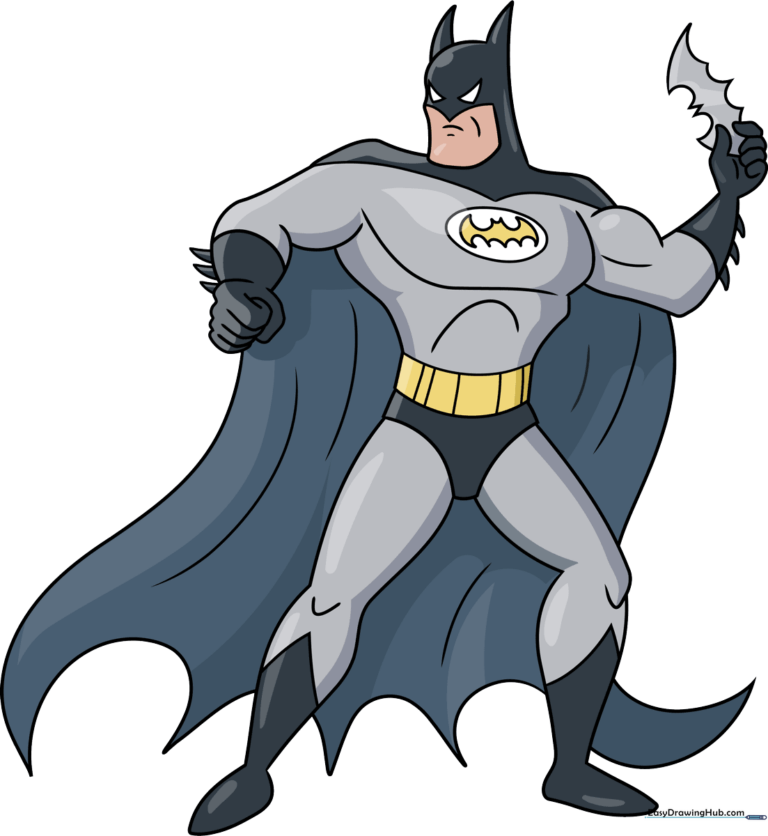
🎯 Final Result
Step-by-Step Instructions
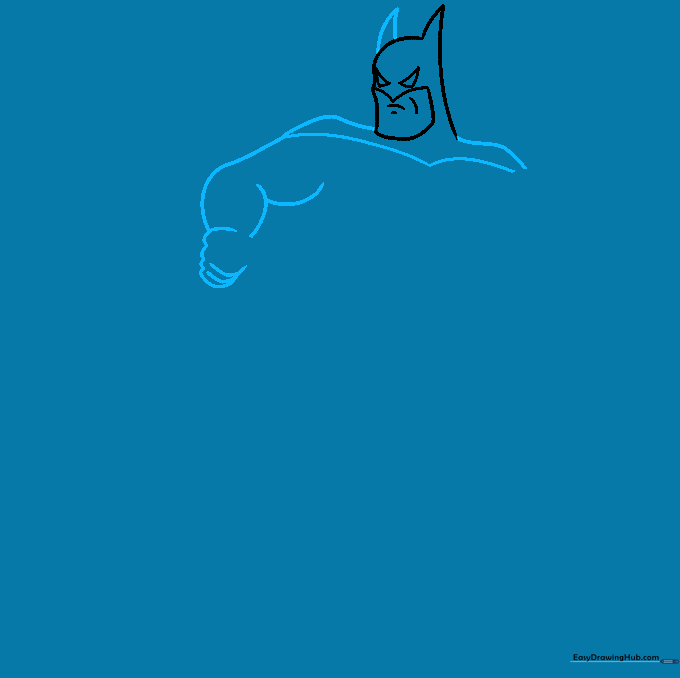
Step 1: Sketching the Cowl and Face

Start by sketching the outline of the cowl, including the pointed ears and the 'M' shape around the mouth. Tip: Keep your pencil lines light so you can easily erase the guidelines later. Focus on getting the triangular eye shapes symmetrical.
Step 2: Defining the Shoulders and Arms
Use two lines to finish the second ear, then sketch the shoulders and bulging biceps. Tip: Think of the biceps as rounded ovals—this helps give Batman his 'superhero' strength look.
Step 3: Detailing the Gloves
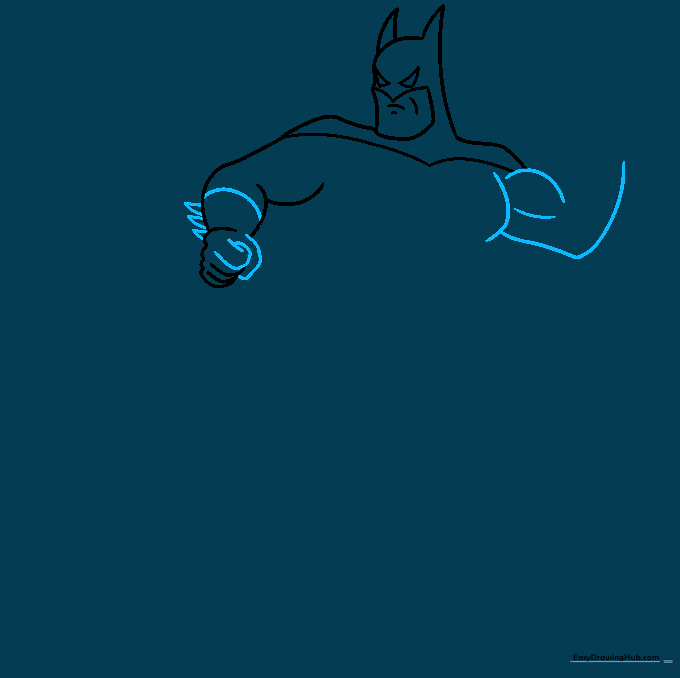
Add a curved line across the arm to mark the top of the glove and draw the triangular spikes on the back. Tip: Make the spikes sharp and consistent to give the gloves that classic Batman aesthetic.
Step 4: Drawing the Batarang
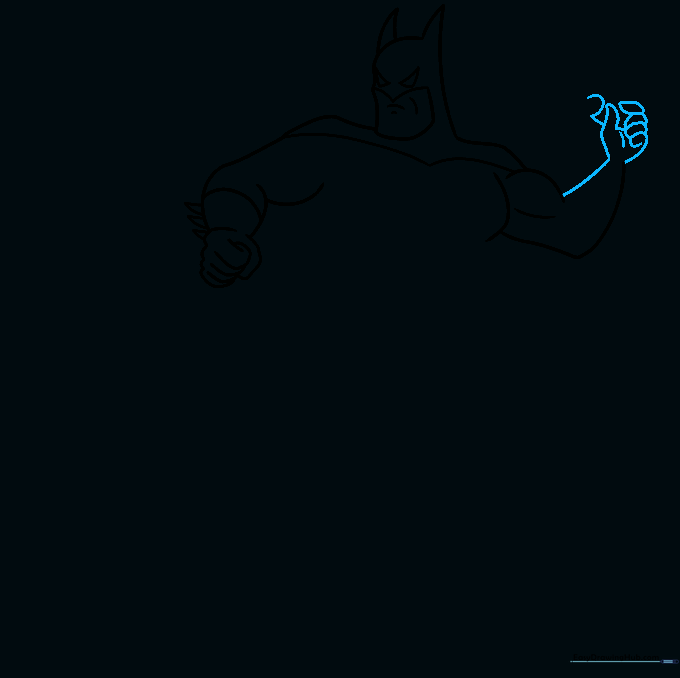
Sketch the hand holding the Batarang. Use sharp, pointed lines to create the bat-shaped boomerang. Tip: If the Batarang is tricky, draw a small 'W' shape and connect the ends to form the wings.
Step 5: Refining the Torso
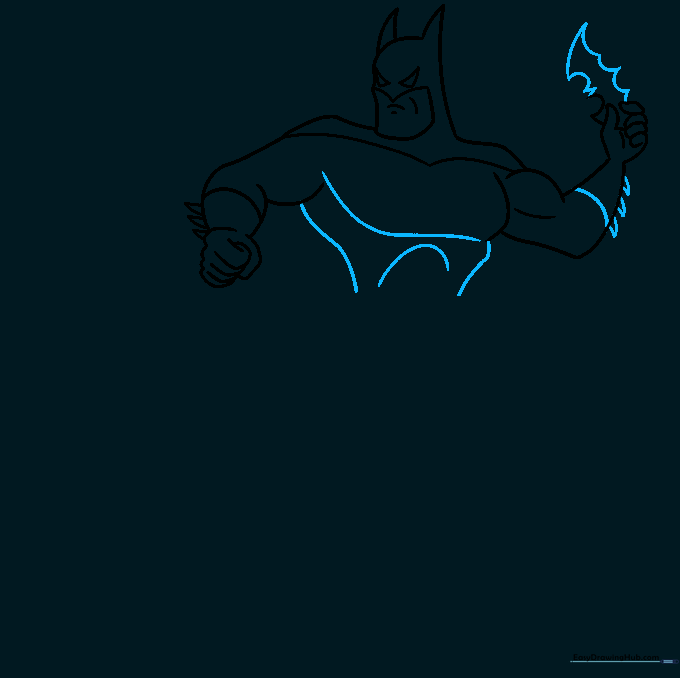
Use long, sweeping curves to define the chest and torso muscles. Tip: Think of the chest muscles as two large, slightly rounded squares to help with placement.
Step 6: Adding the Utility Belt
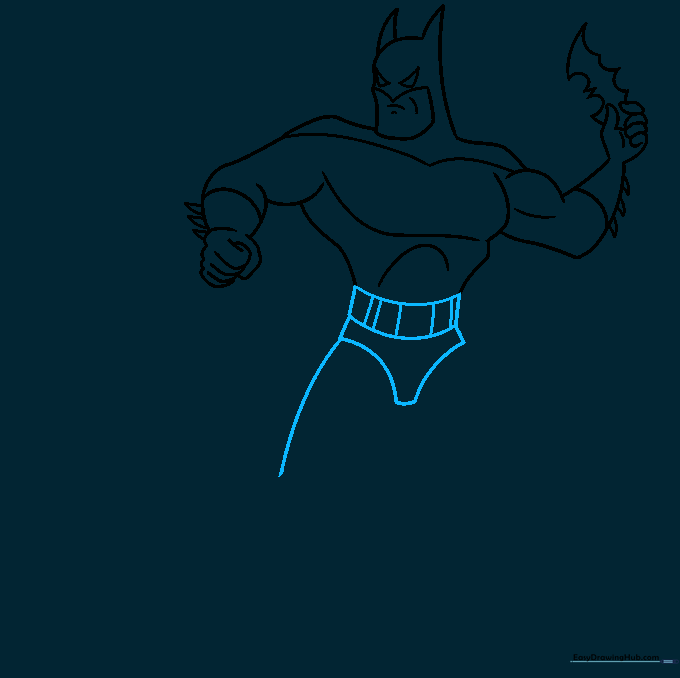
Draw the utility belt across the waist using parallel lines and vertical dividers. Tip: Keep the belt segments even so it looks like a functional piece of equipment.
Step 7: Sketching the Legs
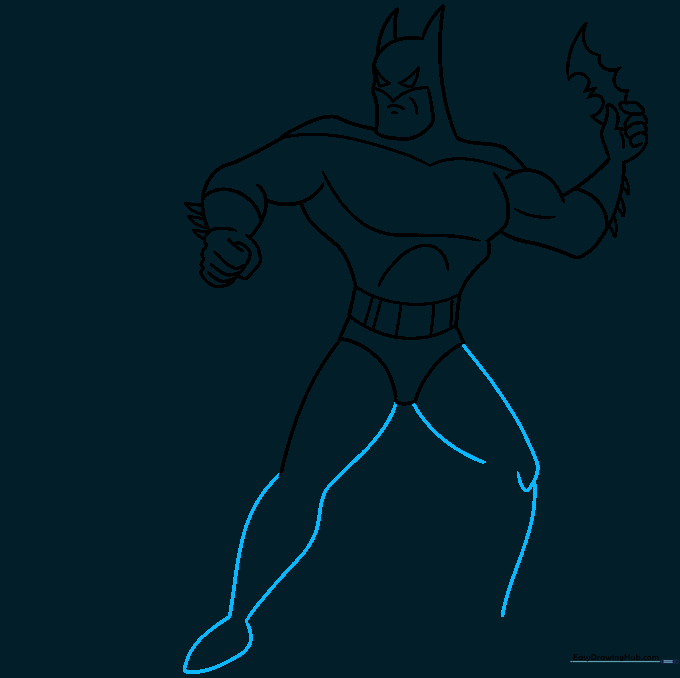
Draw the legs using long, curved lines to show muscle definition in the thighs and calves. Tip: Notice how the knee area is slightly wider to show the joint.
Step 8: Completing the Boots and Cape
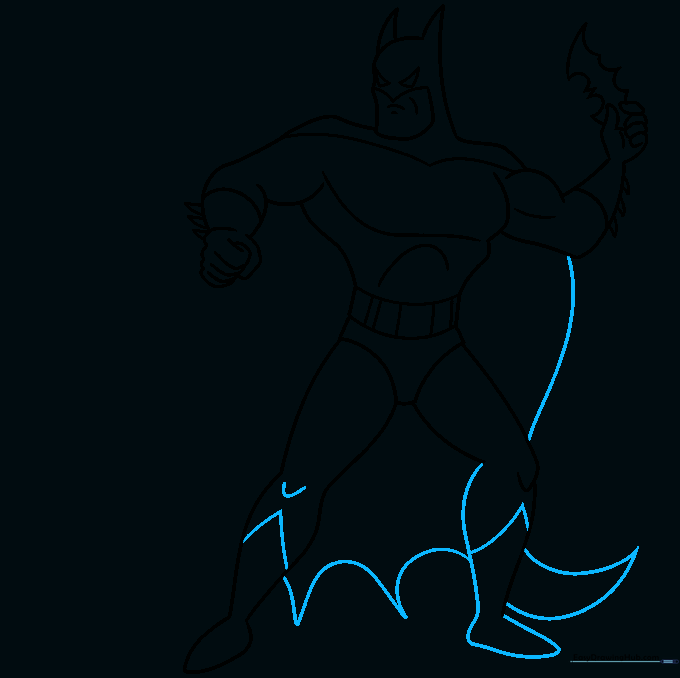
Add the boot tops with inverted 'V' shapes and sketch the flowing cape behind him. Tip: Use long, jagged lines for the bottom of the cape to make it look like it's blowing in the wind.
Step 9: Adding the Chest Emblem
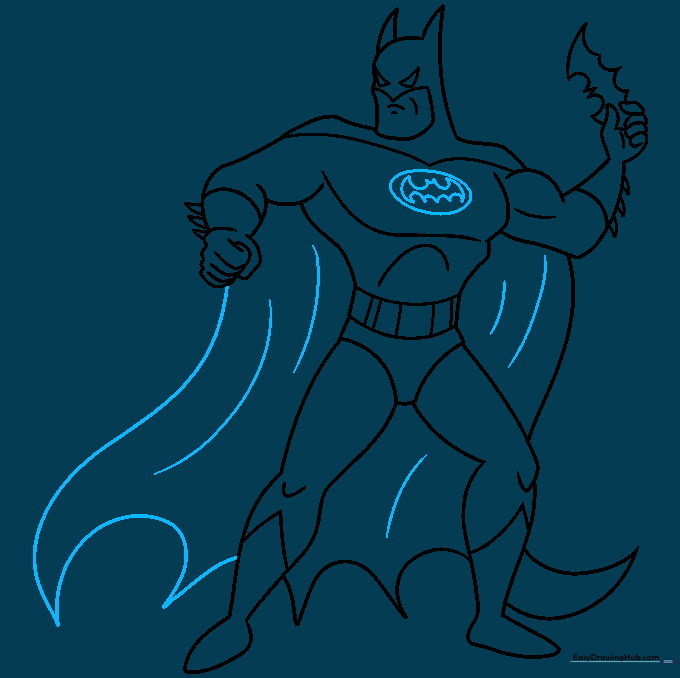
Draw the iconic bat logo on the chest inside an oval. Tip: Start with the oval first, then draw the bat shape inside to ensure it stays centered.
Step 10: Bringing Batman to Life with Color
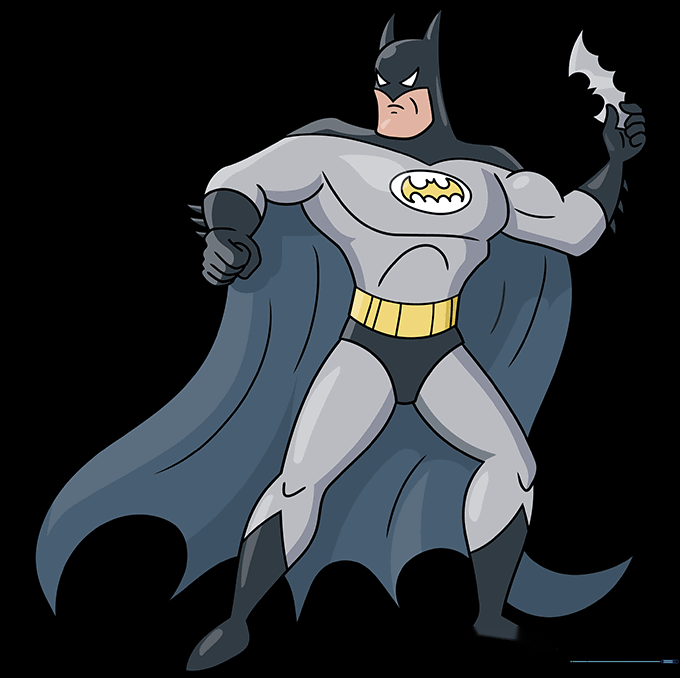
Time to color! Use classic black and grey for the suit with bright yellow for the belt and emblem. Tip: Use light pressure with your colored pencils to create smooth, even shading across the muscles.
More Tutorials


