How to Draw Ballet Shoes: Easy 10-Step Guide for Kids
Ready to capture the grace of dance on paper? This tutorial is perfect for young artists ages 5 and up. Grab a pencil, an eraser, and some paper to practice drawing these elegant slippers, which helps develop hand-eye coordination and confidence in sketching curves.
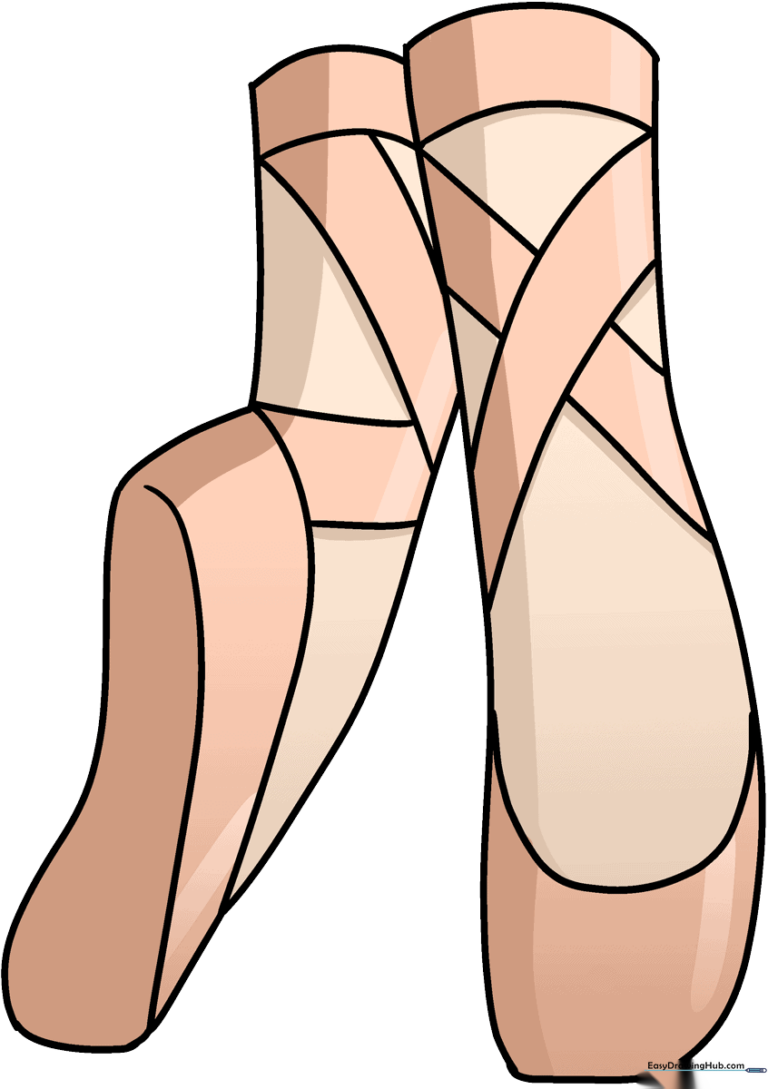
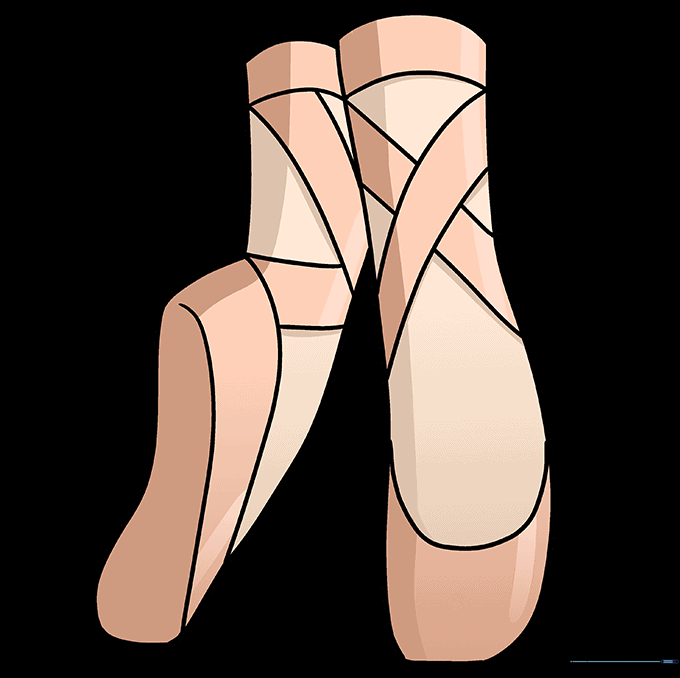
🎯 Final Result
Step-by-Step Instructions
Step 1: Sketching the First Foot
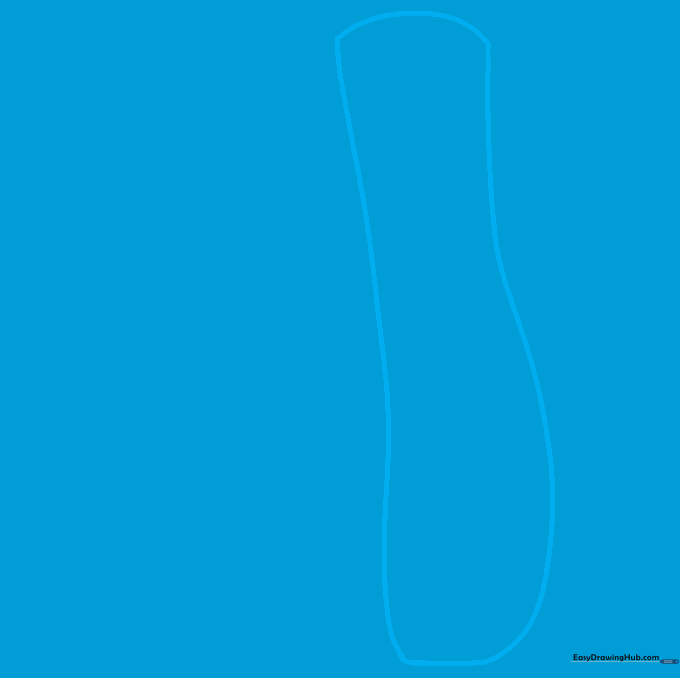
Draw two long, graceful curved lines to outline the first leg and foot. Tip: Keep your pencil pressure light so you can easily adjust the shape if it looks a bit wobbly.
Step 2: Adding the Second Foot
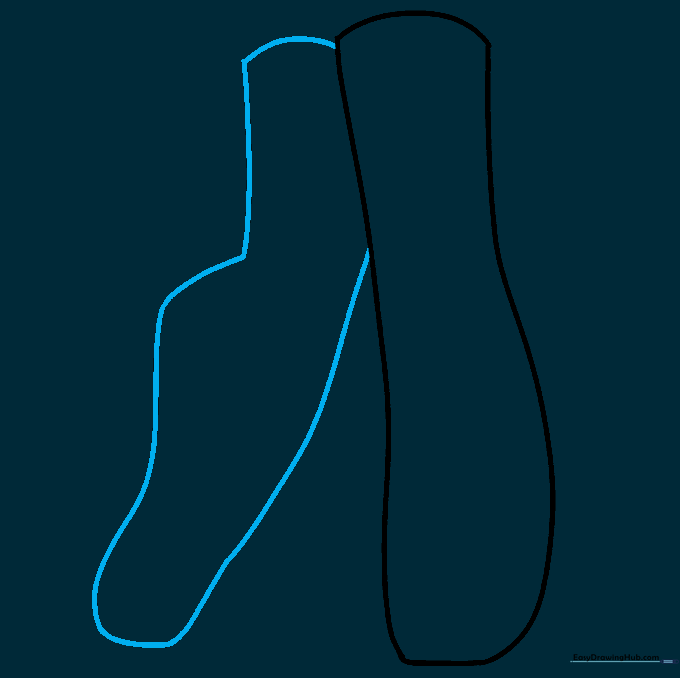
Outline the second foot by mirroring the curve of the first. Connect it to the lower leg with a smooth, sweeping line. Tip: Try to keep the feet roughly the same size to maintain balance in your drawing.
Step 3: Defining the Opening
Draw a soft, curved line across the top of the first foot to represent the shoe's opening. Tip: Imagine where the foot would slide in—the curve should look like a gentle 'U' shape.
Step 4: Detailing the Second Shoe

Repeat the process for the second shoe by drawing a similar curved line across the top. Tip: Consistency is key! Keep the lines smooth to make the fabric look soft.
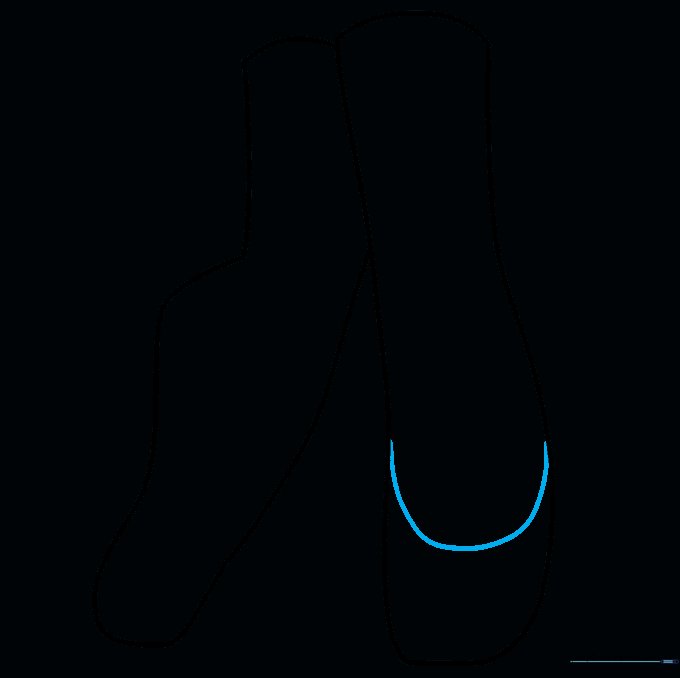
Step 5: Drawing the Sole
Add a curved line along the bottom of the second shoe to define the sole. Tip: This small detail adds depth and makes the shoe look more realistic.
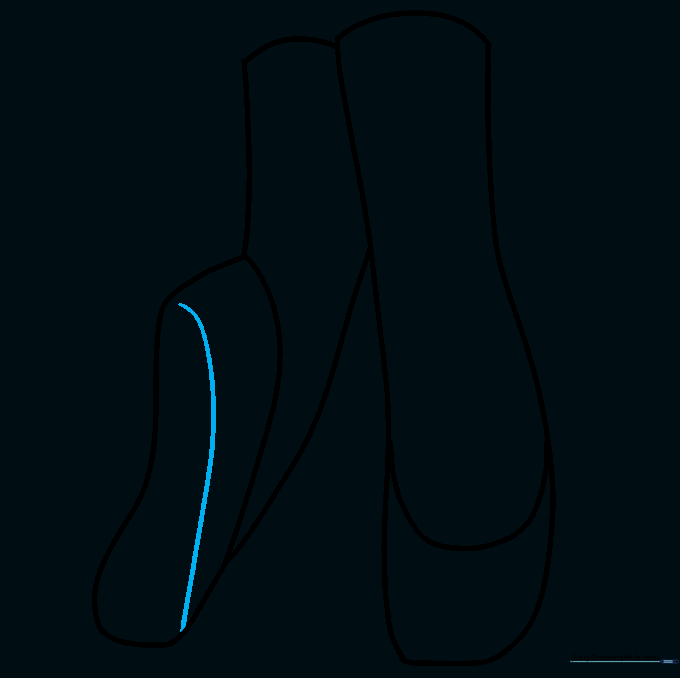
Step 6: Adding Ribbons
Draw parallel curved lines across the first leg to represent the ribbons. Tip: Make them look like they are wrapping around the ankle by drawing them slightly behind the leg shape.
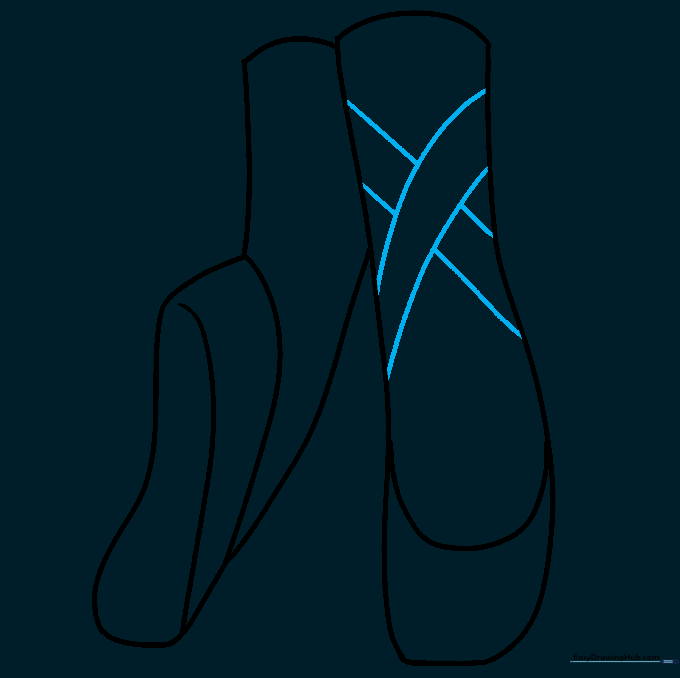
Step 7: Ribbons on the Second Leg
Add two sets of parallel lines to the second leg for the ribbons. Tip: Ensure the ribbons align with the first leg so the pair looks like they belong together.
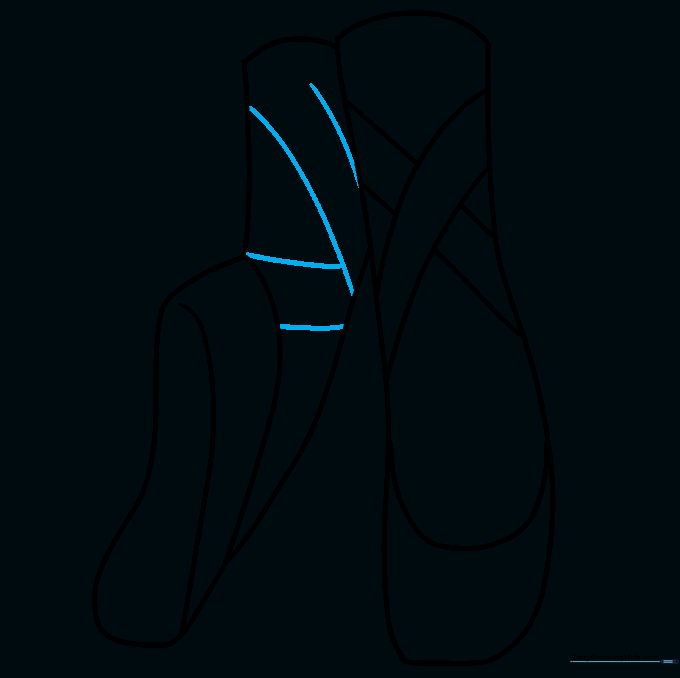
Step 8: Final Ribbon Detail

Add one more curved line above the ribbons on the first leg. Tip: This creates the look of a tied knot or a layered ribbon effect.
Step 9: Final Touches
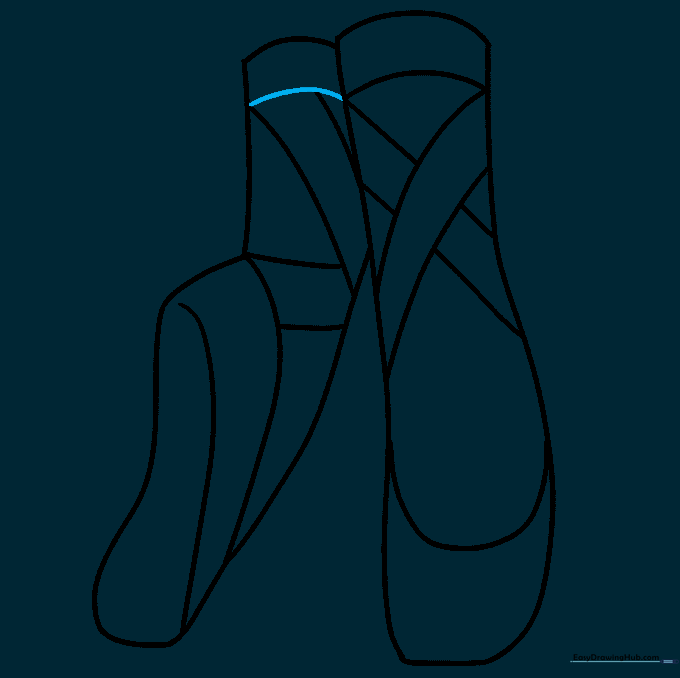
Add the final curved line above the ribbons on the second leg to complete the look. Tip: Now is a great time to erase any stray guide lines!
Step 10: Bring Your Shoes to Life with Color
Time to color! Use soft pinks or rose tones for a classic look, or get creative with your favorite colors. Tip: Use light pressure with your colored pencils to create a soft, satin-like texture.
More Tutorials


