How to Draw Asparagus: Easy 9-Step Guide for Kids
This drawing tutorial is perfect for young artists ages 6+ looking to practice organic shapes and textures. All you need is a pencil, an eraser, and a piece of paper to get started. Follow these steps to build a detailed bunch of asparagus, focusing on the unique scale-like leaves that give this vegetable its distinct look.
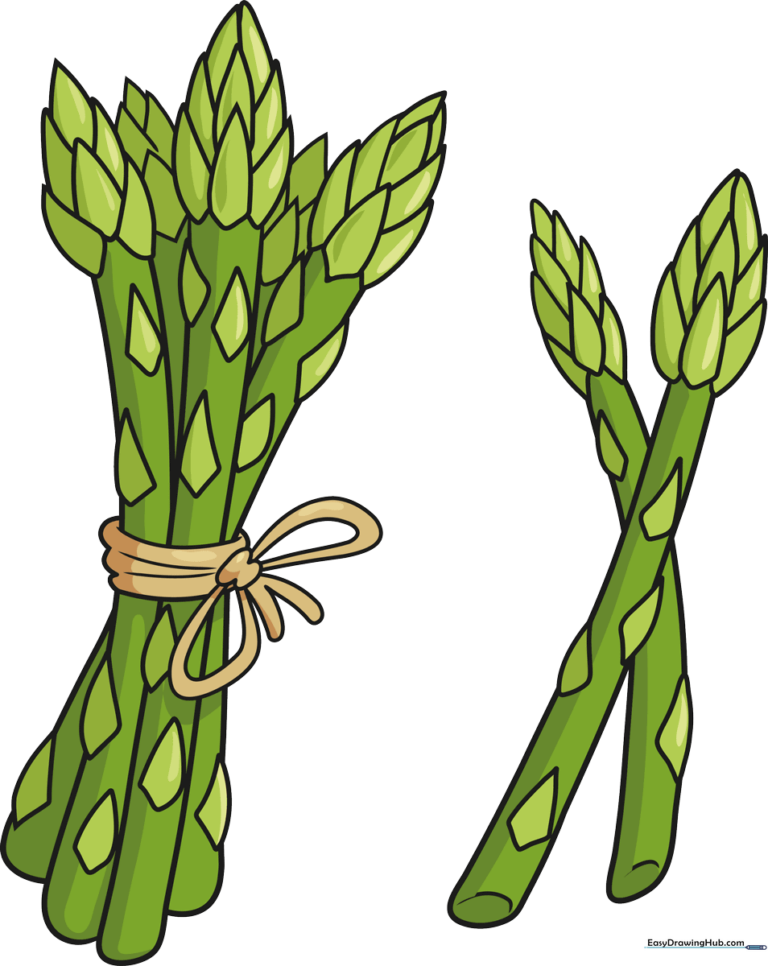
🎯 Final Result
Step-by-Step Instructions
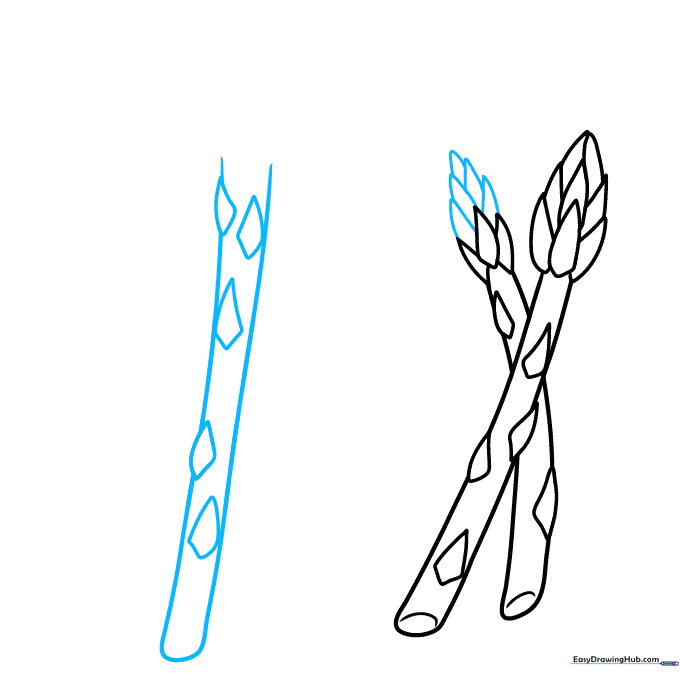
Step 1: Sketching the First Stalk
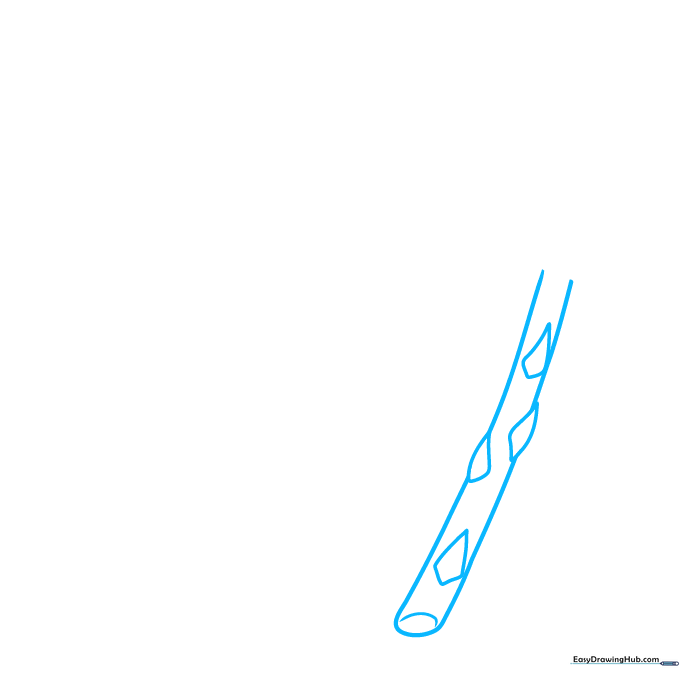
Draw two long, parallel lines and connect them at the base. Add small diamond shapes along the stem to represent the scale leaves. Teacher's Tip: Keep your pencil pressure light so you can easily erase the lines inside the diamonds to make them look like they are growing out of the stalk.
Step 2: Defining the Asparagus Tip
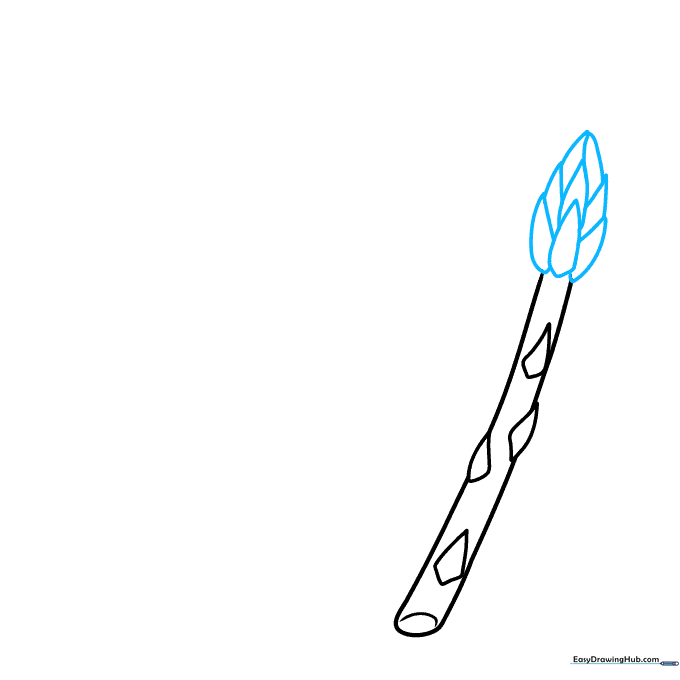
Draw three overlapping teardrop shapes at the top of your stalk. Add small triangles above them to create the signature feathery tip. Teacher's Tip: Asparagus tips are dense and bumpy, so don't worry about making these shapes perfectly symmetrical—natural shapes look more realistic!
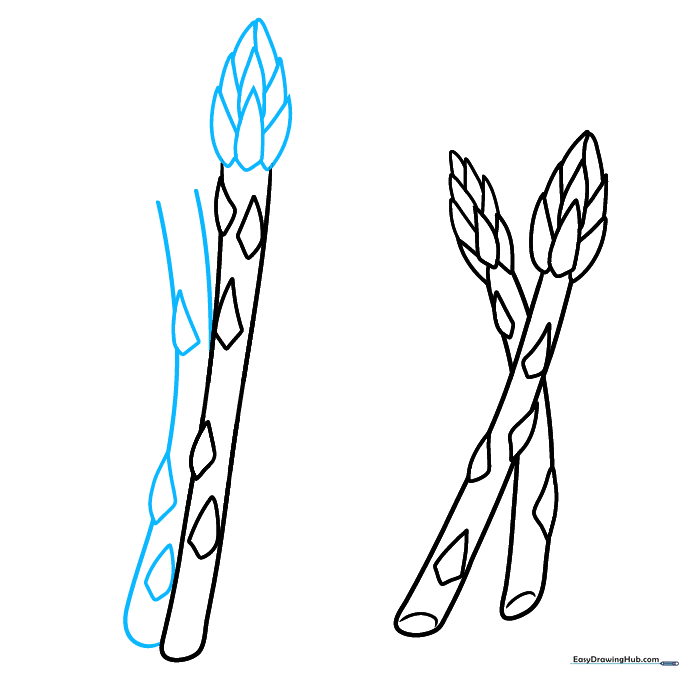
Step 3: Adding the Second Spear
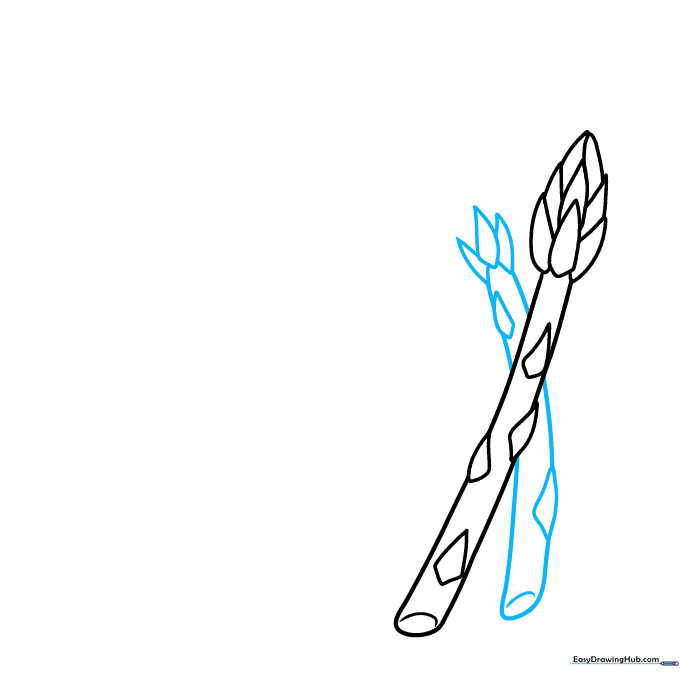
Sketch a second stalk behind the first one using long, slightly curved lines. Add a 'C' shape at the bottom to show the cut end. Teacher's Tip: By drawing the second stalk slightly higher or lower than the first, you create a sense of depth in your drawing.
Step 4: Building the Bunch
Continue adding stalks to your bunch. Use parallel lines for the stems and add more diamond-shaped scales. Teacher's Tip: Vary the height of each stalk to make the bunch look like it was just picked from the garden.
Step 5: Detailing the Tips
Add more diamond shapes to the base of the tips on your new stalks. Use curved lines that meet at points to finish the top of the spears. Teacher's Tip: If your lines look a bit messy, use your eraser to clean up the overlaps before moving to the next step.
Step 6: Adding More Spears
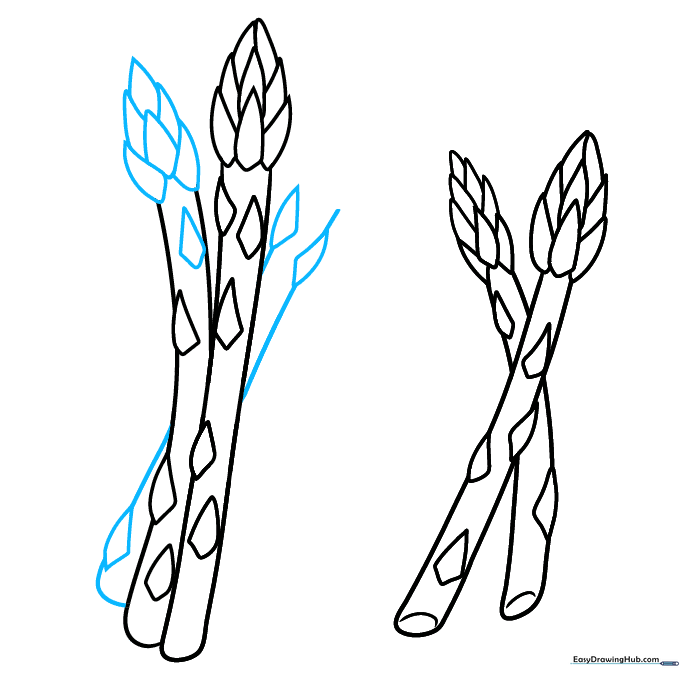
Outline the edges of a third and fourth spear. Don't forget to add those signature scale leaves along the sides. Teacher's Tip: Think of the scales as little triangles pointing upward; this gives the asparagus its iconic texture.
Step 7: Completing the Stalks
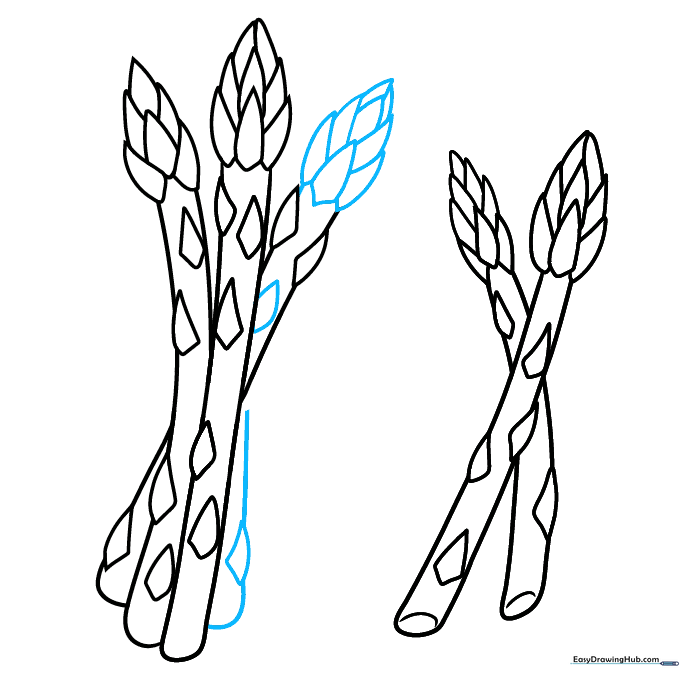
Sketch the final tips and ensure the bottom of each stalk has a consistent shape. Teacher's Tip: Check that your stalks look like they are bundled together—they should overlap slightly at the bottom.
Step 8: Adding the Binding String

Erase a small horizontal band across the middle of the bunch. Replace it with curved lines to represent the string holding the asparagus together. Teacher's Tip: Draw the string slightly curved to show it wrapping around the round stalks.
Step 9: Drawing the Knot
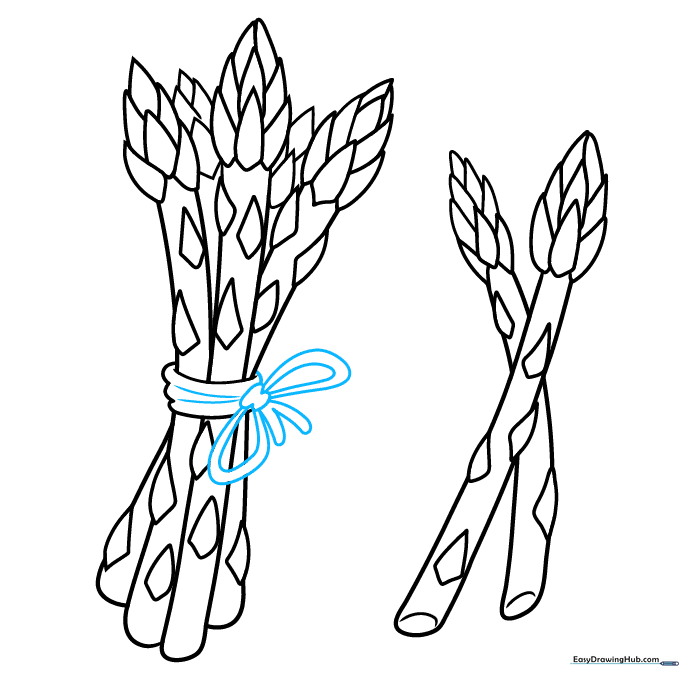
Draw a bow on the string using 'U' shaped loops and lines that double back for the ends. Add small lines for texture on the string. Teacher's Tip: A bow adds a cute, finished look to your drawing—take your time with the loops!
Step 10: Adding Color
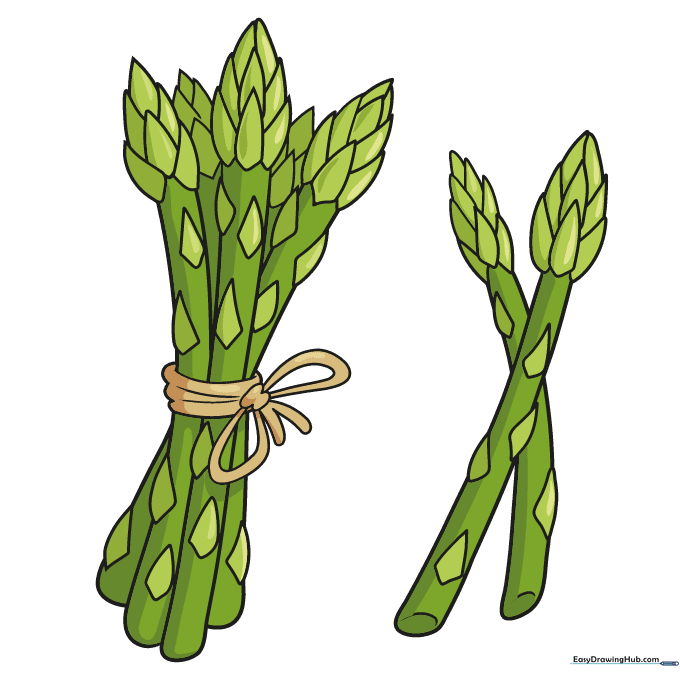
Time to color! Use shades of bright to dark green for the stalks. You can even add a touch of purple at the tips for extra realism. Teacher's Tip: Use a darker green on one side of each stalk to create a shadow effect, making your drawing look 3D.
More Tutorials


