How to Draw Ash-Greninja: Easy Step-by-Step Pokémon Guide
Ready to bring Ash-Greninja to life? This tutorial is designed for young Pokémon fans looking to level up their character drawing skills. Grab your favorite graphite pencil, a soft eraser, and some colored pencils to capture this iconic ninja-style Pokémon's dynamic pose.
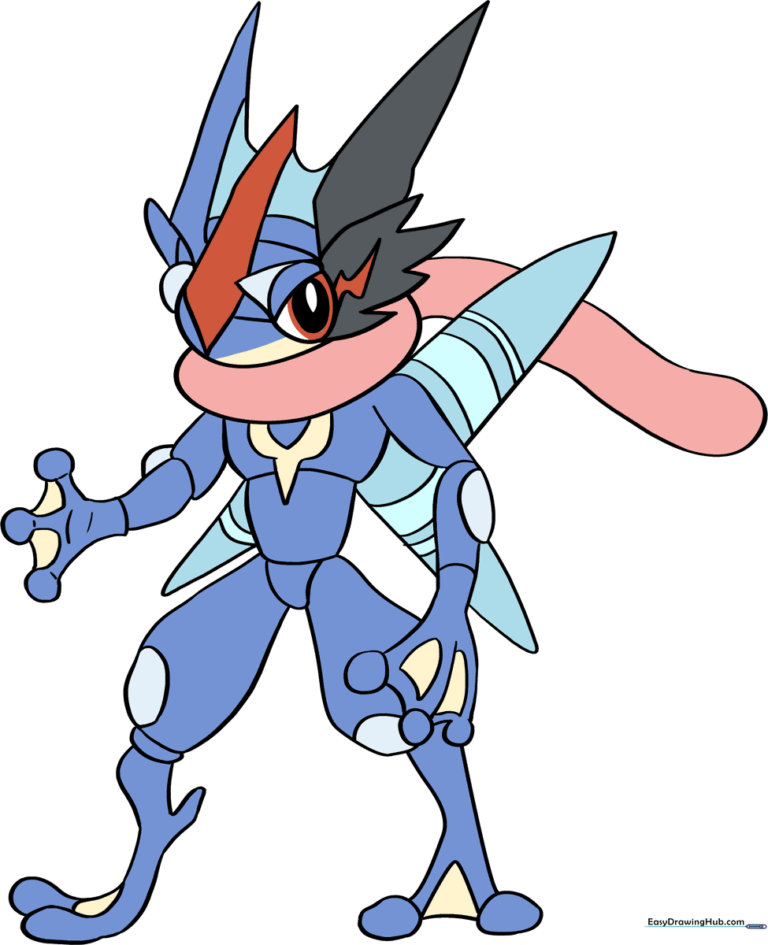
🎯 Final Result
Step-by-Step Instructions
Step 1: Sketching the Head Base

Start by drawing a light oval to serve as the foundation for the head. Teacher's Tip: Keep this shape loose and light; it's just a guide, and you'll be adding more complex features over it soon.
Step 2: Adding the Tongue Wrap

Draw a second, slightly overlapping oval near the head. This represents Greninja’s signature wrapped tongue. Tip: Make sure the overlap is clean so it looks like the tongue is resting against the neck.
Step 3: Building the Torso

Sketch an irregular shape for the chest, followed by a smaller four-sided shape below it, and finish with an inverted triangle. Tip: Use light, rhythmic strokes to ensure the shapes flow into each other naturally.
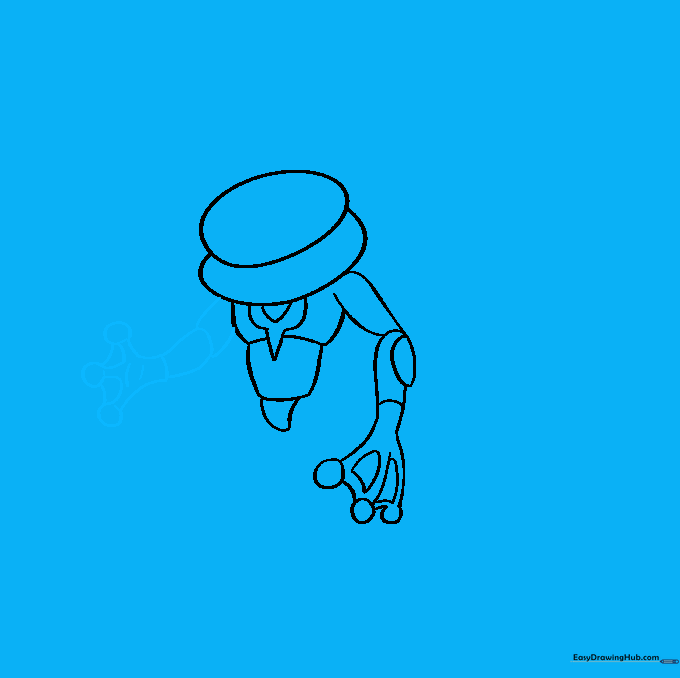
Step 4: Defining Chest Details

Refine the chest area by drawing a half-circle with a small triangle beneath it. Add a smaller half-circle inside for detail. Tip: Erase your construction lines as you go to keep the drawing clean and ready for final ink.
Step 5: Sketching the First Arm

Draw the arm using curved lines for the bicep and forearm. Add an oval at the elbow and a flipper-shaped hand with three circles for fingers. Tip: Use small triangles between the fingers to create the 'webbing' effect.
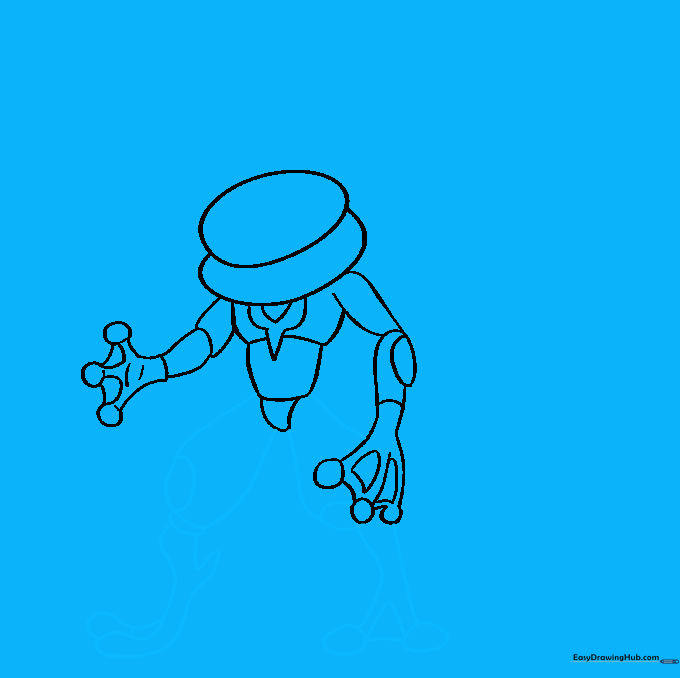
Step 6: Drawing the Second Arm
Repeat the process for the second arm, ensuring the proportions match the first. Focus on the webbing between the fingers to maintain consistency. Tip: If the arms look uneven, hold your paper up to a mirror to spot mistakes quickly!
Step 7: Forming the Legs
Draw two teardrop shapes for the upper legs and ovals for the knees. Use an inverted 'Y' shape for the feet. Tip: Keep the toes rounded to give Greninja that agile, ninja appearance.
Step 8: Head and Horn Details
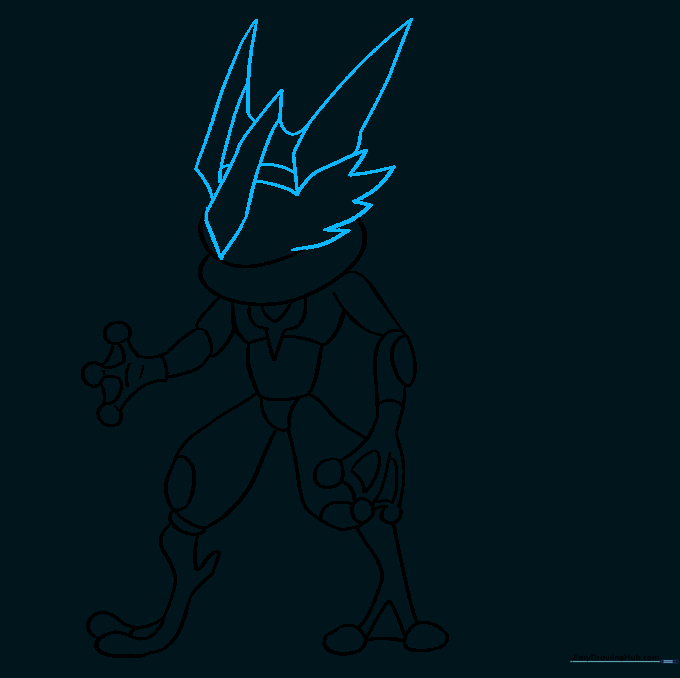
Refine the head shape. Add an elongated diamond on the face and horn-like projections on the sides. Tip: Use short, jagged lines for the sides of the face to give him a sharp, intense look.
Step 9: Final Facial Features
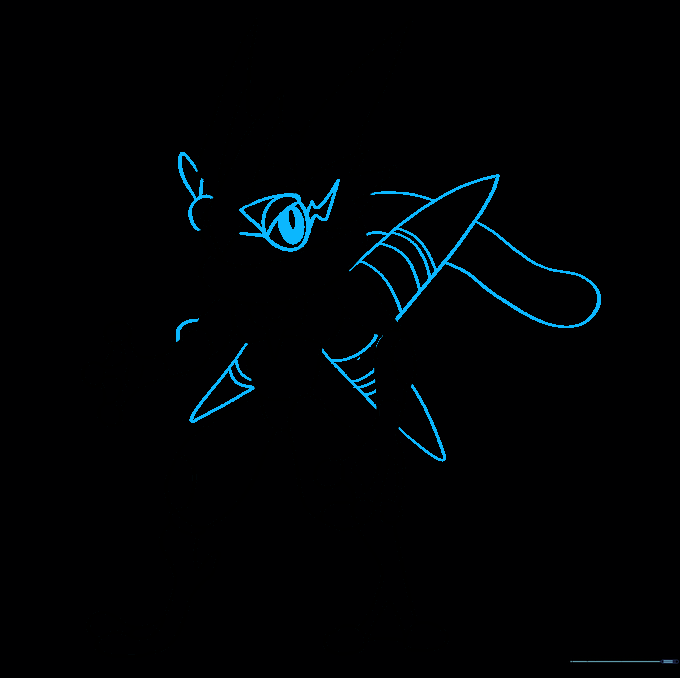
Draw the eyes with circular pupils and add the lightning-bolt markings. Finish the back with curved projections and the long, flowing tongue. Tip: Take your time on the eyes—they are the most important part of the character's expression!
Step 10: Bringing Him to Life with Color
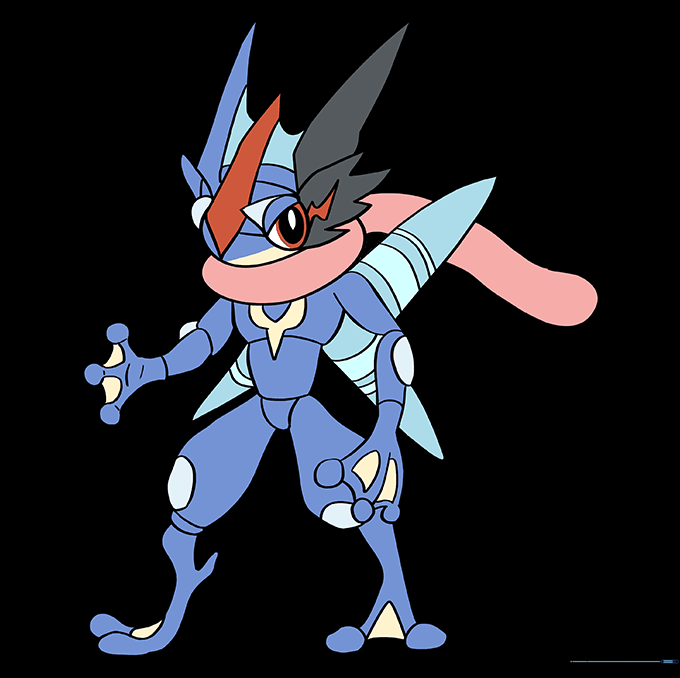
Time to color! Use deep blues for the body, vibrant red for the tongue, and black and white for the accents. Tip: Use a light touch with your blue pencil to create shadows, giving your drawing more depth.
More Tutorials


