How to Draw Articuno: Easy 10-Step Pokémon Tutorial
Bring the legendary Ice-type Pokémon to life with this guided drawing lesson. Designed for young artists ages 7+, this tutorial uses basic shapes to build Articuno’s elegant form. Grab your favorite graphite pencil, an eraser, and some blue colored pencils to get started!
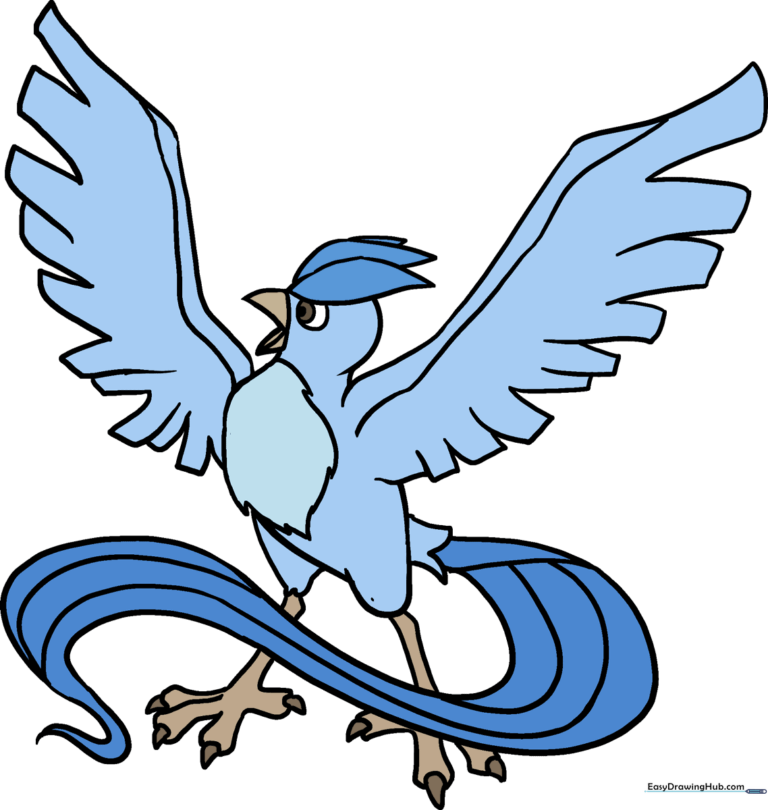
🎯 Final Result
Step-by-Step Instructions
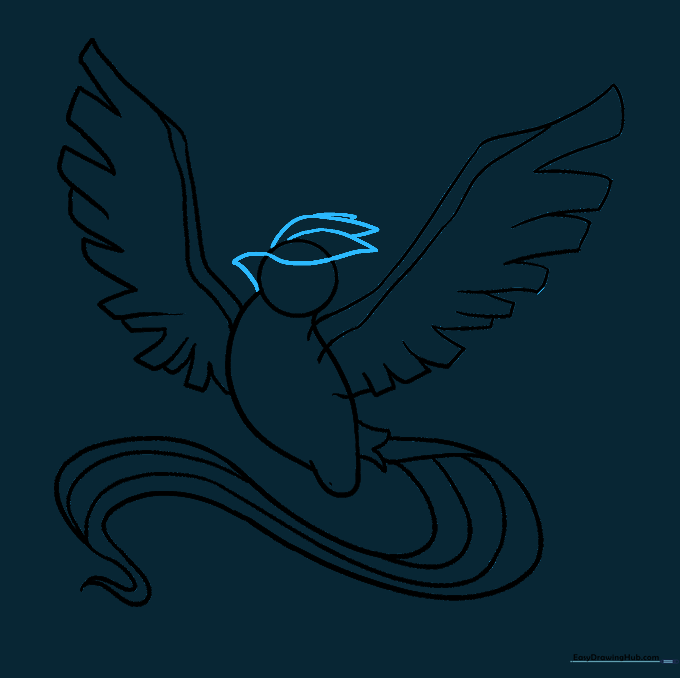
Step 1: Sketching the Head and Body

Start with a small circle for the head. Below it, sketch a soft, irregular oval shape for the torso. Teacher's Tip: Keep these lines faint—they are just your 'map' for the final drawing.
Step 2: Shaping the First Wing

Extend two long, curved lines from the shoulder to create the wing's leading edge. Add three connected, rectangular-like shapes for the primary feathers. Tip: Make the feathers smaller as they get closer to the body to show perspective.
Step 3: Adding the Second Wing

Repeat the process on the other side. Draw parallel curved lines that meet at a point, then attach the wingtip to the body with smaller rectangular segments. Tip: Ensure the wings look balanced in size.
Step 4: Outlining the Tail

Draw an 'M' shape above the base of the body. Extend two long, sweeping lines from this point, narrowing them until they meet. Tip: Think of this as a long, flowing ribbon—keep your hand loose for a smooth curve.
Step 5: Adding Tail Texture

Add depth to the tail by drawing several curved lines along its length. Tip: Vary the spacing between these lines to make the tail look like it's fluttering in the wind.
Step 6: Drawing the Beak and Crest
Draw a small curved triangle for the beak. Add a teardrop shape on the head for the crest, followed by smaller, pointed layers behind it. Tip: The crest is Articuno's signature—make it look sharp and proud!
Step 7: Cleaning Up

Carefully erase your initial guide lines from the head and wings. Tip: Use a kneaded eraser if you have one; it’s gentler on the paper and won't leave messy crumbs.
Step 8: Refining Features
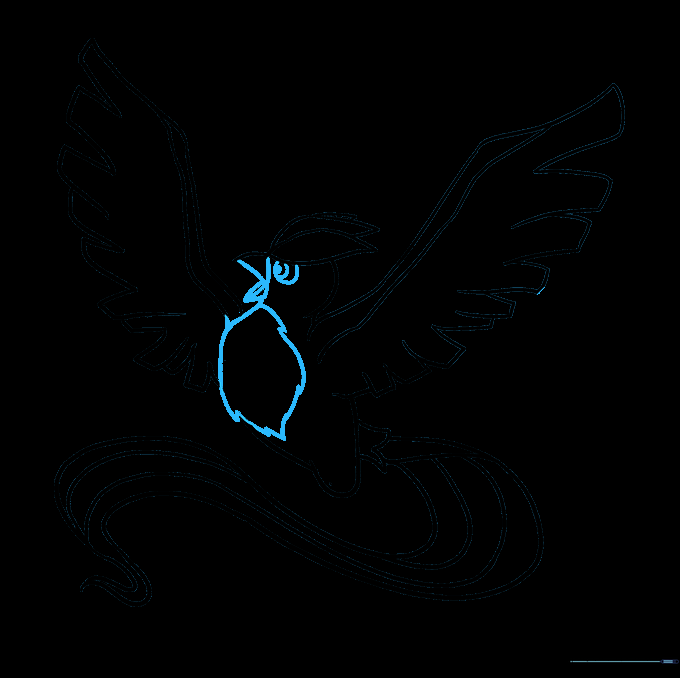
Complete the beak with a small triangle and line. Draw three concentric circles for the eye and shade the center. Add jagged, short lines on the chest for fluff. Tip: Press lightly for the chest feathers to keep them looking soft.
Step 9: Drawing the Legs
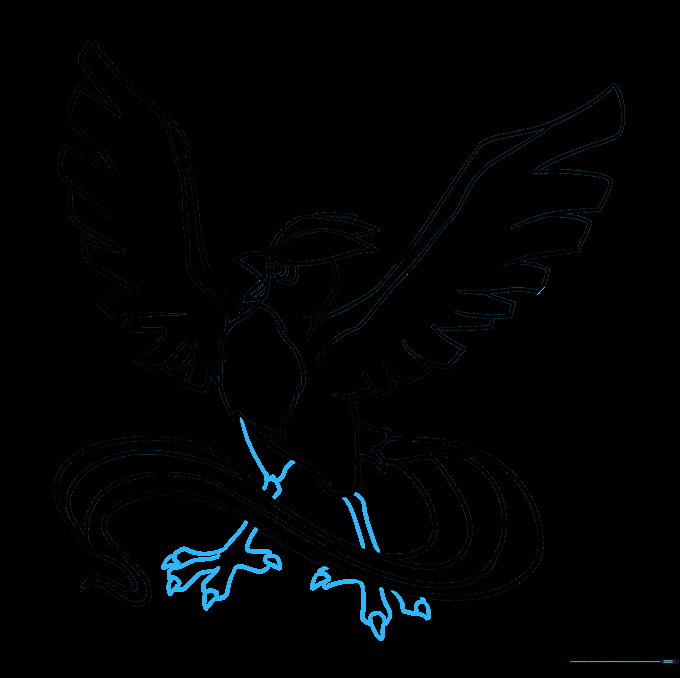
Add a rounded triangle for the hip, then extend parallel lines for the legs. Draw rectangular toes with small triangular claws. Tip: Keep the legs thin to maintain the bird's elegant, airy appearance.
Step 10: Adding Color
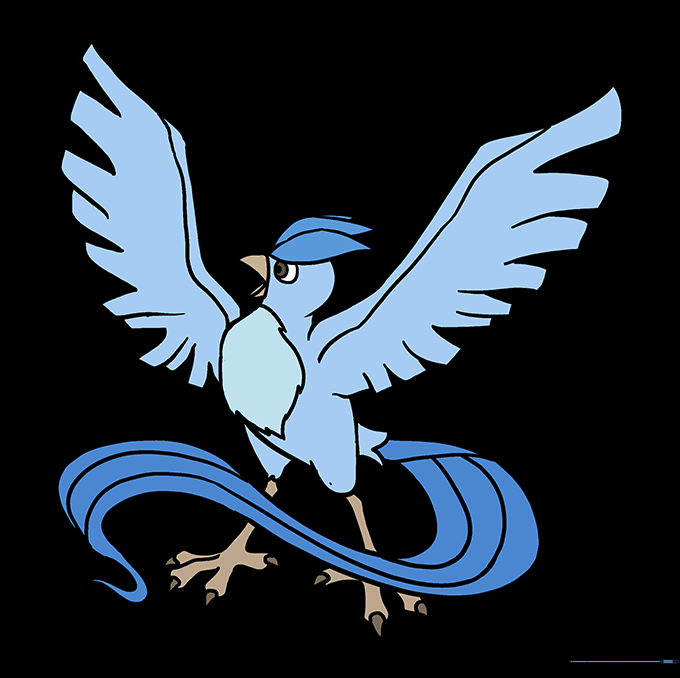
Bring your Articuno to life! Use various shades of blue to color the body and wings. Tip: Use a lighter blue for the chest and a deeper, icy blue for the wings to create a sense of dimension.
More Tutorials


