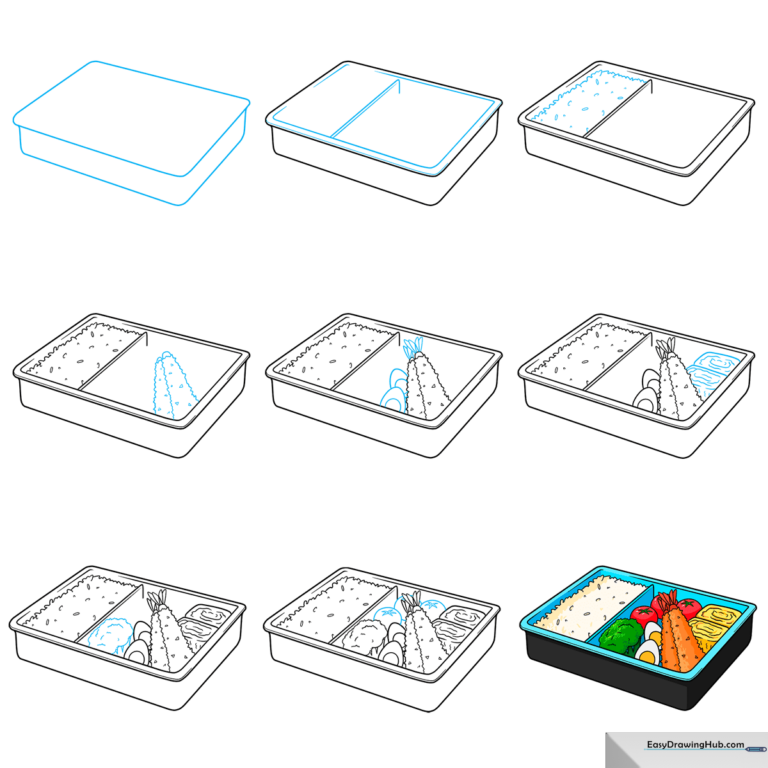
How to Draw Anime Food: Easy Bento Box Step-by-Step
Bring your favorite anime scenes to life by drawing a delicious, detailed bento box! This screen-free activity is perfect for artists ages 6 and up. Grab your pencil, eraser, and paper, and follow along to master the art of drawing stylized food.
🎯 Final Result
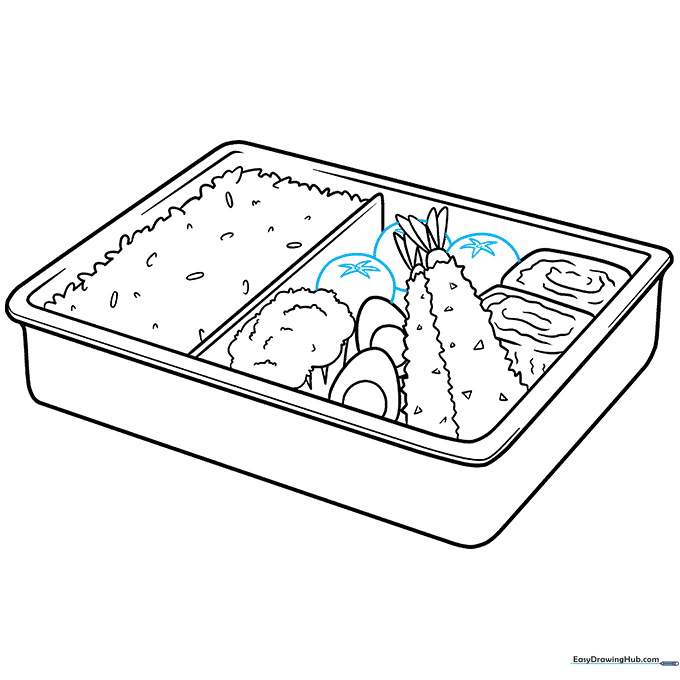
Step-by-Step Instructions
Step 1: Sketching the Bento Base
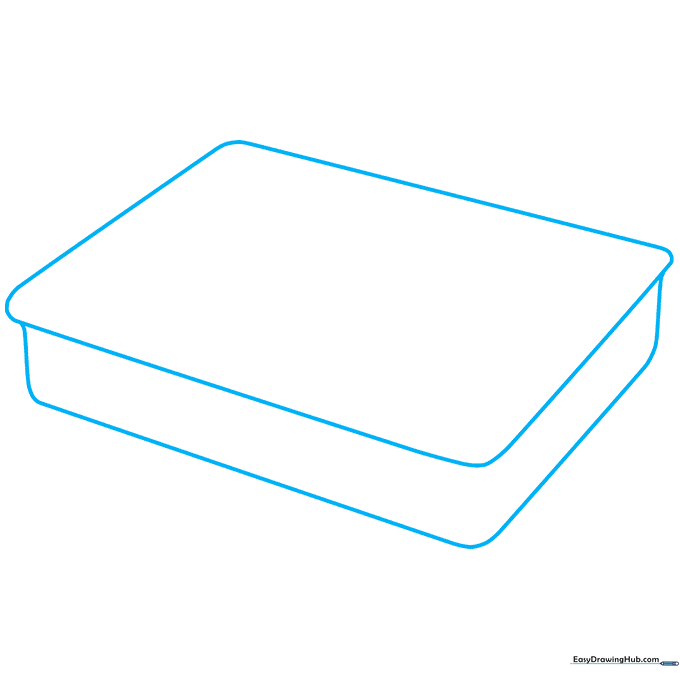
Start by drawing a rectangle with rounded corners to form the container. Add a curved line wrapping around the outside to give it a 3D look. Teacher's Tip: Keep your lines light and loose—you can darken them once you're happy with the shape!
Step 2: Creating Compartments
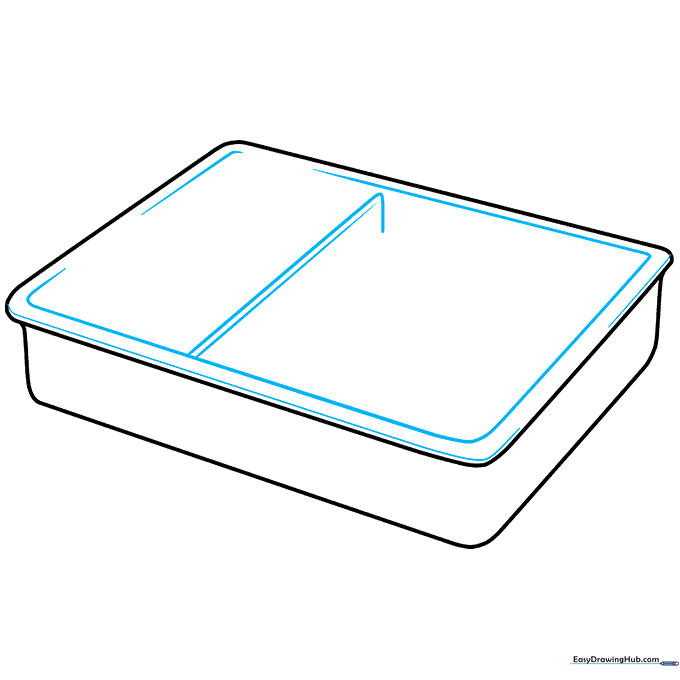
Define the inside of your bento box by drawing parallel lines along the inner edges. Add an 'L' shaped divider in the center to create separate sections for your food. Tip: Use a ruler if you want perfectly straight lines, or keep it hand-drawn for a charming, organic feel.
Step 3: Drawing the Rice
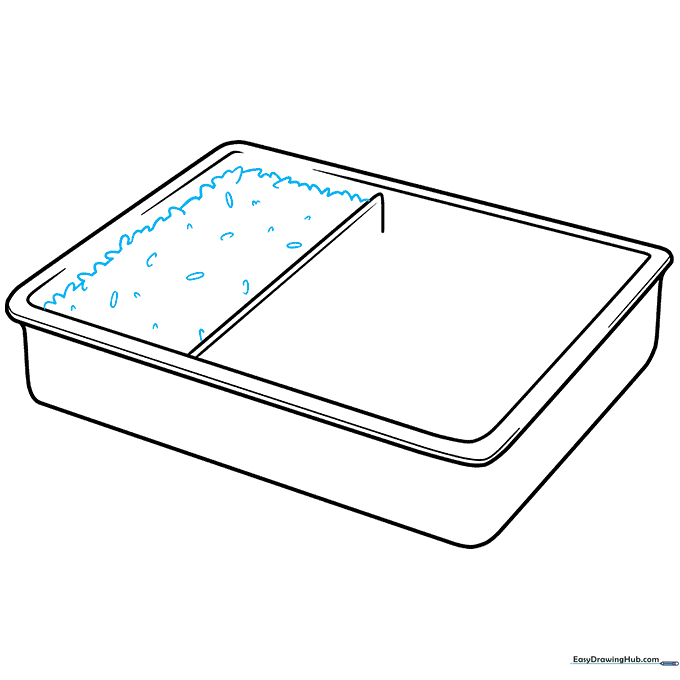
In one of the smaller compartments, sketch a rectangle using short, curved lines. Fill it with tiny ovals to represent individual grains of rice. Tip: Don't worry about making every grain perfect; the slight variation makes it look more realistic!
Step 4: Adding Tempura Shrimp
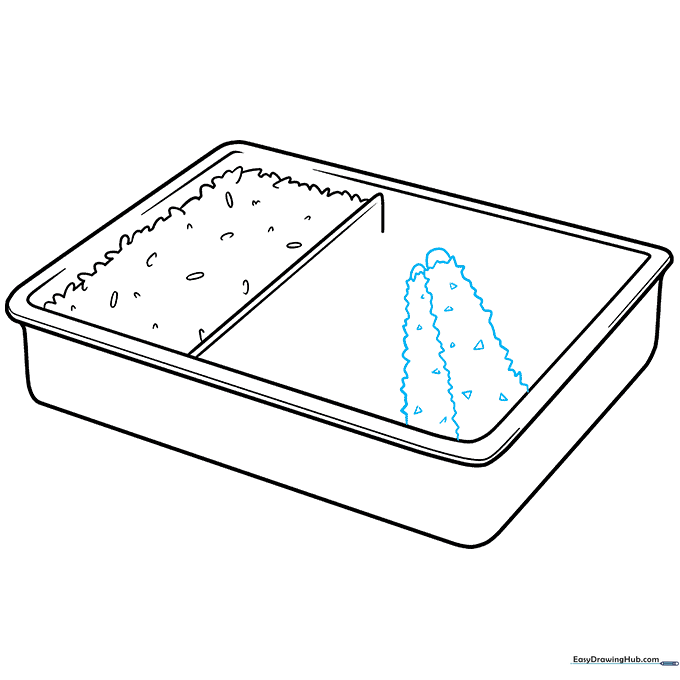
Draw two shrimp using jagged lines to mimic the texture of crispy breading. Add a half-circle to the end of each. Tip: Use small triangles along the edges to suggest the crunchy texture of the fried batter.
Step 5: Tails and Boiled Eggs
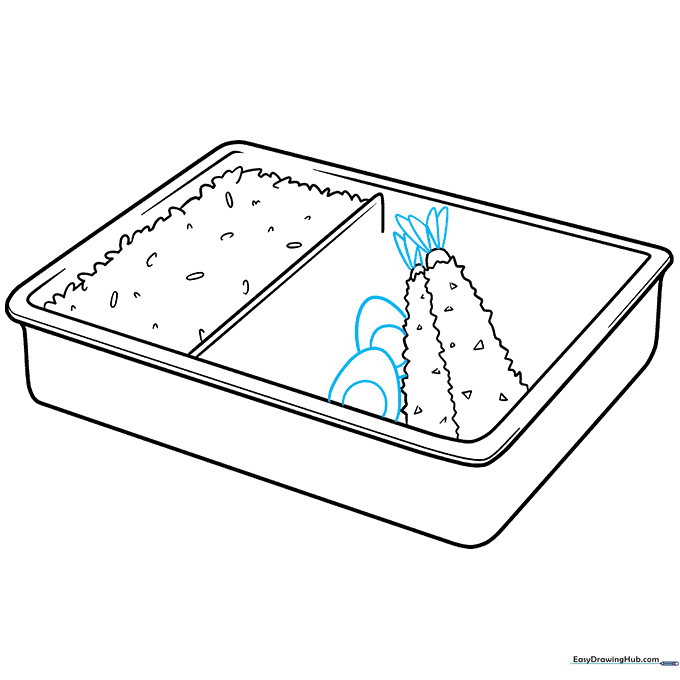
Sketch the shrimp tails using overlapping rounded triangles. Next, add a sliced boiled egg by drawing a partial oval with a smaller circle inside for the yolk. Tip: Keep the yolk slightly off-center to make the egg look more natural.
Step 6: Adding Sushi Rolls
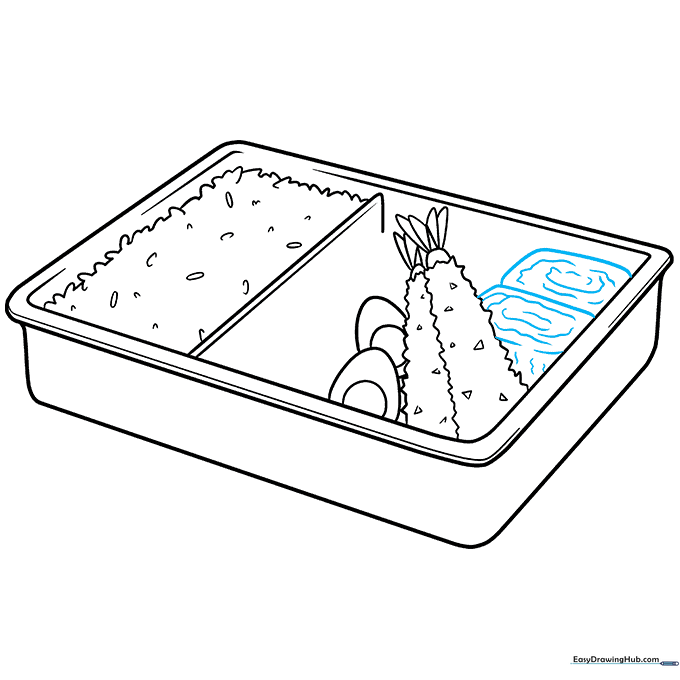
Draw two sushi rolls as rounded rectangles. Add wavy, spiral-like lines inside to represent the nori and filling. Tip: Vary the thickness of your lines to give the sushi a sense of depth.
Step 7: Broccoli Florets
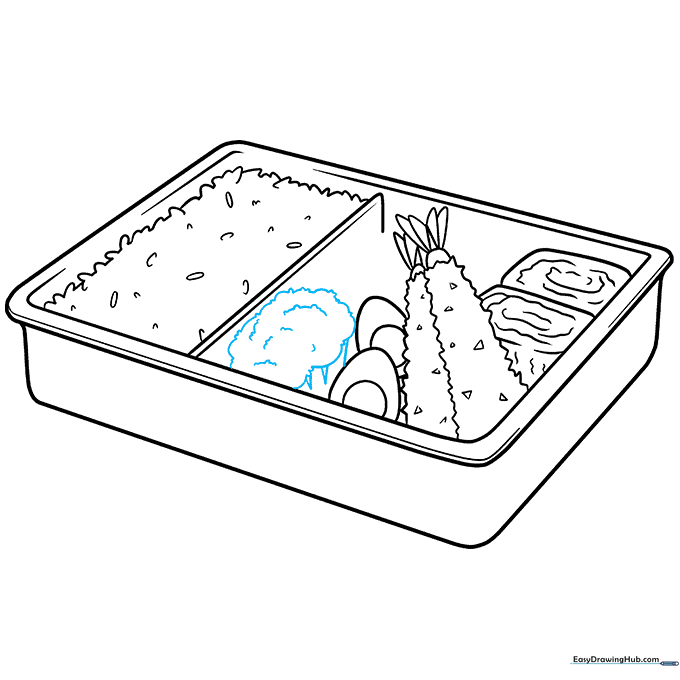
Draw a broccoli floret using short, bumpy lines for the leafy top and 'V' shaped lines for the stem. Tip: Think of the top like a small, fluffy cloud to get that perfect broccoli shape.
Step 8: Cherry Tomatoes
Fill the empty spaces with cherry tomatoes. Draw a partial circle, then add a five-pointed star on top with a tiny circle in the center for the calyx. Tip: Drawing the star slightly off-center makes the tomato look like it's resting naturally in the box.
Step 9: Adding Color
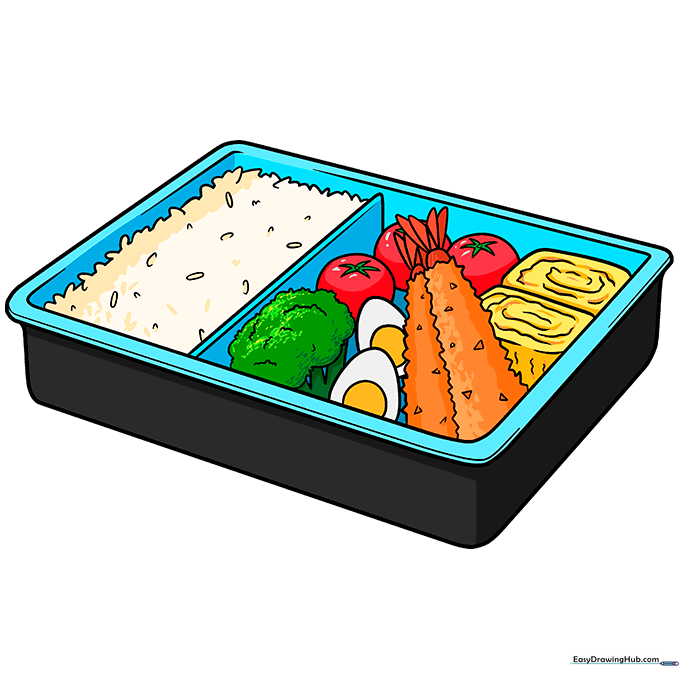
Bring your meal to life with vibrant colors! Use bright reds for the tomatoes, deep greens for the broccoli, and golden yellows for the tempura. Tip: Use colored pencils to add light shading for a professional anime look.
More Tutorials


