How to Draw Anime Eyes: Easy 10-Step Guide for Beginners
Ready to bring your anime characters to life? This tutorial is perfect for artists ages 7+ looking to master the iconic, expressive look of anime eyes. You only need a pencil, an eraser, and a piece of paper to start building your character design skills.
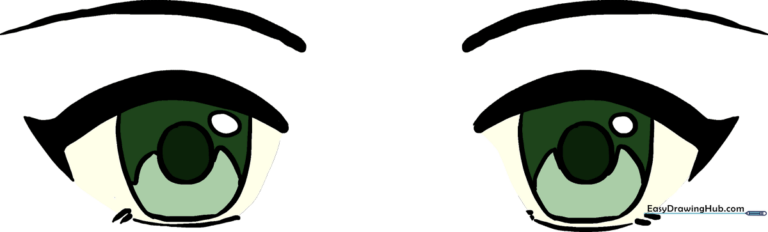
🎯 Final Result
Step-by-Step Instructions
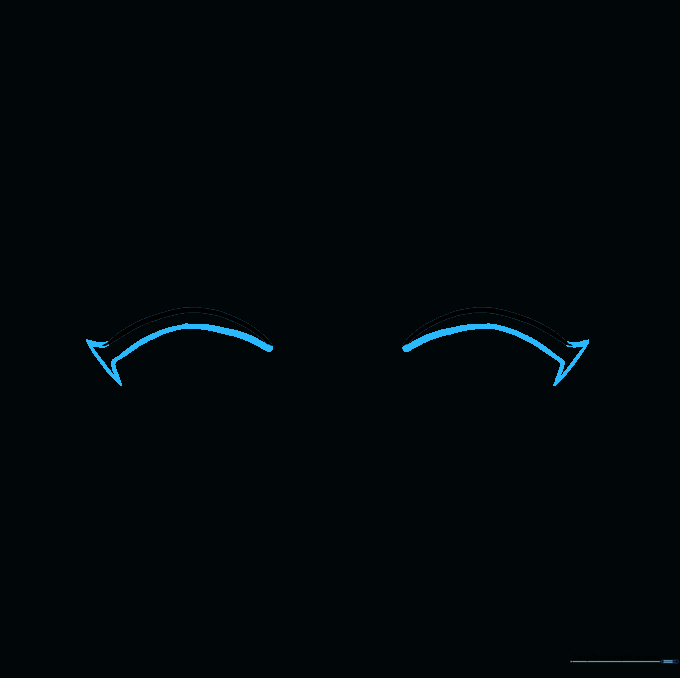
Step 1: Sketching the Upper Eyelid

Draw two gentle, downward-curving lines. These form the top of the eye. Teacher's Tip: Keep these lines light; they act as the foundation for the rest of your eye shape.
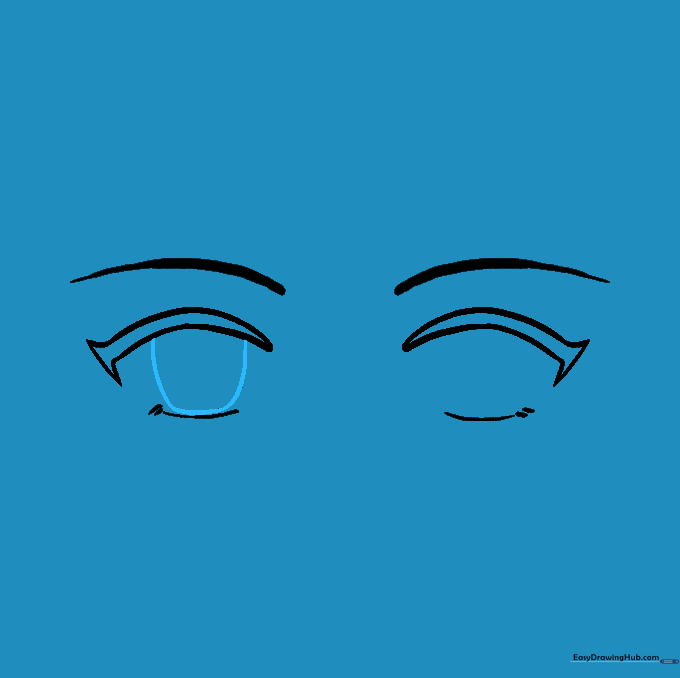
Step 2: Defining the Eye Shape
Draw a curved line beneath each top lid, meeting at the inner corner. Extend short lines outward to create the corners. Teacher's Tip: Think of this as creating a soft 'V' shape on the inner side to give the eye a realistic anime look.
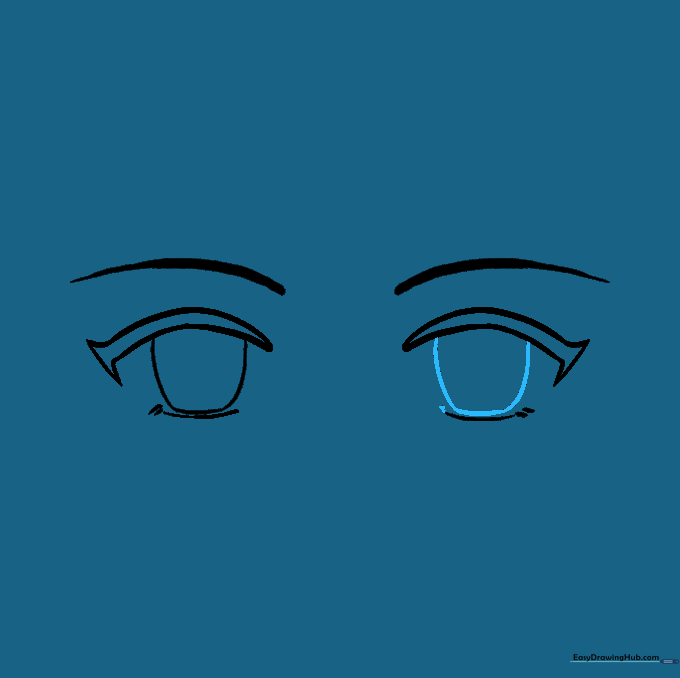
Step 3: Adding Lower Lash Details
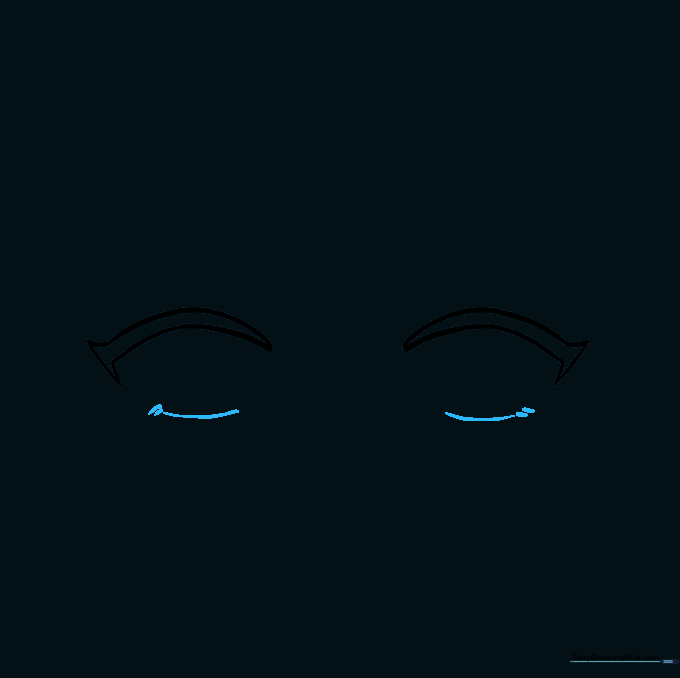
Draw a small curved line below each eye with tiny strokes at the outer edge. Teacher's Tip: These represent the lower lashes; keep them small so they don't overpower the top lid.
Step 4: Drawing the Eyebrows
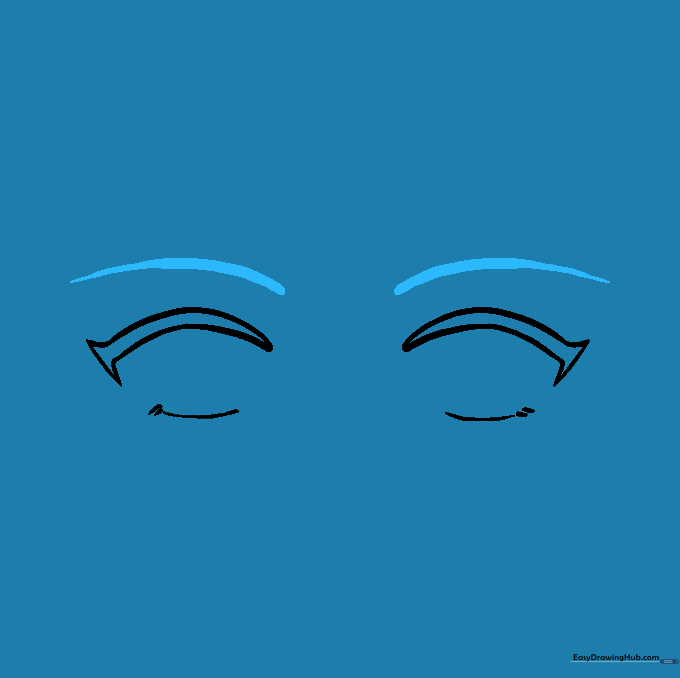
Sketch a thick, curved line above each eye. Teacher's Tip: The angle of these lines determines the character's mood—a steeper angle makes them look angry, while a gentle curve looks calm.
Step 5: Sketching the Iris
Draw a large, rounded shape inside the eye to form the iris. Teacher's Tip: Don't worry about it being a perfect circle; anime eyes often have slightly irregular, organic shapes.
Step 6: Balancing the Eyes
Repeat the iris shape on the right eye to ensure symmetry. Teacher's Tip: Check that both irises are roughly the same size so your character looks balanced.
Step 7: Adding the Pupils

Draw a small, dark circle in the center of each iris. Teacher's Tip: The pupil is the 'soul' of the eye—keep it dark and centered to make the character look focused.
Step 8: Adding Iris Detail
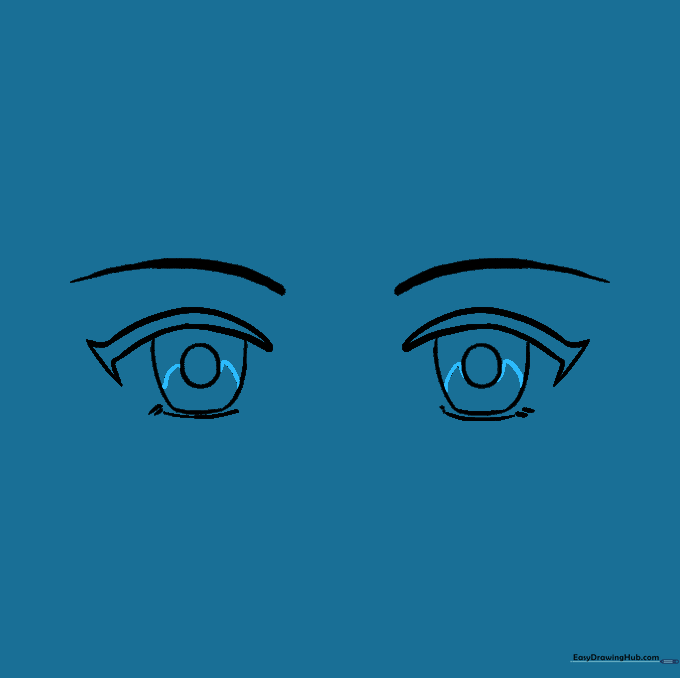
Draw curved lines connecting the pupil to the iris edges, creating a 'mountain' effect. Teacher's Tip: This adds depth and makes the eyes look shiny and professional.
Step 9: Adding Highlights
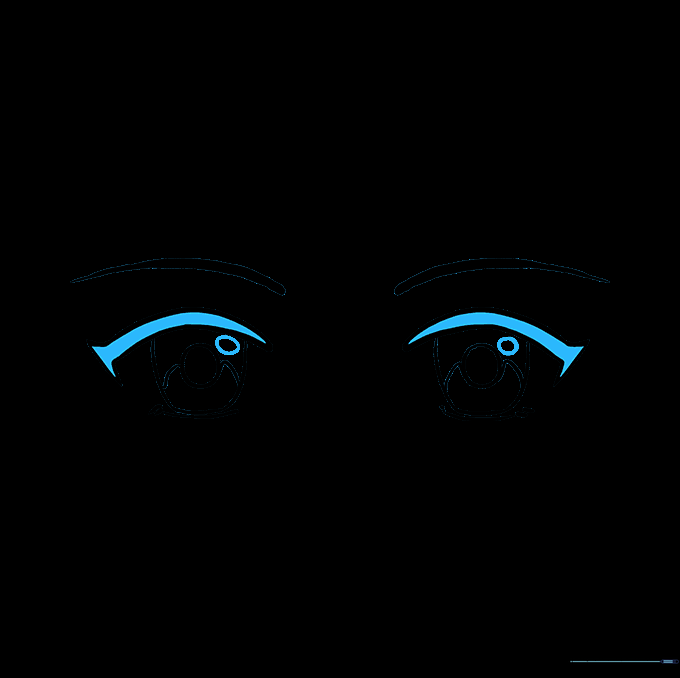
Draw a small oval near the pupil to act as a light reflection, then shade the top of the iris. Teacher's Tip: That little white oval is the 'glint' that makes the eyes look alive!
Step 10: Bringing Color to Life
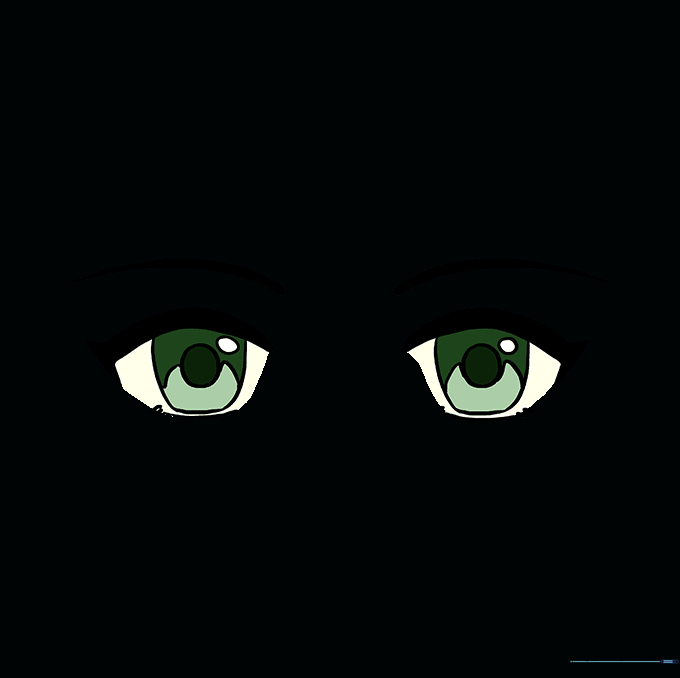
Color your eyes using your favorite shades. Teacher's Tip: Use a darker color for the top of the iris and a lighter shade for the bottom to create a beautiful gradient effect.
More Tutorials


