How to Draw Animal from The Muppets: Easy Step-by-Step Guide
Ready to capture the wild energy of The Muppets' favorite drummer? This tutorial is perfect for young artists ages 7+ who want to practice expressive character design. Grab a pencil, an eraser, and some markers to bring Animal to life on your page.
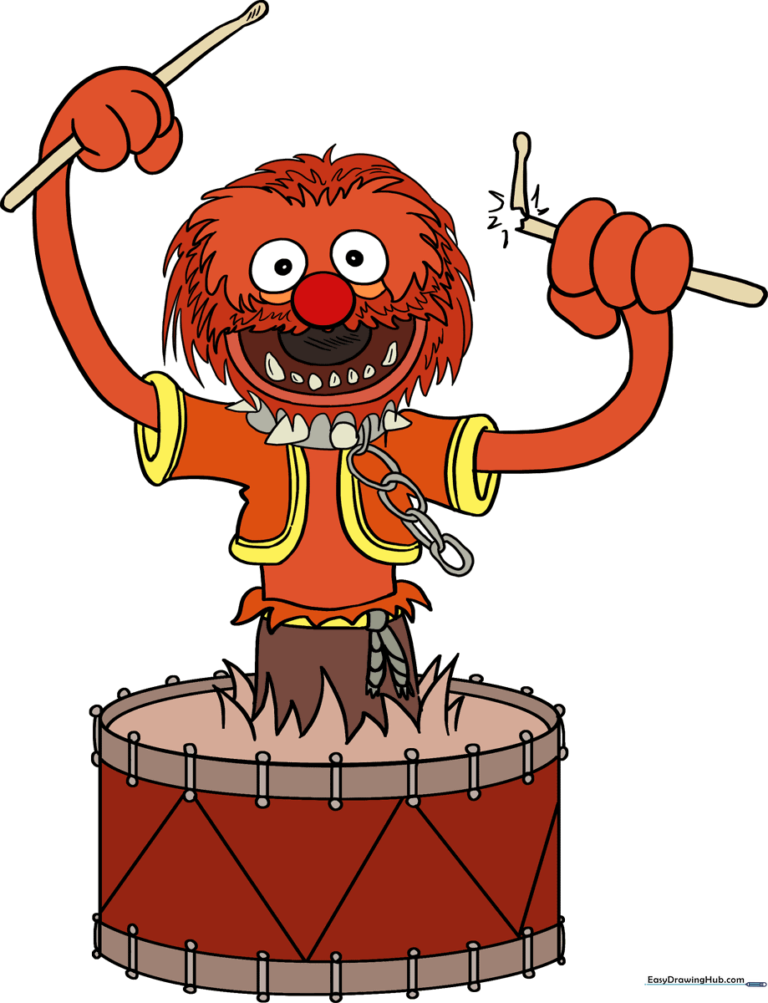
🎯 Final Result
Step-by-Step Instructions
Sketching the Facial Foundation

Start by drawing three circles: one large central circle for the nose, and two smaller circles above for the eyes. Add a tiny dot in each eye for the pupils. Tip: Keep your pencil pressure light so these guide circles are easy to erase later.
Defining the Facial Structure

Use short, quick strokes to create a flattened, rounded shape around the eyes. Below the nose, draw a jagged, rectangular shape for his muzzle. Add a curved line under each eye to give him that classic Muppet expression. Tip: Use 'hairy' strokes to mimic his wild fur texture.
Adding the Mouth and Teeth

Draw three 'U' shaped lines to form his wide, open mouth. Use light hatching to shade the tongue. Add rounded triangles along the bottom for his teeth. Tip: Vary the size of the teeth to make his grin look more natural and energetic.
Creating the Furry Texture
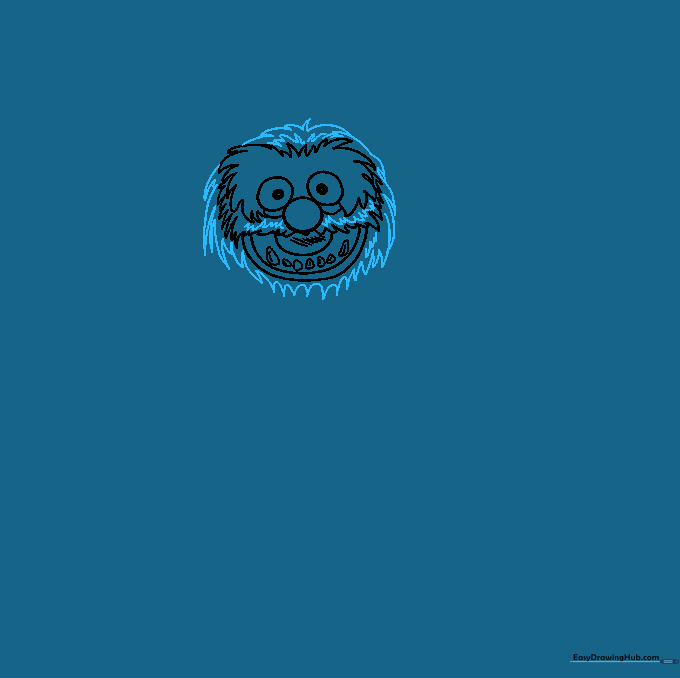
Outline the head using curved lines of varying lengths that meet in jagged points. Add these same 'furry' lines on top of his head and around his eyes. Tip: Don't worry about making the lines perfect; the messier the fur, the more like Animal it looks!
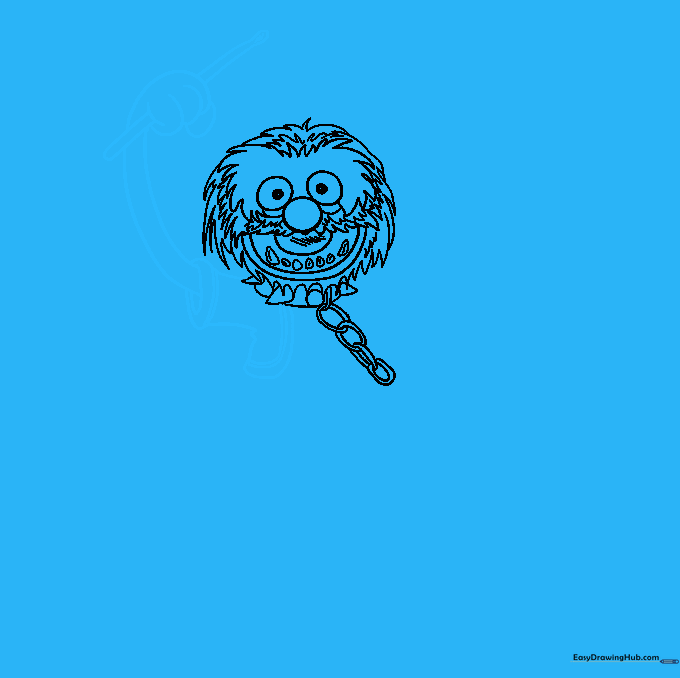
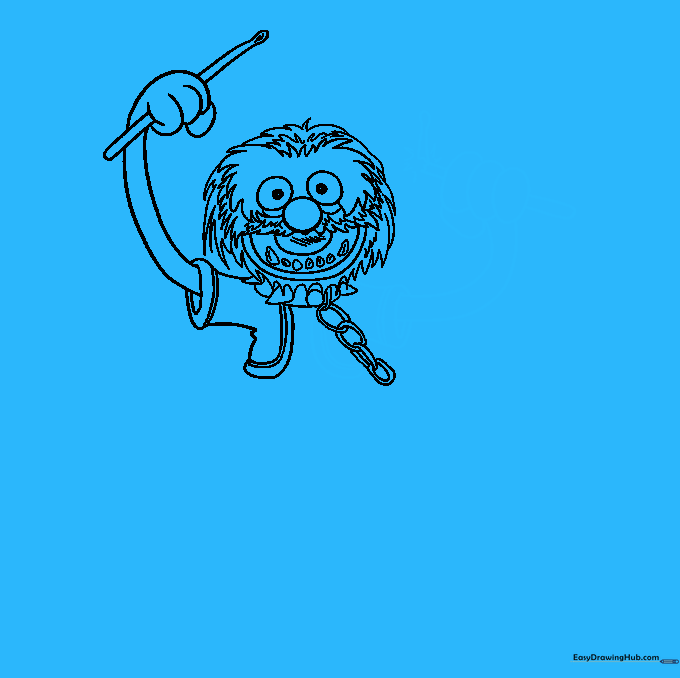
Drawing the Collar and Chain
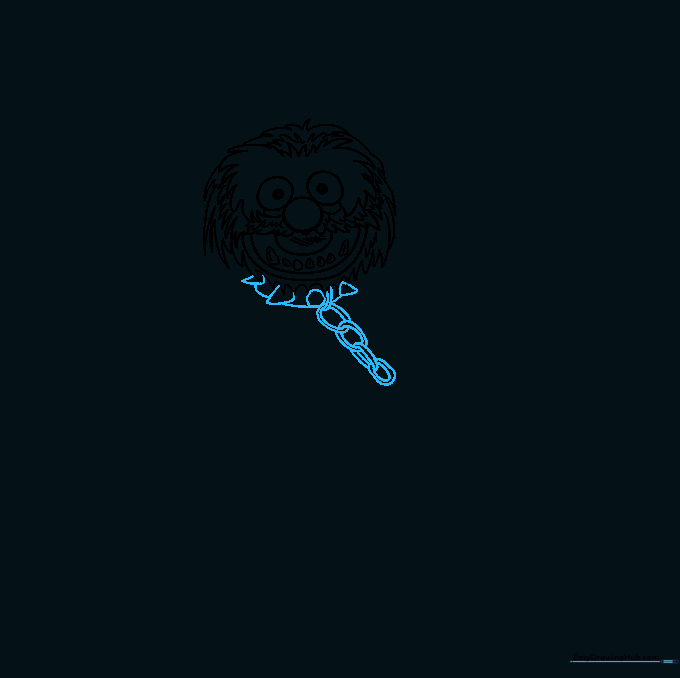
Draw rounded triangles to create the spikes on his collar. For the chain, draw a series of interlocking ovals. Tip: Erase the overlapping lines inside the chain links to make them look like they are truly connected.
Adding the Arms and Drumstick
Outline the shirt sleeve and draw a long, raised arm. Use 'U' shapes for the hand and draw a straight, parallel-lined drumstick. Tip: Keep the arm lines slightly curved to show he is in the middle of a drum solo.
Drawing the Second Arm
Sketch the opposite arm and hand using overlapping ovals for fingers. Draw a broken drumstick by using a jagged line where it snaps. Tip: Add small 'V' shapes to the break to emphasize the force of his drumming.
Adding the Torso and Drum Base
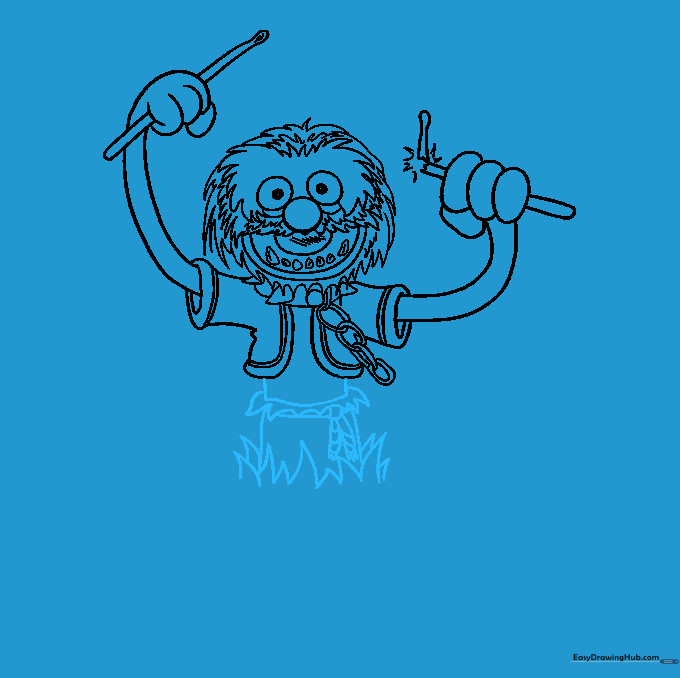
Draw a rectangular torso and a rope belt with banded details. Below, draw jagged 'V' shapes to show the torn skin of the drum he is emerging from. Tip: Use firm, confident lines for the drum skin to make it look sturdy.
Finalizing the Drum
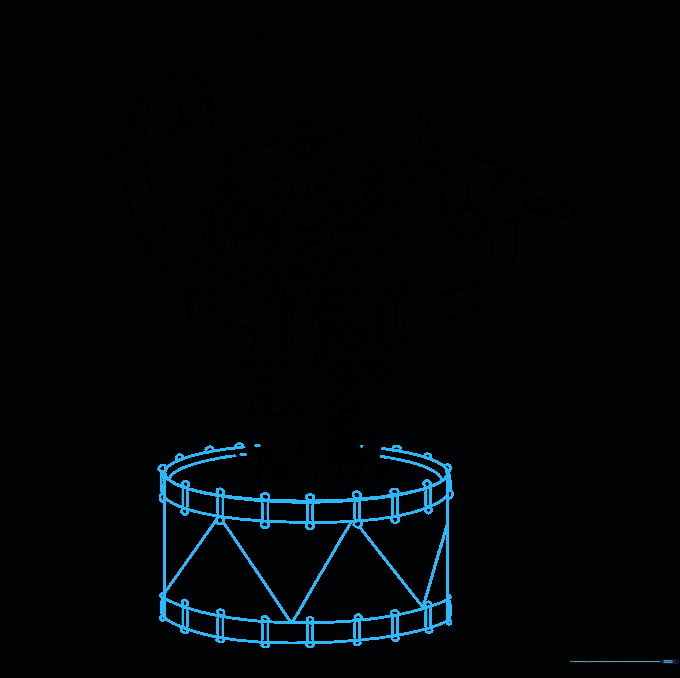
Complete the drum by drawing two ovals at the base and adding decorative 'V' shapes and straight lines around the sides. Tip: Ensure your lines are symmetrical to give the drum a professional look.
Adding Color
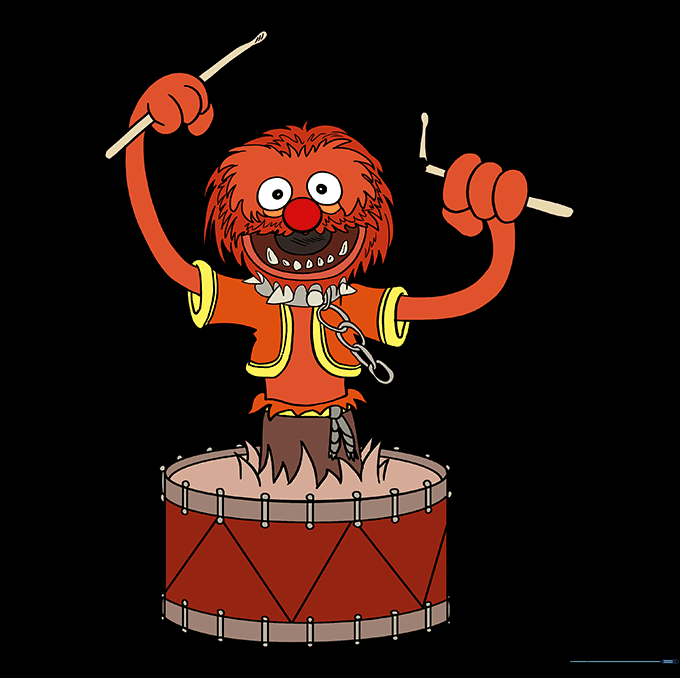
Bring Animal to life with bright red or orange for his fur. Use darker shades for the shadows to give him depth. Tip: Use a black marker to outline your final drawing for a clean, cartoon-style finish.
More Tutorials


