How to Draw Angel from Lilo and Stitch: Easy 9-Step Guide
Bring Experiment 624 to life with this fun, guided drawing activity perfect for ages 5 and up. You will need a pencil, an eraser, and your favorite coloring markers to complete this character. Follow these steps to master Angel's iconic look while building confidence in your sketching skills.
🎯 Final Result

Step-by-Step Instructions
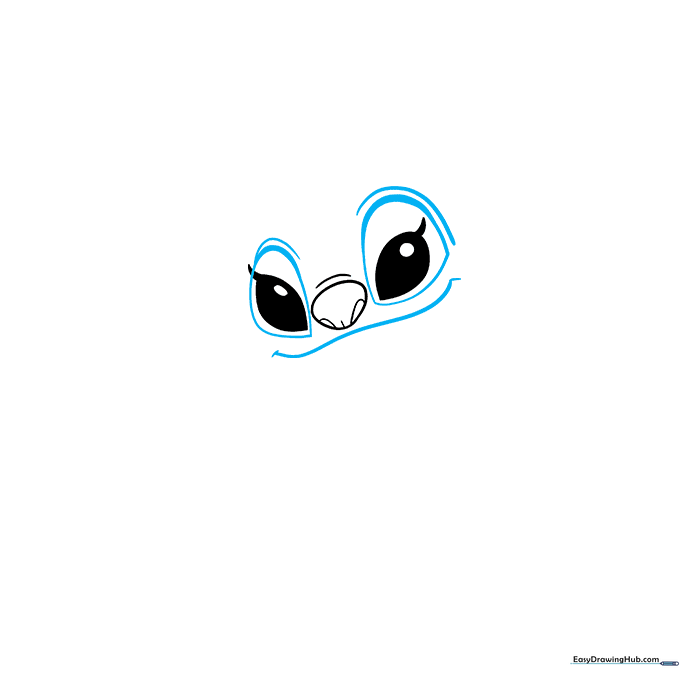
Step 1: Sketching the Eyes and Nose

Start by drawing two teardrop shapes for the eyes, placing an oval inside each to create the pupils. Add a small, rounded nose between them. Teacher's Tip: Keep your pencil lines light so you can easily erase any mistakes as you refine the face shape.
Step 2: Defining the Face
Outline the eye patches with curved lines and draw a wide, gentle curve for the mouth. Add small ticks at the corners for a friendly expression. Teacher's Tip: Use a light touch for the mouth to keep her expression soft and sweet.
Step 3: Shaping the Head

Draw the outer contour of the head using smooth, long curves. Connect the mouth corners to the jawline. Teacher's Tip: Imagine the shape of a pear to help guide your hand for the head's silhouette.
Step 4: Sketching the Torso

Extend two curved lines downward from the head to create the body. Add a small curve on the side for the arm. Teacher's Tip: Keep these lines fluid to give your character a sense of movement.
Step 5: Drawing the Front Paws

Detail the chest with soft curves and draw the front paws using overlapping rounded lines. Add small teardrop shapes for claws. Teacher's Tip: Focus on making the toes look rounded and soft, like a puppy's paws.
Step 6: Adding the Rear Leg

Draw the rear leg using overlapping curves and define the paw with a circular pad on the bottom. Teacher's Tip: Ensure the leg connects smoothly to the body to maintain the character's proportions.
Step 7: Completing the Legs
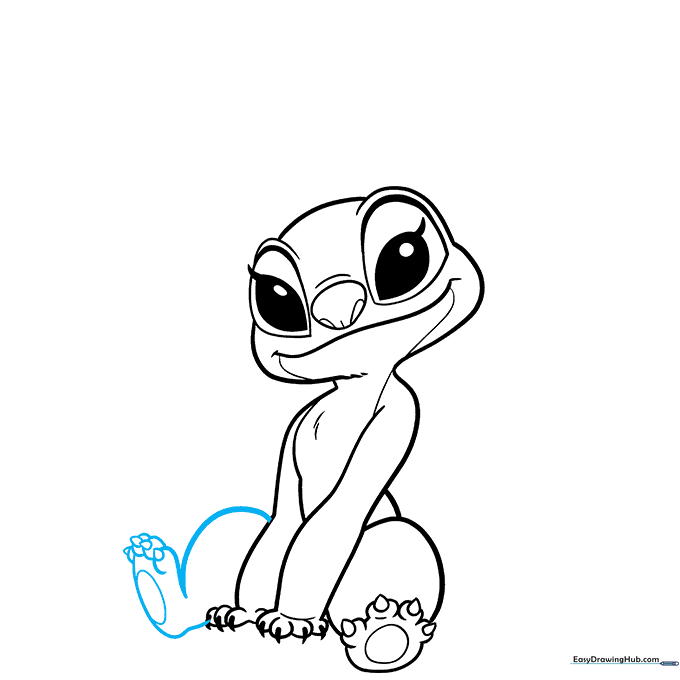
Draw the final rear leg using the same technique as the previous one. Add the toes and claw details. Teacher's Tip: Consistency is key—try to make the second leg match the size and shape of the first one.
Step 8: Drawing the Ears
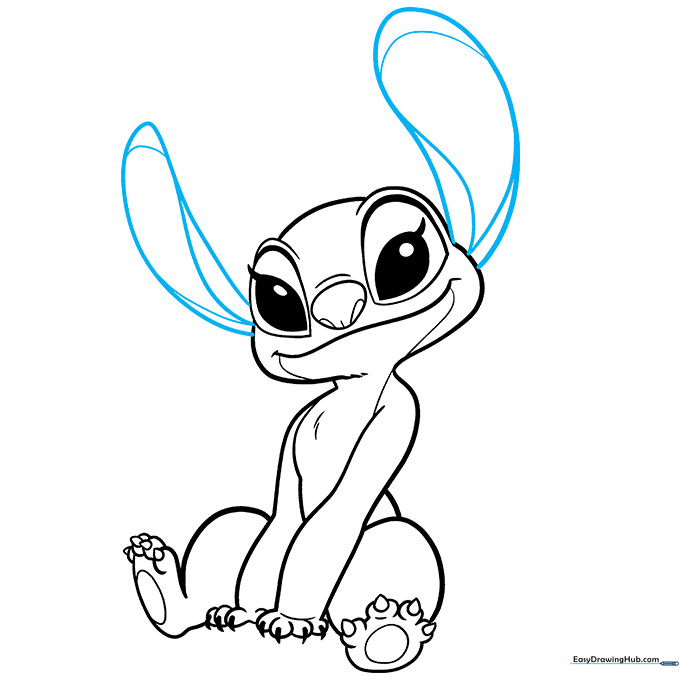
Extend long, curved lines from the head to create the large, floppy ears. Add teardrop shapes inside for detail. Teacher's Tip: Make these ears nice and big—they are Angel's most recognizable feature!
Step 9: Adding Antennae
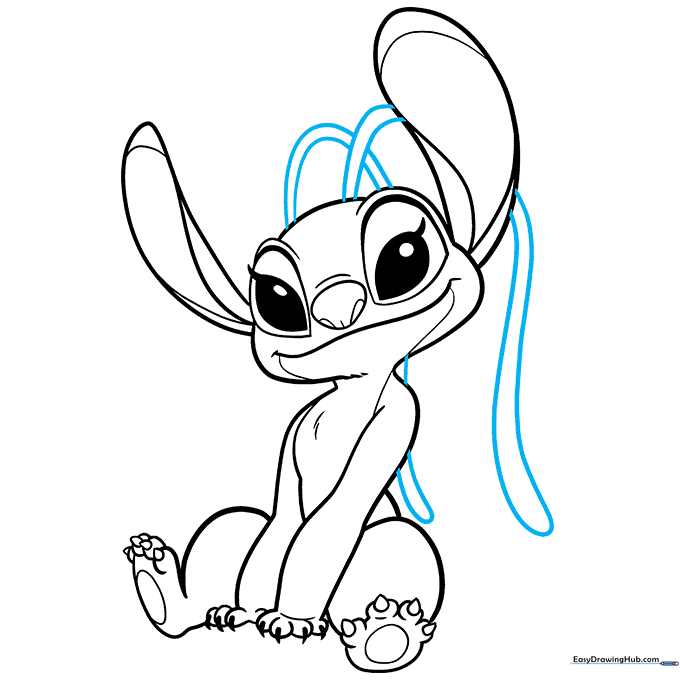
Draw two pairs of curved lines from the top of the head to form the antennae. Teacher's Tip: Keep the lines parallel to make them look like they are part of her head structure.
Step 10: Bringing Angel to Life with Color
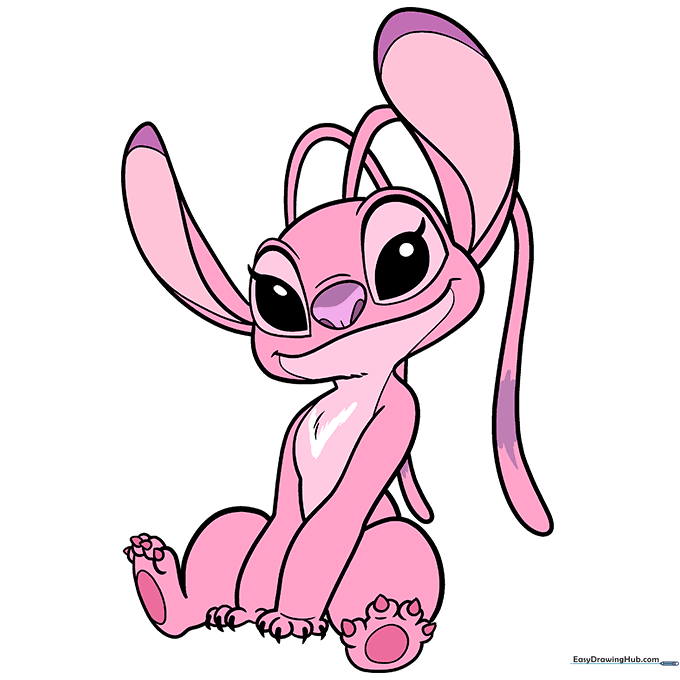
Time to color! Use light pink for her fur, a slightly lighter shade for her belly, and dark pink for the paw pads. Add purple accents to the ears and antennae. Teacher's Tip: Use light, circular strokes with your colored pencils to get an even, smooth look.
More Tutorials


