How to Draw a Dolphin Underwater: Easy Step-by-Step Guide
Ready to dive into the ocean? This tutorial is perfect for young artists ages 5 and up who want to draw a friendly dolphin surrounded by sea life. All you need is a pencil, an eraser, and some paper to bring this underwater scene to life. Follow along to practice your curved line work and build confidence in your artistic skills.
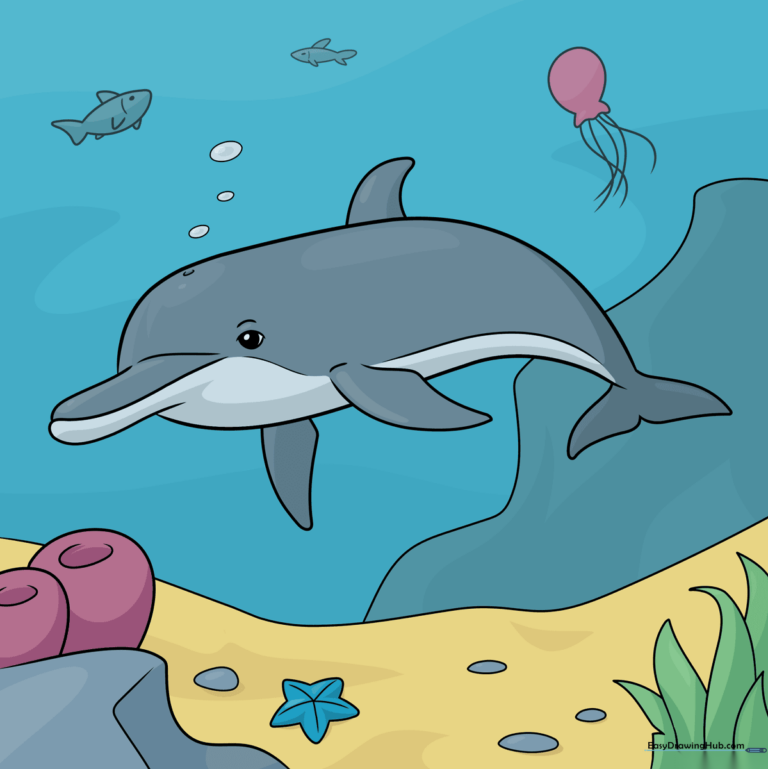
🎯 Final Result
Step-by-Step Instructions
Step 1: Sketching the Dolphin's Profile

Start by drawing the dolphin's snout using two overlapping curved lines. Add the eye by drawing two small, nested circles and shading the center. Tip: Keep the eye shape simple; it acts as the anchor for the rest of your dolphin's face.
Step 2: Defining the Body and Fins
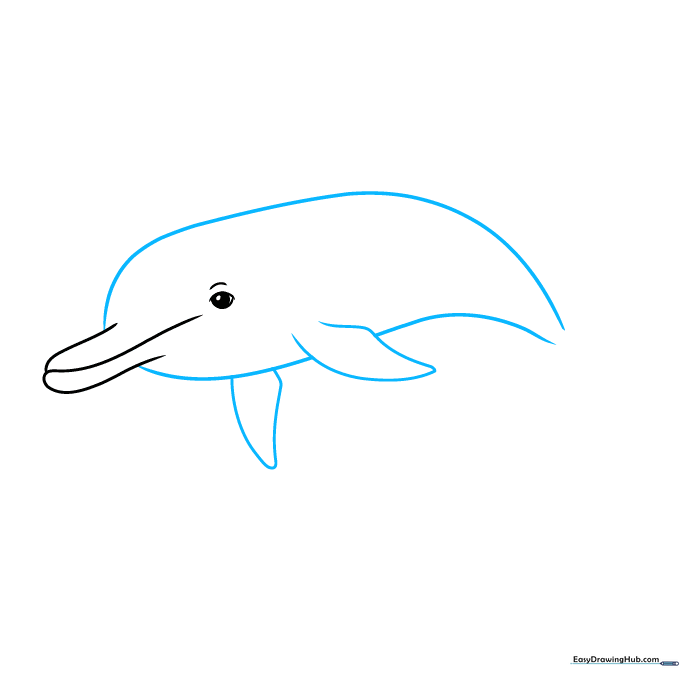
Draw long, sweeping curved lines to create the dolphin's back and belly. Add the pectoral fins by drawing curved lines that double back on themselves. Tip: Think of the dolphin's body like a banana shape—keep the lines smooth and continuous.
Step 3: Adding Fins and Blowhole
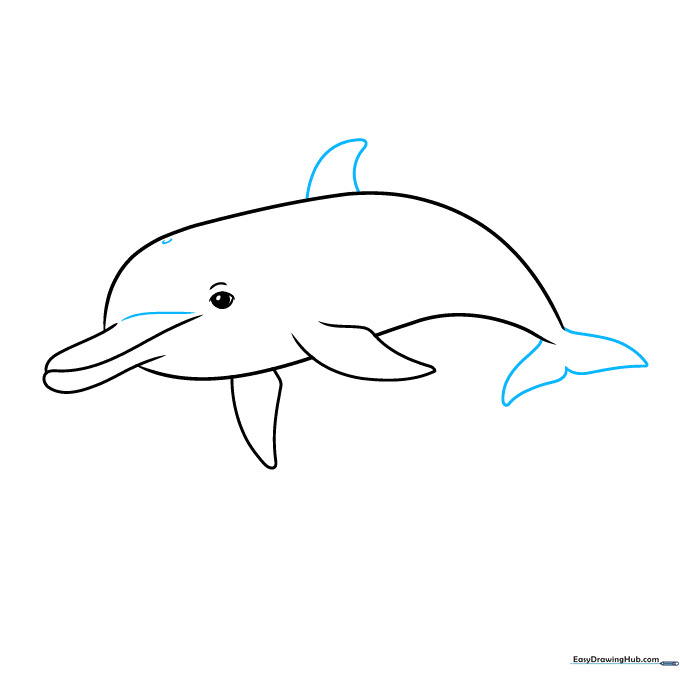
Add the dorsal fin on the back and the tail fins using curved shapes. Don't forget the small blowhole on top of the head! Tip: Ensure the dorsal fin is slightly curved to give the dolphin a sense of motion.
Step 4: Creating the Ocean Floor

Outline the dolphin's belly color and start sketching the rocky seafloor using rounded shapes. These will become sponges. Tip: Vary the sizes of your sponges to make the ocean floor look more natural and less uniform.
Step 5: Adding Sea Life Details
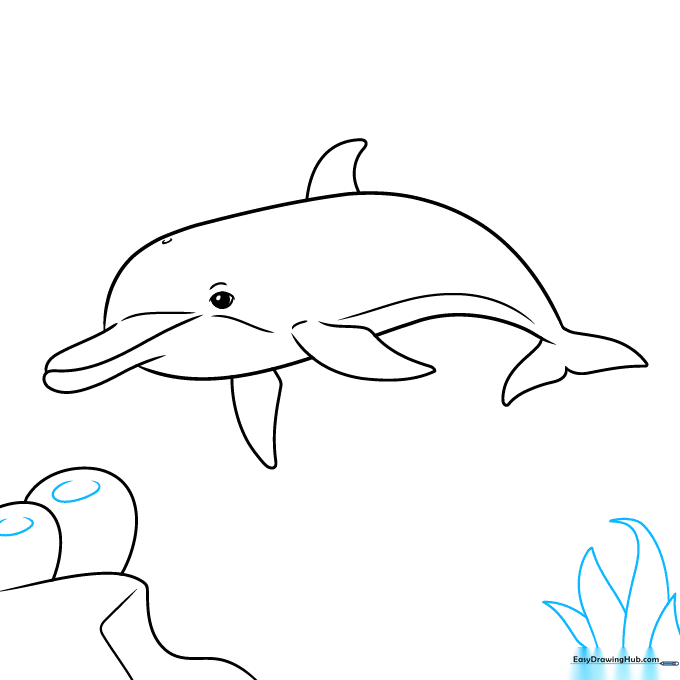
Draw a 'C' shaped opening on top of each sponge and add seaweed using pointed, curved lines. Tip: Seaweed grows upward, so draw your lines with a slight flicking motion to mimic natural growth.
Step 6: Drawing the Starfish

Sketch the sandy ocean floor and add a five-armed starfish resting on the bottom. Tip: Draw the starfish arms slightly uneven to make it look like it's resting on the sand.
Step 7: Adding a Jellyfish
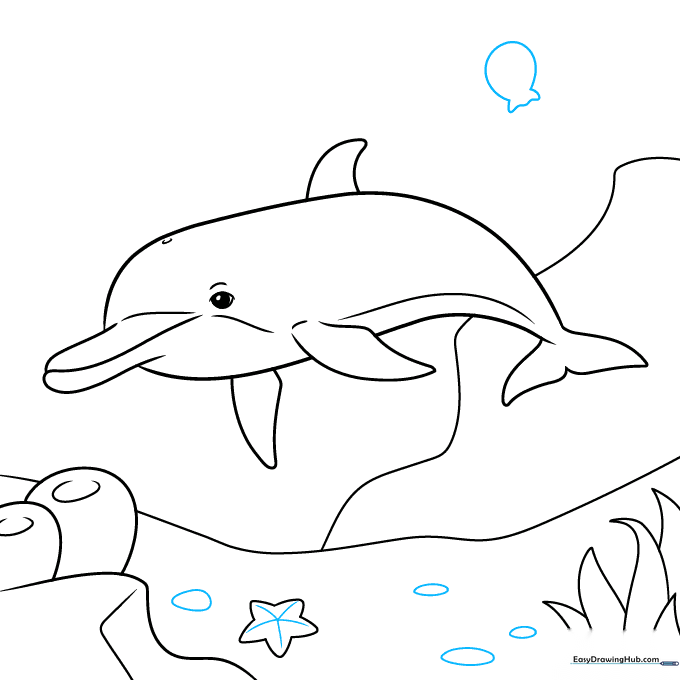
Add texture to the starfish with a starburst pattern. Then, draw a balloon-like shape above the dolphin to create a jellyfish. Tip: Keep the jellyfish shape soft and rounded to contrast with the rocky floor.
Step 8: Adding Tentacles and Fish
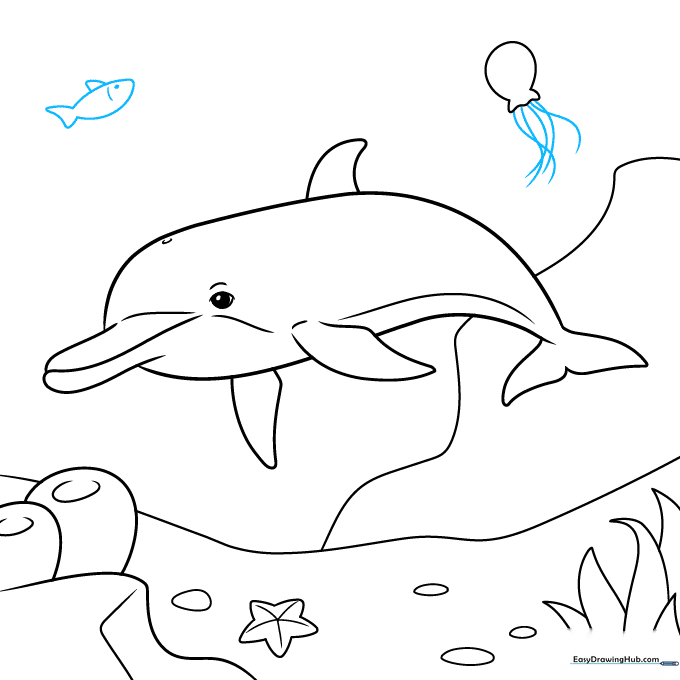
Extend wavy lines from the jellyfish to form tentacles and sketch a small fish swimming nearby. Tip: Use quick, loose strokes for the tentacles to make them look like they are floating in water.
Step 9: Final Touches and Bubbles
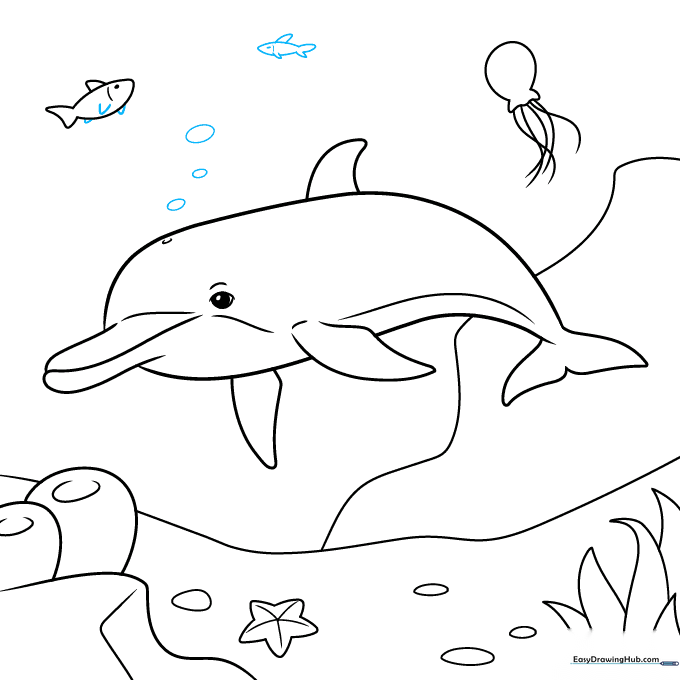
Complete your fish with fins and add oval-shaped bubbles rising from the dolphin's blowhole. Tip: Vary the size of the bubbles to create a sense of depth in your drawing.
Step 10: Bring Your Scene to Life with Color

Your outline is complete! Use blues for the water, grays for the dolphin, and bright colors for the starfish and sponges to make your drawing pop. Tip: Use light pressure with your colored pencils to create a soft, underwater glow.
More Tutorials


