How to Draw an Otter: Simple 10-Step Guide for Kids
Ready to bring a playful otter to life? This tutorial is perfect for young artists ages 5 and up. All you need is a pencil, an eraser, and a piece of paper to start building your drawing skills with this friendly river mammal.
🎯 Final Result

Step-by-Step Instructions
Step 1: Sketching the Head

Draw a light circle to serve as the otter's head. Teacher's Tip: Keep it about the size of a coin and use a light touch so you can easily erase it later.
Step 2: Shaping the Body

Extend a long, curved line from the head and loop it back to create a peanut-like shape for the body. Teacher's Tip: Think of this as the otter's long, flexible torso.
Step 3: Adding Ears

Draw a small 'C' shaped line on each side of the head for the ears. Teacher's Tip: Keep them small and rounded to give the otter a cute, alert look.
Step 4: Drawing the Legs
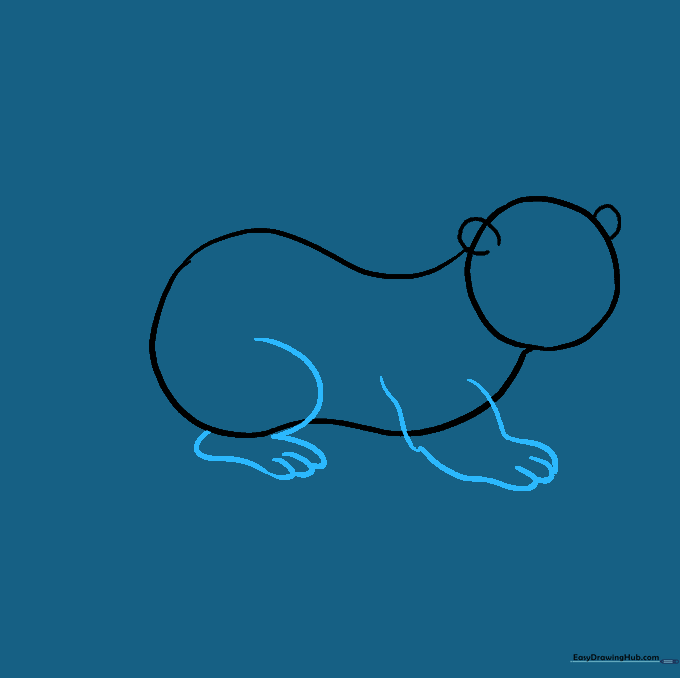
Add the front and back legs using curved lines, finishing with small 'U' shapes for the toes. Teacher's Tip: Focus on making the feet look soft and rounded.
Step 5: Cleaning the Outline

Gently erase the overlapping guide lines inside the head and legs to create a clean silhouette. Teacher's Tip: Use a soft eraser to avoid smudging your work.
Step 6: Adding the Tail

Draw two curved lines from the back that meet at a point to form a long tail. Teacher's Tip: Otters use their tails to swim, so make it look strong and sleek.
Step 7: Drawing Far-Side Feet

Add the feet on the far side of the body using simple curved lines. Teacher's Tip: This adds depth to your drawing, making the otter look 3D.
Step 8: Facial Features
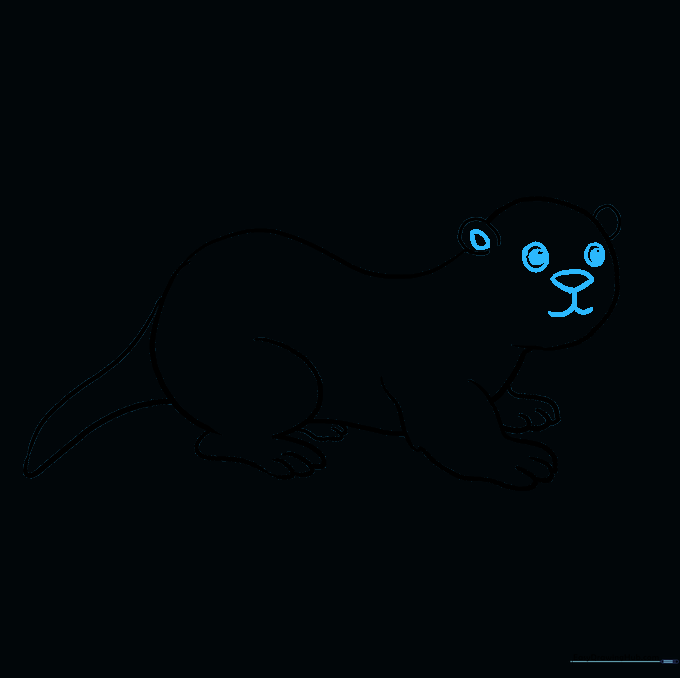
Draw the eyes, nose, and mouth. Use an upside-down triangle for the nose and a 'W' shape for the mouth. Teacher's Tip: Add a tiny white dot in the pupils to make the eyes sparkle.
Step 9: Whiskers and Fur
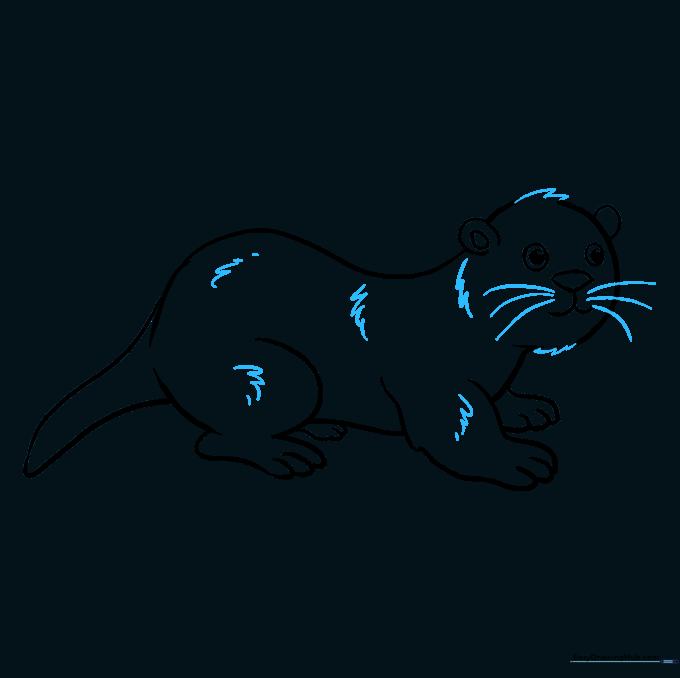
Add long, curved whiskers and small, jagged lines along the body to represent fur. Teacher's Tip: Use short, quick strokes for the fur to make it look soft and textured.
Step 10: Adding Color
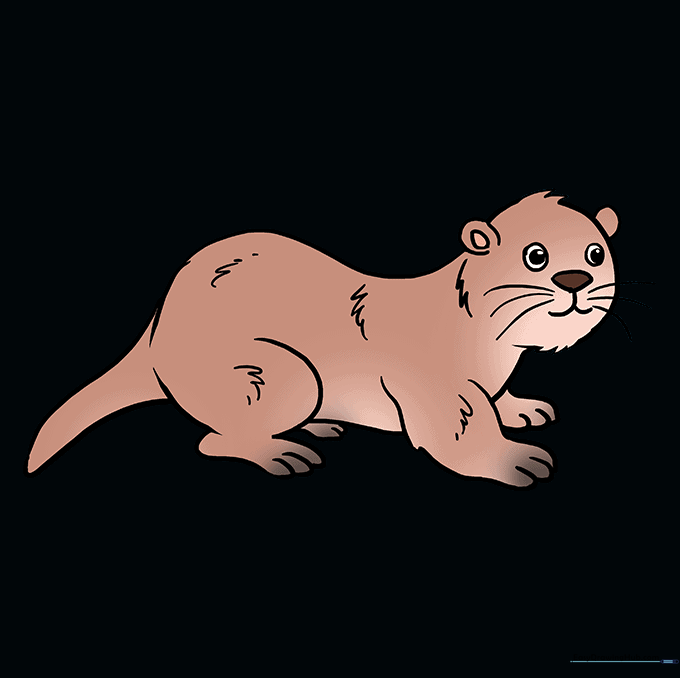
Bring your otter to life with shades of brown. Teacher's Tip: Use a lighter brown for the belly and a darker brown for the back to give your drawing realistic contrast.
More Tutorials


