How to Draw an Orchid in a Pot: Easy 9-Step Guide
Bring a touch of nature to your sketchbook with this beginner-friendly orchid tutorial. Designed for artists ages 6 and up, this project requires only a pencil, eraser, and paper to create a charming, blooming houseplant. Follow these steps to master organic shapes and overlapping leaves.
🎯 Final Result

Step-by-Step Instructions
Step 1: Sketching the Pot Base

Draw a large 'U' shape to form the base of your pot. Add a partial oval at the top to create the rim, and use a wavy line inside to represent the soil. Tip: Keep the pot symmetrical by drawing a light vertical center line first as a guide.
Step 2: Adding Orchid Leaves
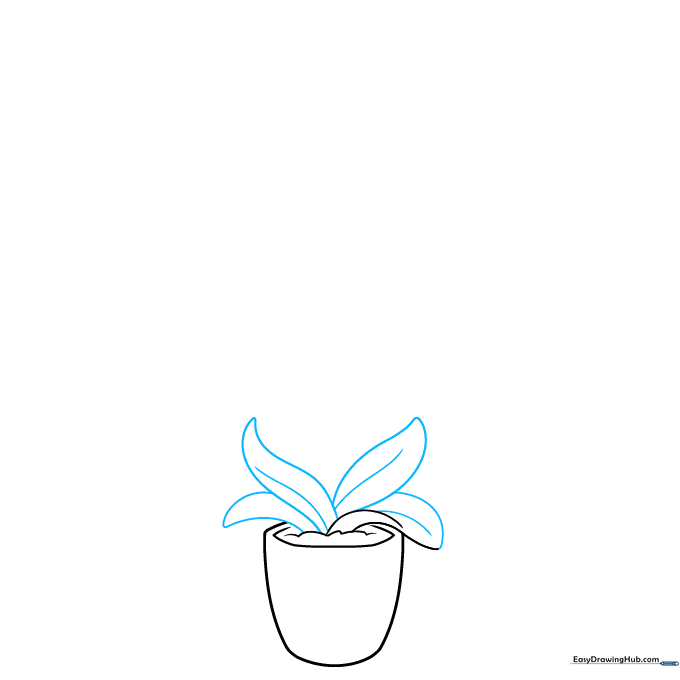
Draw long, curved leaves extending from the soil. Make them overlap slightly to create a sense of depth. Tip: Add a single line down the center of each leaf to represent the vein, which adds a realistic touch.
Step 3: Sketching the Main Stem and First Flower
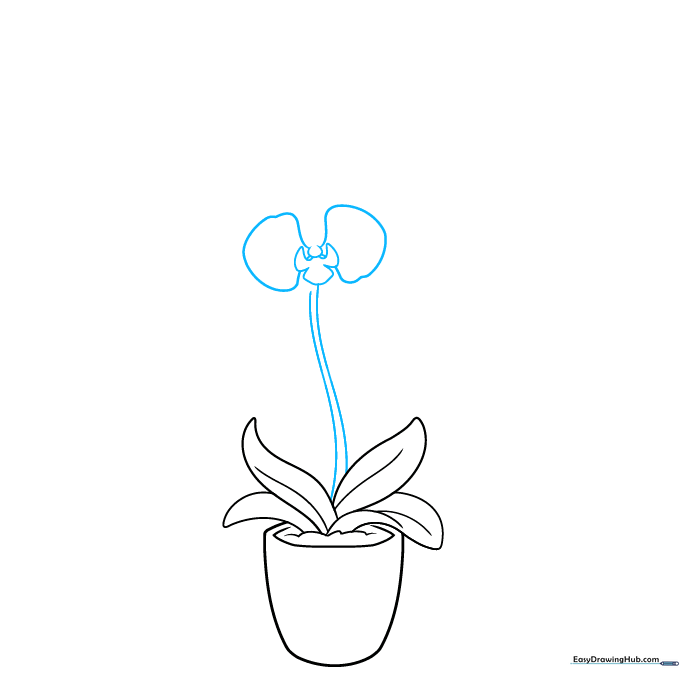
Extend two curved lines upward from the leaves to create the stem. Near the top, draw a three-lobed shape for the center of the orchid. Tip: Orchids have unique shapes; don't worry if your petals aren't perfect circles—nature is rarely perfectly round!
Step 4: Adding More Petals
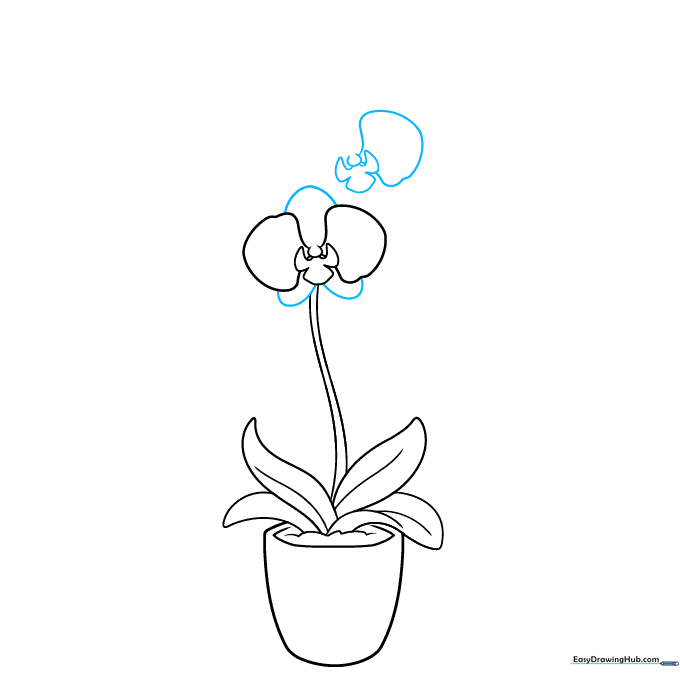
Add petals above and below the center of your first flower. Then, start sketching a second blossom higher up on the stem. Tip: Use light, fluid wrist motions to get those soft, organic petal curves.
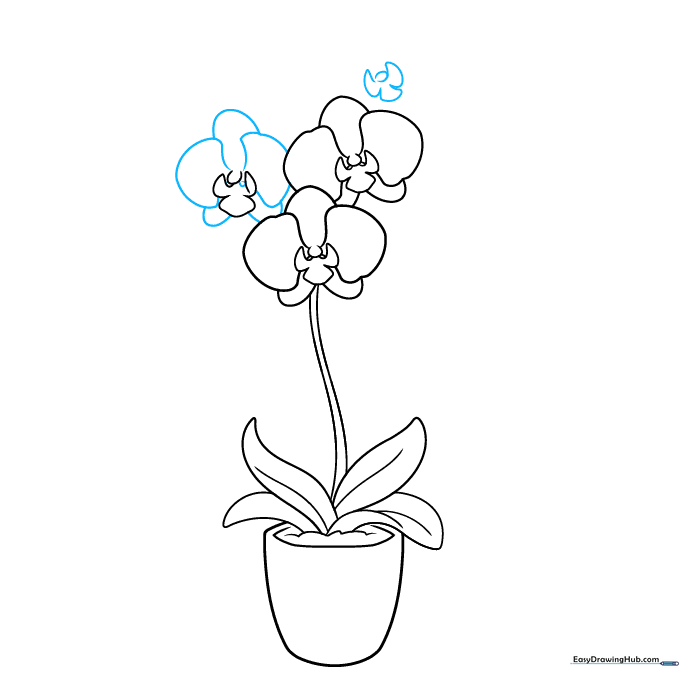
Step 5: Building the Flower Cluster

Continue adding petals to your second blossom and begin the structure for a third flower. Tip: Keep your spacing consistent so the flowers look like they are growing naturally along the stem.
Step 6: Expanding the Bloom
Define the outer petals of your existing flowers and start the center of a fourth blossom. Tip: If you make a mistake, don't worry—orchids have many layers, so you can easily turn an extra line into a petal fold.
Step 7: Finalizing the Petals
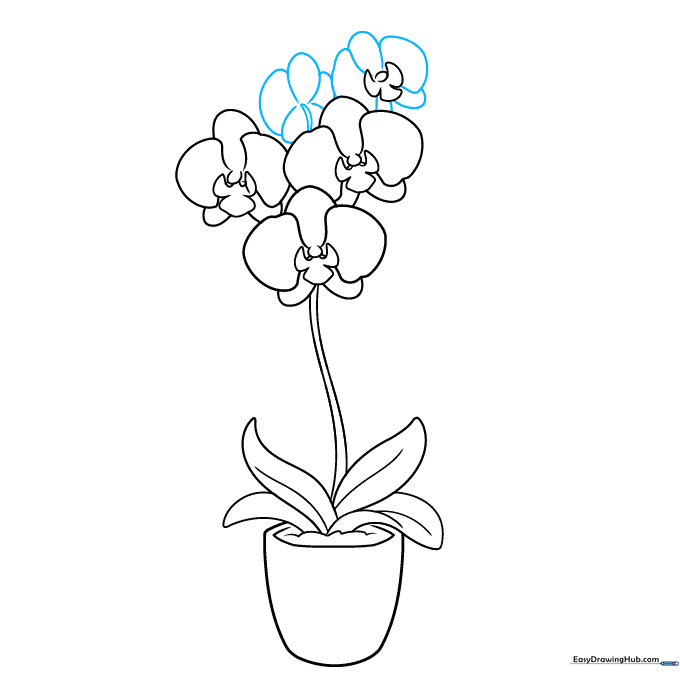
Complete the outer petals for the fourth and fifth blossoms. Tip: Vary the sizes of your petals slightly to make the orchid look more realistic and less like a pattern.
Step 8: Adding Buds and Stems
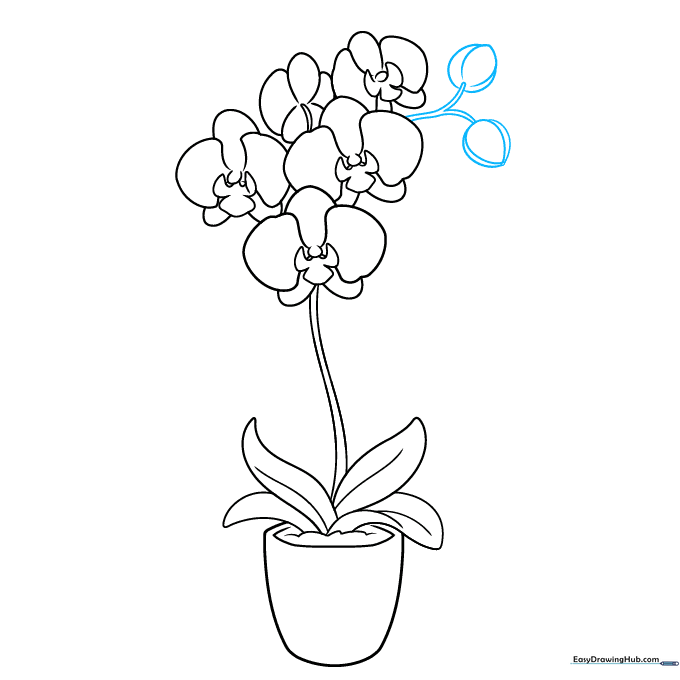
Draw a 'Y' shaped stem branching off to hold small, teardrop-shaped buds at the very top. Tip: Buds are smaller and tighter than open flowers, so draw them with shorter, more compact lines.
Step 9: Final Details and Support
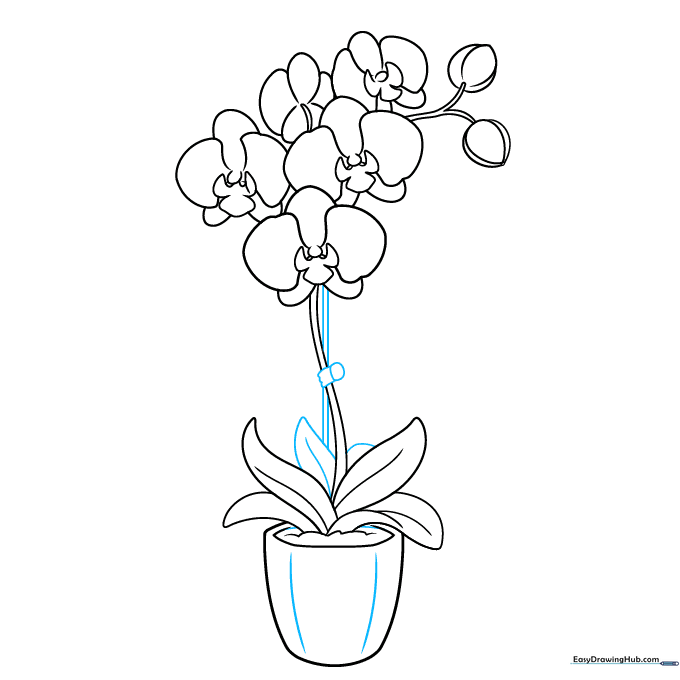
Add vertical lines to the pot for texture, draw a support stick behind the stem, and clean up any overlapping lines. Tip: Use a ruler for the support stick to make it look straight and sturdy compared to the organic flowers.
Step 10: Color Your Masterpiece
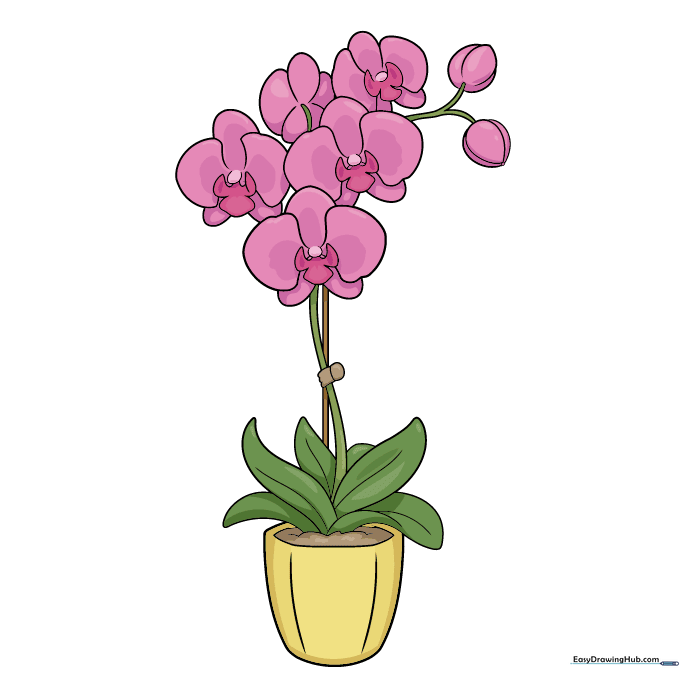
Bring your orchid to life with color! Use soft pinks, purples, or whites for the petals. Tip: Use a darker shade of your petal color near the center of the flower to create a beautiful shadow effect.
More Tutorials


