How to Draw an Orca: Simple 10-Step Guide for Kids
Ready to bring the ocean to life? This tutorial is perfect for young artists ages 5 and up. All you need is a pencil, an eraser, and a piece of paper to start sketching your own majestic killer whale.
🎯 Final Result

Step-by-Step Instructions
Sketching the Orca's Back

Start by drawing a long, smooth curved line. One side should dip lower than the other to create the slope of the back and head. Teacher's Tip: Keep your pencil pressure light so you can easily adjust the shape if needed.
Defining the Belly and Mouth

Draw a second curved line underneath to form the belly, leaving a gap for the tail. Add a small, short line near the front for the mouth. Teacher's Tip: Think of the belly line as a gentle wave; keep it fluid and not too rigid.
Adding the Tail Fin
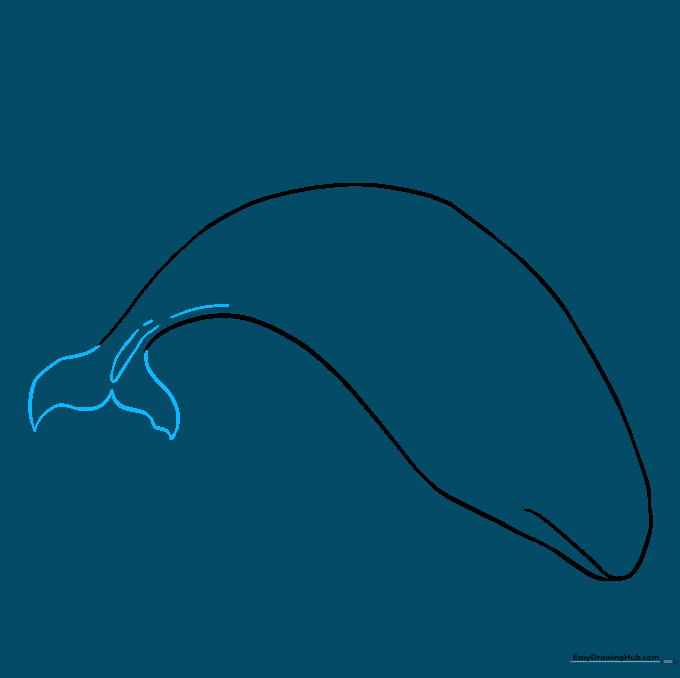
Sketch the tail fin using curved lines that look like curly brackets. Add a small 'U' shape underneath for detail. Teacher's Tip: Make sure the tail looks balanced by checking that both sides are roughly the same size.
Connecting the Body
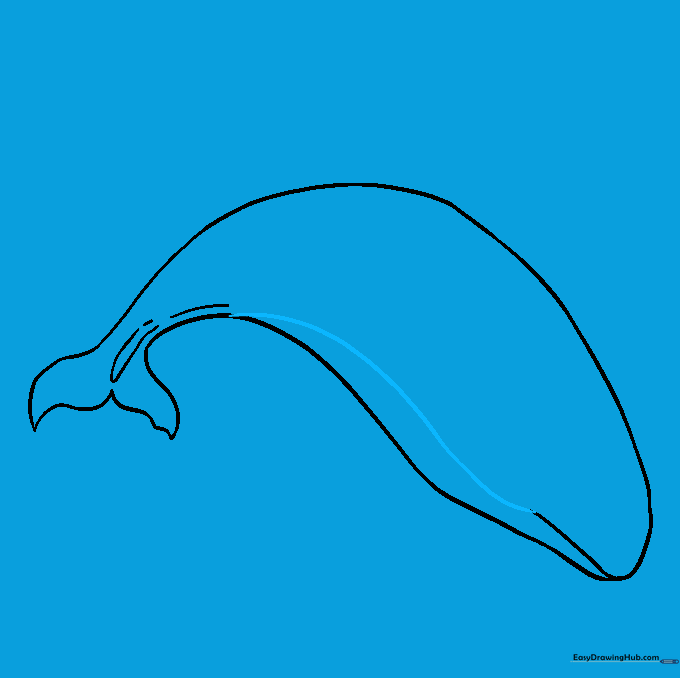
Draw a long, sweeping curved line connecting the base of the tail to the tip of the mouth. This creates the smooth, streamlined body of the whale.
Sketching the Pectoral Fin

Draw the side fin as an irregular triangle with rounded corners. Teacher's Tip: Orca fins are quite large, so don't be afraid to make it nice and wide!
Cleaning Up Your Lines

Gently erase any overlapping guide lines inside the fin to make your drawing look clean and professional.
Adding the Dorsal Fin
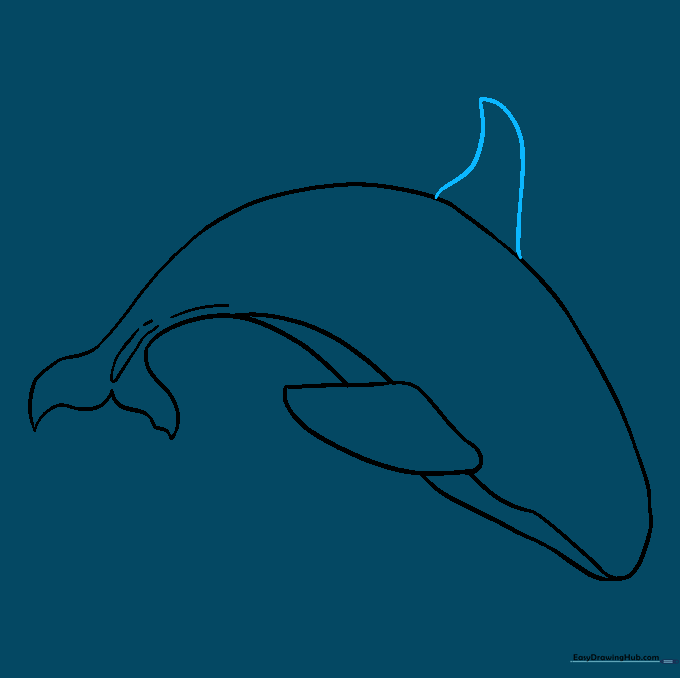
Draw the tall dorsal fin on the back using another irregular triangle shape. Teacher's Tip: Make sure the base of the fin is wide so it looks sturdy.
Adding the Second Fin

Draw the pectoral fin on the far side using two curved lines that meet at a point. This adds depth to your drawing.
Adding Facial Details

Draw a small dot for the eye and a double teardrop shape for the white eyespot. Teacher's Tip: The eyespot is a unique feature of orcas, so take your time getting the shape just right!
Coloring Your Orca

Color the top of your orca black and the belly white. The white eyespot helps them blend in underwater. Teacher's Tip: Use a black marker for the dark areas to make the white parts really pop!
More Tutorials


