How to Draw an Orange: Easy 10-Step Guide for Kids
Ready to bring some citrus sunshine to your sketchbook? This tutorial is perfect for young artists ages 5 and up. Grab a pencil, an eraser, and your favorite markers to master the shapes of a whole and sliced orange in just a few simple steps.
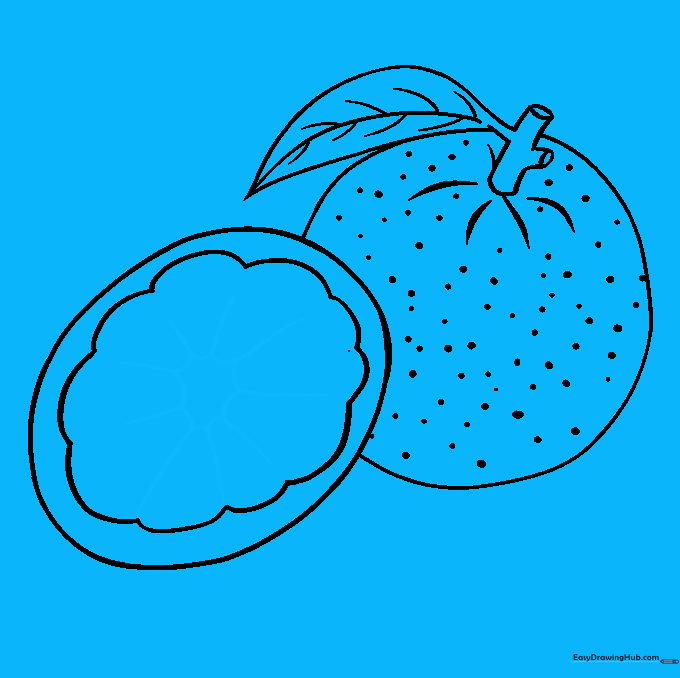
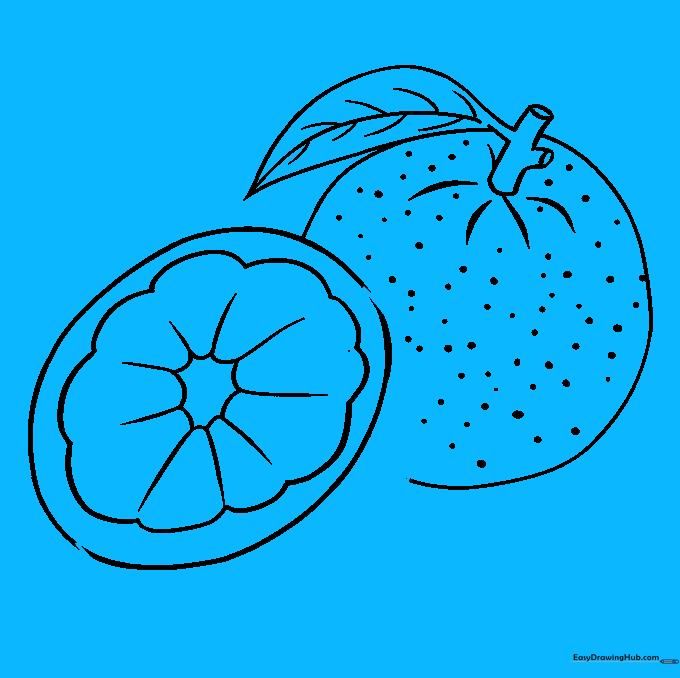
🎯 Final Result

Step-by-Step Instructions
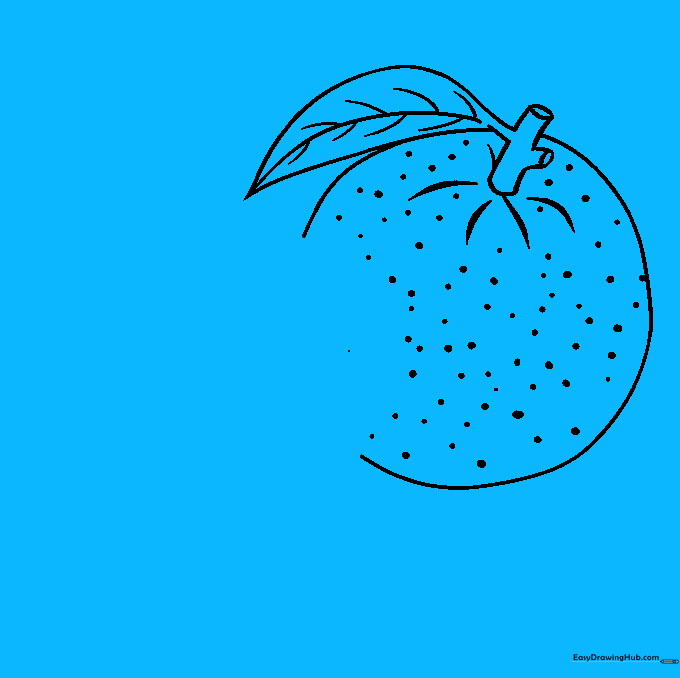
Step 1: Sketching the Base Circle

Draw a light circle to outline the main body of the orange. Teacher's Tip: Keep your pencil pressure very light so you can easily erase any overlapping lines later.
Step 2: Adding the Stem

Draw a small cylinder on top of the circle for the stem, with tiny ovals at the tips for leaves. Teacher's Tip: Think of the stem as a small 'T' shape to keep it centered.
Step 3: Drawing the Leaf
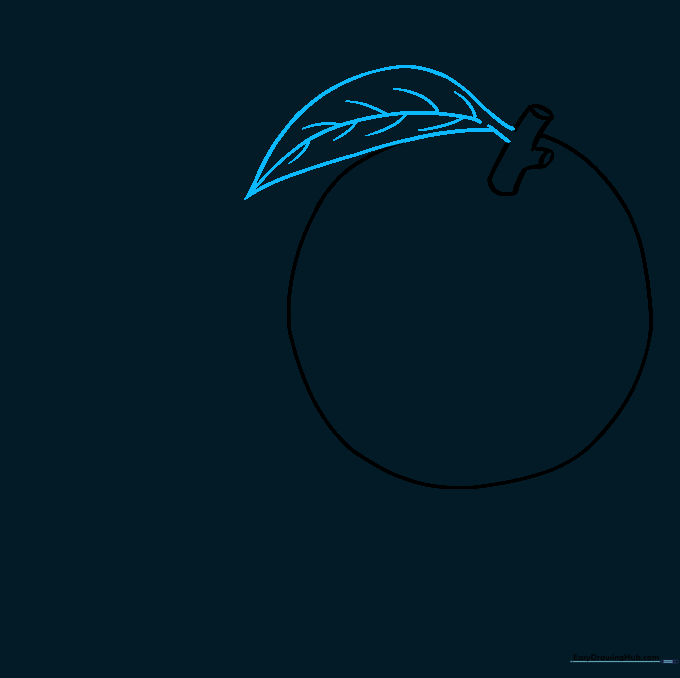
Sketch a leaf using two curved lines that meet at a point. Add a central vein and small diagonal lines for secondary veins. Teacher's Tip: Use short, quick strokes for the veins to make them look natural.
Step 4: Adding Texture
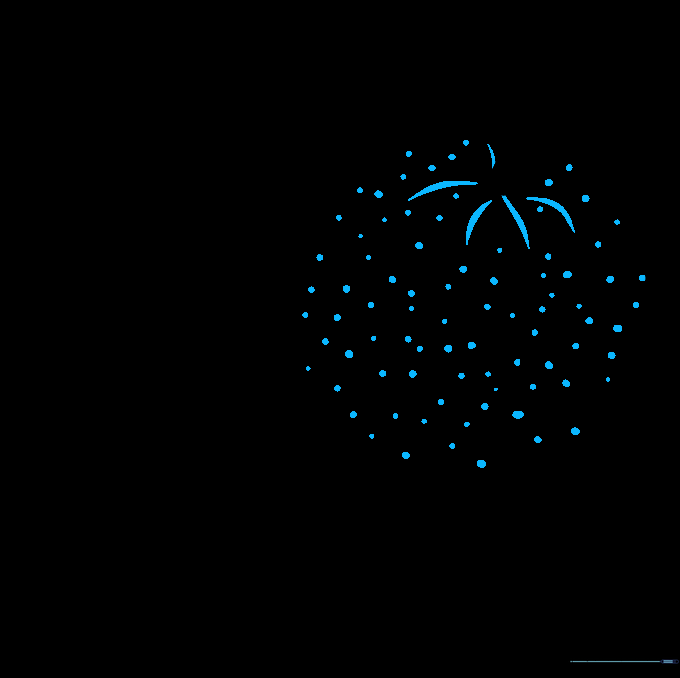
Add curved lines near the stem and scatter small dots across the surface to represent the orange peel's texture. Teacher's Tip: Don't overdo the dots; a few here and there look more realistic than a crowded surface.
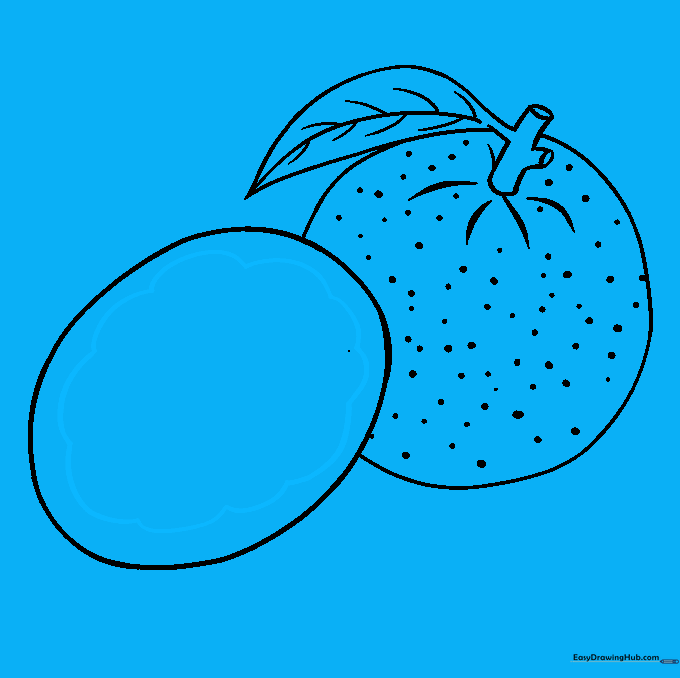
Step 5: Sketching the Sliced Orange
Erase a small section of the first orange and draw an overlapping oval to represent a slice. Teacher's Tip: Use your eraser to clean up the lines where the slice overlaps the whole fruit.
Step 6: Defining the Flesh
Draw a scalloped oval inside the slice to show where the peel meets the fruit. Teacher's Tip: Keep the scalloped lines rounded to mimic the natural segments of an orange.
Step 7: Adding Segments
Draw an irregular shape in the center and extend lines outward to create the individual carpels. Teacher's Tip: These lines don't need to be perfectly straight; organic, slightly wobbly lines look more natural.
Step 8: Refining the Peel
Add a 'C' shaped line around the edge of the slice to give it thickness. Teacher's Tip: This small detail adds depth and makes the slice look like a real piece of fruit.
Step 9: Final Texture

Add a few more dots to the outer peel of the slice to match the texture of the whole orange. Teacher's Tip: Use a slightly darker pencil shade for these dots to make them pop.
Step 10: Adding Color
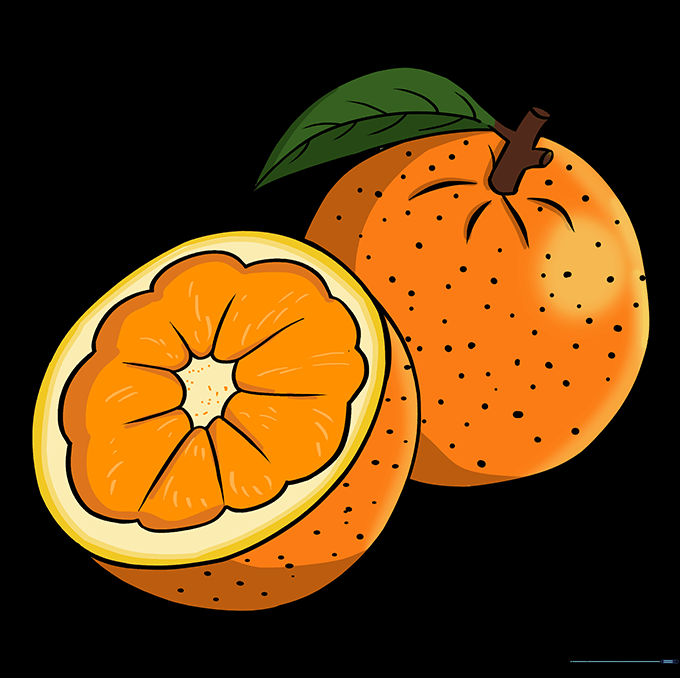
Bring your drawing to life with vibrant orange and green colors. Teacher's Tip: Use light orange for the flesh and a darker, more saturated orange for the peel to create contrast.
More Tutorials


