How to Draw an Open Book: Easy 10-Step Guide for Kids
This step-by-step guide is perfect for young artists ages 5 and up looking to illustrate their favorite stories. You only need a pencil, an eraser, and a piece of paper to get started. Follow along to master the perspective of an open book and bring your own library to life.
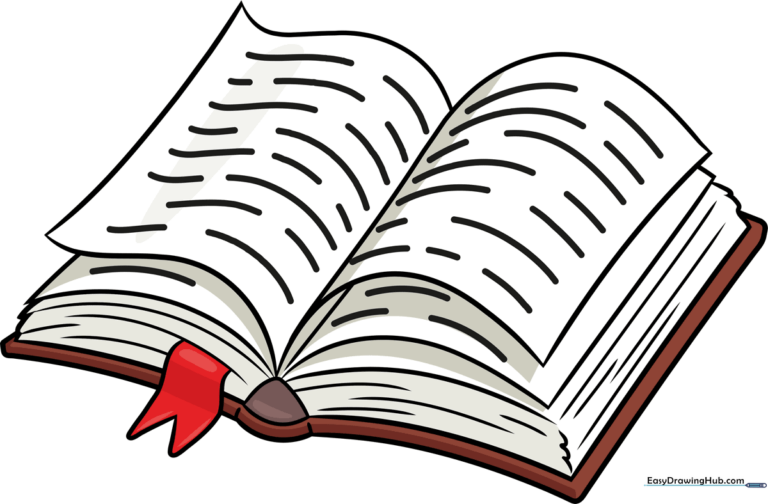
🎯 Final Result
Step-by-Step Instructions
Step 1: Sketching the First Page

Draw three curved lines to outline a wavy, partial rectangle shape. Teacher's Tip: Keep these lines light; this represents the top page of your book, so make it look slightly curved as if it's catching the light.
Step 2: Defining the Spine

Draw a line from the bottom of the page up to the top to outline the binding. Continue the line to form the top of the next page. Teacher's Tip: The spine is the anchor of your drawing, so make this line firm and clear.
Step 3: Adding Depth with More Pages

Draw curved lines beneath your first two pages to represent the thickness of the book. Teacher's Tip: Use short, quick strokes to show the stacked pages underneath the main ones.
Step 4: Shaping the Corners

Draw a rounded triangle at the base of the spine. Add overlapping curved lines at the corners to show the page edges. Teacher's Tip: Think of these as the 'ears' of the book; keep them soft and rounded.
Step 5: Outlining the Cover

Extend short straight lines from the spine and connect them with a curved line to outline the cover. Teacher's Tip: This gives your book a 3D feel, making it look like it's resting on a table.
Step 6: Adding a Bookmark

Draw a 'V' shaped ribbon coming from the spine. Teacher's Tip: A bookmark adds a fun story element—imagine what color your ribbon would be!
Step 7: Texturing the Pages

Add curved lines of various lengths from the spine to the corner. Teacher's Tip: These represent the pages stacked together; don't worry about making them perfect, as pages are naturally uneven.
Step 8: Refining the Edges

Add more curved and straight lines across the page edges. Teacher's Tip: Use a sharp pencil to keep these lines thin and delicate.
Step 9: Adding Text Lines

Draw light, horizontal lines across the pages to indicate writing. Teacher's Tip: Keep these lines very faint so they look like text from a distance.
Step 10: Final Coloring

Color your book! Use warm browns for the cover or bright colors for the bookmark. Teacher's Tip: Use a light yellow or cream for the pages to make them look like real paper.
More Tutorials


