How to Draw an Oak Tree: Easy 10-Step Guide for Kids
Ready to bring a mighty oak to life on your paper? This tutorial is perfect for young artists ages 5 and up, requiring only a pencil, eraser, and paper. By following these simple steps, you will master the structure of a tree while developing essential hand-eye coordination.
🎯 Final Result

Step-by-Step Instructions
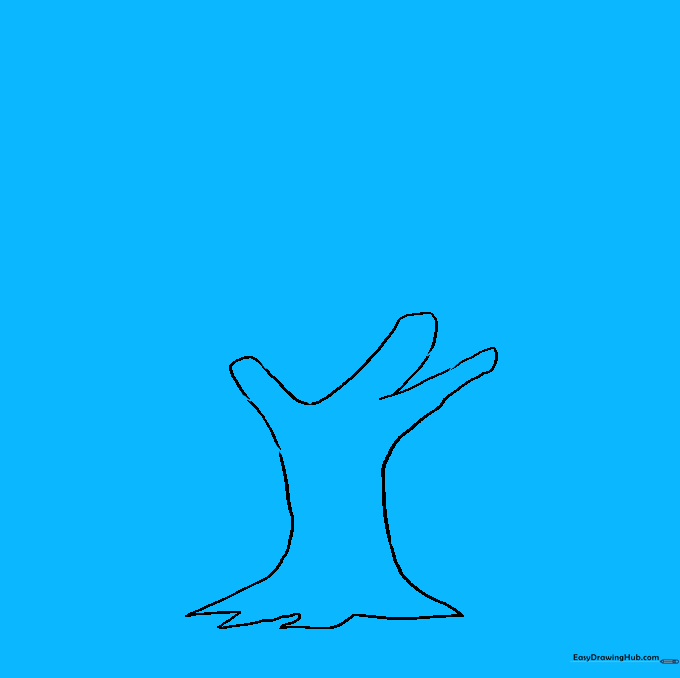
Sketching the Trunk and Main Branches

Start by drawing two curved lines that widen at the bottom to form the trunk. Add 'V' shapes at the top to sprout your first branches. Teacher's Tip: Keep these lines loose and organic—trees are rarely perfectly straight!
Defining the Roots

Extend the trunk lines downward and add inverted 'V' shapes at the base to create sturdy roots. Tip: Think of these as the tree's 'feet' gripping the ground firmly.
Adding Secondary Branches
Add smaller branches branching off your main ones using curved lines. Tip: Vary the length of these branches to make the tree look more natural and balanced.
Adding Bark Texture

Draw short, diagonal lines on the roots and vertical lines on the trunk to simulate bark. Tip: Don't overdo it—a few well-placed lines suggest texture better than a crowded page.
Starting the Leafy Crown

Use a series of 'U' shaped lines to create the outer edge of the treetop. Tip: Imagine you are drawing fluffy clouds sitting on top of your branches.
Expanding the Canopy
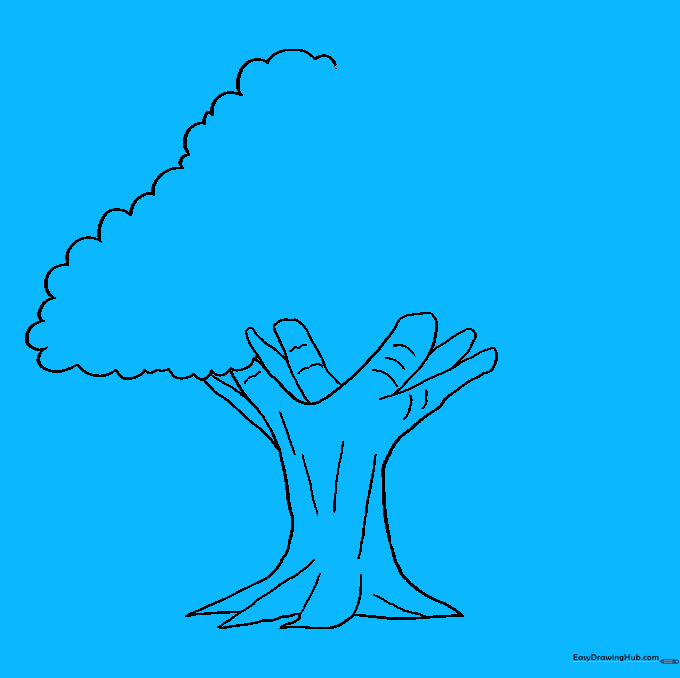
Continue the 'U' shaped pattern across the top of the tree. Tip: Overlap some of your 'U' shapes to make the foliage look dense and healthy.
Closing the Treetop Shape
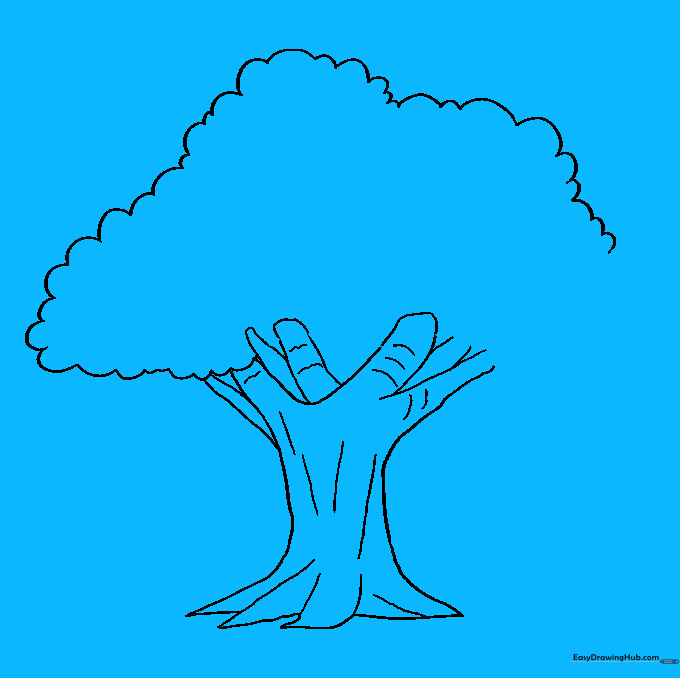
Connect your lines to finish the silhouette of the crown. Ensure the foliage looks like it is resting on the branches you drew earlier.
Adding Internal Leaf Detail
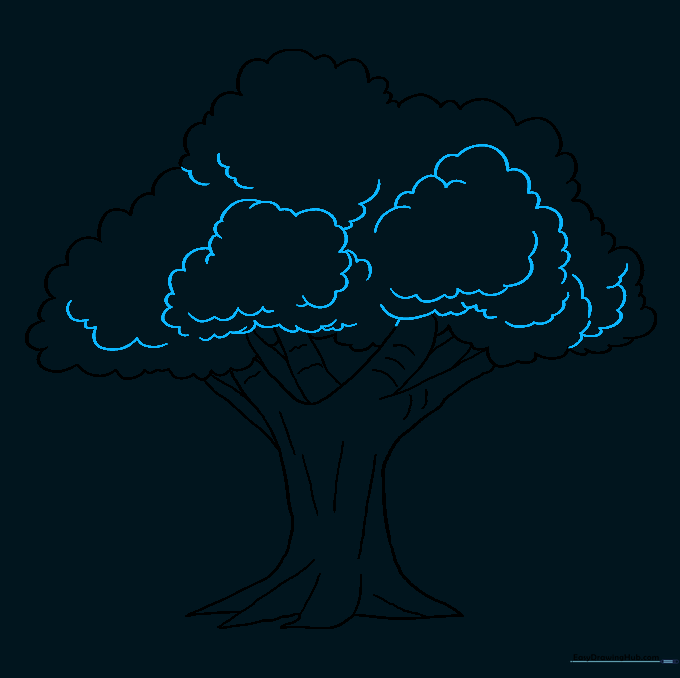
Add more 'U' shapes inside the canopy to create depth and texture. Tip: This makes the tree look like it has many layers of leaves rather than just one flat shape.
Drawing Acorns
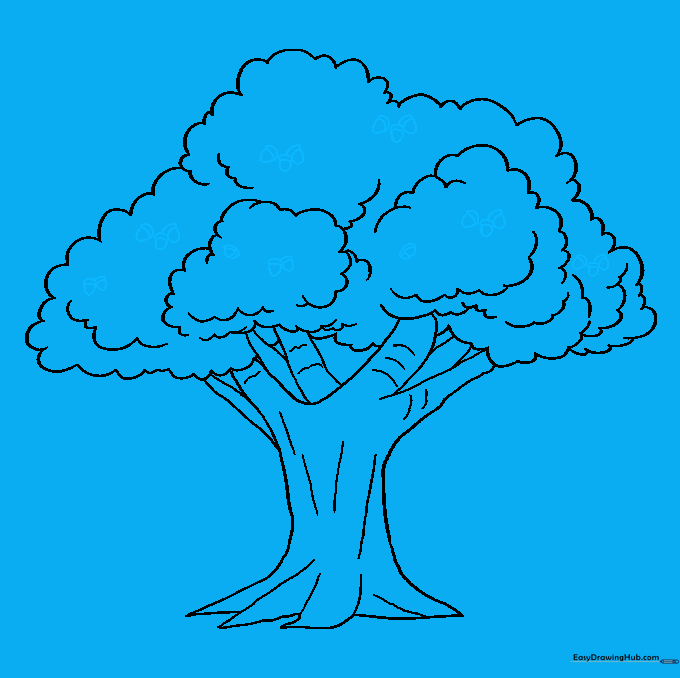
Draw small acorns hanging from the branches. Create a small cap with a curved line and a 'U' shape for the nut. Tip: Acorns are small, so keep these details tiny to maintain the scale of the tree.
Adding Color
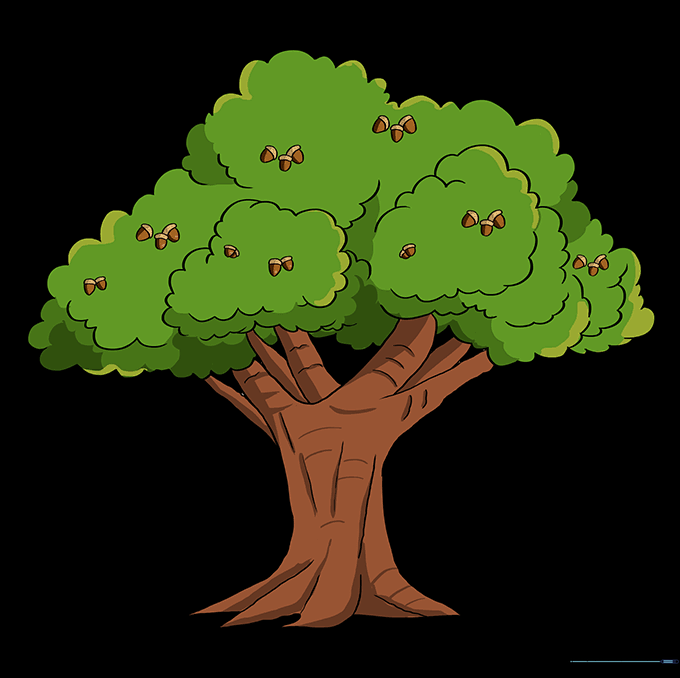
Bring your tree to life with color! Use brown for the trunk and vibrant greens for the leaves. Tip: Try using two shades of green to show where the sun hits the leaves.
More Tutorials


