How to Draw an Impossible Trident: Easy Optical Illusion
Ready to trick your eyes? This classic impossible object is a fantastic way for artists ages 8+ to explore spatial geometry and perspective. All you need is a pencil, an eraser, and a steady hand to create this mind-bending shape.
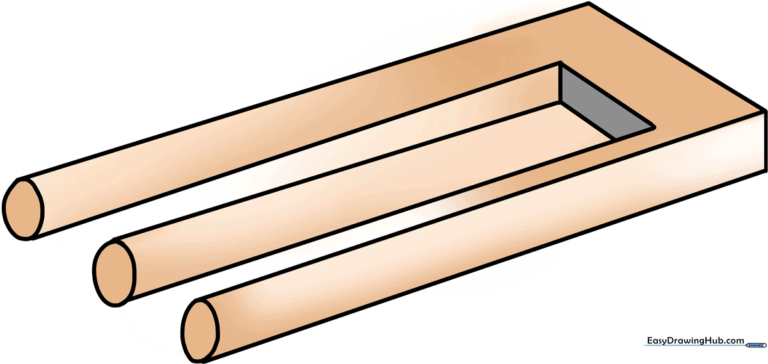
🎯 Final Result
Step-by-Step Instructions
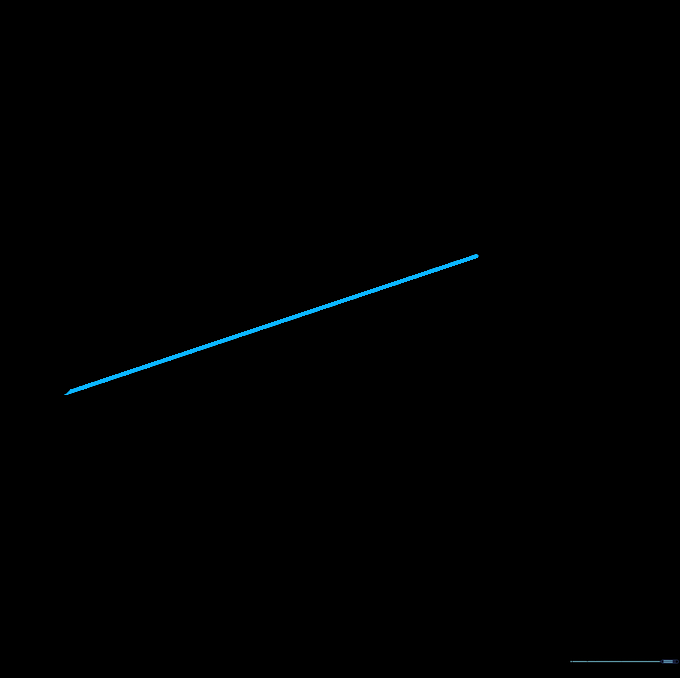
Step 1: Sketching the Base Frame
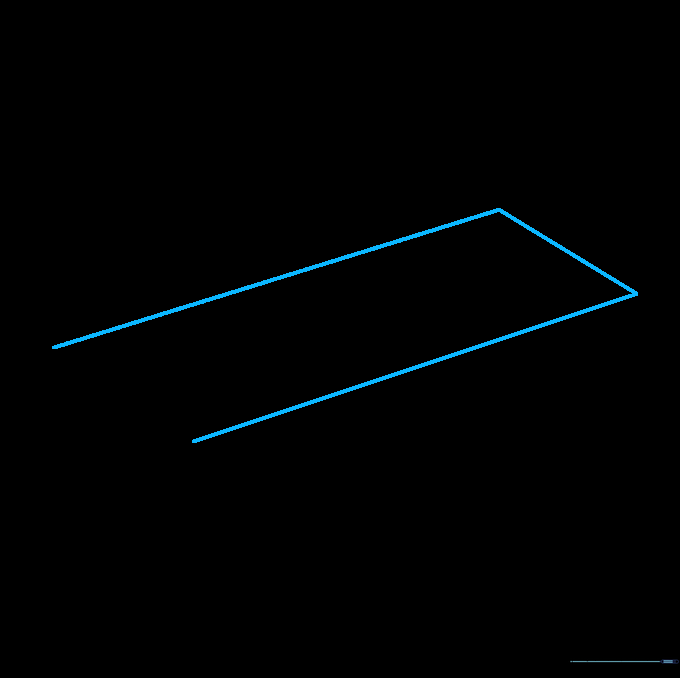
Draw three straight lines connected at right angles to form a U-shape. Tip: Keep your lines light and diagonal; the middle line should be noticeably shorter than the outer two to set up the illusion correctly.
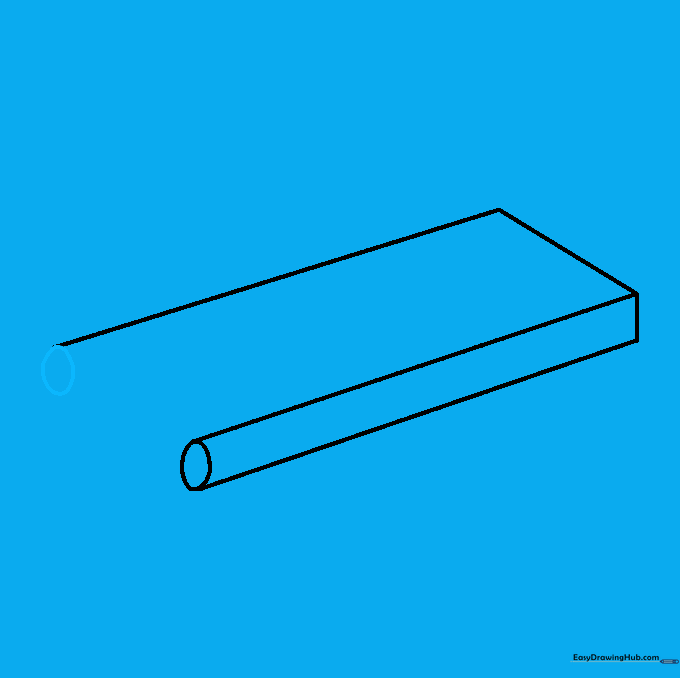
Step 2: Capping the First Prong
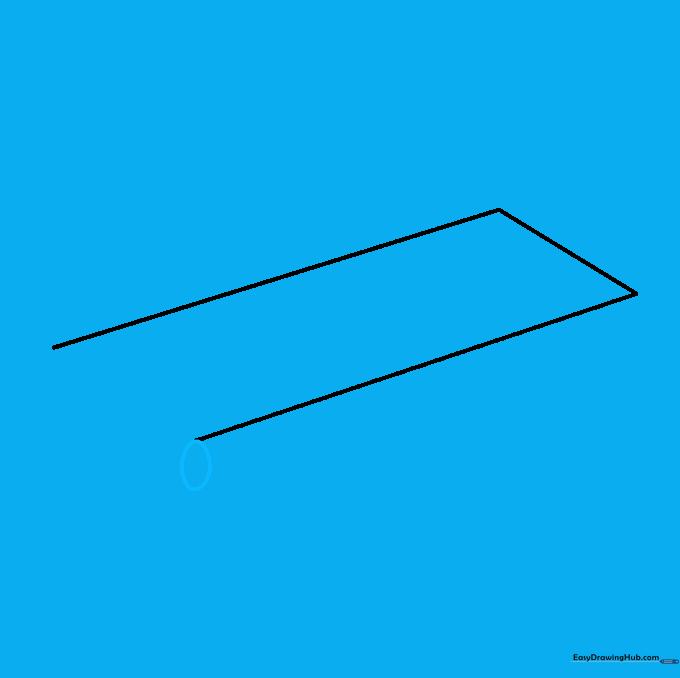
Draw a small, neat oval at the end of the leftmost line. Tip: This oval acts as the 'cap' of your prong; make sure it is centered perfectly over the line end.
Step 3: Defining the First Prong
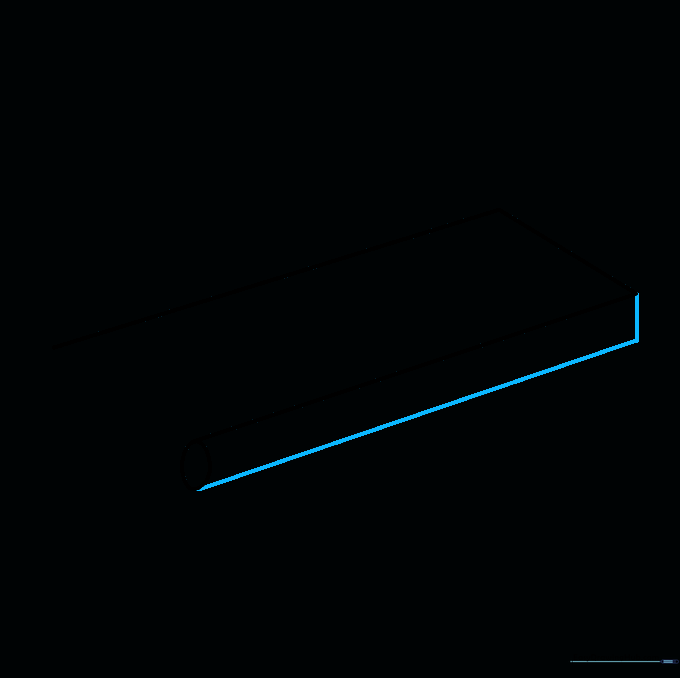
Draw a long line parallel to the first one, starting from the base of the oval. Connect it back to the main structure with a short horizontal stroke. Tip: Use a ruler if you struggle with parallel lines to keep the illusion crisp.
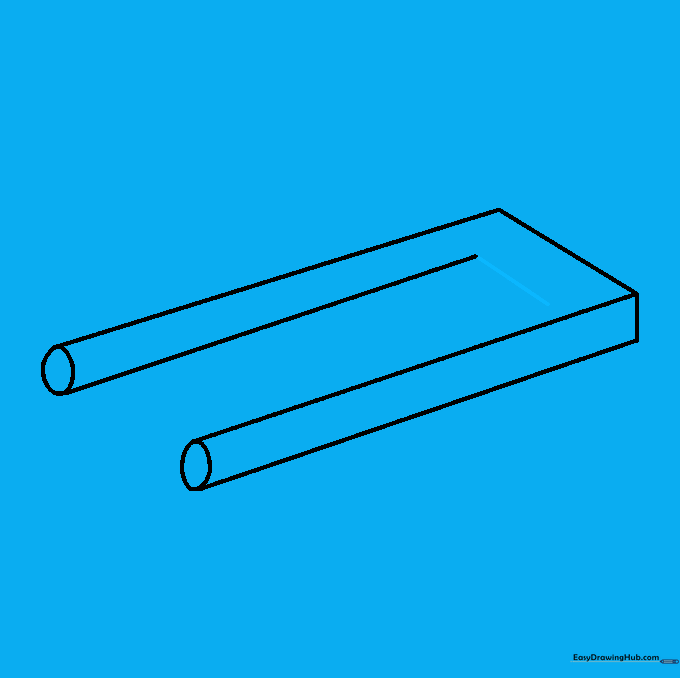
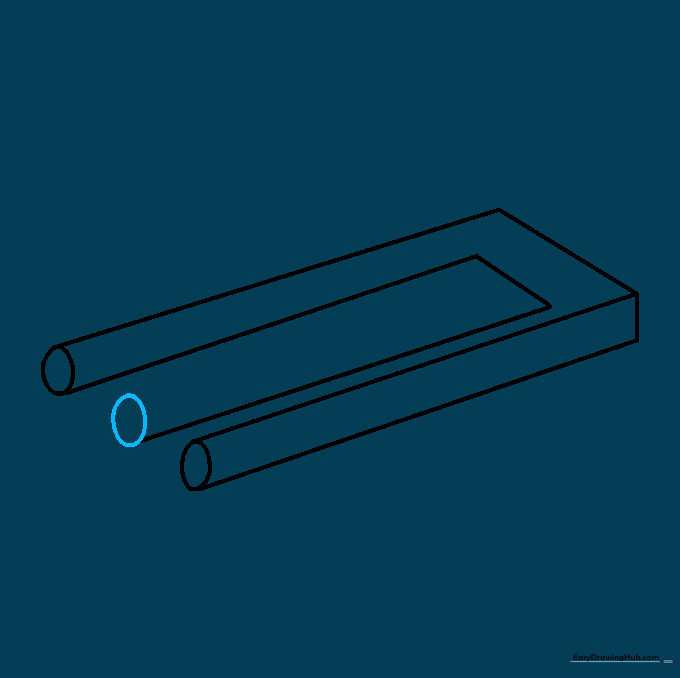
Step 4: Capping the Second Prong
Place a small oval at the tip of the rightmost line. Tip: Try to match the size and angle of the first oval to maintain symmetry.
Step 5: Outlining the Second Prong
Draw a long line parallel to the right prong, extending from the oval. Tip: Ensure this line is perfectly straight to prevent the illusion from looking 'wobbly'.
Step 6: Connecting the Back
Draw a short line from the inner edge of the second prong, moving toward the center. Tip: Do not connect it to the first prong yet; leave a small gap to create the 'impossible' effect.
Step 7: Extending the Middle Prong
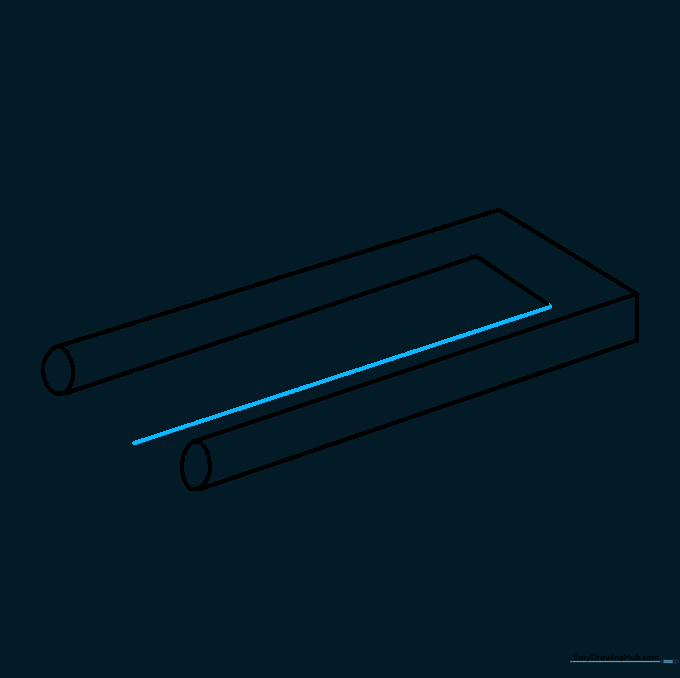
Extend a line from the previous step, parallel to the first prong, pushing it past the tip. Tip: This is where the magic happens—this line will eventually become the middle prong.
Step 8: Capping the Middle Prong
Add an oval to the end of the line you just drew. Tip: This oval should look like it's floating in front of the other two prongs.
Step 9: Finalizing the Geometry
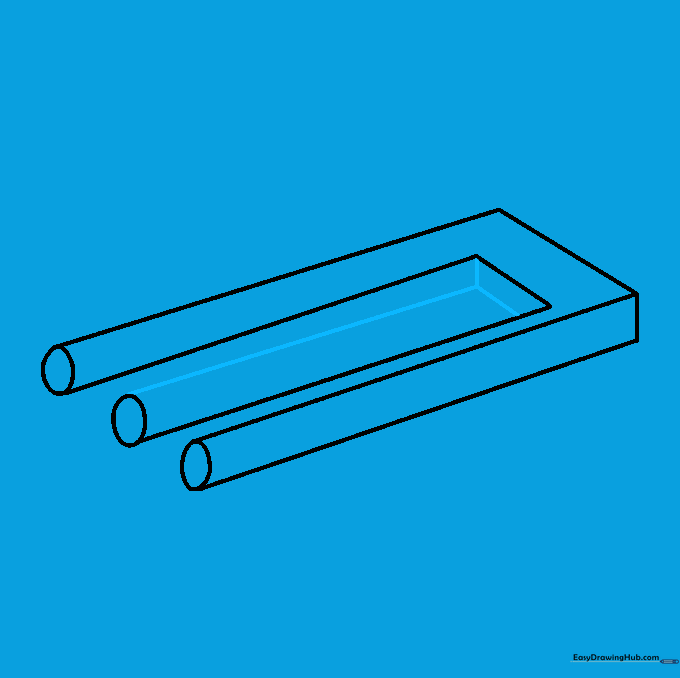
Connect the lines to close the shape, ensuring the angles match the rest of the drawing. Tip: If it looks confusing, don't worry—that means the illusion is working!
Step 10: Adding Depth with Shading
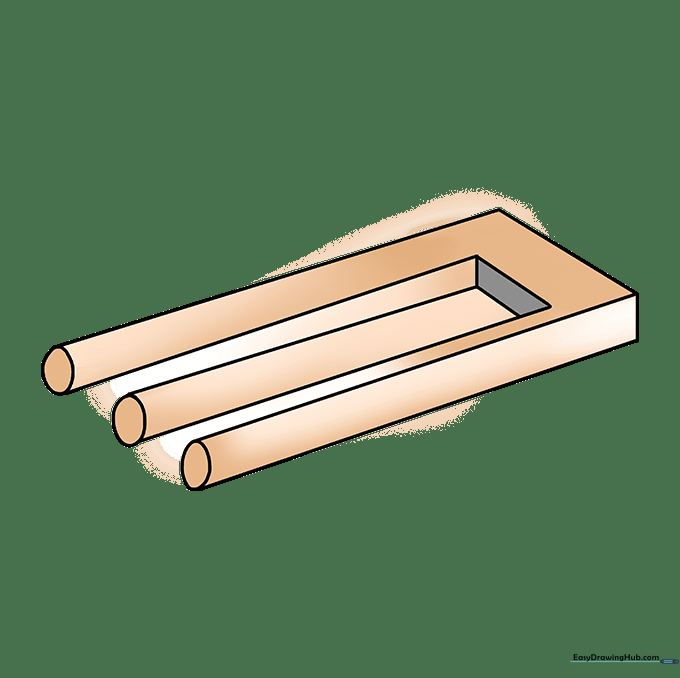
Use your pencil to add shading to the sides of the prongs. Tip: Darker shading on the inner edges creates a 3D effect that makes the trident look truly impossible.
More Tutorials


