How to Draw an Impossible Hexagon: Easy Optical Illusion Guide
Ready to challenge your brain? This impossible hexagon tutorial is a fantastic screen-free activity for artists ages 7 and up. You only need a pencil, an eraser, and a ruler to create this mind-bending geometric illusion that looks like it defies the laws of physics.
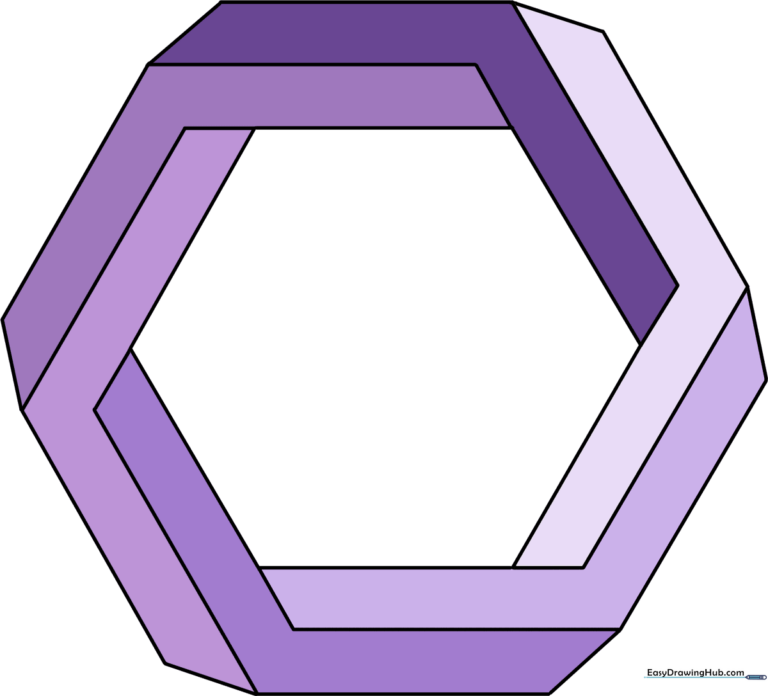
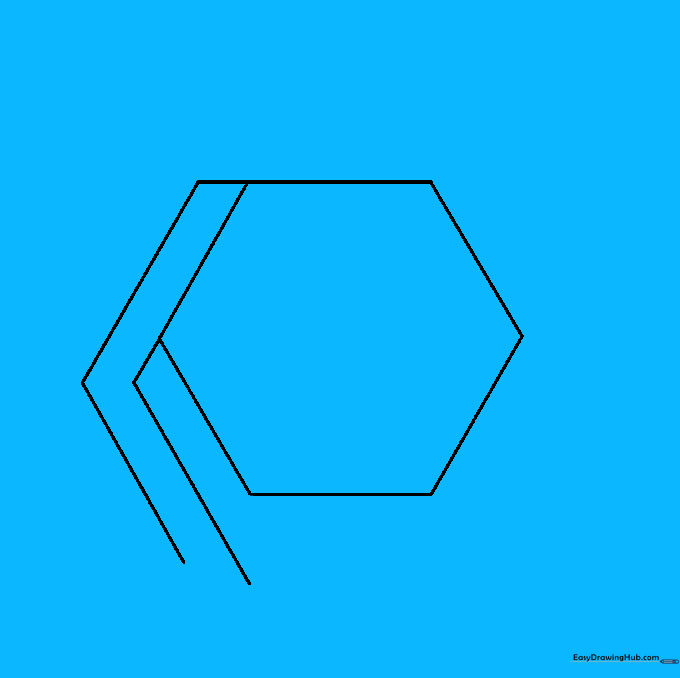
🎯 Final Result
Step-by-Step Instructions
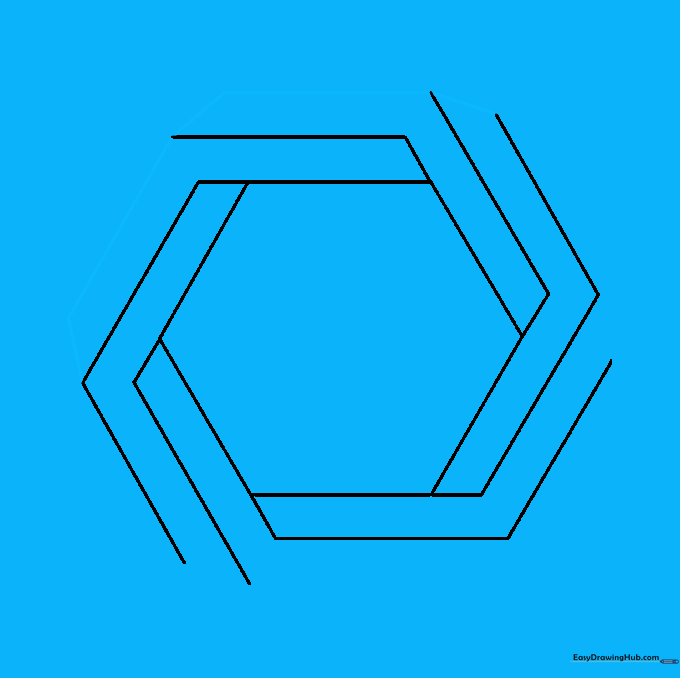
Step 1: Sketch the Base Hexagon
Lightly draw a standard six-sided hexagon. Teacher's Tip: Use a ruler to ensure all sides are equal length; keeping your lines faint makes it much easier to clean up the illusion later.
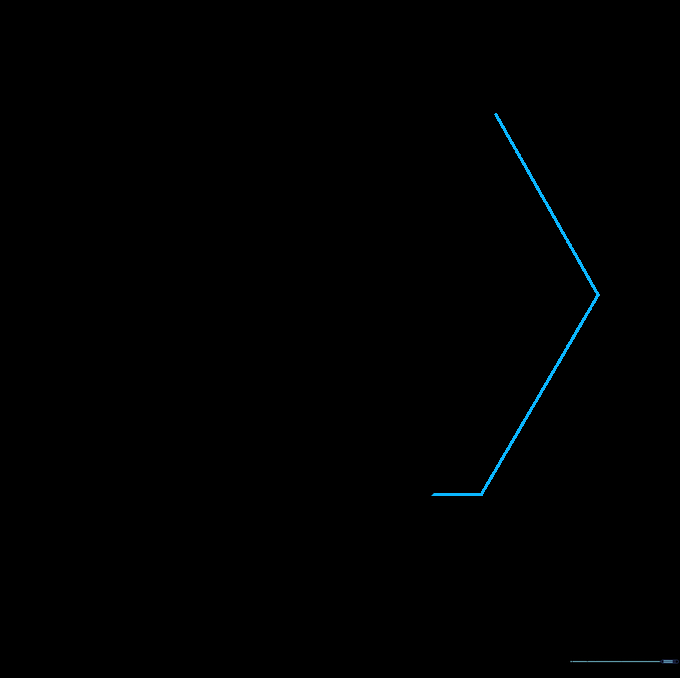
Step 2: Adding Depth Lines
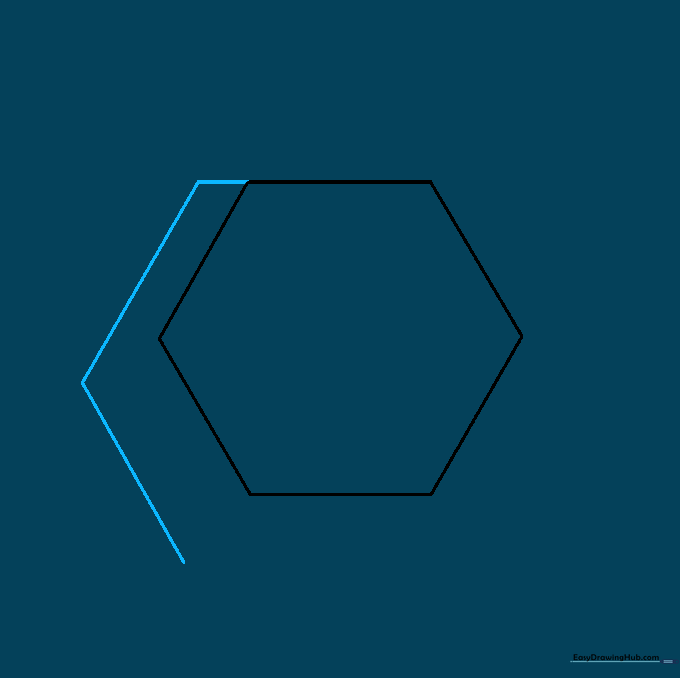
Draw a short line extending from the top corner, then add a longer line parallel to the hexagon's side. Tip: Pay close attention to the spacing; the gap between these lines creates the '3D' effect.
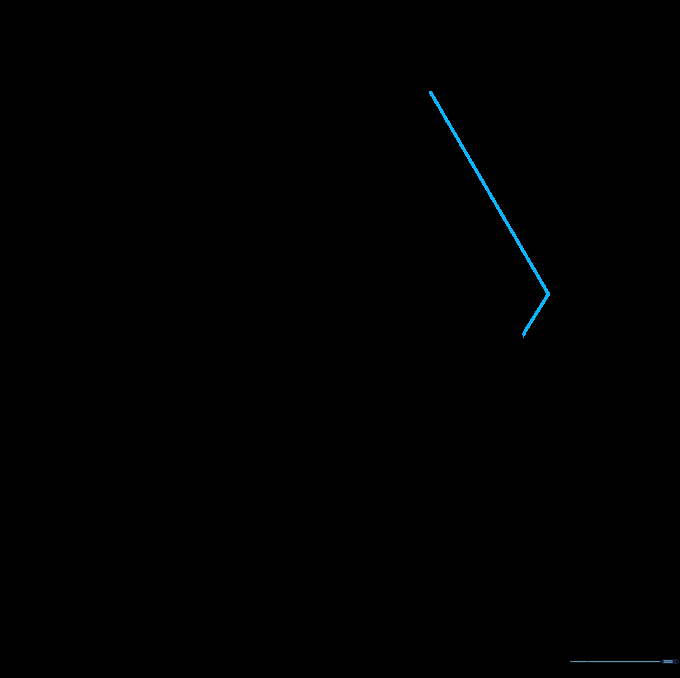
Step 3: Extending the Geometry
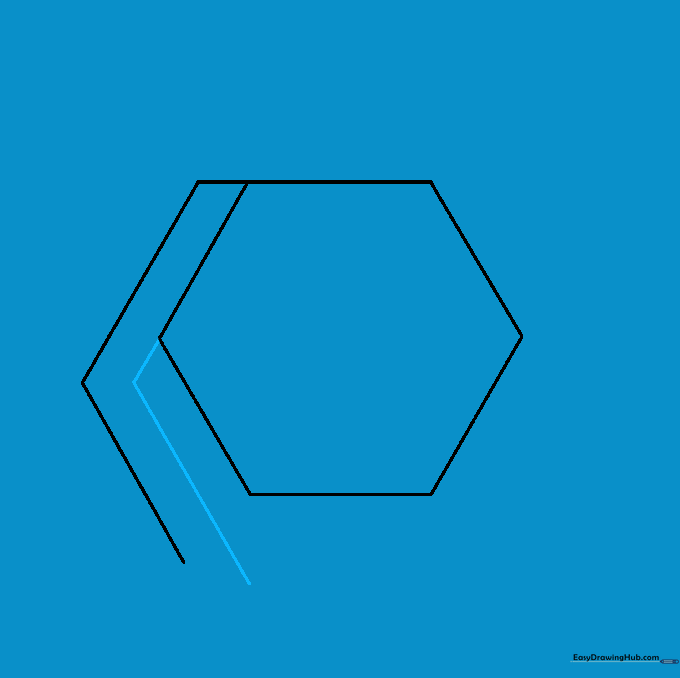
Draw a short, straight line from the next corner, extending a line parallel to the side. Tip: Keep your ruler steady—precision is the secret to making this shape look truly 'impossible.'
Step 4: Working the Bottom Corner
Extend a short line from the bottom corner, drawing a line parallel to the base. Then, angle a line upward. Tip: Check that your lines are perfectly parallel to the original hexagon sides.
Step 5: Continuing the Pattern
Draw a short line from the remaining bottom corner, then add lines parallel to the sides. Tip: If you feel lost, look at the shape as a series of 'ribbons' wrapping around a center point.
Step 6: Adding Side Details
Draw a short line from the next corner and extend it parallel to the side. Tip: Don't worry if it looks messy; we will clean up the overlapping lines in the final steps.
Step 7: Final Corner Adjustment
Draw a short line from the final corner and extend it parallel to the top. Tip: You should now see the 'impossible' structure starting to take shape!
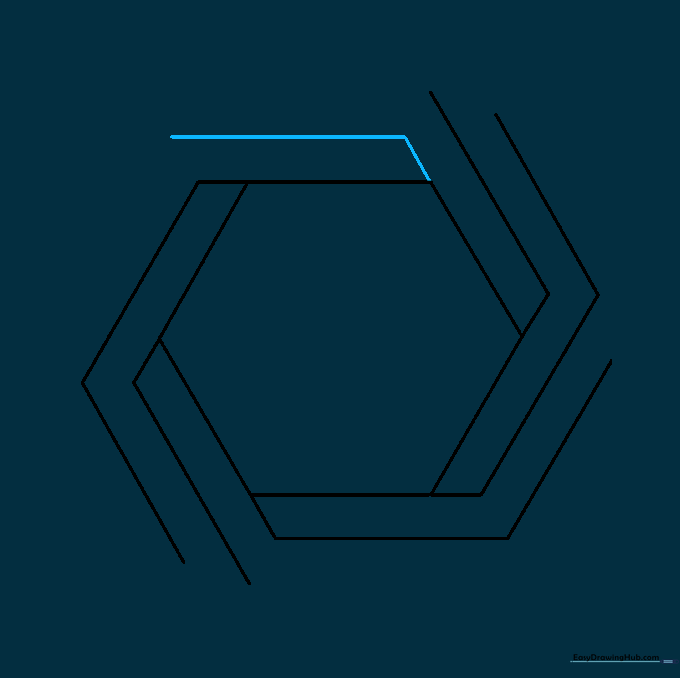
Step 8: Connecting the Edges
Connect the outer edges by extending short lines from the top corner. Tip: This step 'locks' the illusion together, making it look like a continuous, impossible loop.
Step 9: Finalizing the Outline
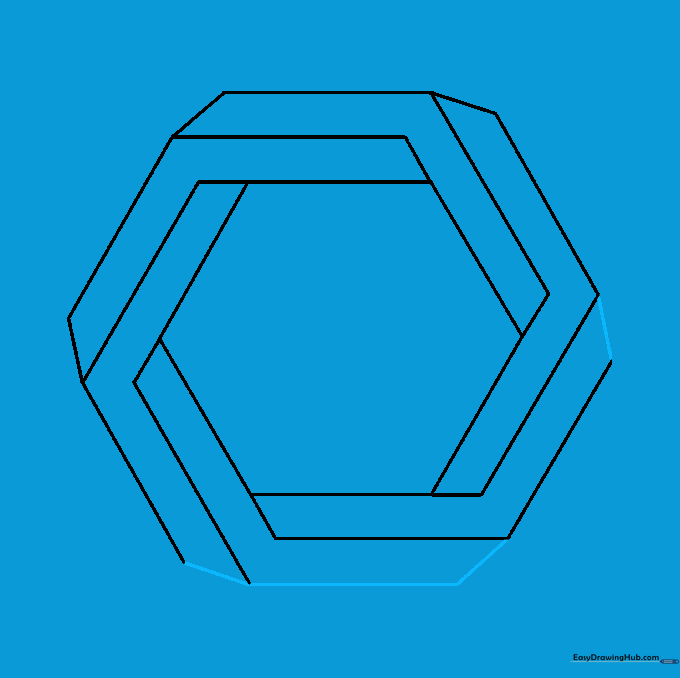
Connect all remaining open-ended lines. Tip: Use a darker pencil or fine-liner to trace the final shape, then erase any stray construction lines to make the illusion pop.
Step 10: Adding Shading
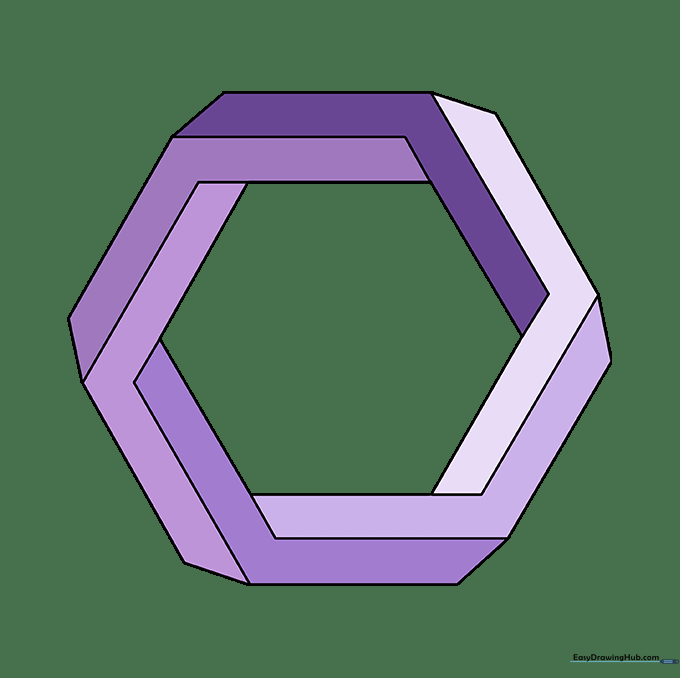
Use shading to give your hexagon a 3D feel. Tip: Shade one side of each 'ribbon' darker than the others to create a realistic light-and-shadow effect that makes the illusion look solid.
More Tutorials


