How to Draw an Icicle: Easy 10-Step Winter Art Guide
Bring a touch of winter magic to your sketchbook with this easy icicle drawing tutorial. Designed for young artists and beginners, this activity requires only a pencil, an eraser, and a sheet of paper. Follow along to master organic, wavy lines and create a sparkling, frozen masterpiece.
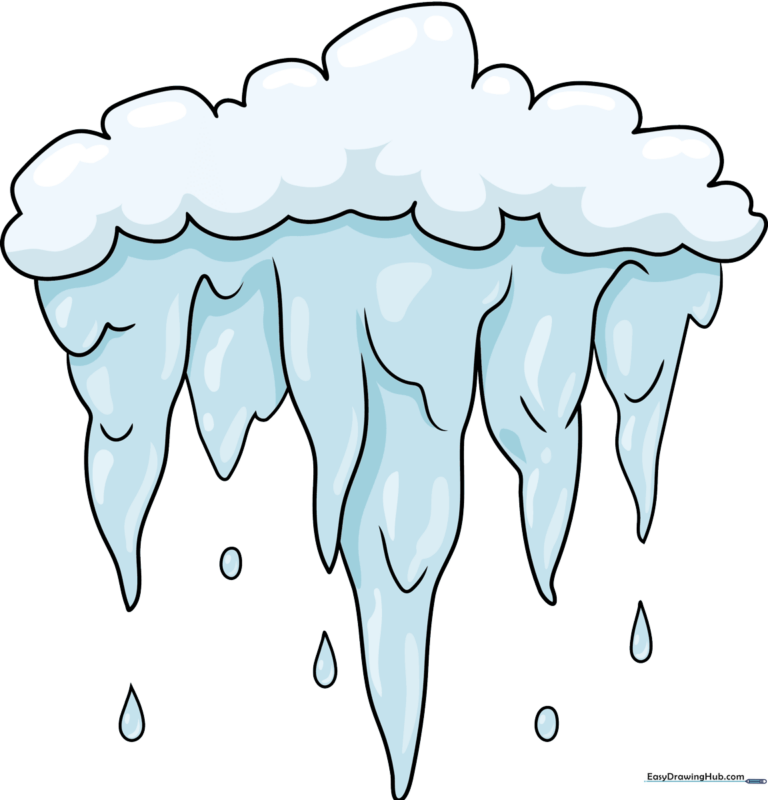
🎯 Final Result
Step-by-Step Instructions
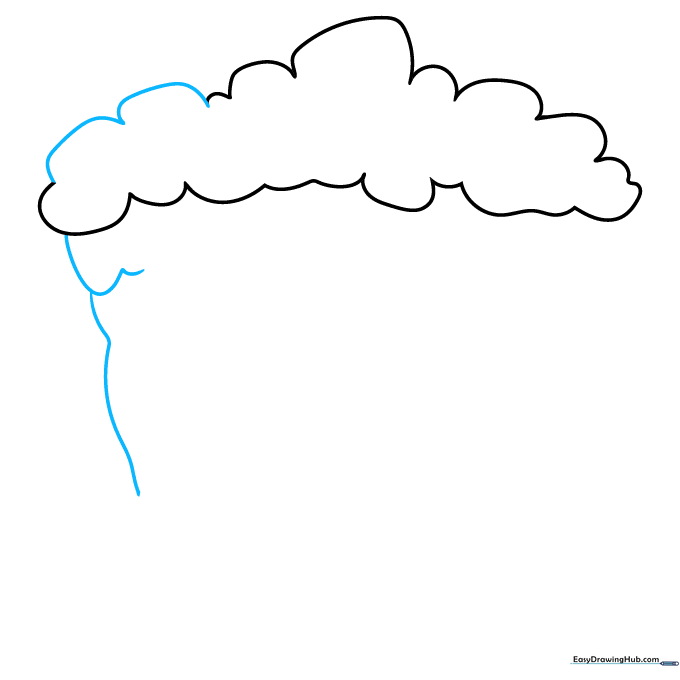
Step 1: Sketching the Base
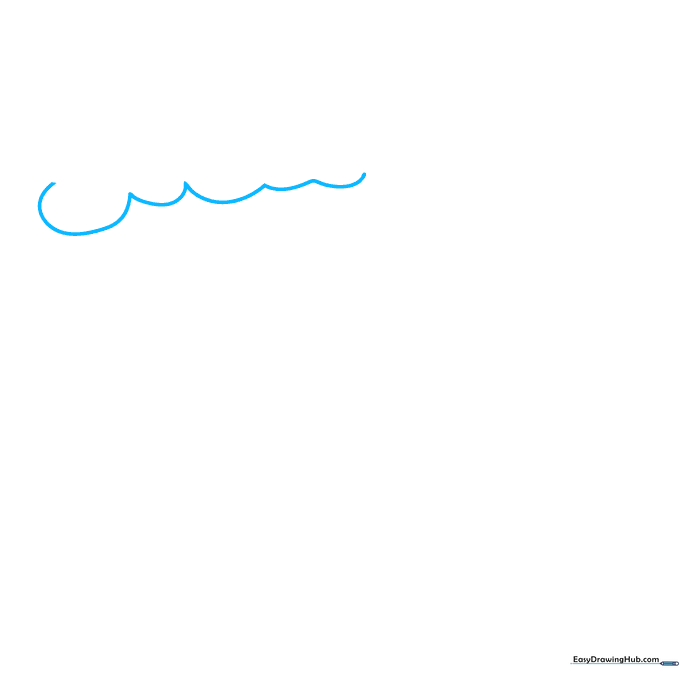
Start by drawing a series of connected, soft curved lines. Teacher's Tip: Keep your pencil grip loose; these lines represent the roof or surface where the ice is forming, so they should look natural and slightly bumpy.
Step 2: Varying the Lengths
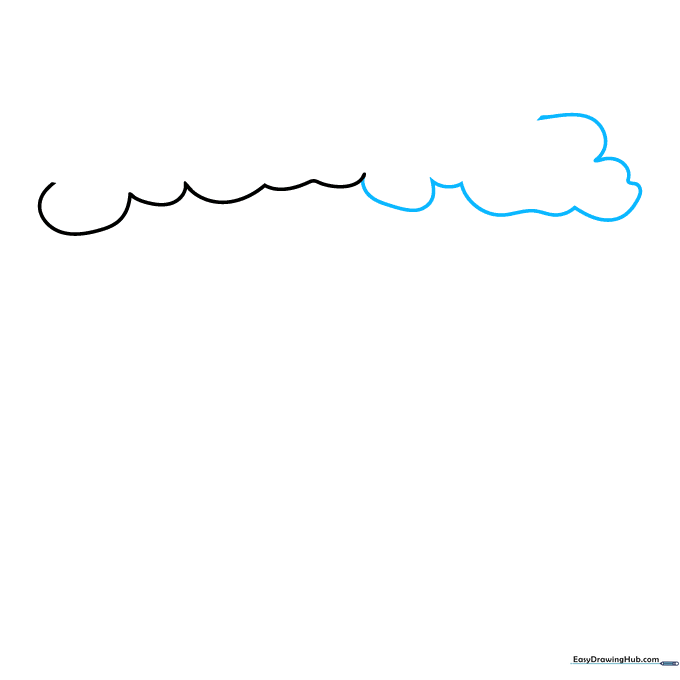
Continue adding connected curved lines of different lengths. Teacher's Tip: Variety is key! Mixing short and long curves makes your drawing look more realistic and less like a uniform pattern.
Step 3: Building the Cloud Shape
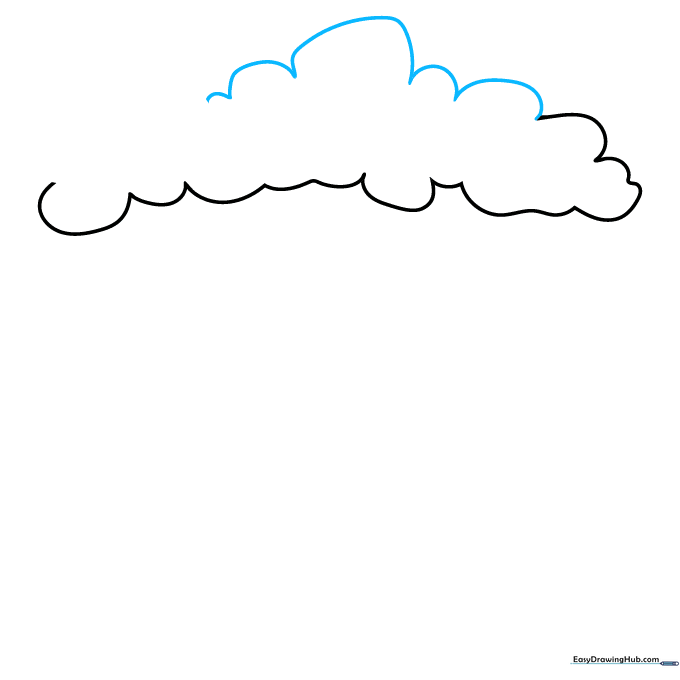
Keep adding more curved lines to extend the cluster. Teacher's Tip: Think of this as drawing a fluffy cloud shape; don't press too hard, as we will be adding detail lines inside later.
Step 4: Defining the First Icicle
Close the cloud shape and draw a long, wavy line extending downward from the base. Teacher's Tip: This is the 'spine' of your first icicle. Keep the line fluid to mimic the way water drips and freezes.
Step 5: Creating the Point
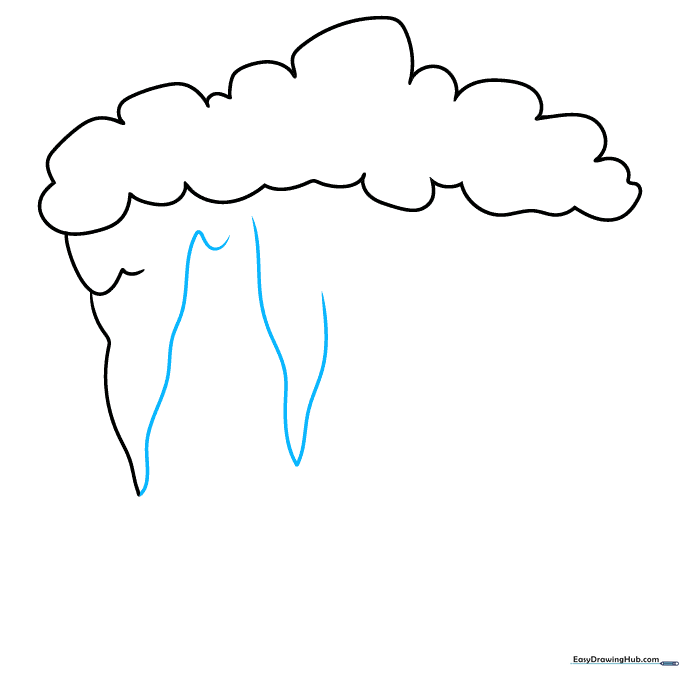
Draw a second curved line to meet the first, forming a sharp point. Then, start a 'V' shape for the next icicle. Teacher's Tip: Icicles are sharp at the bottom, so try to make your lines converge into a fine point.
Step 6: Adding Overlapping Icicles
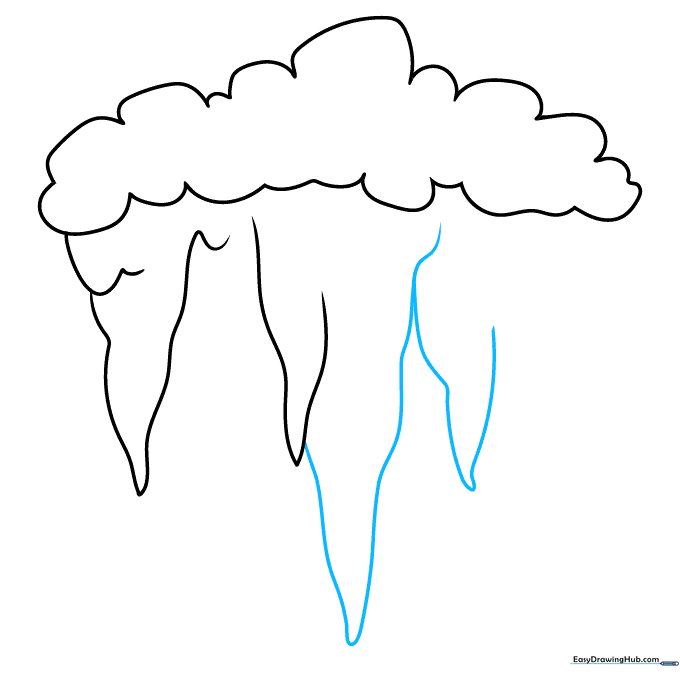
Add more 'V' shapes to create a cluster. Teacher's Tip: Notice how the icicles overlap? Drawing one slightly behind another adds depth to your drawing.
Step 7: Elongating the Shapes
Intersect curved lines with your existing 'V' shapes to make them look longer. Teacher's Tip: Don't be afraid to make some icicles look slightly crooked; ice rarely grows in perfectly straight lines!
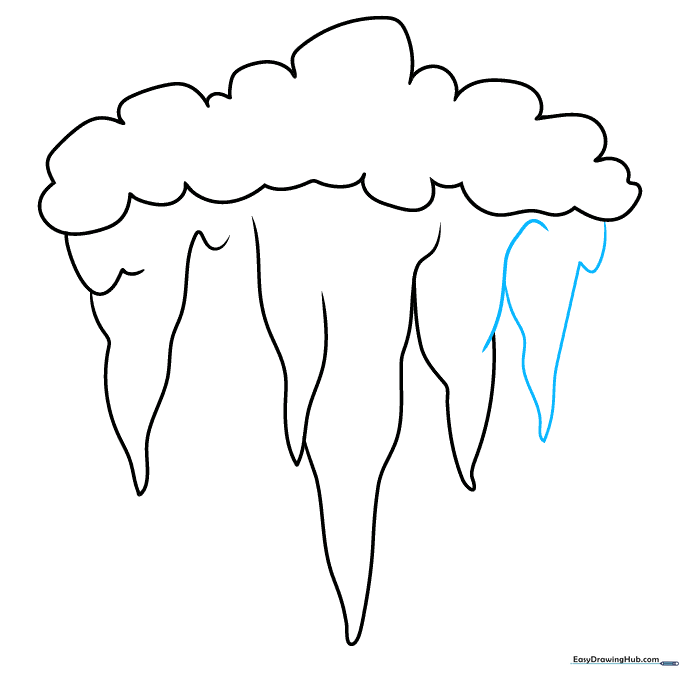
Step 8: Adding Texture
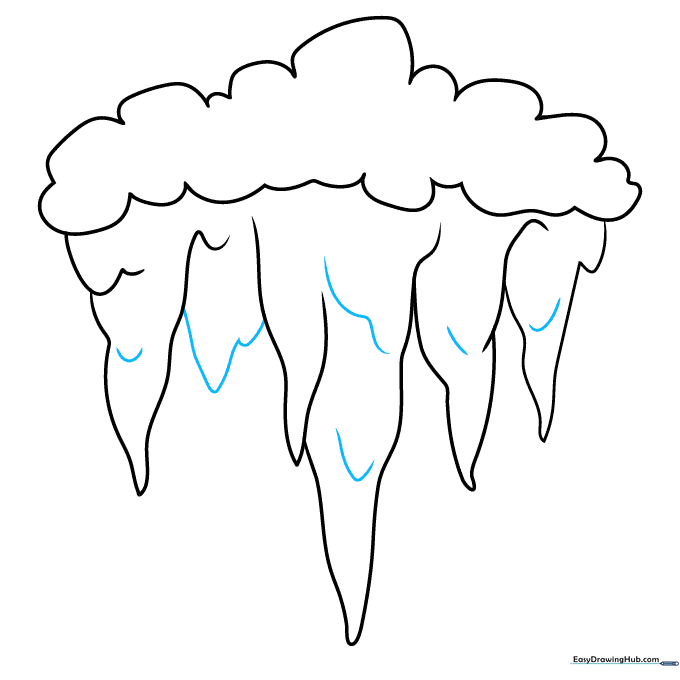
Use small curved lines to contour the icicles and fill in any empty gaps. Teacher's Tip: These contour lines suggest the ridges and uneven surface of real ice.
Step 9: Drawing Melting Droplets
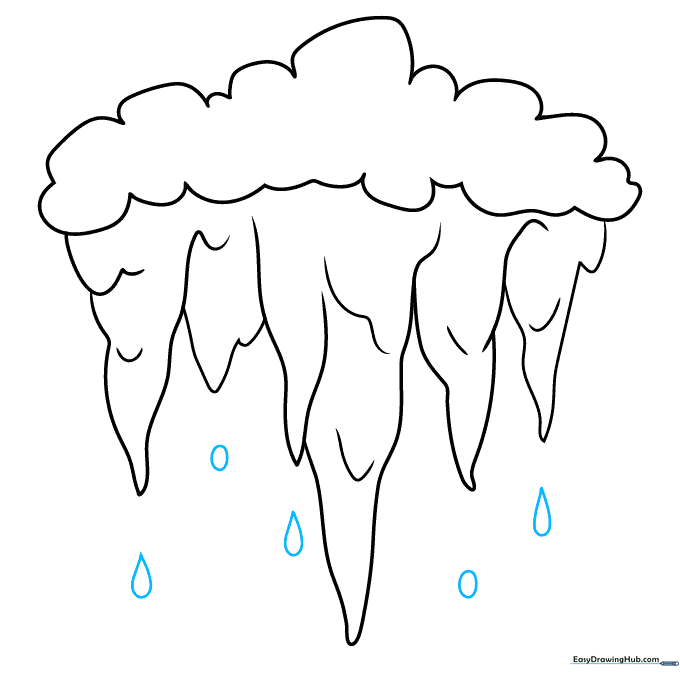
Draw small ovals and teardrop shapes beneath the icicles. Teacher's Tip: This adds a narrative element—it shows the icicles are beginning to melt in the sun!
Step 10: Adding Color
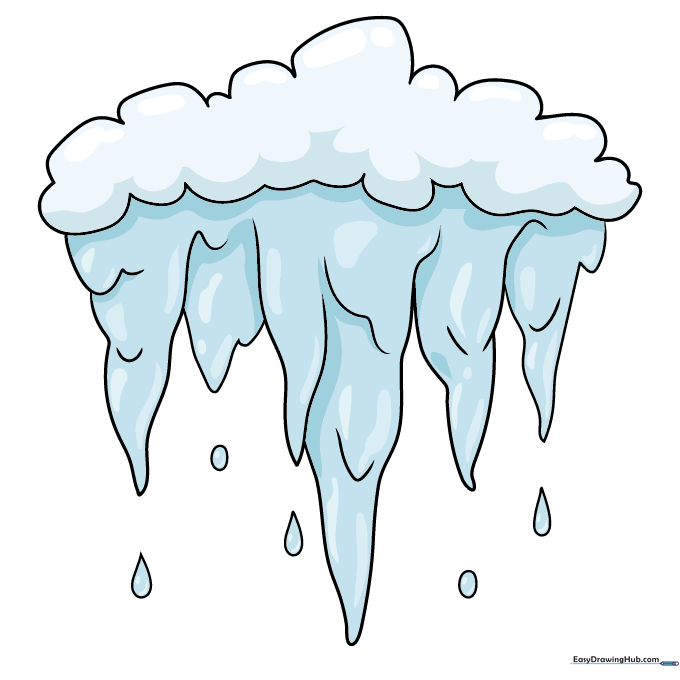
Bring your drawing to life with light blue and white. Teacher's Tip: Use colored pencils to layer light blue on the edges and leave the centers white for a realistic, glassy shine.
More Tutorials


