How to Draw an Explosion: Easy Step-by-Step Guide
Ready to add some action to your artwork? This tutorial is perfect for young artists ages 6+ looking to master dynamic shapes. All you need is a pencil, an eraser, and a piece of paper to bring this explosive scene to life.
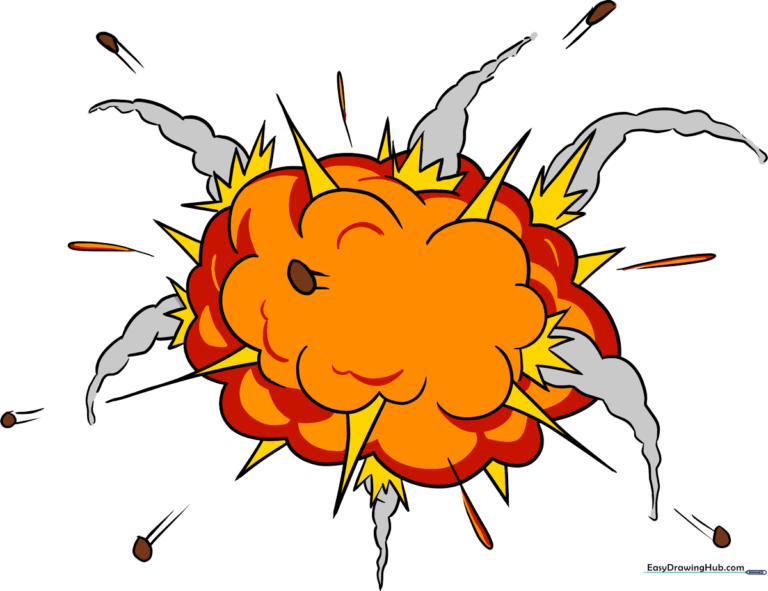
🎯 Final Result
Step-by-Step Instructions
Step 1: Sketching the Core Cloud

Start by drawing a loose, rounded shape to represent the main dust cloud. Teacher's Tip: Use light, sketchy lines rather than one continuous stroke; this makes it look more organic and easier to adjust later.
Step 2: Adding Fluffy Texture

Give your cloud a 'puffy' look by drawing overlapping 'U' shaped curves along the edges. Teacher's Tip: Vary the size of your 'U' shapes to make the cloud look more natural and less like a perfect circle.
Step 3: Creating Motion Spikes
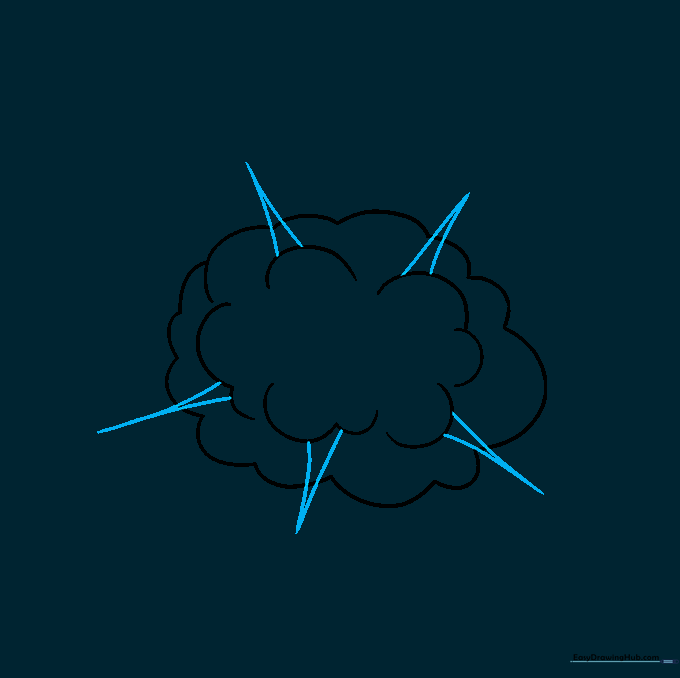
Draw narrow, sharp triangles extending from the inner lobes of your cloud. Teacher's Tip: Make sure the points are very sharp—this creates the illusion of high-speed energy bursting outward.
Step 4: Extending the Energy
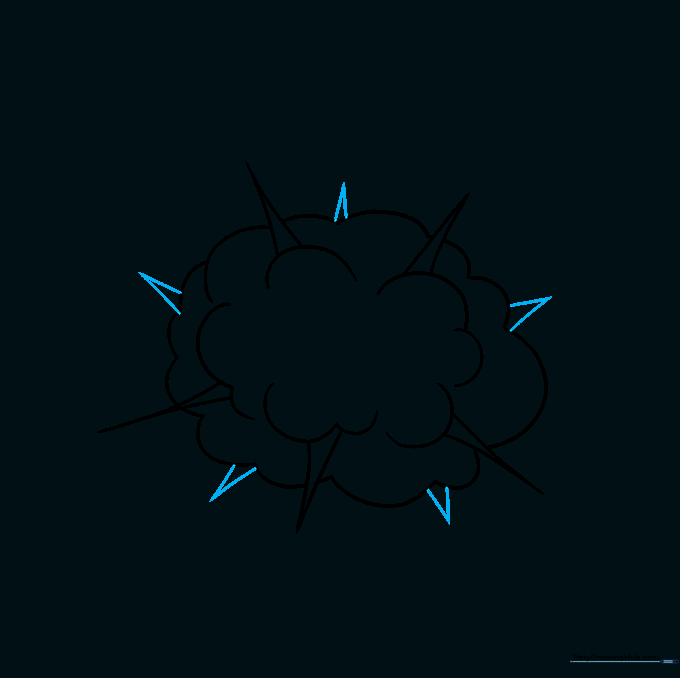
Add more triangular shapes to the exterior of the cloud. Teacher's Tip: Don't worry about making them symmetrical; explosions are chaotic, so uneven shapes actually look more realistic!
Step 5: Adding Jagged Details
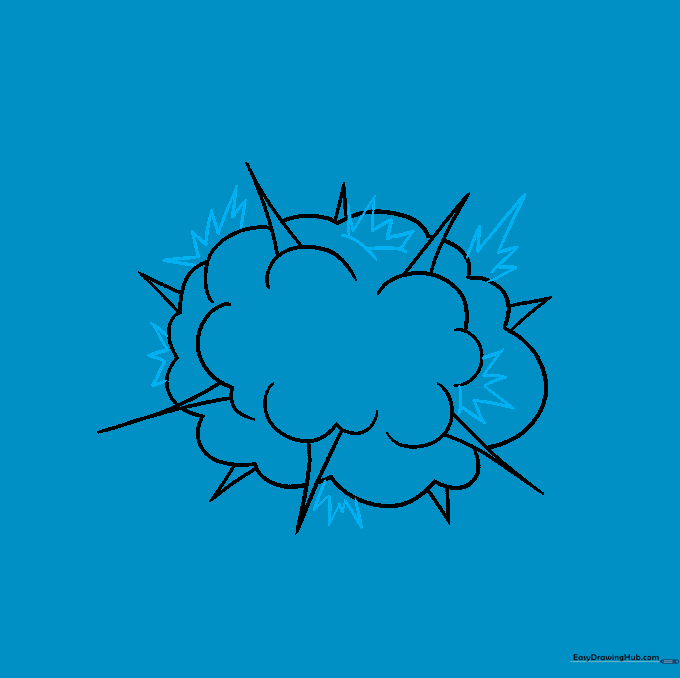
Draw short, jagged lines around the exterior and interior of the cloud. Teacher's Tip: Use quick, flicking motions with your wrist to get those sharp, energetic edges.
Step 6: Drawing Smoke Billows
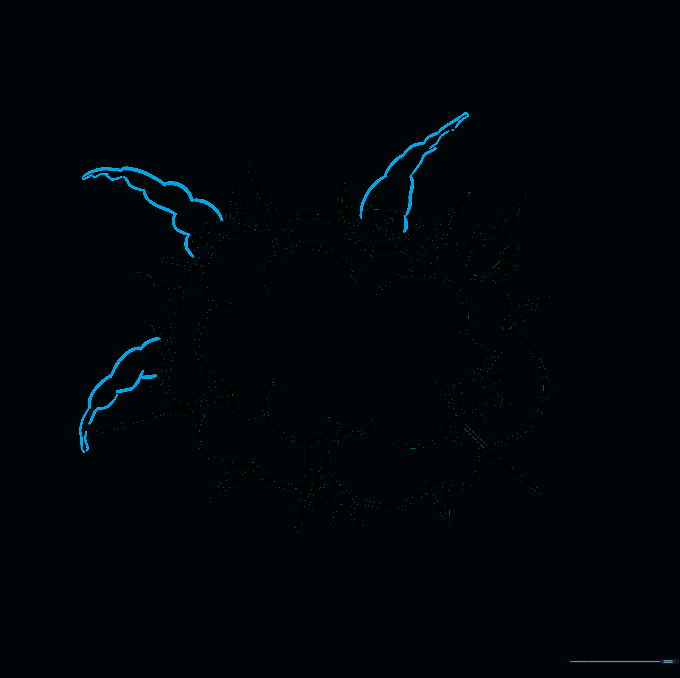
Add narrow, curved triangular shapes coming off the main cloud to represent smoke. Teacher's Tip: Keep these shapes thinner than your primary explosion spikes to show they are drifting away.
Step 7: Balancing the Smoke
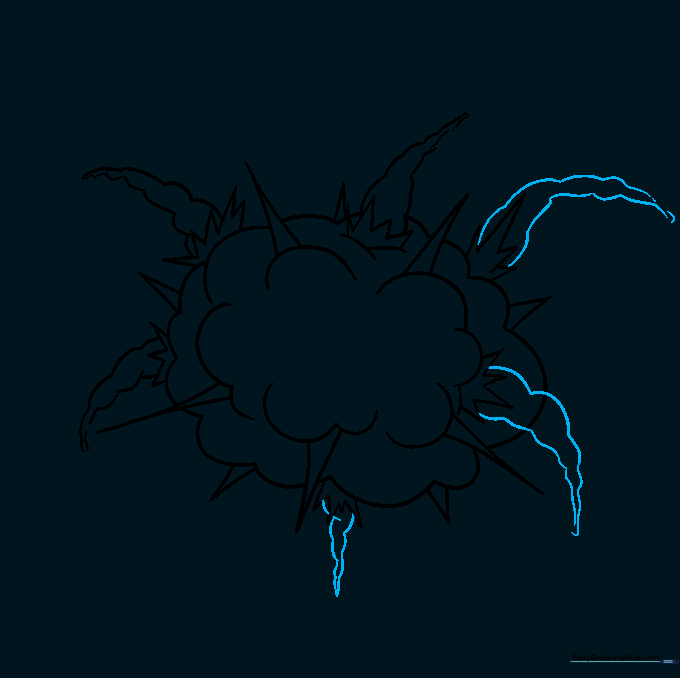
Add more smoke billows on the opposite side to balance your drawing. Teacher's Tip: Try to vary the length of these smoke trails so the explosion doesn't look too uniform.
Step 8: Adding Flying Debris

Draw small teardrop shapes floating around the explosion. Teacher's Tip: These represent flying sparks or embers—place them at different angles to show they are flying in all directions.
Step 9: Finalizing Debris Movement
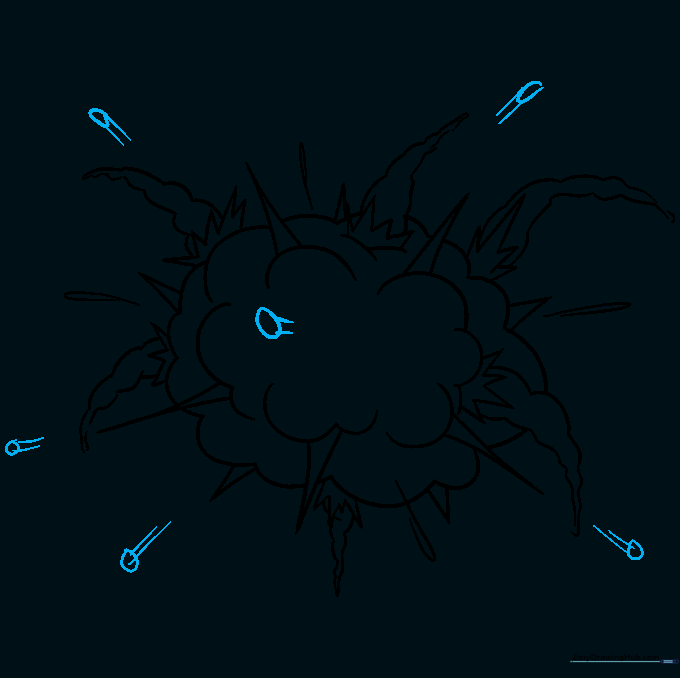
Draw small rocks or chunks of debris with motion lines trailing behind them. Teacher's Tip: The motion lines should point back toward the center of the explosion to show where they came from.
Step 10: Adding Color

Bring your explosion to life with fiery colors like yellow, orange, and red at the center, fading into grey or black for the smoke. Teacher's Tip: Use a blending technique to make the colors transition smoothly from the hot center to the cool smoke edges.
More Tutorials


