How to Draw an Enchanted Forest: Easy Step-by-Step Guide
Bring a magical world to life with this step-by-step enchanted forest tutorial, perfect for young artists ages 6 and up. You only need a pencil, an eraser, and your favorite coloring supplies to build this whimsical landscape. Follow along to master basic perspective and organic shapes while creating your own fantasy scene.
🎯 Final Result

Step-by-Step Instructions
Sketching the Main Tree Trunk
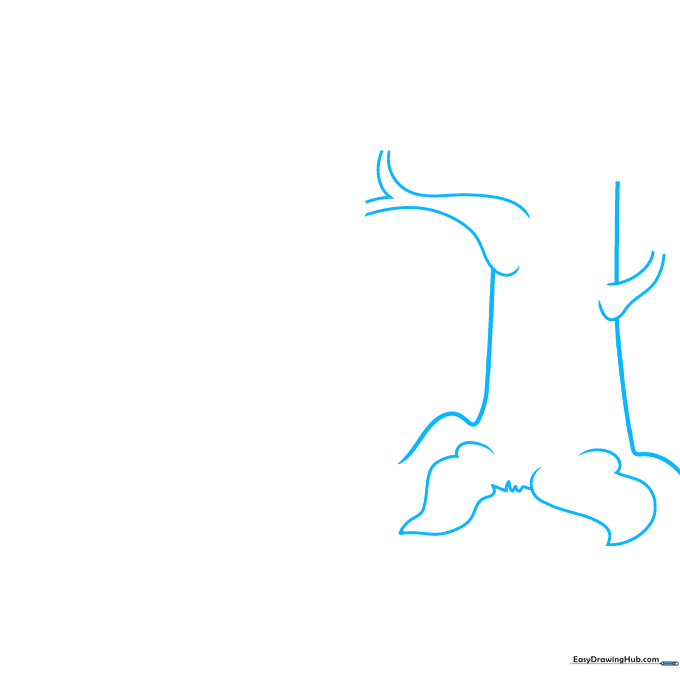
Start by drawing the central tree. Use long, curved lines for the trunk and add triangular roots at the base. Teacher's Tip: Keep your pencil pressure light so you can easily adjust the shape of the branches later.
Adding the Whimsical Treehouse
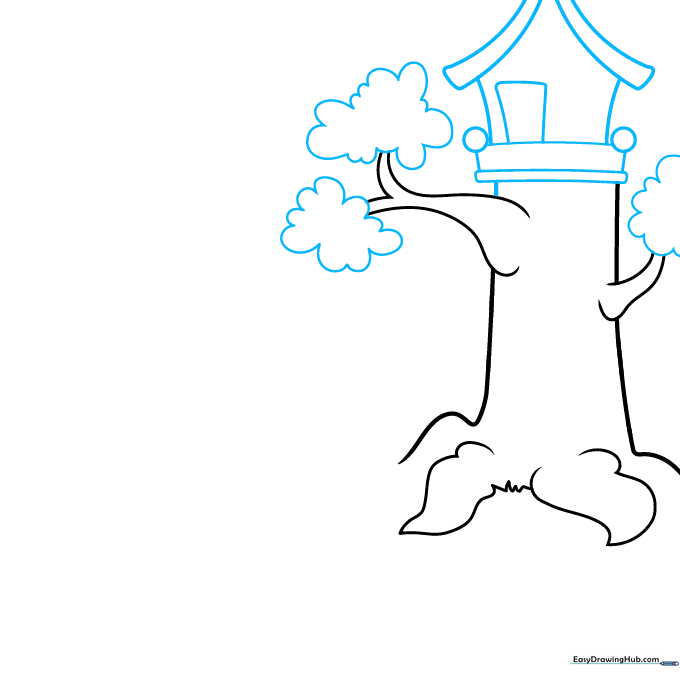
Draw a rectangular base for the treehouse with a V-shaped roof on top. Add cloud-like shapes at the end of each branch for leaves. Teacher's Tip: Use short, overlapping strokes for the leaves to make them look fluffy and natural.
Detailing the Treehouse and Path
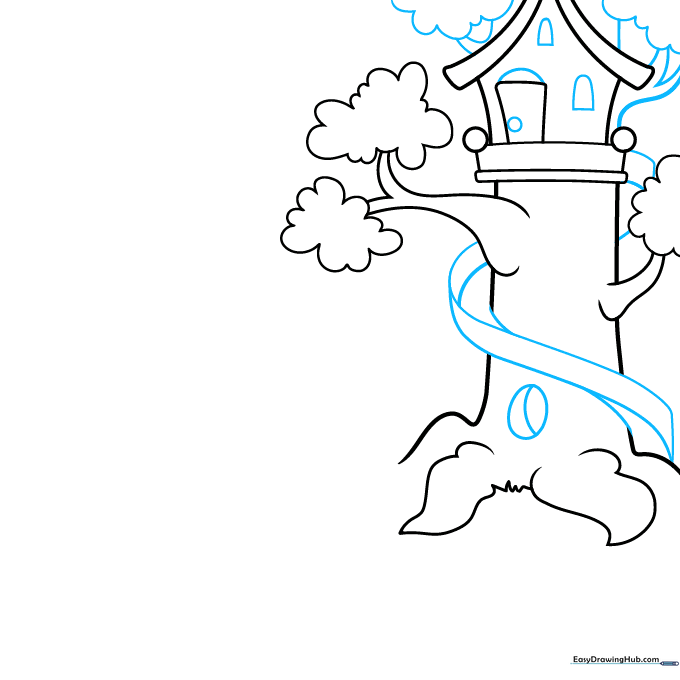
Add arched windows to the treehouse and a spiraling path around the trunk. Draw a small oval hole in the tree. Teacher's Tip: If the spiral path looks tricky, draw a light guide line first and trace over it with a steady hand.
Creating the Staircase and Mushrooms
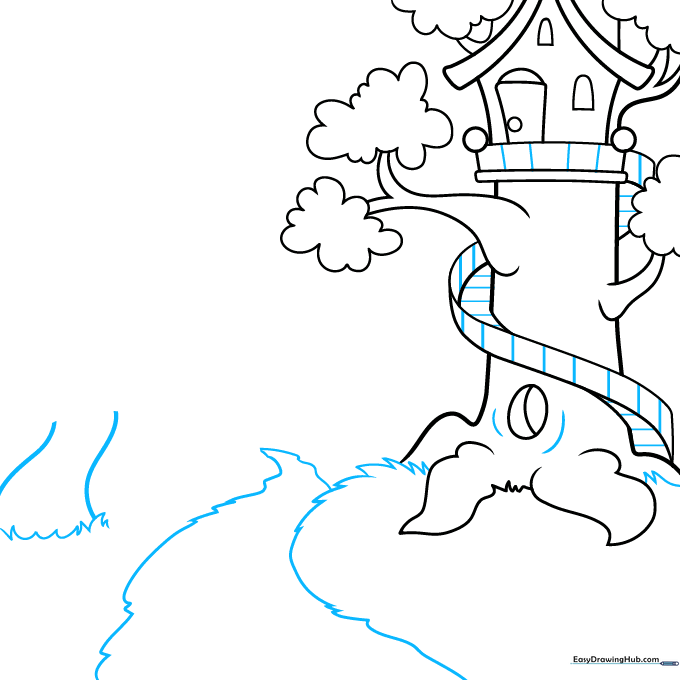
Turn the spiral into a staircase with small horizontal lines. Add jagged grass at the bottom and the start of a mushroom cap. Teacher's Tip: Vary the height of your grass tufts to make the forest floor look realistic.
Growing the Mushrooms
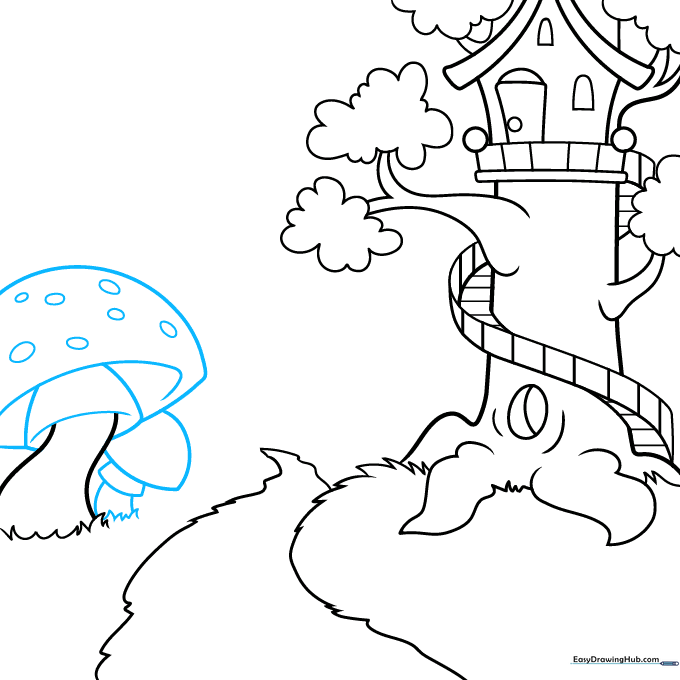
Complete your mushrooms with half-circle caps and oval spots. Teacher's Tip: Don't worry about making the spots perfectly symmetrical—nature is full of unique shapes!
Adding Background Trees
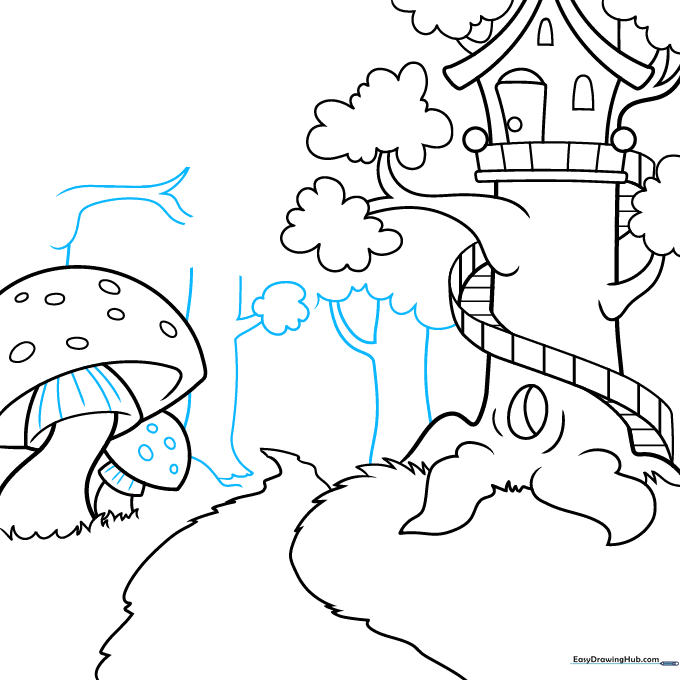
Add texture to your mushroom stems and draw more trees in the distance. Teacher's Tip: Draw the background trees smaller and higher up on the page to create a sense of depth.
Adding a Forest Friend
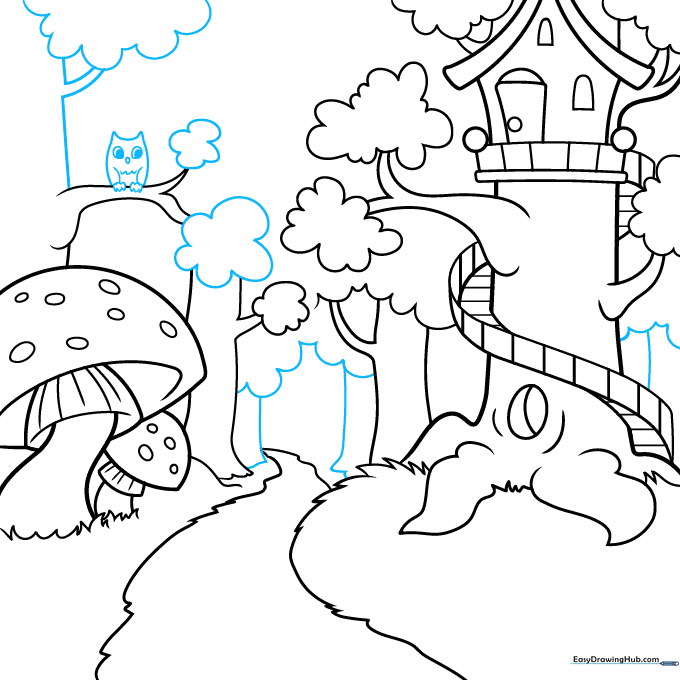
Draw a cute owl sitting on a branch. Use circles for the eyes and shade them to give the owl personality. Teacher's Tip: Use tiny 'V' shapes for the chest feathers to make the owl look soft.
Finalizing Textures
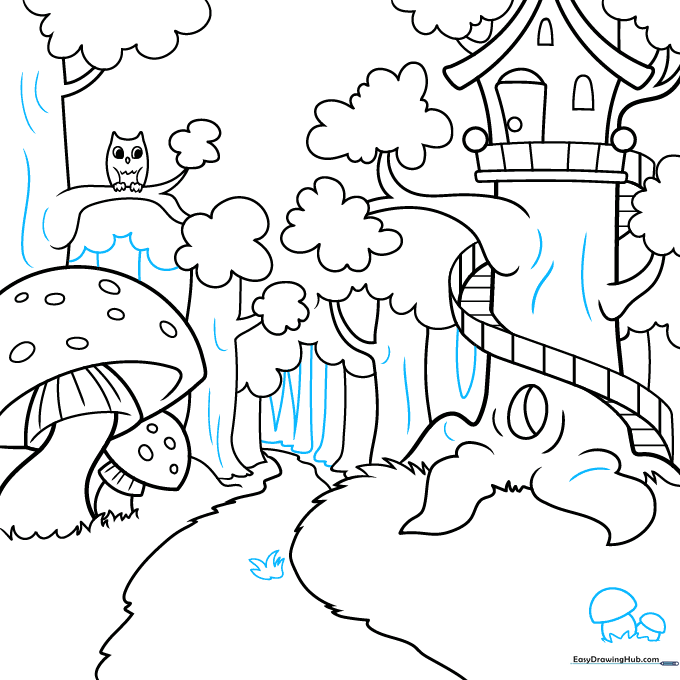
Add bark texture to the main tree with curved lines and scatter small mushrooms in the foreground. Teacher's Tip: Use varying line weights to make the foreground elements pop against the background.
Adding Final Details
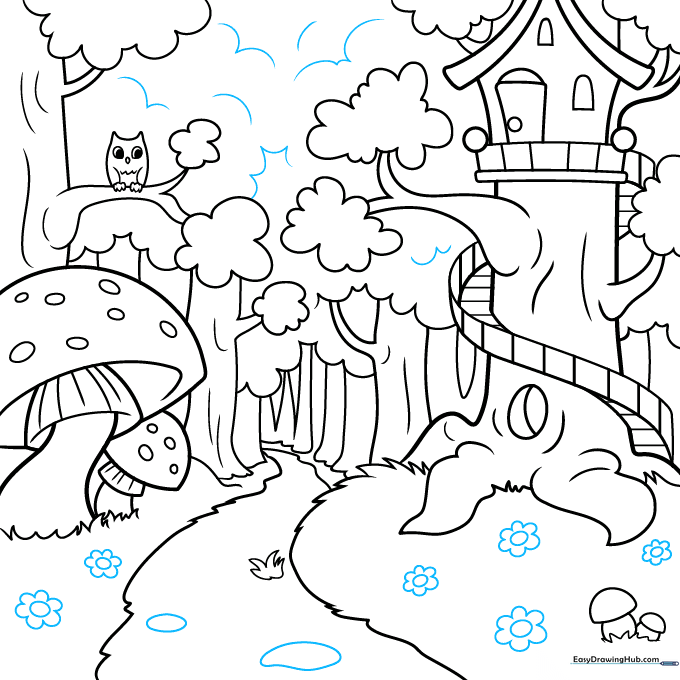
Fill in the canopy with more leaves and add small flowers in the grass. Add rocks along the path. Teacher's Tip: Flowers are just circles with petals—keep them simple to avoid overcrowding your drawing.
Coloring Your Masterpiece
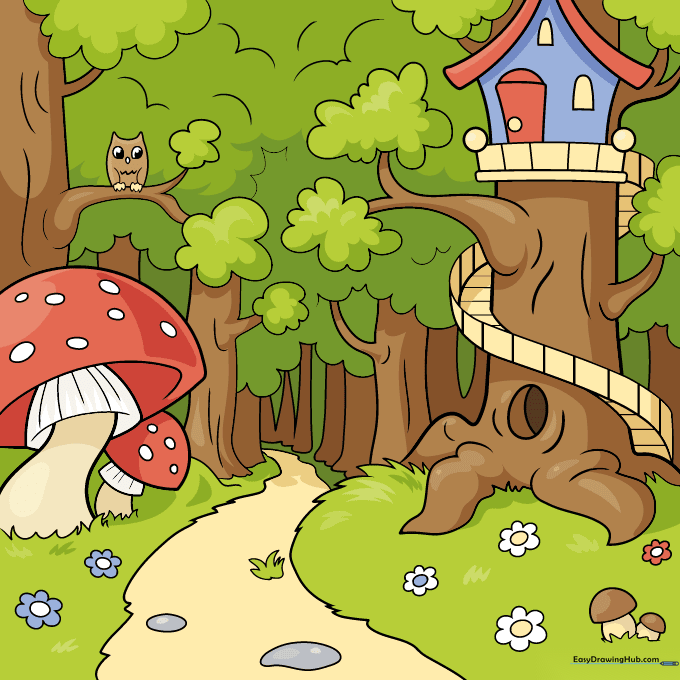
Bring your forest to life with color! Use earthy browns and greens for the trees, and vibrant reds for the mushrooms. Teacher's Tip: Since it's an 'enchanted' forest, don't be afraid to use purple or blue for the leaves to make it look magical!
More Tutorials


