How to Draw an Elk: Easy 10-Step Guide for Kids
Ready to bring a forest giant to life? This tutorial is perfect for young artists ages 7+ who want to master animal anatomy. Grab a pencil, an eraser, and some paper to start building your elk's structure step-by-step.
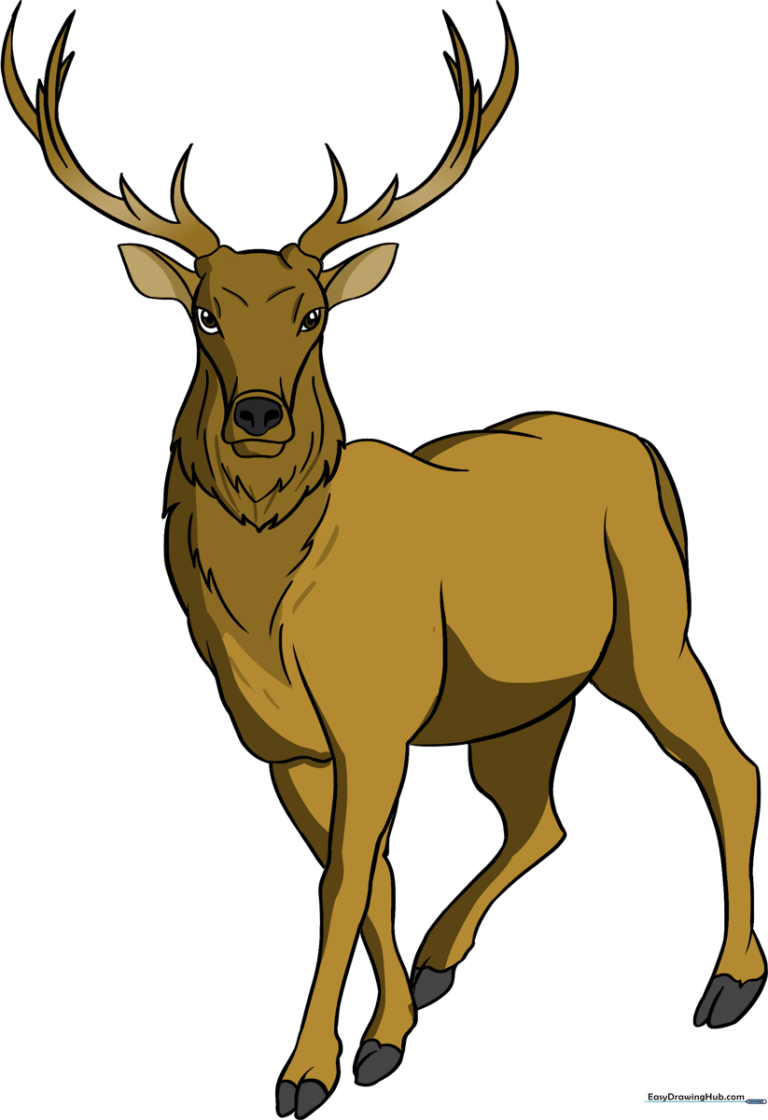
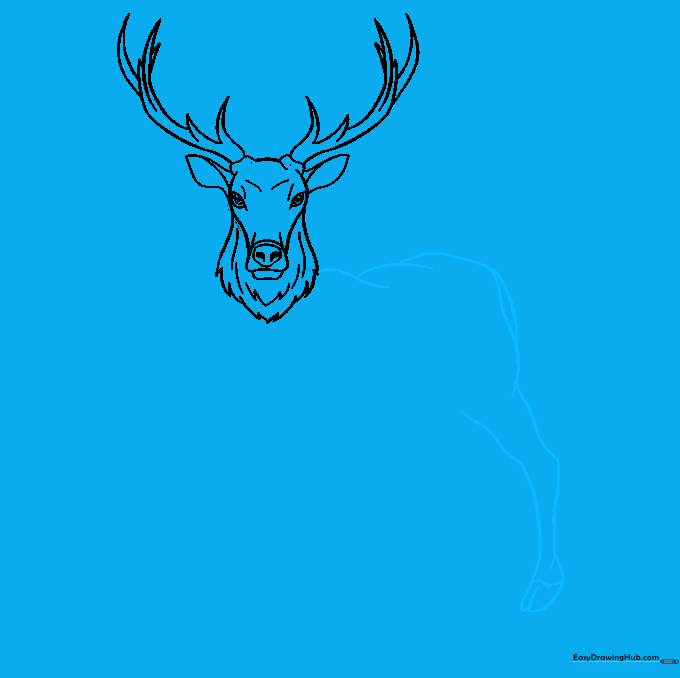
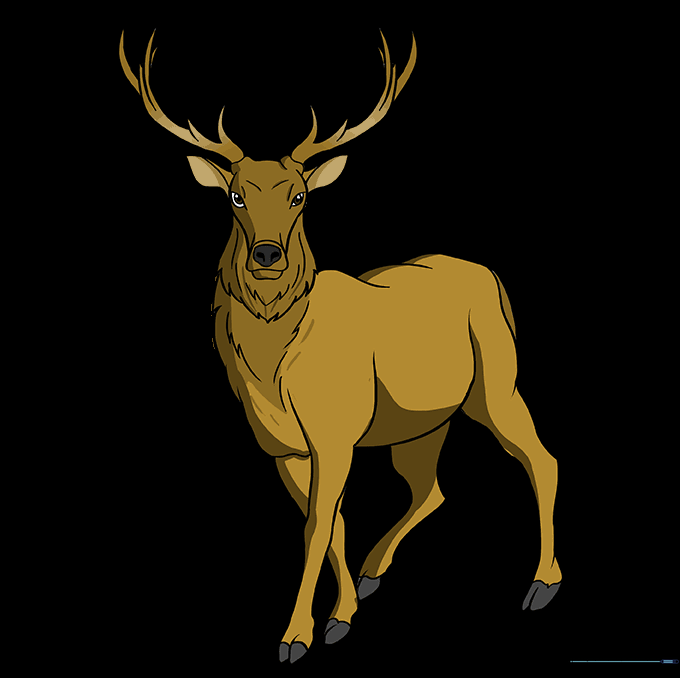
🎯 Final Result
Step-by-Step Instructions
Step 1: Sketching the Head Base

Start by drawing a light circle to serve as the elk's head. Teacher's Tip: Keep your pencil pressure very light here; you'll be erasing parts of this circle later to refine the shape.
Step 2: Defining the Snout and Jaw

Erase the bottom of your circle and add a trapezoid-like shape for the snout. Add a rounded nose tip and two teardrop shapes for nostrils. Teacher's Tip: Use small, quick strokes for the nostrils to give them a natural, organic look.
Step 3: Adding Ears and Antler Bases
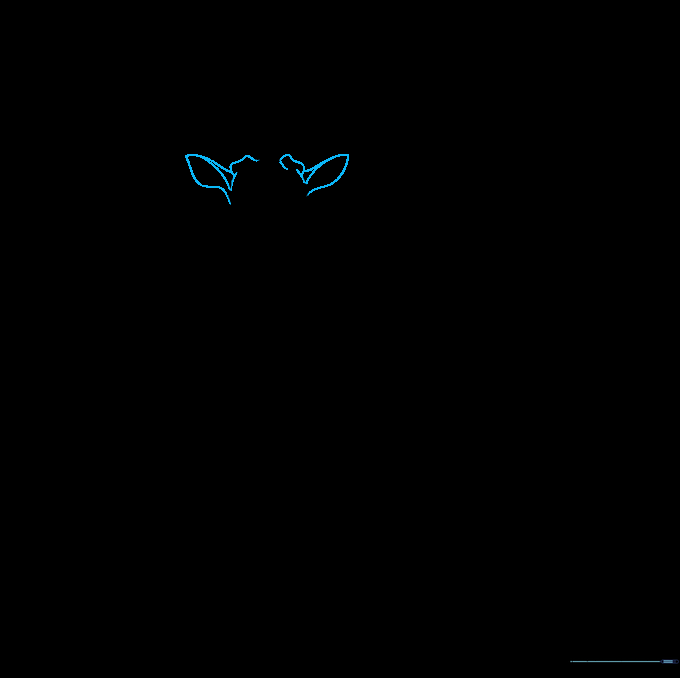
Clear away the top of the head circle to make room for the ears. Draw two pointed, leaf-shaped ears and add a curved line inside each to show depth. Teacher's Tip: Think of the ears as slightly folded paper to give them a 3D feel.
Step 4: Sketching the Antlers
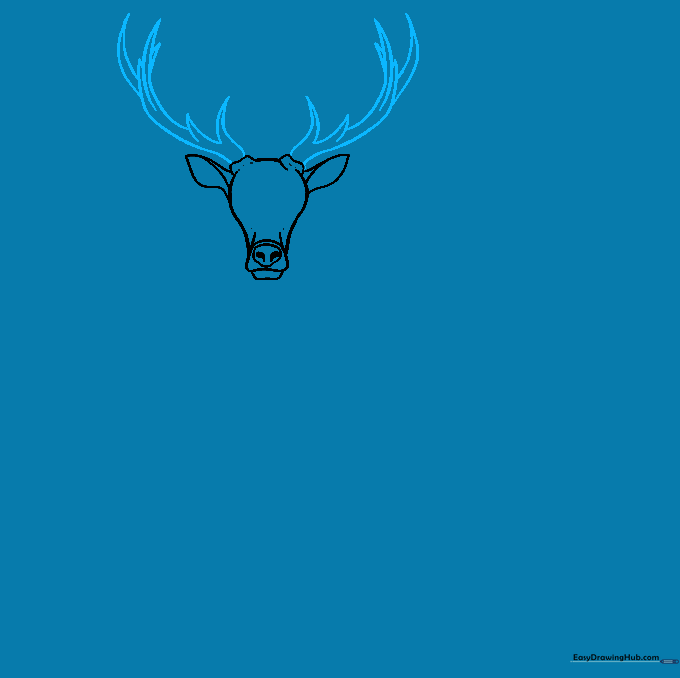
Elk antlers are iconic! Use long, sweeping curved lines to create the main branches, then add smaller, upward-pointing spikes. Teacher's Tip: Don't worry about making them perfectly symmetrical; nature is rarely perfectly even!
Step 5: Face Details and Neck Fur
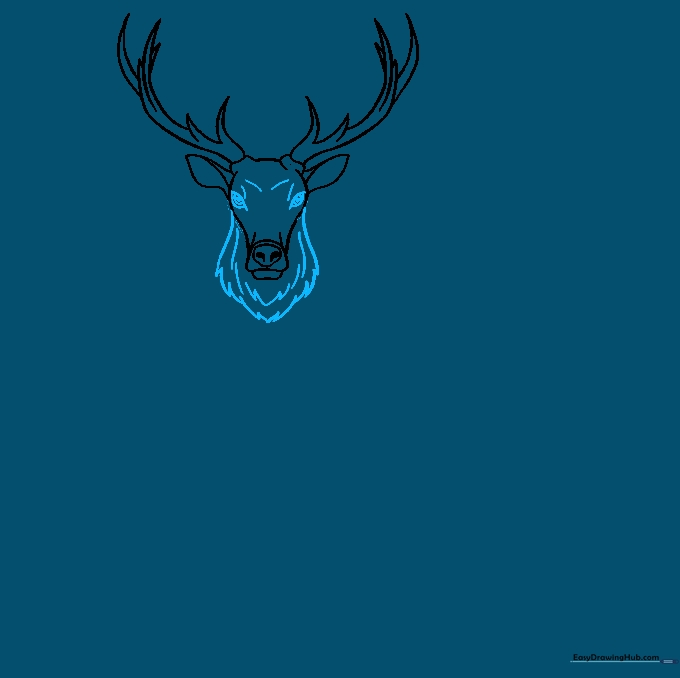
Draw the eyes using nested circles to create pupils. For the neck, use jagged, 'V' shaped lines to mimic the texture of thick fur. Teacher's Tip: Vary the length of your fur lines to make the neck look fluffy and realistic.
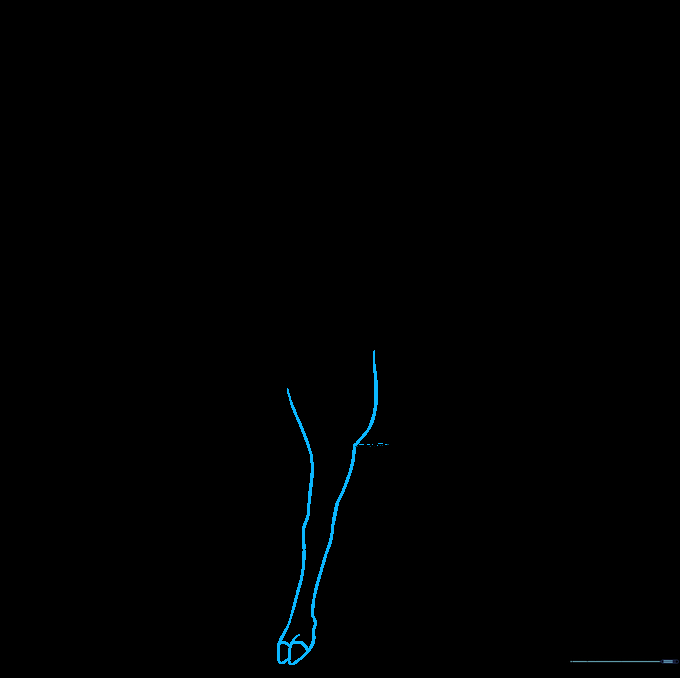
Step 6: Shaping the Body and Rear Leg
Draw the back and hip curves, then sketch the rear leg. Remember to add the 'U' shape at the bottom to define the cloven hoof. Teacher's Tip: Use a light touch for the leg joints to keep the elk looking graceful.
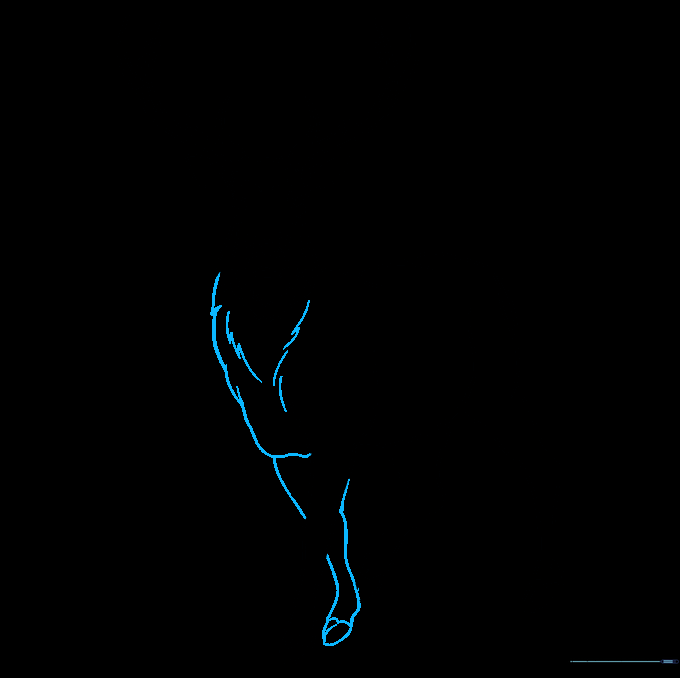
Step 7: The Belly and Second Rear Leg
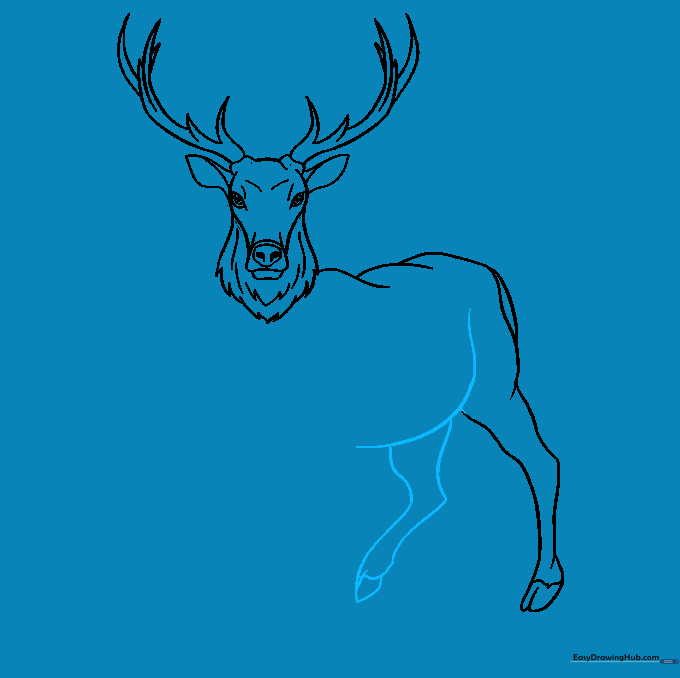
Connect the chest to the rear leg with a smooth, curved belly line. Add the second rear leg behind the first to create a sense of perspective. Teacher's Tip: Drawing the second leg slightly higher makes the elk look like it's walking.
Step 8: Adding the Forelegs
Draw the front legs using long, sturdy lines. Add the 'V' shaped hooves at the base. Teacher's Tip: Keep the front legs straighter than the back legs to show the elk's strong stance.
Step 9: Finalizing the Chest and Fur
Complete the chest area with more jagged lines to match the neck fur. Add the final leg in the background. Teacher's Tip: Use a darker pencil stroke for the final outline to make your elk pop off the page!
Step 10: Bringing Your Elk to Life with Color
Time to color! Use earthy browns and tans for the body. Teacher's Tip: Try using a lighter brown for the belly and a darker brown for the legs to create a natural-looking shadow effect.
More Tutorials


