How to Draw a 3D Tunnel: Easy One-Point Perspective Guide
Unlock the secret to 3D drawing with this beginner-friendly one-point perspective tutorial, perfect for artists ages 7 and up. All you need is a pencil, an eraser, and a ruler to create the illusion of depth on a flat page. Follow these steps to transform simple shapes into a realistic tunnel scene.
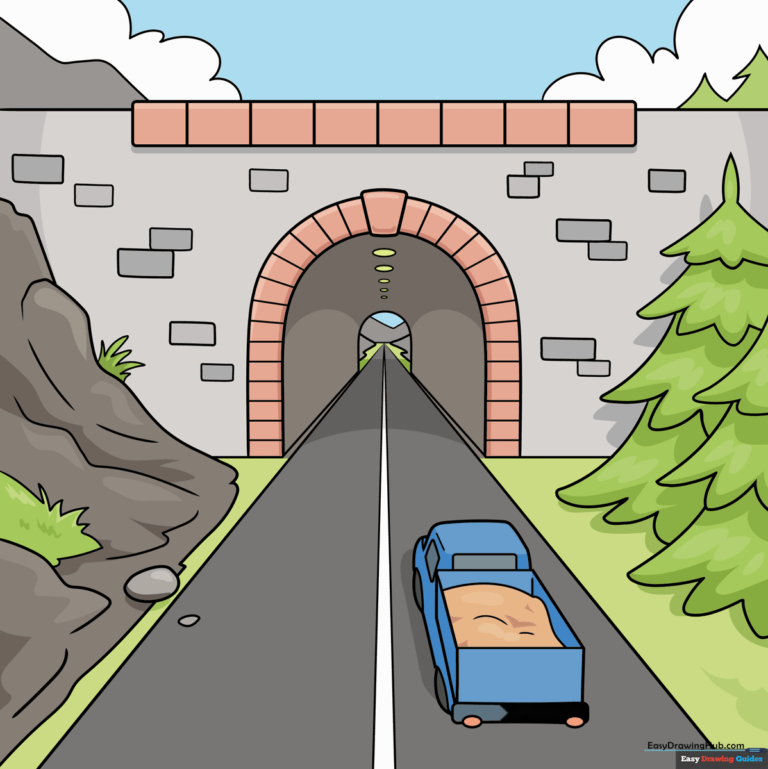
🎯 Final Result
Step-by-Step Instructions
Step 1: Setting the Vanishing Point

Mark a small dot in the center of your paper—this is your vanishing point. Draw two diagonal lines radiating outward, then add an arch shape around the point to form the tunnel entrance. Teacher's Tip: Keep your lines very faint; you'll want to erase the guidelines inside the tunnel later!
Step 2: Adding Evergreen Trees
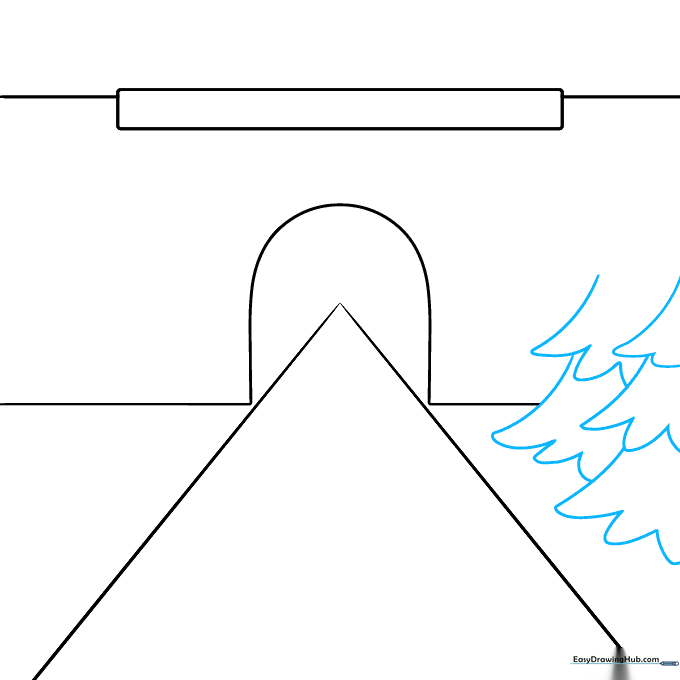
Sketch pine trees along the roadside using a series of stacked 'U' shapes. Tip: Start with a narrow top and make your 'U' shapes wider as you move down to give the trees a natural, triangular silhouette.
Step 3: Shaping the Landscape
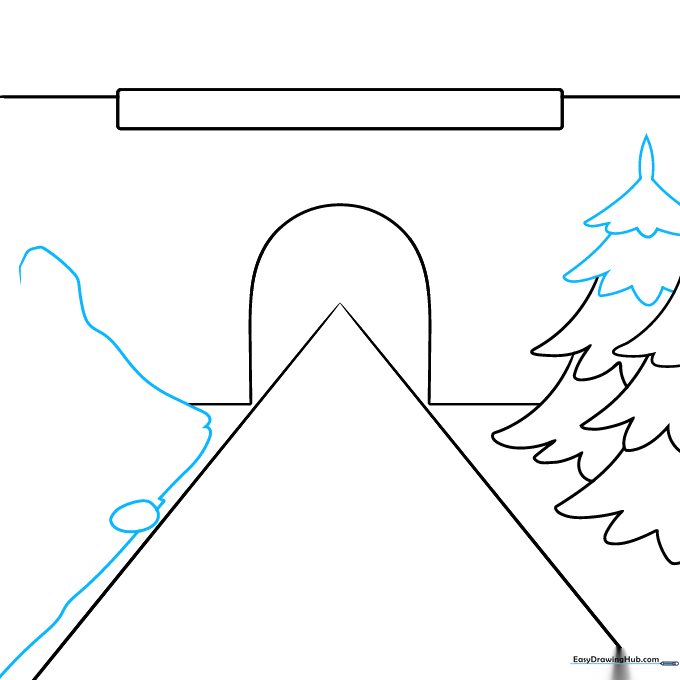
Finish your trees with a pointed top. On the opposite side of the road, draw a soft oval and long, sweeping curves to represent a rolling hillside. Tip: Use a light touch for the hills so they don't overpower the tunnel.
Step 4: Adding Texture to the Hill
Bring your landscape to life by adding wavy lines and jagged, pointed tufts of grass across the hillside. Tip: Vary the size of your grass tufts to make the terrain look more organic and realistic.
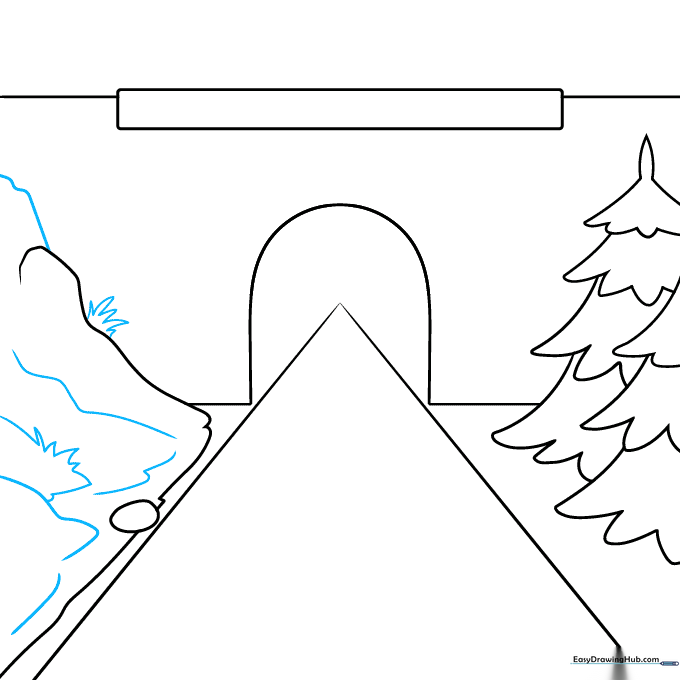
Step 5: Refining the Tunnel Interior
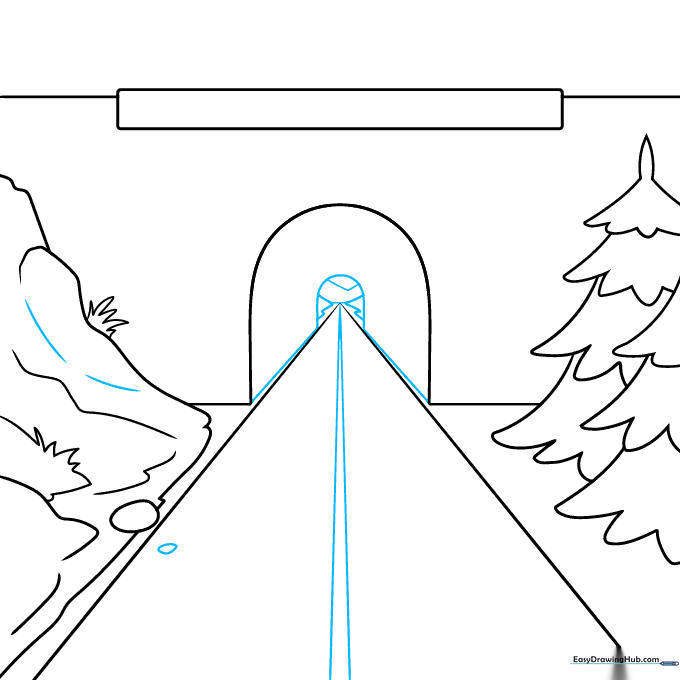
Draw a center line on the road leading to the vanishing point. Add a smaller arch inside the tunnel entrance and sketch distant mountains and a small rock on the roadside. Tip: The smaller the mountain, the further away it looks!
Step 6: Sketching the Truck
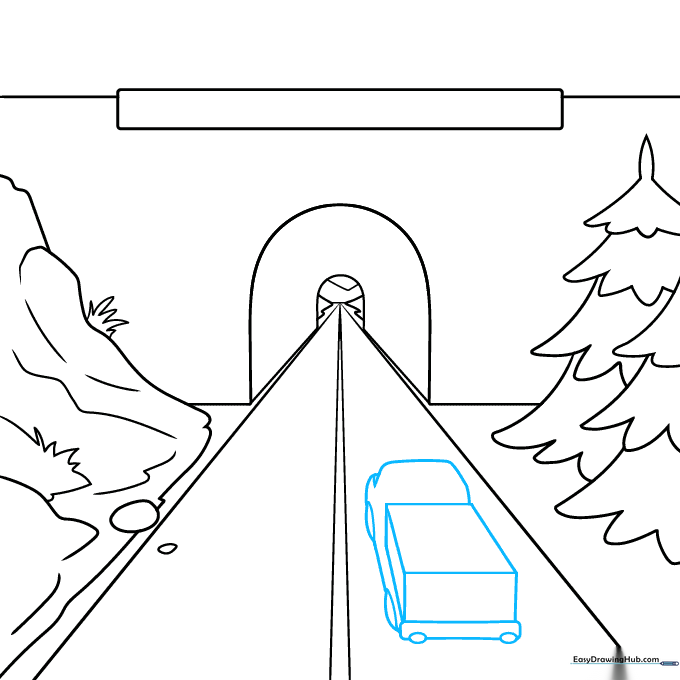
Draw a simple truck on the road using a rectangular prism for the bed and curved lines for the cab and wheels. Tip: Keep the truck's shape simple; focus on the boxy structure to maintain the perspective.
Step 7: Adding Details and Bricks
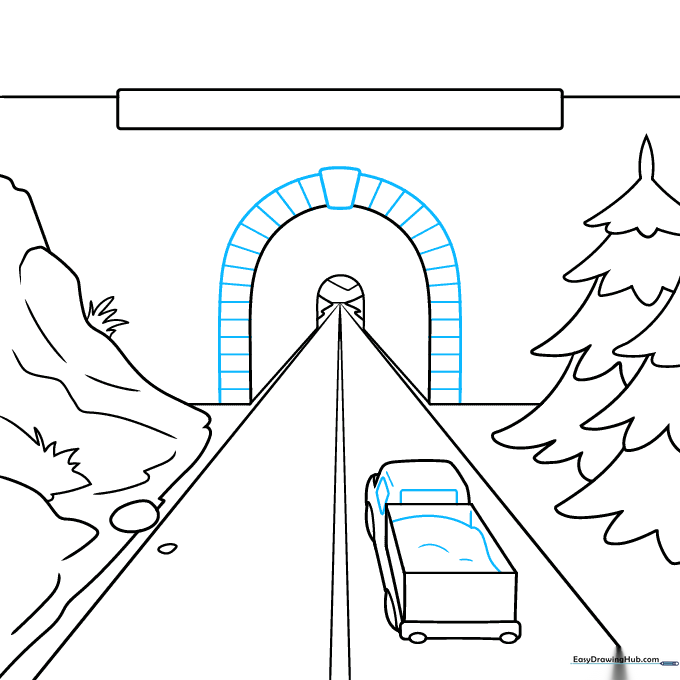
Add a load of rocks to the truck bed. Then, draw a trapezoidal keystone at the top of the tunnel arch and add vertical lines to create a brick pattern. Tip: Use a ruler for the brick lines to keep them looking sharp and professional.
Step 8: Finalizing the Tunnel Structure
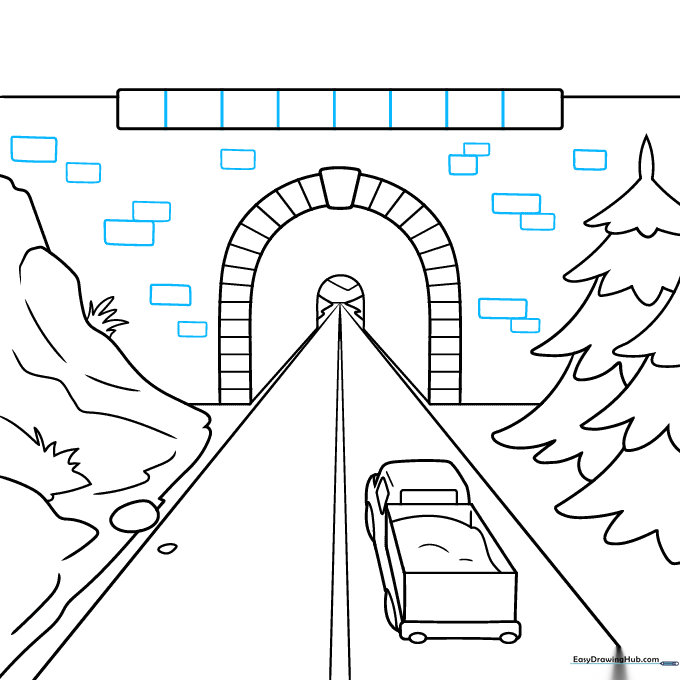
Add more brick texture to the rectangle above the tunnel entrance using varied rectangular shapes. Tip: Don't make the bricks perfectly uniform; slight variations make the drawing look more authentic.
Step 9: Final Touches
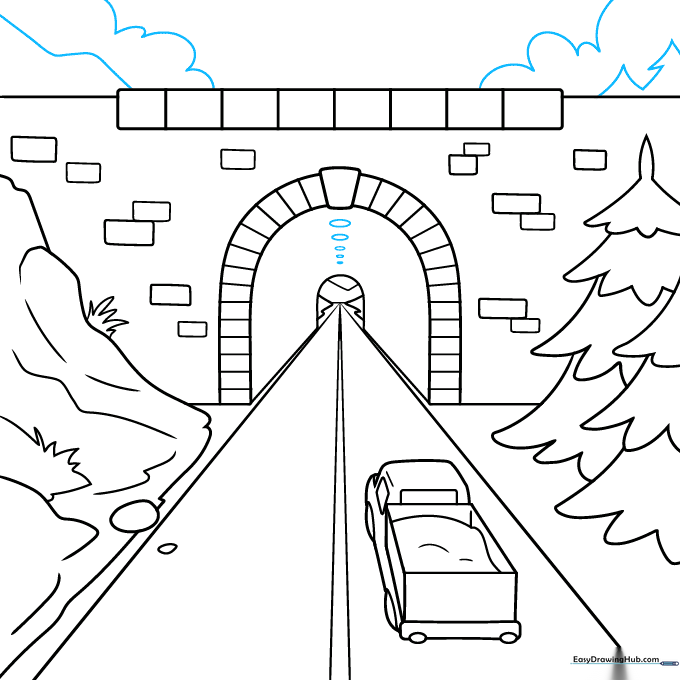
Draw small ovals along the tunnel ceiling for lights, and add finishing touches like clouds and distant trees to the background. Tip: Use a light grey or yellow for the lights to make them pop against the dark tunnel.
Step 10: Bring Your Scene to Life with Color
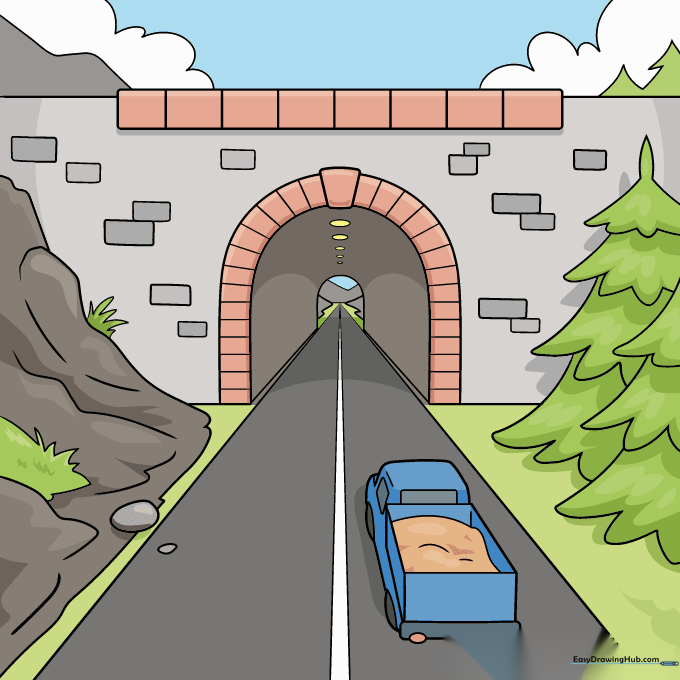
Your tunnel outline is complete! Now, use your favorite markers or colored pencils to fill in the landscape. Tip: Use darker colors inside the tunnel to emphasize the depth and contrast.
More Tutorials


