How to Draw a Cute Spider: Easy 9-Step Guide for Kids
Looking for a fun, screen-free activity? This friendly spider tutorial is perfect for young artists ages 5 and up. All you need is a pencil, an eraser, and a piece of paper to bring this little arachnid to life.
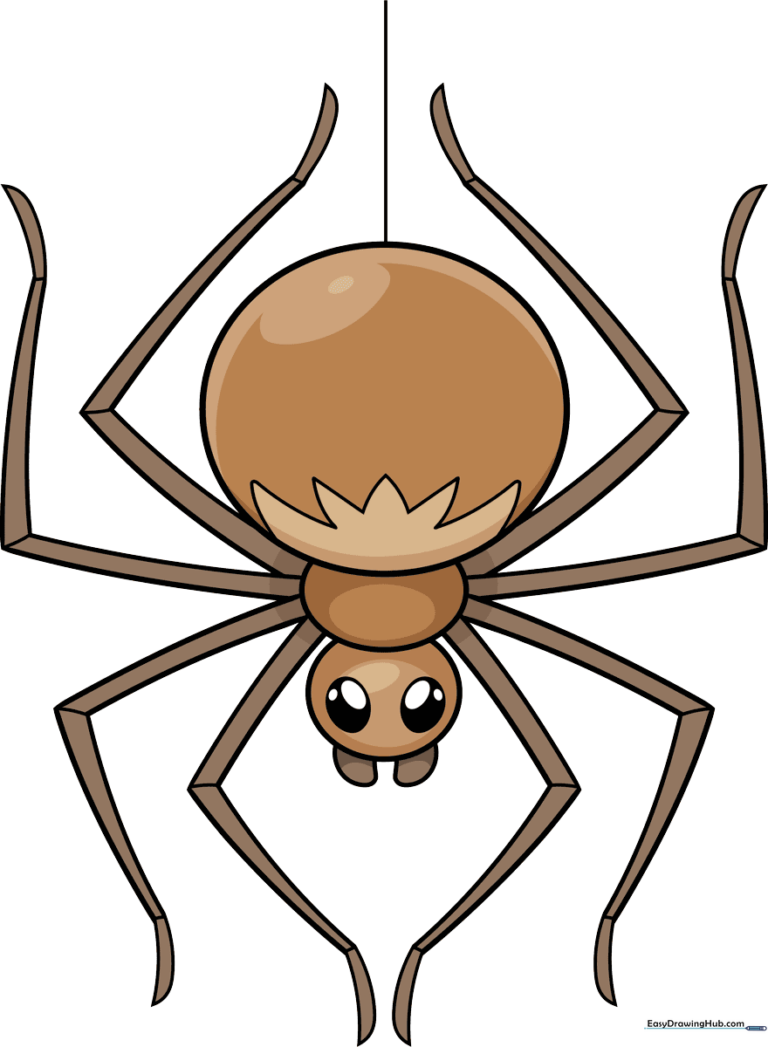
🎯 Final Result
Step-by-Step Instructions
Step 1: Sketching the Body

Draw a large, rounded circle for the abdomen, then add two smaller, overlapping ovals below it for the thorax. Teacher's Tip: Keep your pencil lines very light so you can easily erase any overlapping marks later.
Step 2: Adding Expressive Eyes

Draw two large ovals inside the lower thorax section. Add smaller circles inside those for pupils and shade them in. Tip: Leaving a tiny white dot unshaded inside the pupil makes the eyes look bright and full of life!
Step 3: Mouthparts and Leg Bases
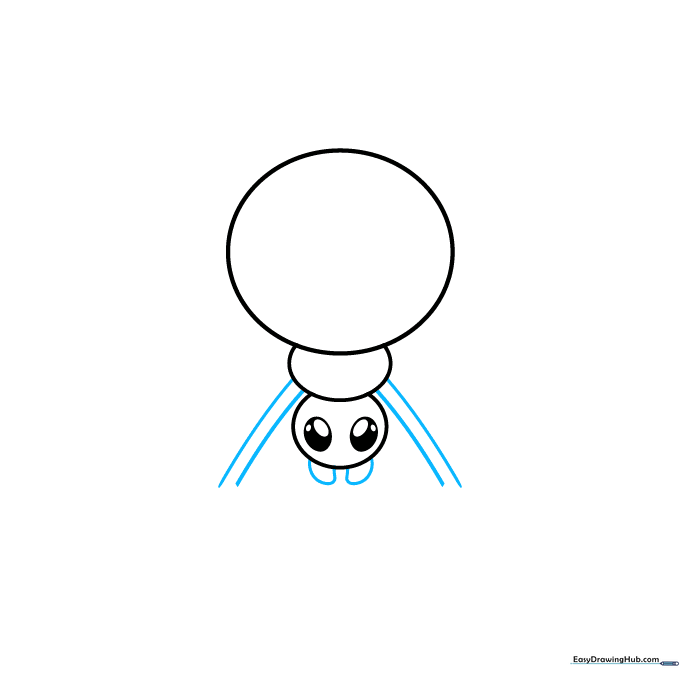
Draw two small, rounded triangles below the eyes for the chelicerae. Then, draw four pairs of short, parallel lines extending from the sides of the thorax. These are the starting points for the eight legs.
Step 4: Shaping the First Leg Segments

Connect the ends of your leg lines and extend a new, angled segment from each. Tip: Spiders have jointed legs, so try to change the direction of the line at each 'knee' to make them look natural.
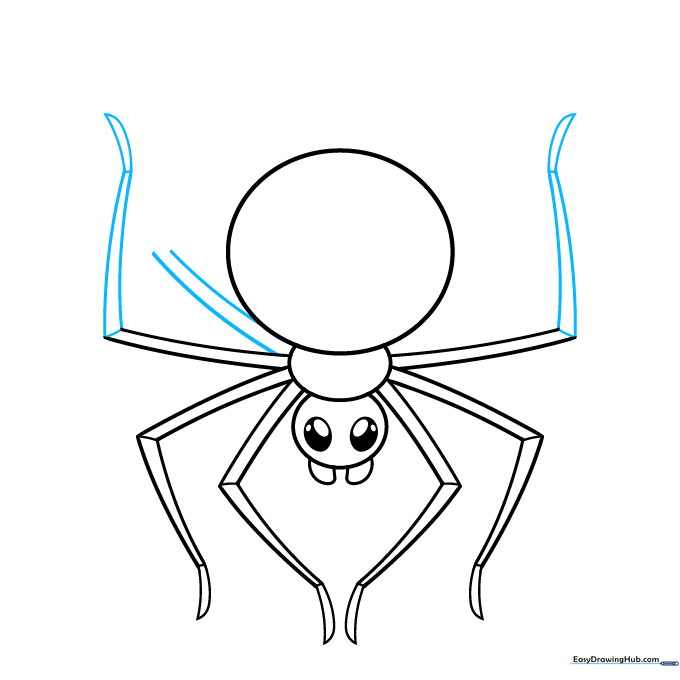
Step 5: Extending the Legs
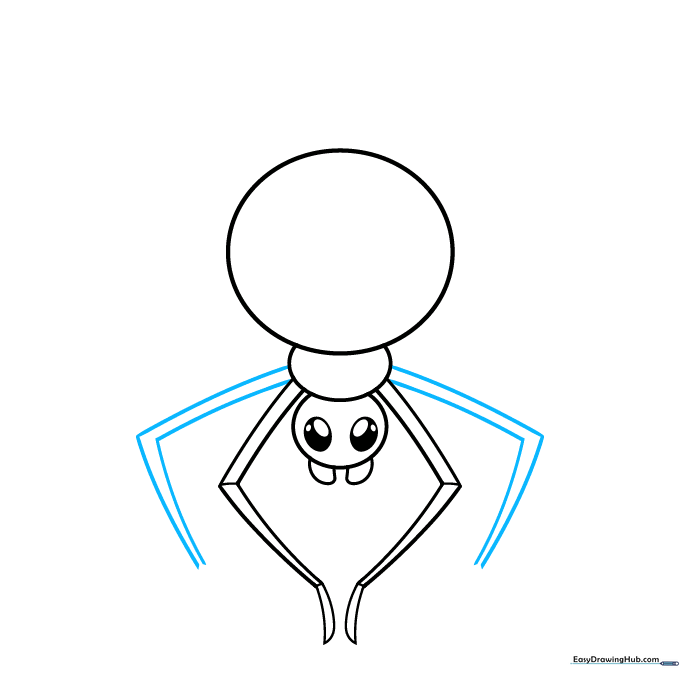
Add another set of parallel lines to each leg, angling them outward. This builds the length of the spider's legs. Keep your lines smooth and confident!
Step 6: Adding Feet and Joints
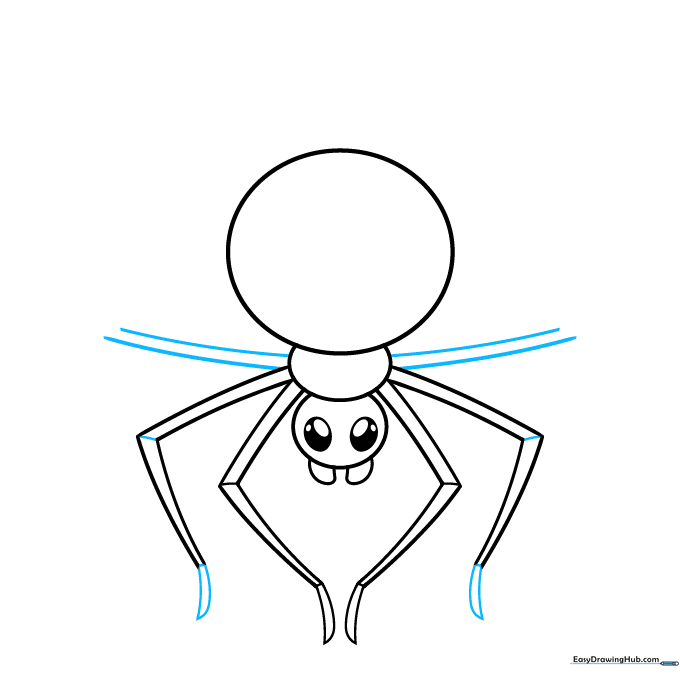
Draw small, rounded shapes at the end of each leg for the feet. Add short, horizontal lines at the joints to give the legs a segmented, realistic look.
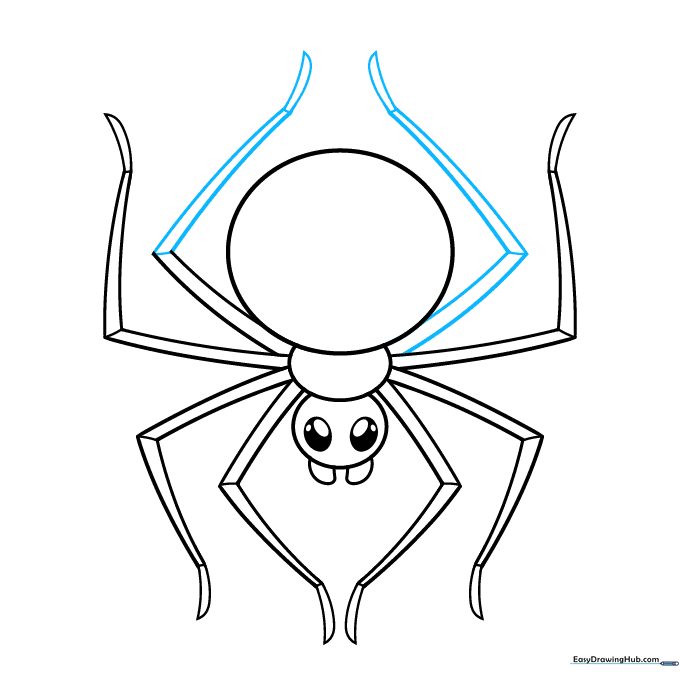
Step 7: Refining the Leg Structure
Connect the remaining leg segments, working your way upward. Ensure each side has four legs for a total of eight. Symmetry is key here!
Step 8: Finalizing the Legs
Check your work and make sure all eight legs are connected to the body. If one leg looks a bit wobbly, use your eraser to gently adjust the angle.
Step 9: Adding Details and Web
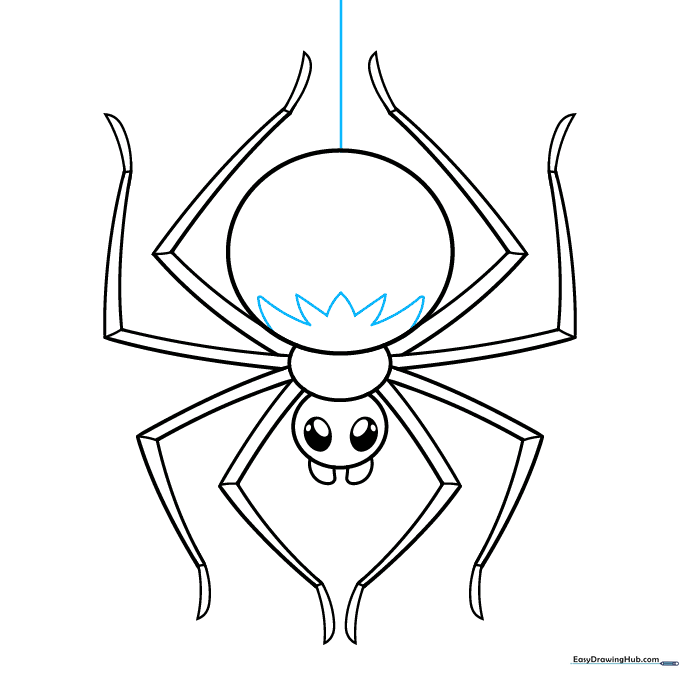
Draw a jagged pattern on the abdomen for texture. Finally, draw a long, straight line from the top of the spider to the edge of your paper to show it hanging from a silk thread.
Step 10: Bring Your Spider to Life with Color
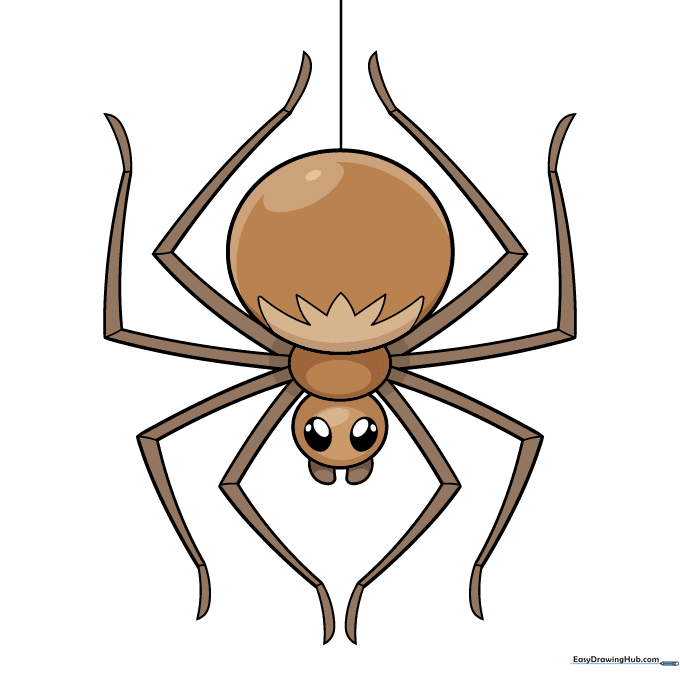
Time to color! While many spiders are brown or black, feel free to use bright colors like green, red, or purple to make your cartoon spider unique. Tip: Use a darker shade for the joints to add depth.
More Tutorials


