How to Draw a Cute Sloth Face: Simple Step-by-Step Guide
Bring a sleepy, smiling sloth to life with this beginner-friendly drawing tutorial. Designed for ages 5 and up, this activity requires only a pencil, eraser, and paper to build confidence in basic shapes and symmetry. Follow along to create your own adorable jungle friend in minutes.
🎯 Final Result

Step-by-Step Instructions
Step 1: Sketching the Eye Patches

Draw two egg shapes that point toward each other, then sketch an overlapping line at the bottom of each. Teacher's Tip: Keep these shapes symmetrical to give your sloth a balanced, friendly look.
Step 2: Adding the Eyes and Nose

Draw a small circle inside each eye patch. Between the eyes, sketch a small oval with a slightly pointed bottom for the nose. Tip: The nose placement is key—keep it centered to maintain the sloth's cute expression.
Step 3: Defining the Nostrils and Mouth

Sketch two small ovals inside the nose for nostrils. Below the nose, draw a short vertical line with a gentle curve on each side to form a smiling mouth. Tip: Use a light touch; a small smile makes the sloth look happy and relaxed.
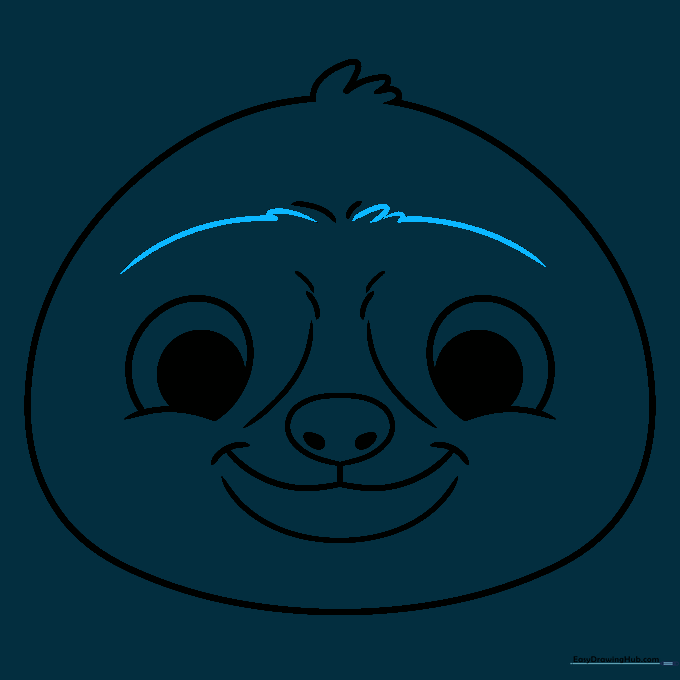
Step 4: Shaping the Chin and Brow

Draw a soft curve for the chin, then add a small dash on either side of the mouth. Add short, light dashes above the eyes to suggest eyebrows. Tip: These small details add character and depth to the face.
Step 5: Framing the Face
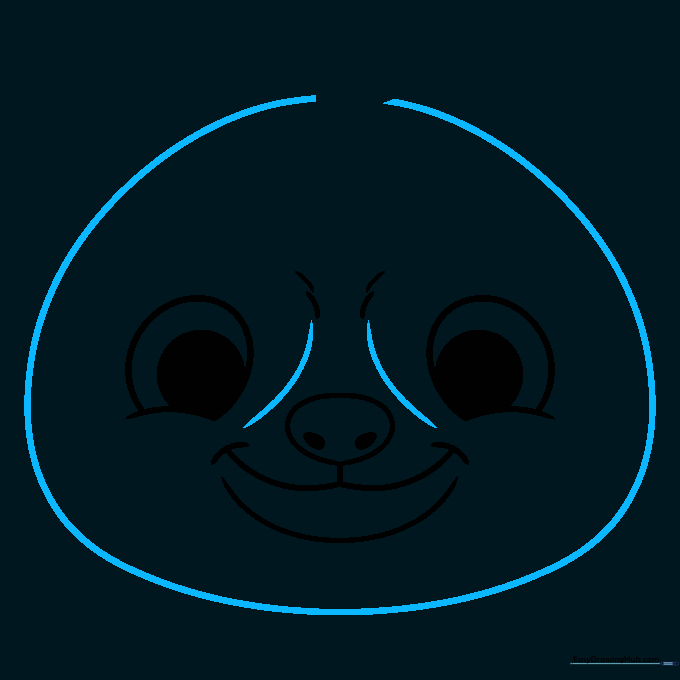
Sketch a curve on either side of the nose for depth. Draw a large, slightly flattened oval around the entire head. Tip: Don't worry about making the oval perfect; a slightly organic shape looks more natural for fur.
Step 6: Adding Fur Texture

Add two more dashes above the nose. At the top, use short, round, sketchy lines to create the look of fluffy fur. Tip: Use quick, light strokes to make the fur look soft rather than stiff.
Step 7: Refining the Fur
Draw long, flowing curves and additional sketchy lines above the eyes to continue the fur pattern. Tip: Vary the length of your lines to make the fur look realistic and layered.
Step 8: Detailing the Eye Patches

Around each eye, outline an oval shape that curves downward into a point, resembling a teardrop. Tip: This specific shape is characteristic of sloths and gives them their iconic look.
Step 9: Final Touches

Draw two small lightning-bolt shapes near the mouth to add character. Now your sloth face is ready for color! Tip: Once you master this face, try drawing a full-body sloth to practice your proportions.
Step 10: Coloring Your Sloth

Outline your drawing with a black marker. Fill in the eyes and nostrils. Use shades of reddish-brown for the fur, keeping the area around the eyes lighter. Tip: Use a darker brown for the eye patches to make the face pop!
More Tutorials


