How to Draw a Shark: Easy 9-Step Guide for Kids
Ready to dive into the ocean? This tutorial is perfect for young artists ages 5 and up who want to draw their own cartoon shark. You only need a pencil, an eraser, and a piece of paper to get started. Follow along to build confidence and develop your drawing skills one line at a time.
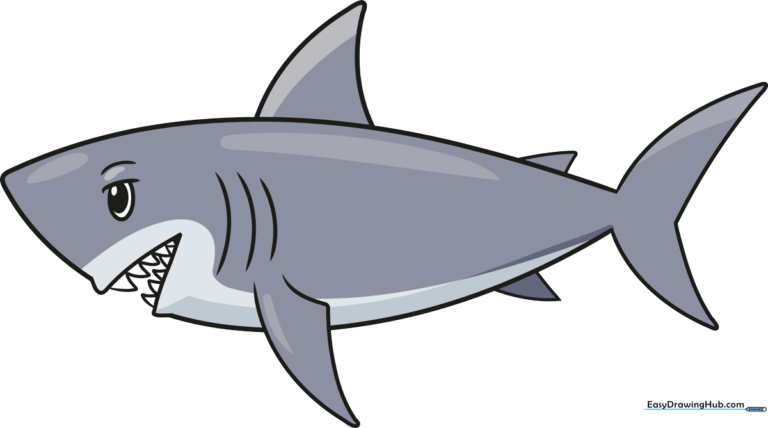
🎯 Final Result
Step-by-Step Instructions
Step 1: Sketching the Back and Nose
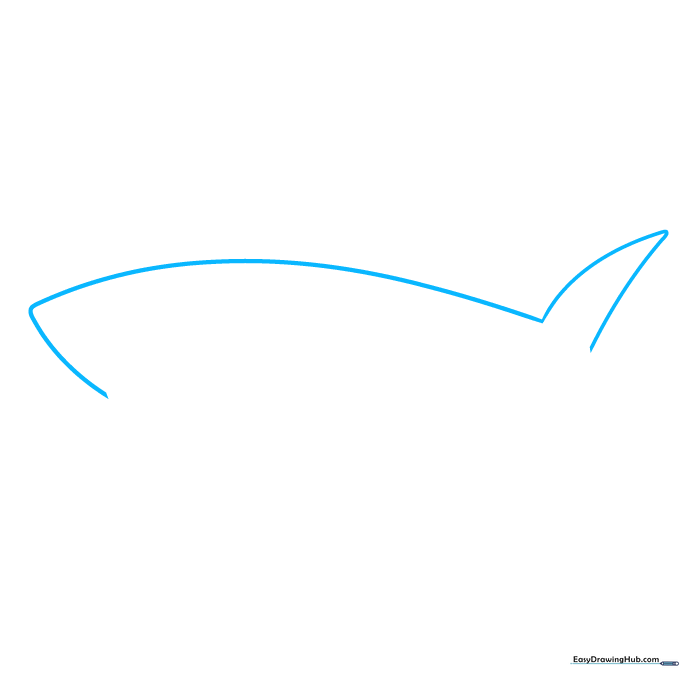
Start by drawing a long, gentle curve for the shark's back. At the front, add a shorter curve for the nose. Teacher's Tip: Keep your pencil strokes light so you can easily adjust the shape if needed!
Step 2: Forming the Tail and Belly
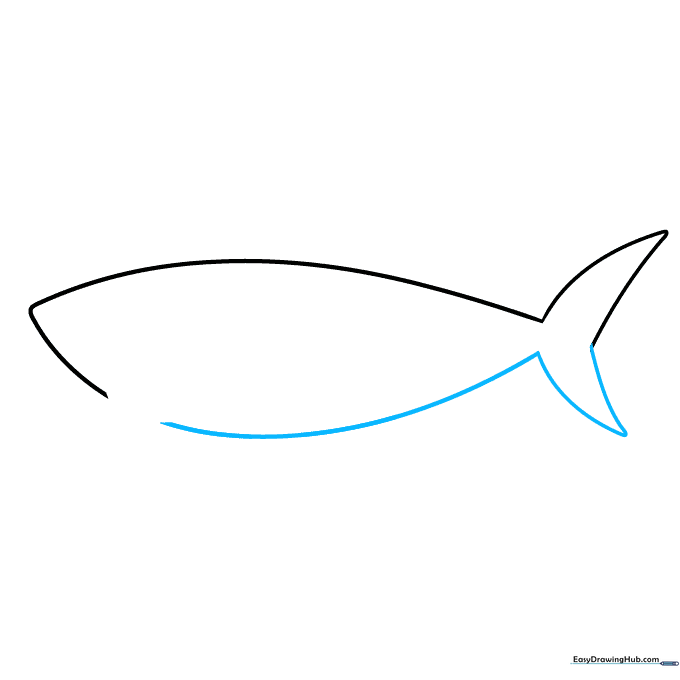
Draw two lines meeting at a point to create the top of the tail, then extend a long curve from the base to form the shark's belly. Tip: Try to make the belly curve look smooth, like a gentle wave.
Step 3: Creating the Open Mouth
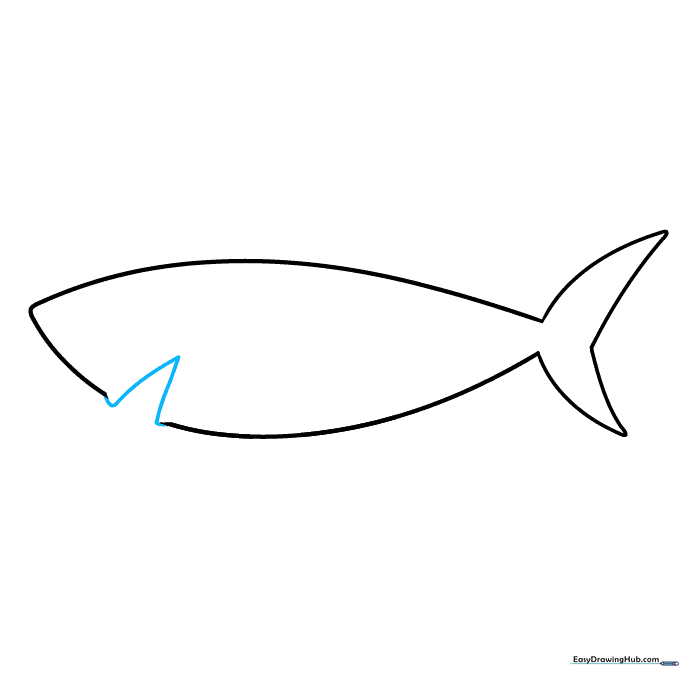
Connect the head and belly with a 'V' shaped line to create an open mouth. Tip: Keep the 'V' wide to give your shark a friendly, smiling expression.
Step 4: Drawing the Eye
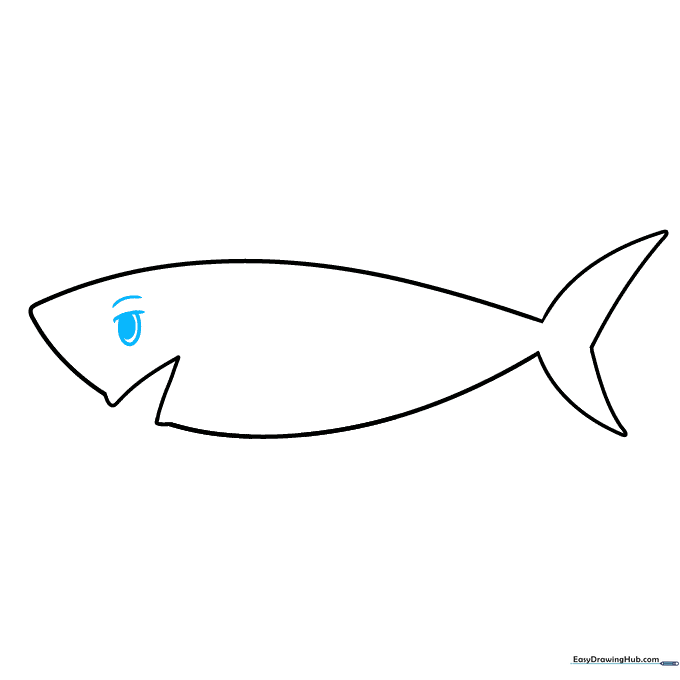
Draw a curved ridge above the mouth, then add a partial oval for the eye with a small shaded circle inside. Tip: Shading the pupil makes the shark look like it's looking at something interesting!
Step 5: Adding Upper Teeth
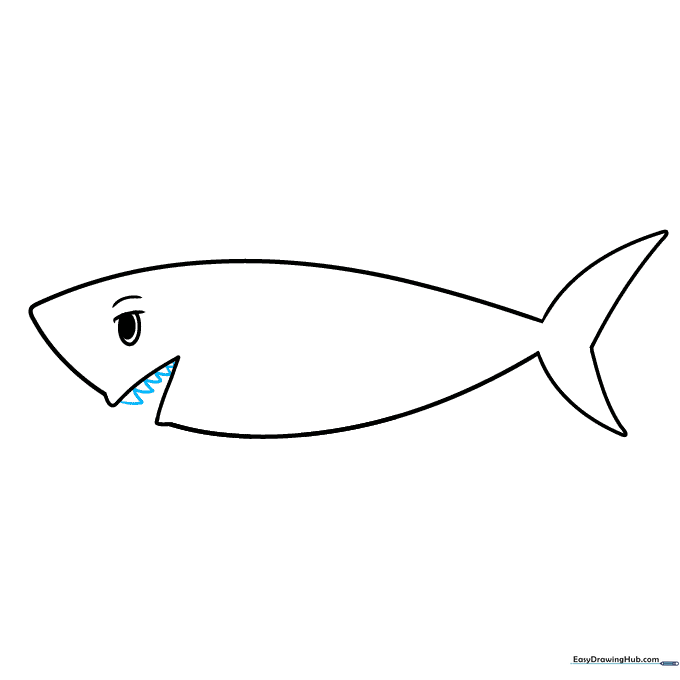
Draw small triangular shapes inside the upper part of the mouth using pairs of curved lines. Tip: Don't worry about making them perfect; sharks have jagged, uneven teeth!
Step 6: Adding Lower Teeth
Repeat the process for the lower jaw, adding smaller triangles. Tip: Keep these teeth slightly smaller than the top ones for a realistic look.
Step 7: Dorsal Fin and Gills
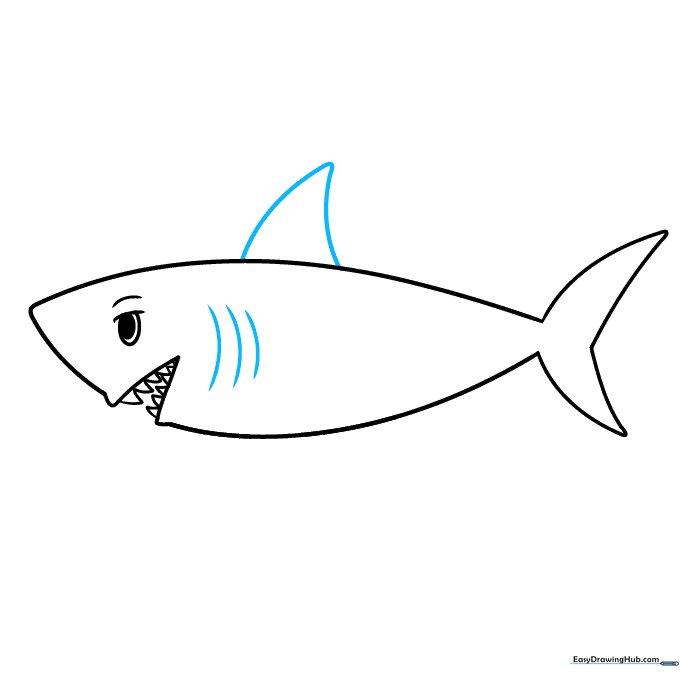
Draw a triangle on the shark's back for the dorsal fin, and add three parallel curved lines near the mouth for gills. Tip: Gills are how sharks breathe underwater—make sure they are spaced evenly!
Step 8: Adding the Pectoral Fin
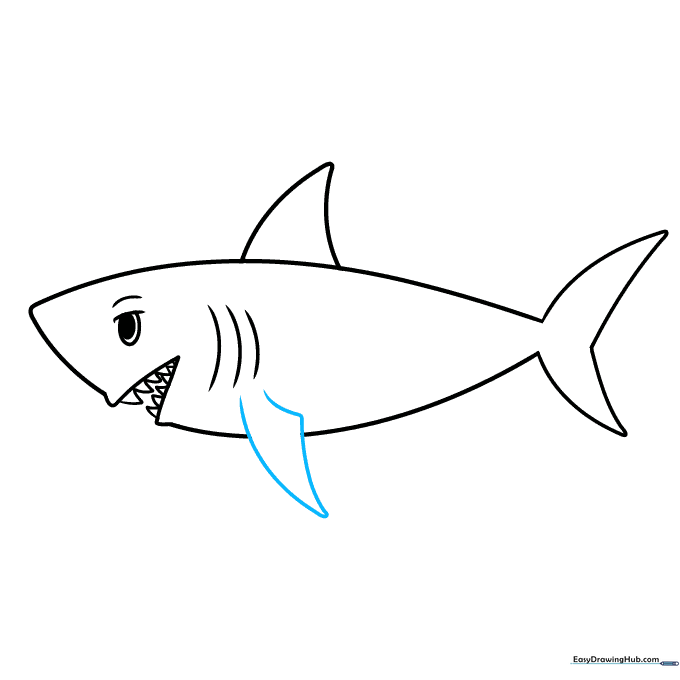
Draw a triangular pectoral fin on the side of the body. Tip: If you accidentally draw over the body line, just use your eraser to clean it up for a crisp finish.
Step 9: Final Fins
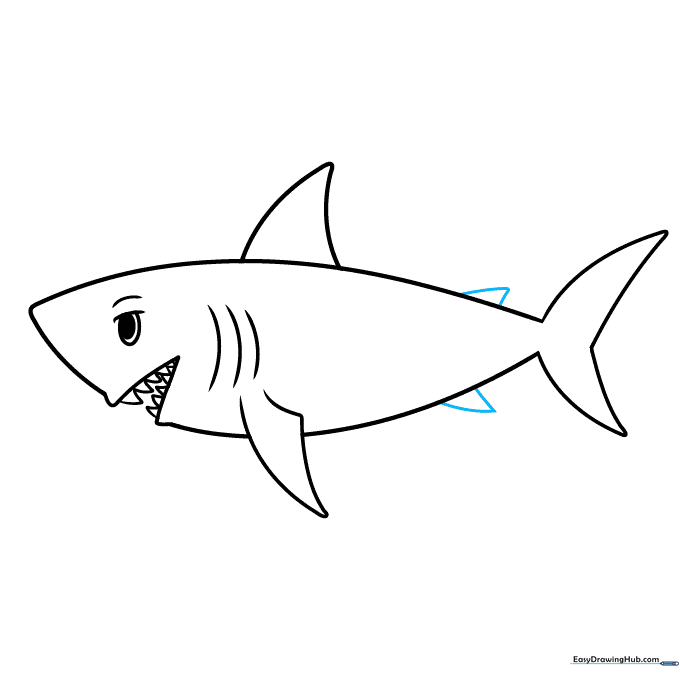
Add a smaller dorsal fin near the tail and an anal fin on the belly. Tip: These small triangles help your shark look balanced and ready to swim!
Step 10: Bring Your Shark to Life with Color
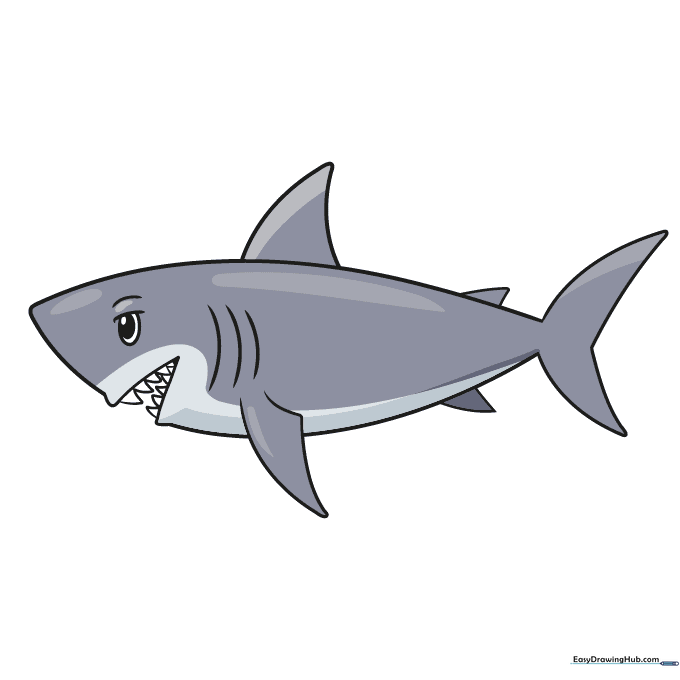
Time to color! Use shades of gray for the body, keeping the top darker and the belly lighter. Tip: Use a light blue for the background to make your shark look like it's swimming in the ocean.
More Tutorials


