How to Draw a Room in One-Point Perspective: Easy Guide
Ready to bring depth to your drawings? This one-point perspective tutorial is perfect for students ages 8+ looking to master 3D space. You will need a pencil, eraser, and a ruler to create a realistic room layout that pops off the page.
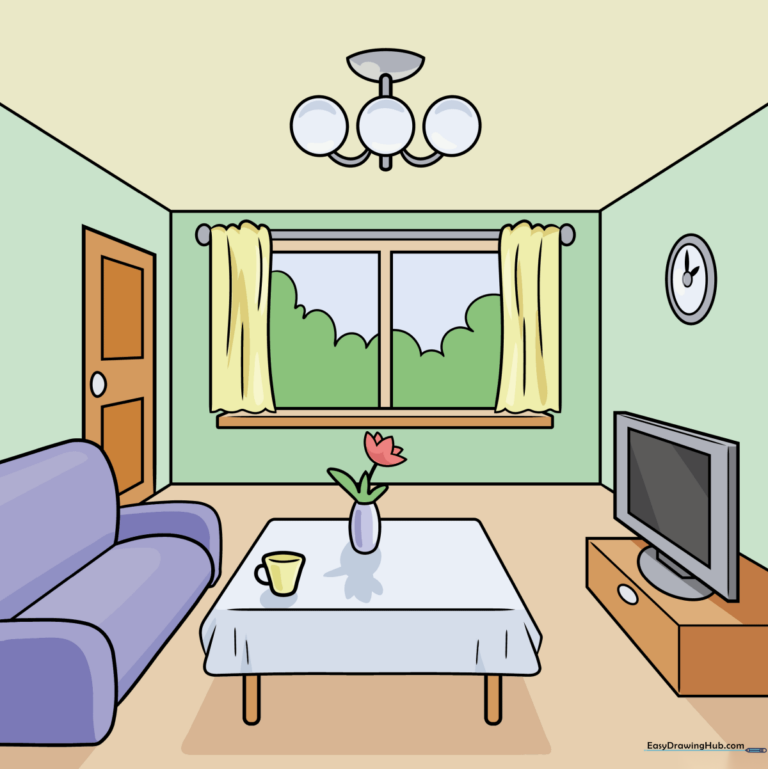
🎯 Final Result
Step-by-Step Instructions
Step 1: Setting the Vanishing Point
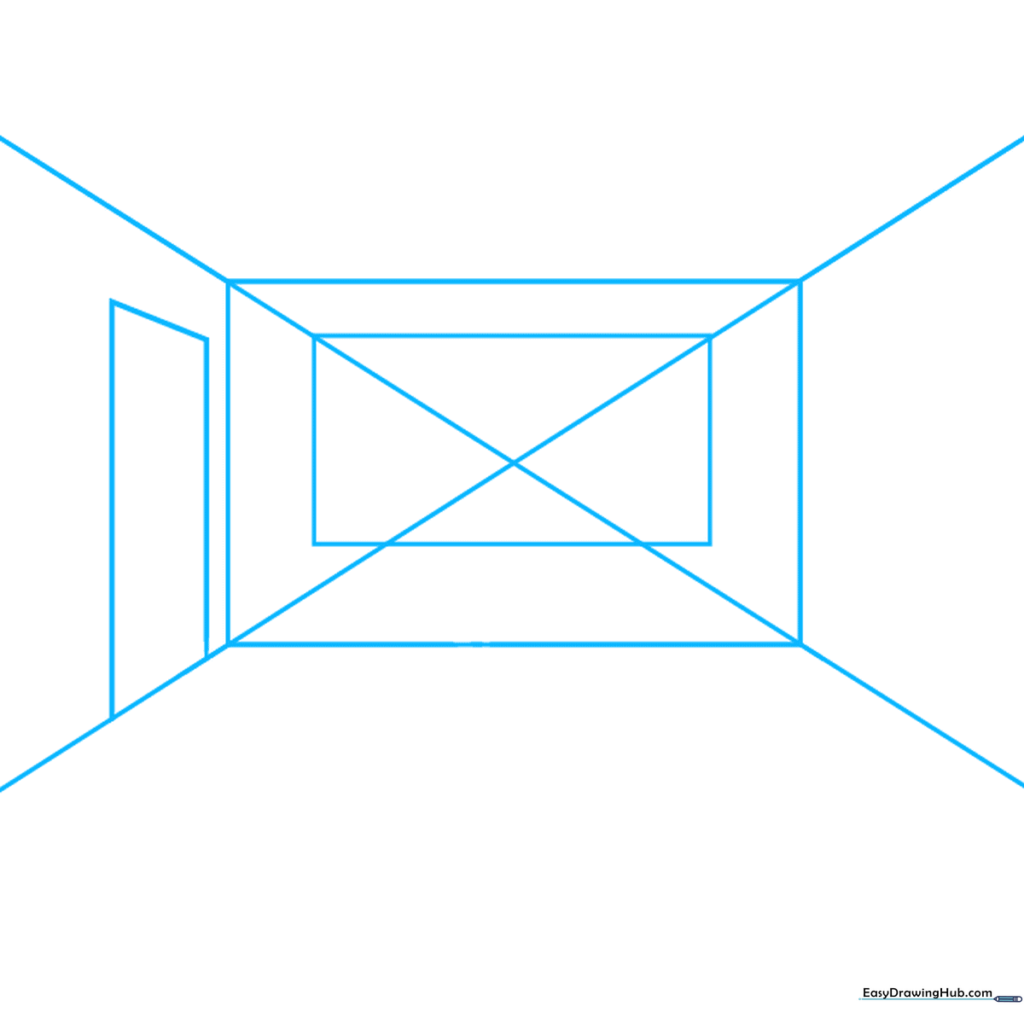
Draw a light 'X' across your paper using a ruler. The center is your 'vanishing point'—where all lines meet. Tip: Keep these lines very faint so you can easily erase them later; they are just your map for the walls, floor, and ceiling.
Step 2: Defining the Furniture
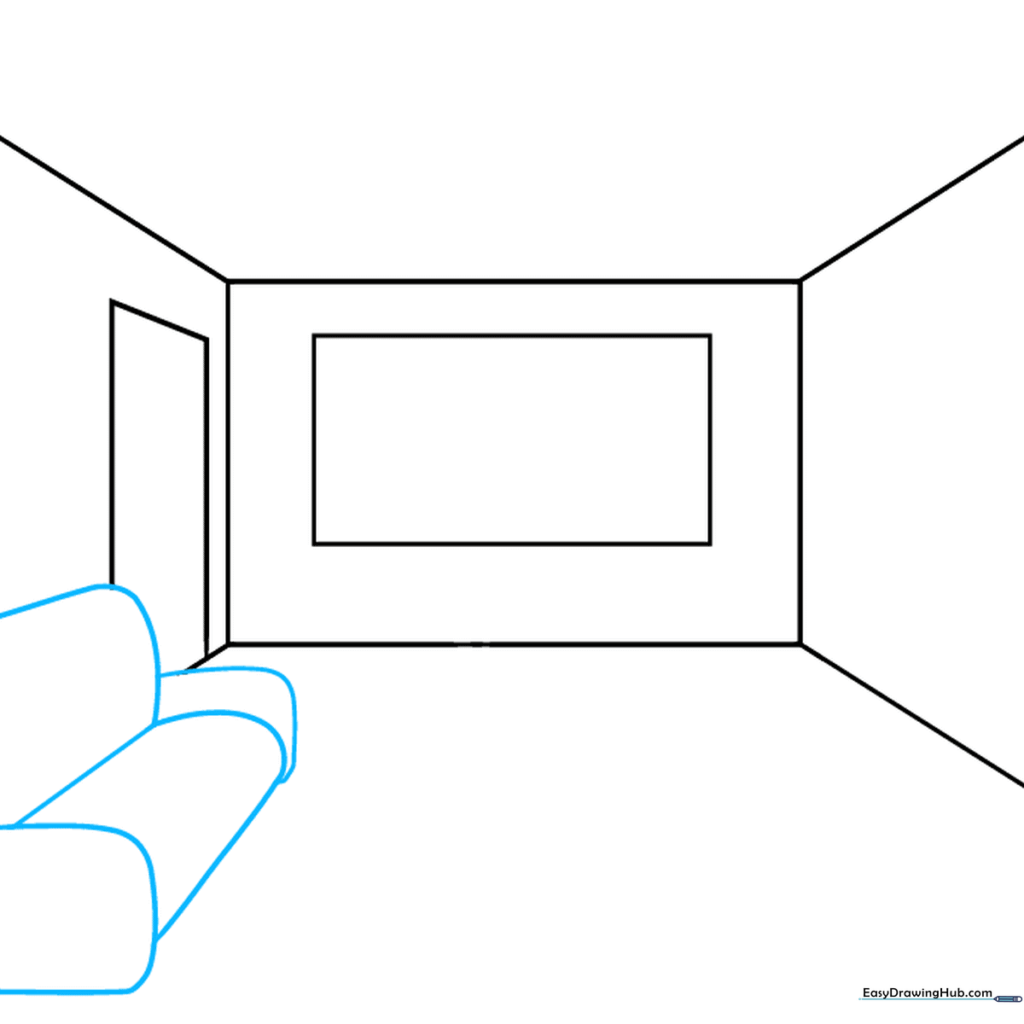
Erase the center of your 'X' to clear the back wall. Now, sketch the basic shape of a sofa along one side. Tip: Think of the sofa as a simple block first—don't worry about cushions yet, just get the placement right.
Step 3: Adding Depth to Furniture
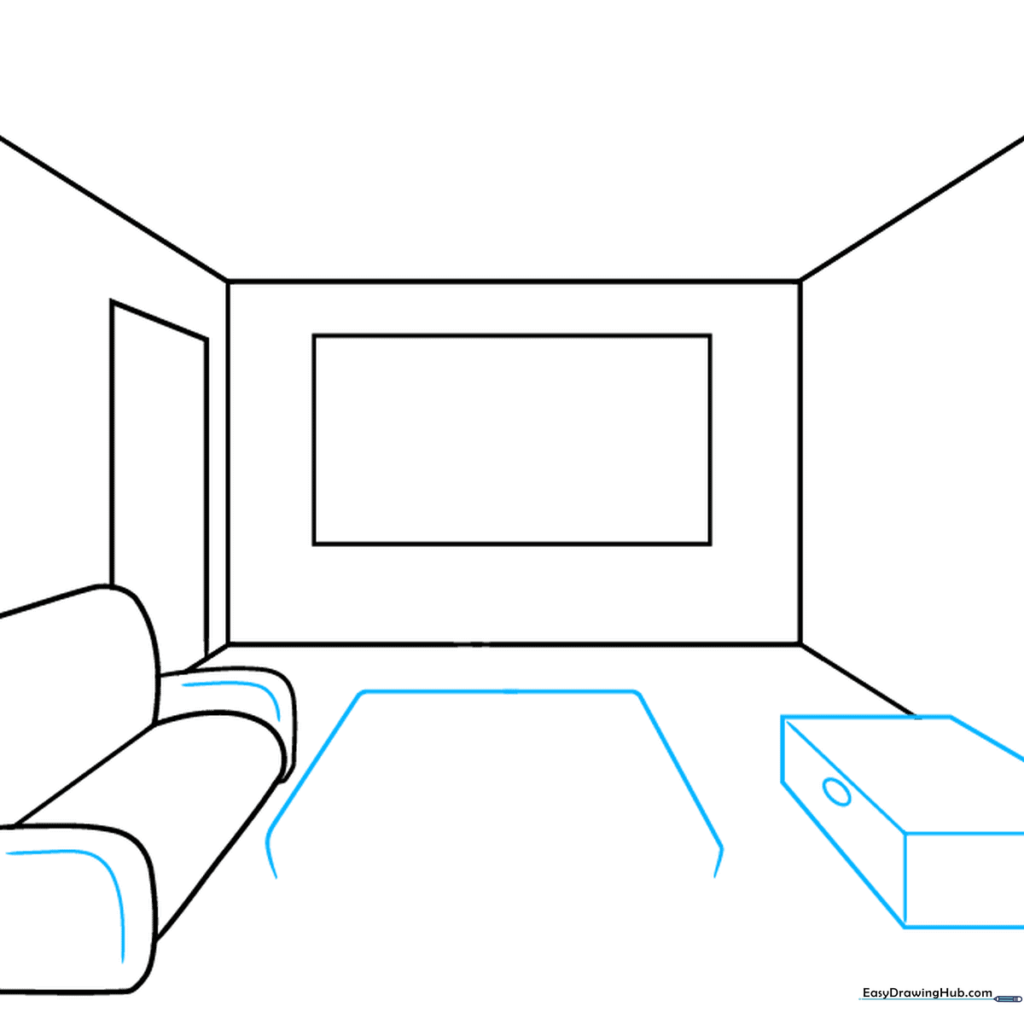
Refine the sofa arms and add a rectangular prism on the opposite wall for an entertainment center. Tip: Use your ruler to ensure the horizontal lines are parallel to the top and bottom of your paper.
Step 4: Creating the Table
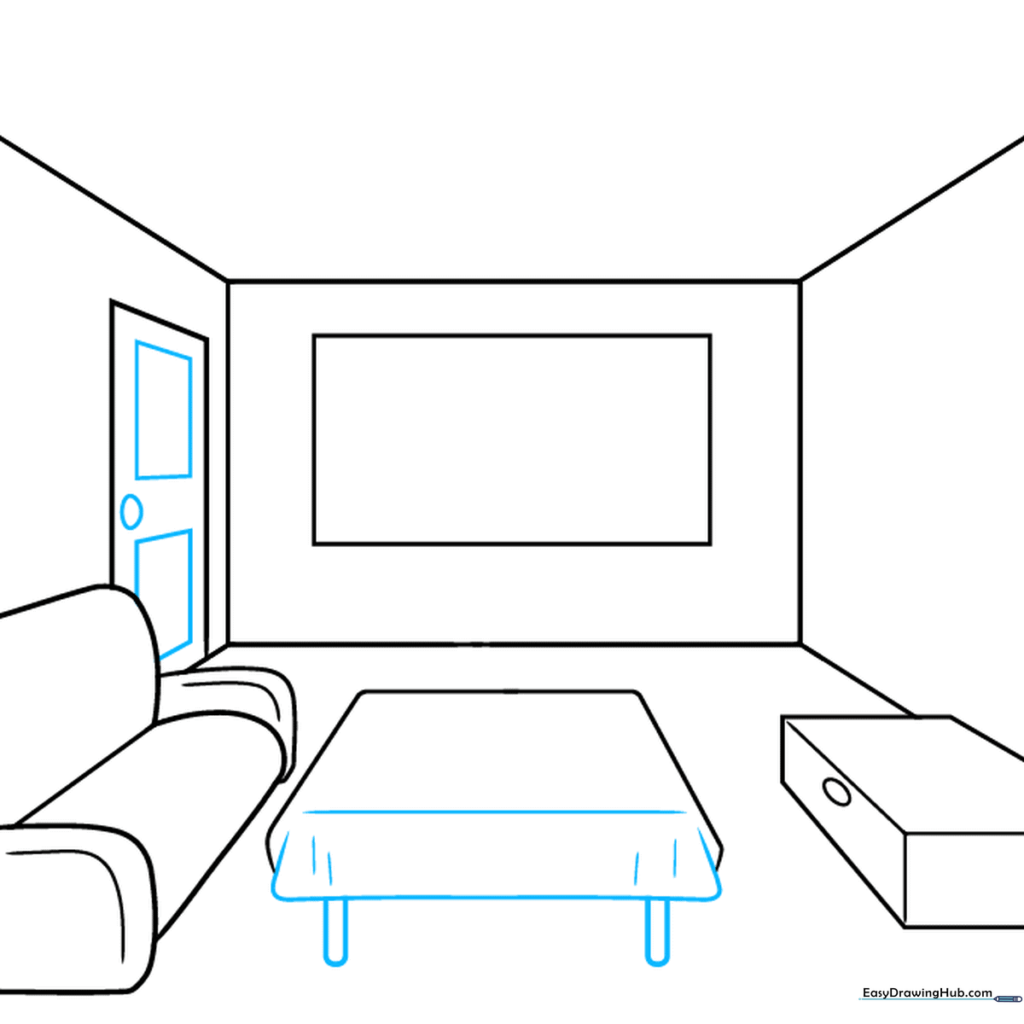
Draw a rectangular table in the center. Add legs using parallel lines. Tip: To make the tablecloth look realistic, use short, jagged 'v' shapes to show the fabric hanging over the edge.
Step 5: Sketching the Television
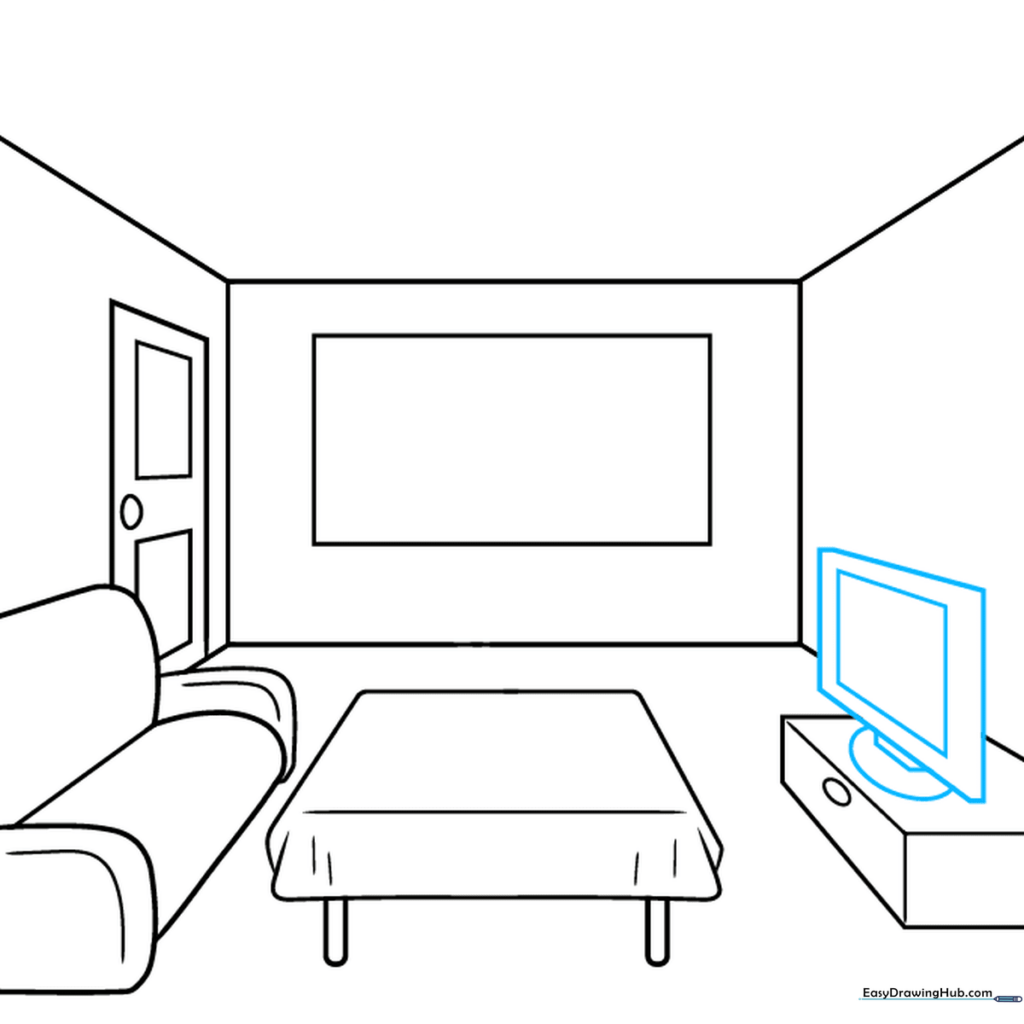
Draw a TV on your entertainment center. Use a rectangle-within-a-rectangle technique for the screen. Tip: Keep the base of the TV centered so it looks stable on the furniture.
Step 6: Adding Decor
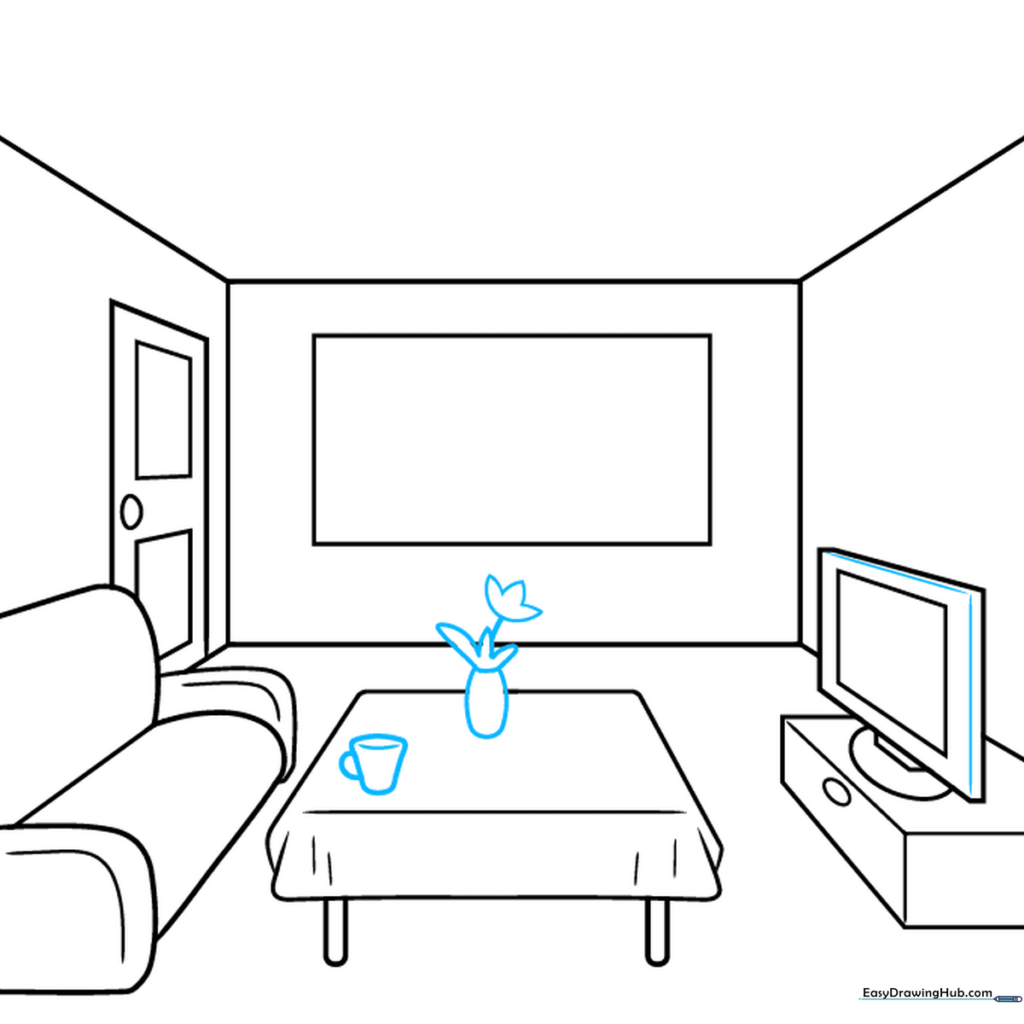
Add a vase of flowers and a mug on the table. Tip: Use small, overlapping 'u' shapes for the flowers to create a full, lush look without needing complex detail.
Step 7: Window and Curtains
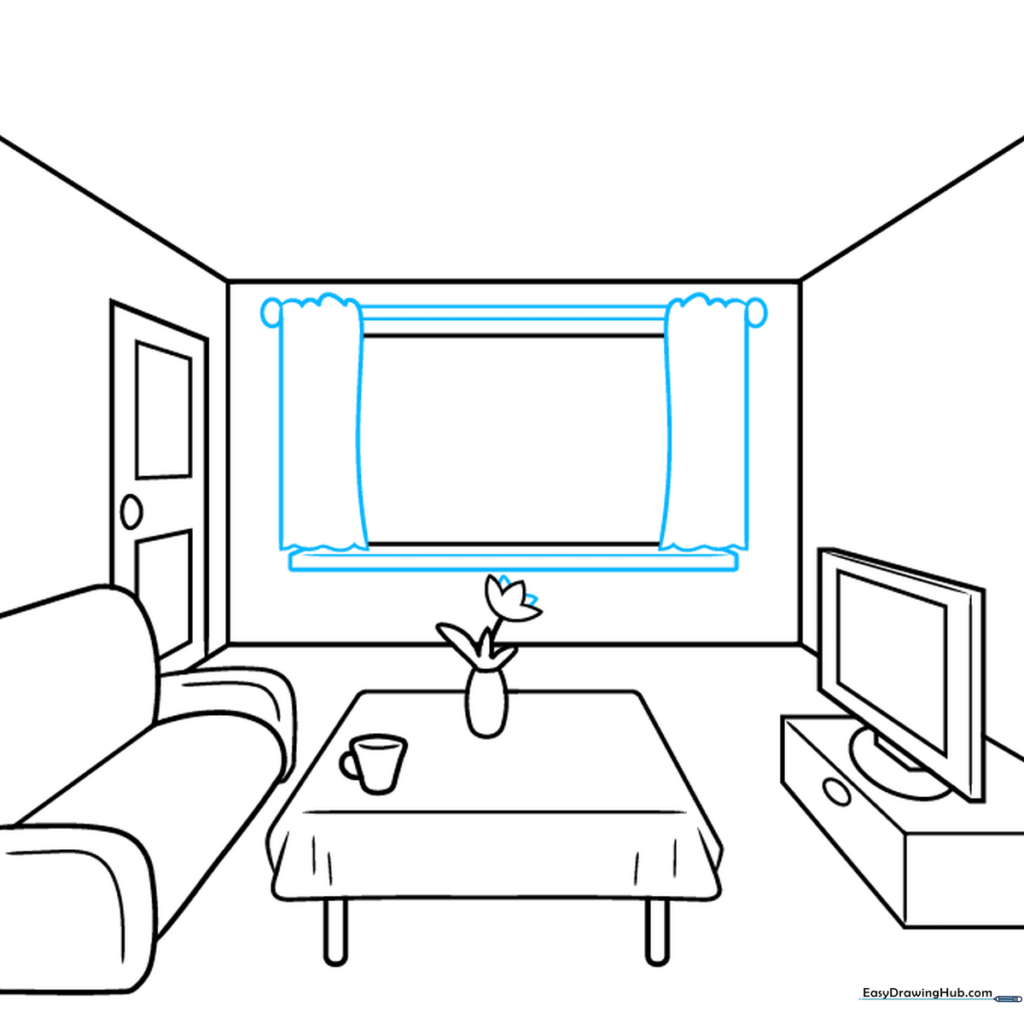
Draw curtains using wavy lines to suggest fabric folds. Add a curtain rod across the top. Tip: Draw the rod slightly wider than the window to make the room look larger.
Step 8: Lighting and Texture
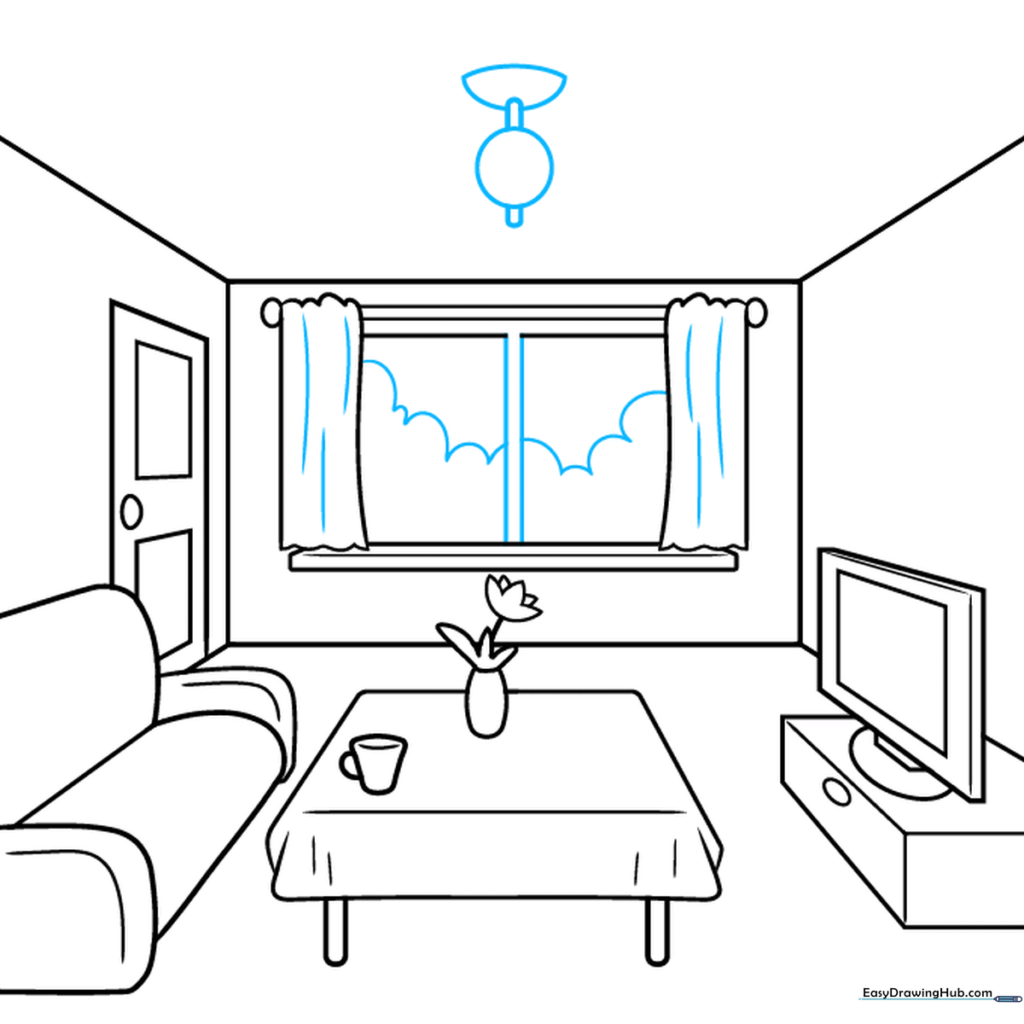
Add texture to the curtains with vertical lines and draw a light fixture on the ceiling. Tip: Use a circle for the base of the light to give it a 3D effect.
Step 9: Final Touches
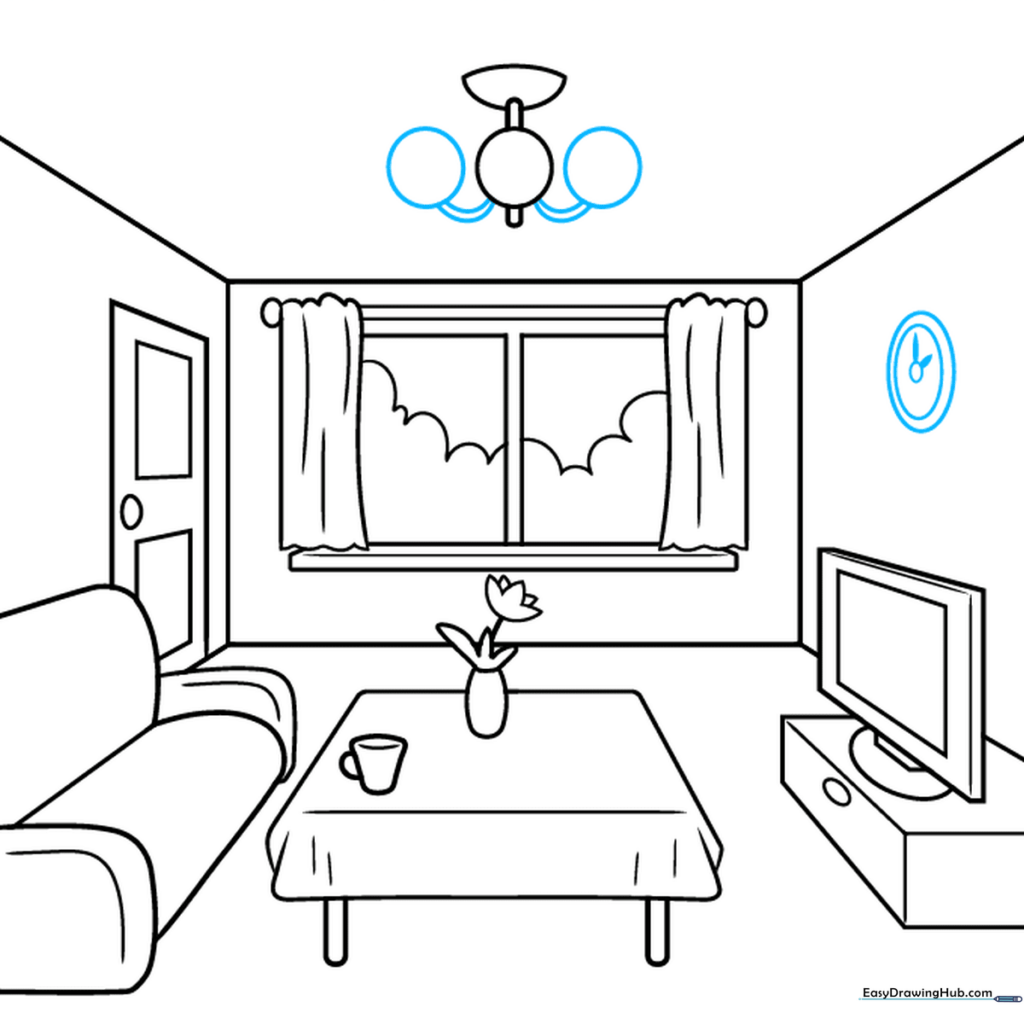
Add a wall clock using concentric circles. Tip: Keep the clock hands simple—just two small teardrop shapes pointing to the time.
Step 10: Color Your Room
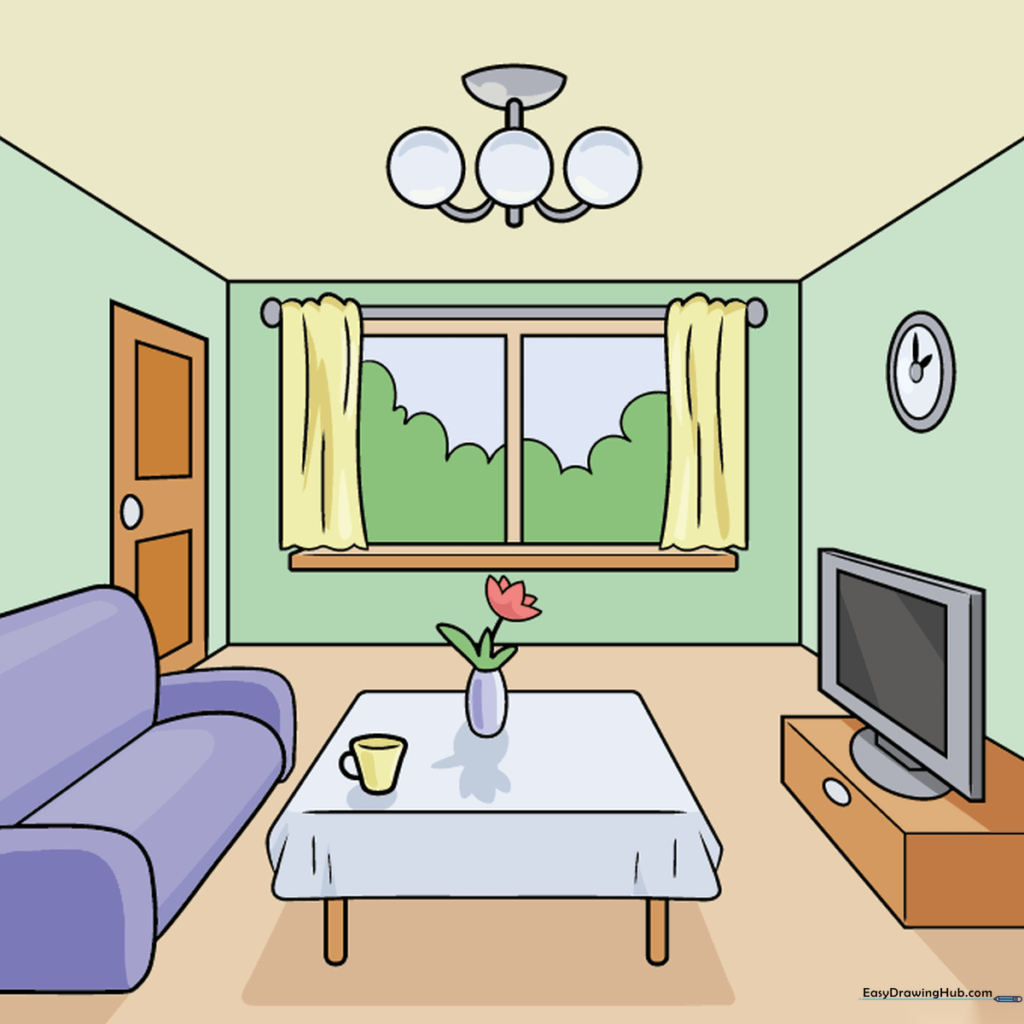
Now for the fun part! Use your favorite colors to bring the room to life. Tip: Use lighter colors for the walls to make the room look bright and airy.
More Tutorials


