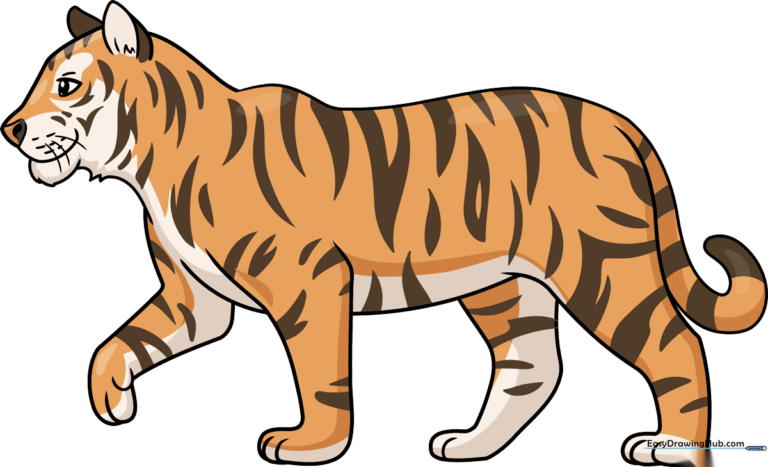
How to Draw a Realistic Tiger: Simple 9-Step Guide
Ready to bring the king of the jungle to life? This tutorial is perfect for young artists ages 7+ looking to master realistic animal proportions. Grab a pencil, an eraser, and a sheet of paper to follow along as we break down the tiger's complex form into simple, manageable shapes.
🎯 Final Result
Step-by-Step Instructions
Step 1: Sketching the Tiger's Profile

Start by drawing the tiger's face profile using soft, curved lines. Include the triangular nose and the eye contour. Teacher's Tip: Keep your pencil pressure light so you can easily adjust the shape of the snout if it looks a bit off.
Step 2: Defining the Ears and Jaw
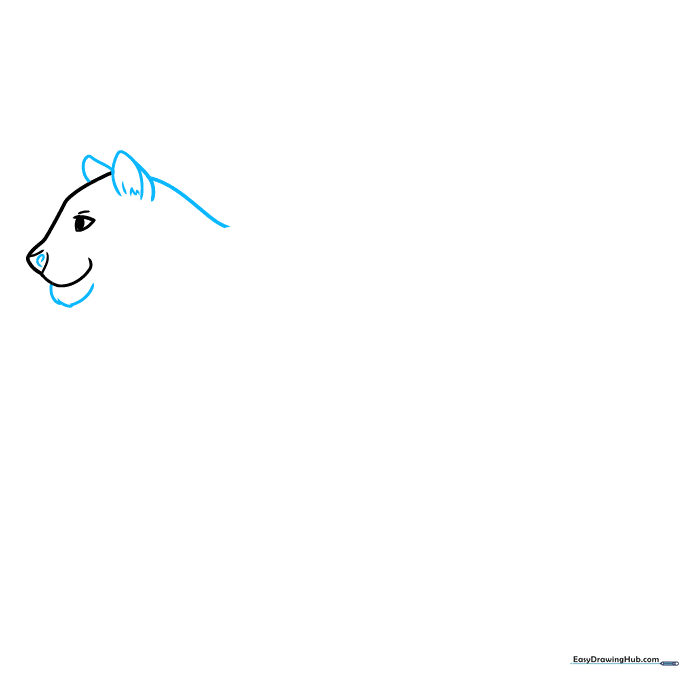
Add a small spiral for the nostril, then sketch the ears and the back of the head using overlapping curves to suggest fur. Teacher's Tip: Use short, quick strokes for the jawline to make the tiger look soft and furry rather than smooth.
Step 3: Forming the Neck and Front Leg
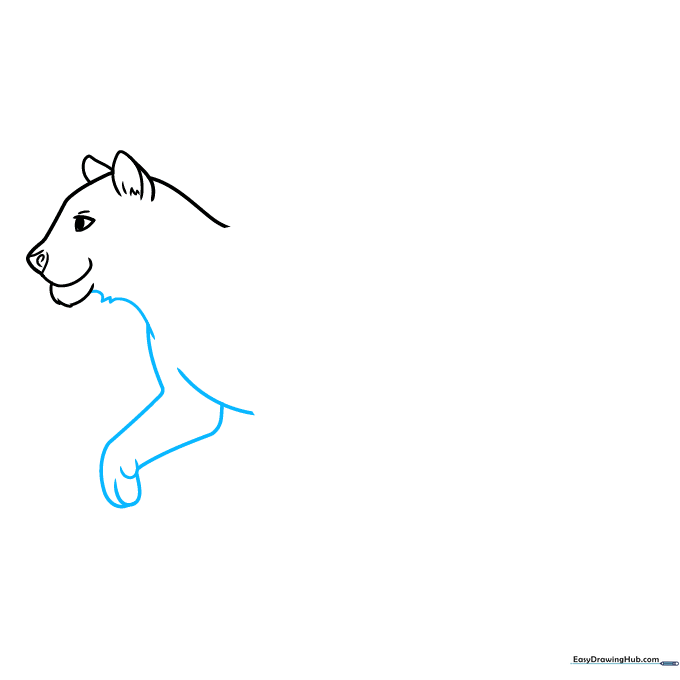
Connect the jaw to the body with curved lines that represent the neck and chest. Add the raised front leg. Teacher's Tip: Ensure the leg looks sturdy by making the paw slightly wider than the wrist.
Step 4: Sketching the Belly and Back
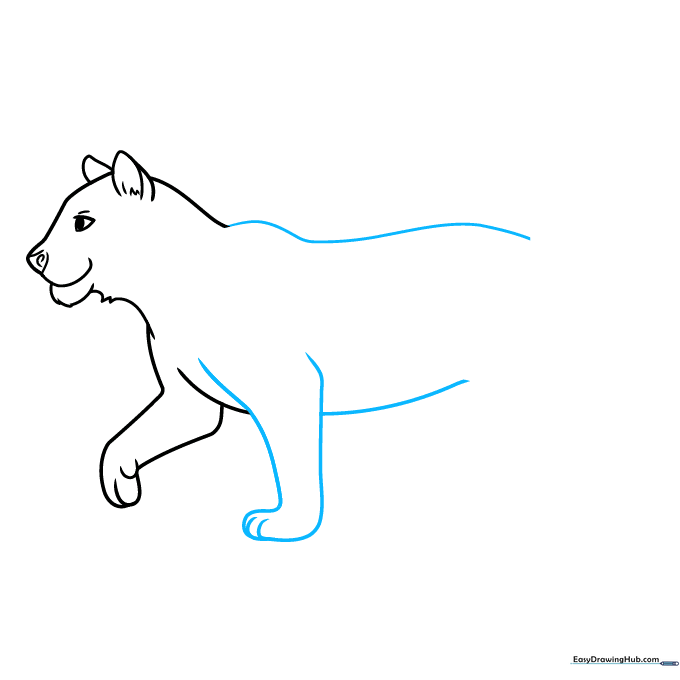
Draw the long, sweeping curve of the back and the belly. Add small lines at the bottom of the paw to define the toes. Teacher's Tip: Tigers have a powerful build; keep the belly line slightly tucked to show movement.
Step 5: Adding the Rear Legs
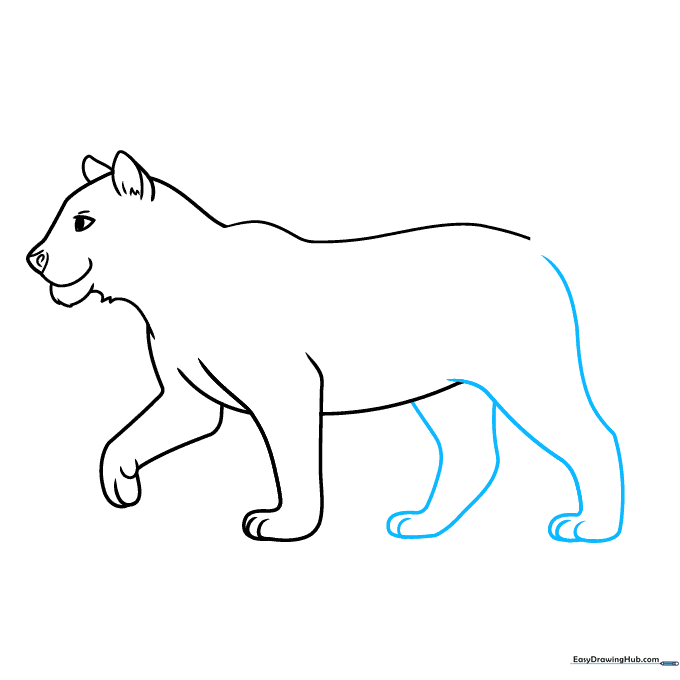
Sketch the powerful rear legs using long, graceful curves. Add small lines for the toes. Teacher's Tip: Think of the rear leg as a slightly bent 'Z' shape to capture the tiger's natural stance.
Step 6: The Tail and Facial Markings
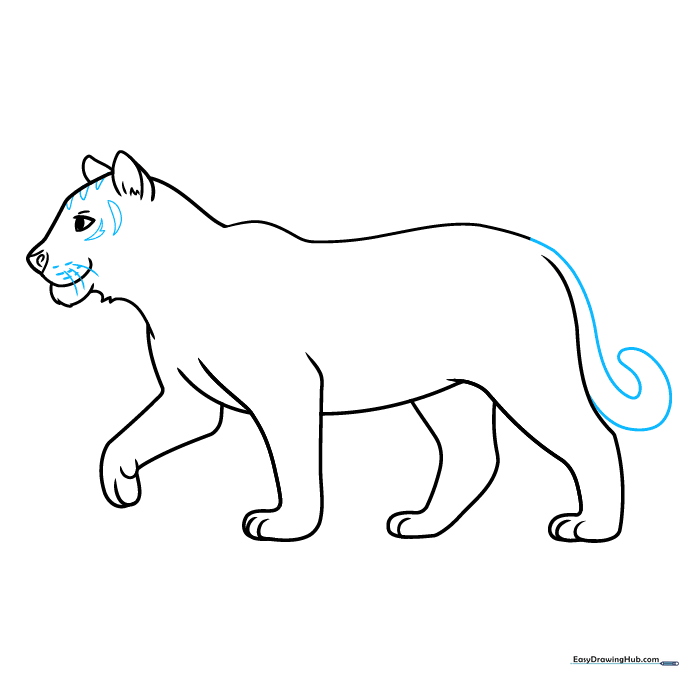
Draw a long, sweeping tail and add the iconic stripes on the forehead and around the eyes. Add whiskers using quick, flicking motions. Teacher's Tip: Whiskers should be long and thin; don't press too hard!
Step 7: Creating Jagged Stripes
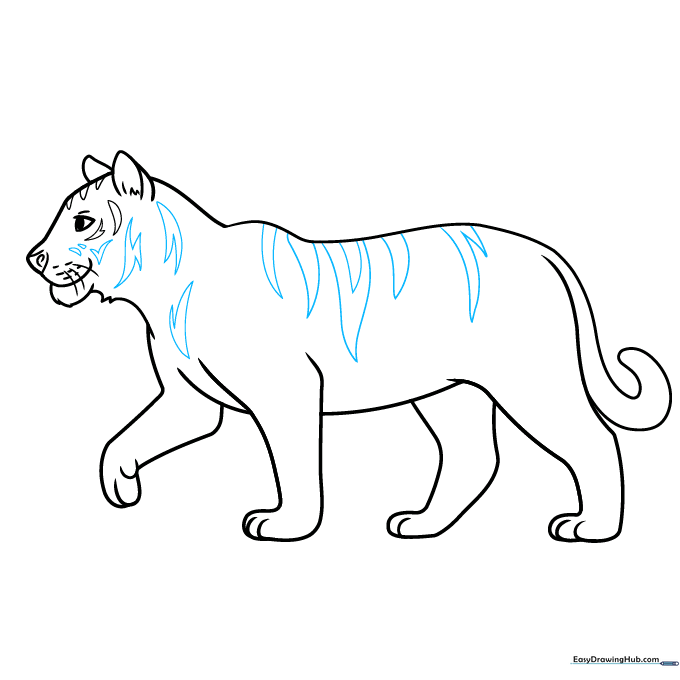
Continue adding stripes across the body. Use lines of varying lengths that meet at jagged points. Teacher's Tip: Real tiger stripes aren't perfectly symmetrical, so don't worry if they look a little different on each side.
Step 8: Filling in the Pattern
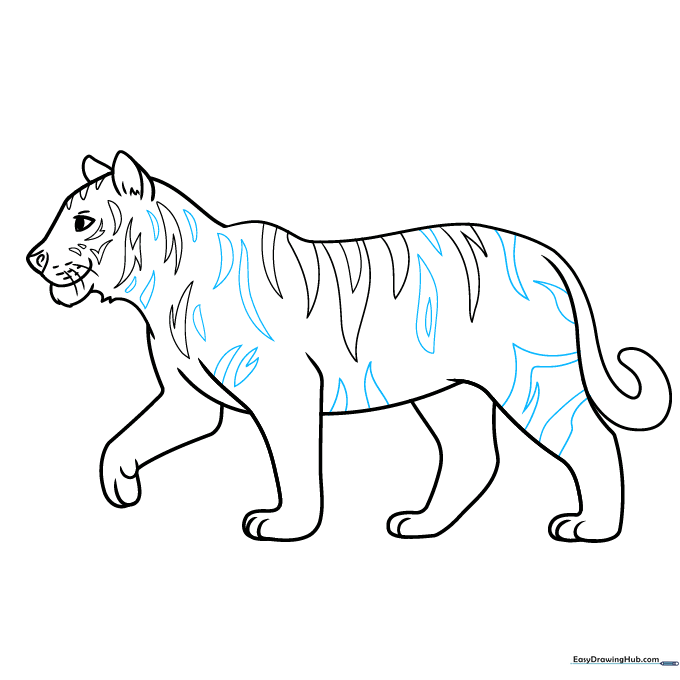
Add more stripes, alternating between those that start at the back and those that start at the belly. Teacher's Tip: Varying the thickness of your stripes adds a more realistic, professional look to your drawing.
Step 9: Final Touches
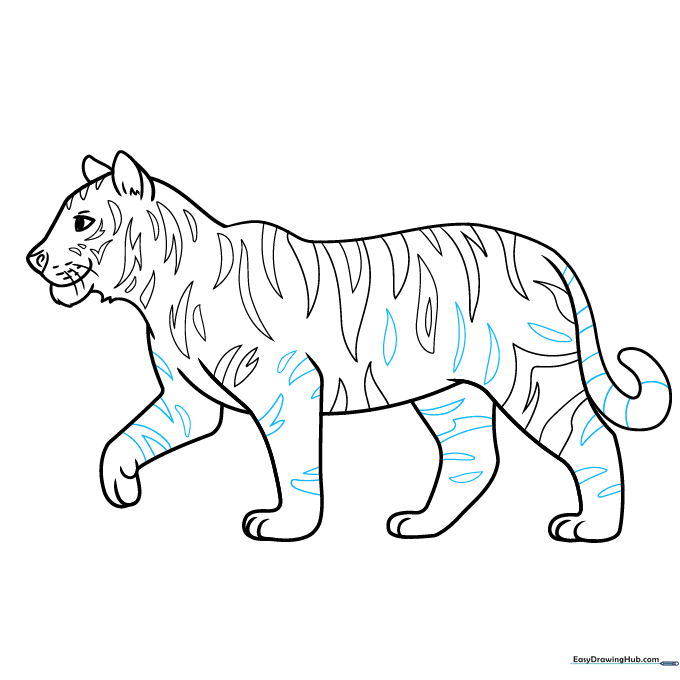
Finish the stripes on the legs and add bands to the tail. Your outline is now complete! Teacher's Tip: Before coloring, go over your lines with a darker pencil or pen to make the drawing pop.
Step 10: Bring Your Tiger to Life with Color
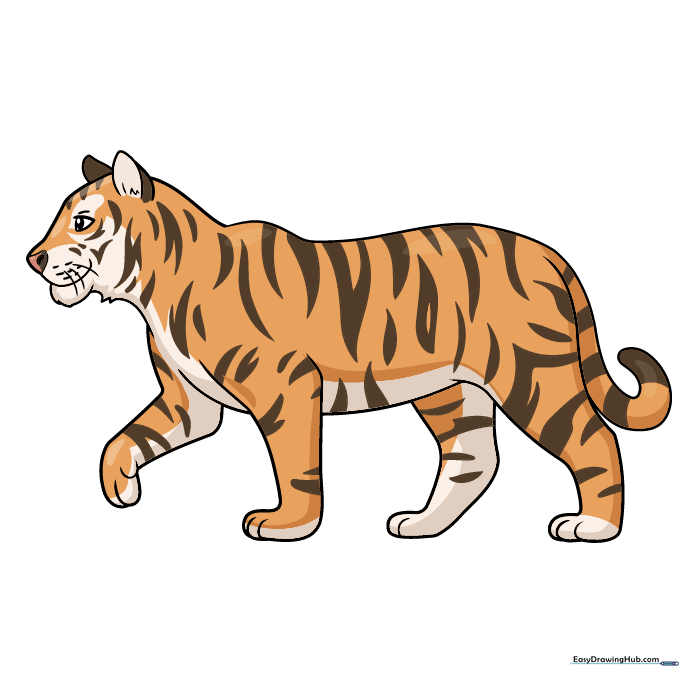
Time to color! Use vibrant orange for the fur and black for the stripes. If you're feeling creative, try a white tiger with grey stripes. Teacher's Tip: Use light pressure for the orange to leave room for shading later.
More Tutorials


