How to Draw a Realistic Shark: Simple 9-Step Guide
Ready to bring the ocean's most famous predator to life? This tutorial is perfect for young artists ages 7+ looking to practice realistic shading and anatomy. All you need is a pencil, an eraser, and a sheet of paper to start building your shark's form.
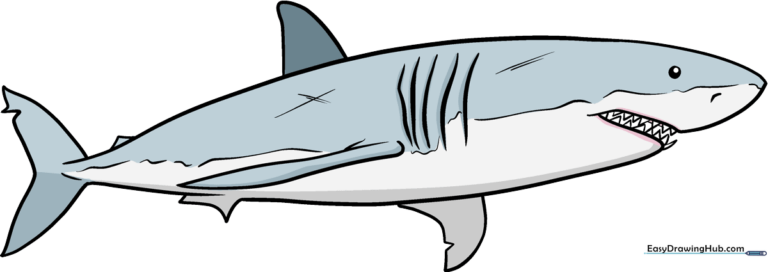
🎯 Final Result
Step-by-Step Instructions
Step 1: Establishing the Head and Eye
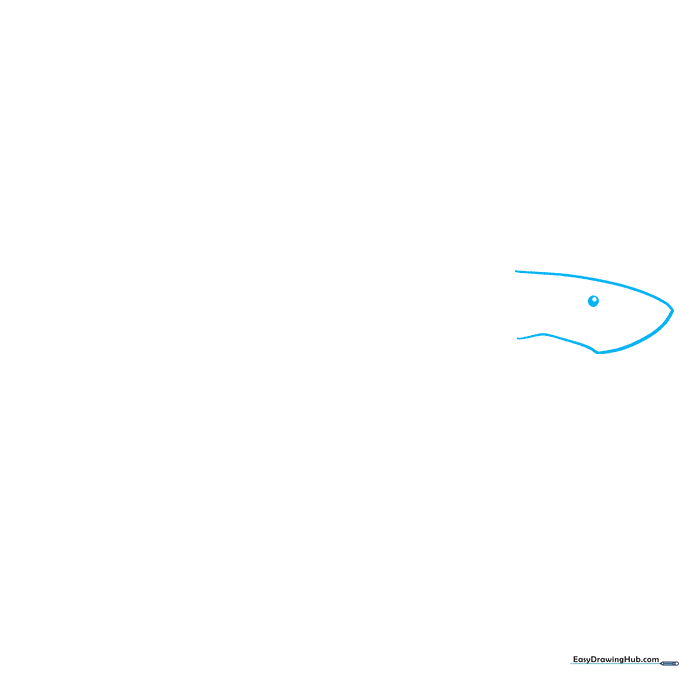
Draw a triangle with a slightly curved base to form the snout, then add a circle for the eye. Teacher's Tip: Keep the eye circle small and near the top of the snout to give your shark a focused, realistic look.
Step 2: Defining the Profile
Sketch a small dash inside the eye area for depth, then draw a long, sweeping curve extending from the snout to create the shark's back. Tip: Use a fluid, continuous motion to keep the line looking natural and sleek.
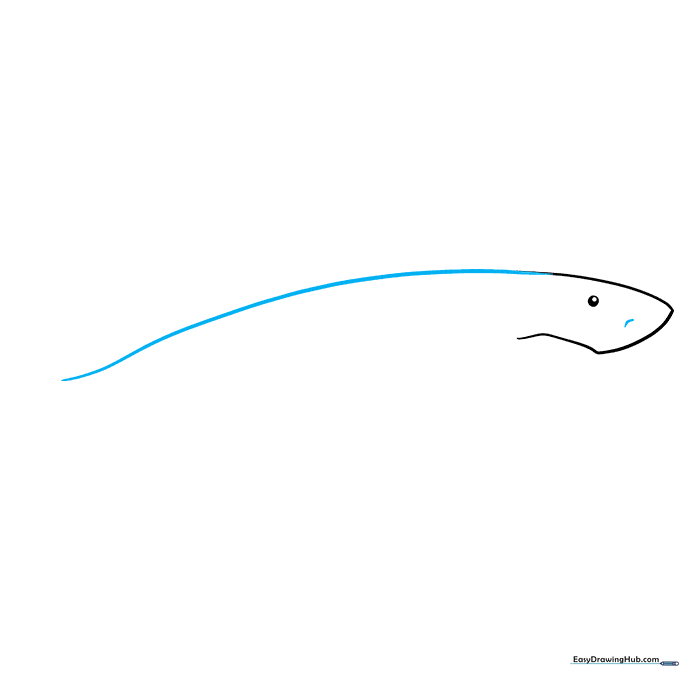
Step 3: Adding the Dorsal Fin
Add a rounded triangle on the back for the dorsal fin and a larger triangle for the tail. Tip: Sharks have streamlined bodies; ensure the dorsal fin leans slightly backward to show movement.
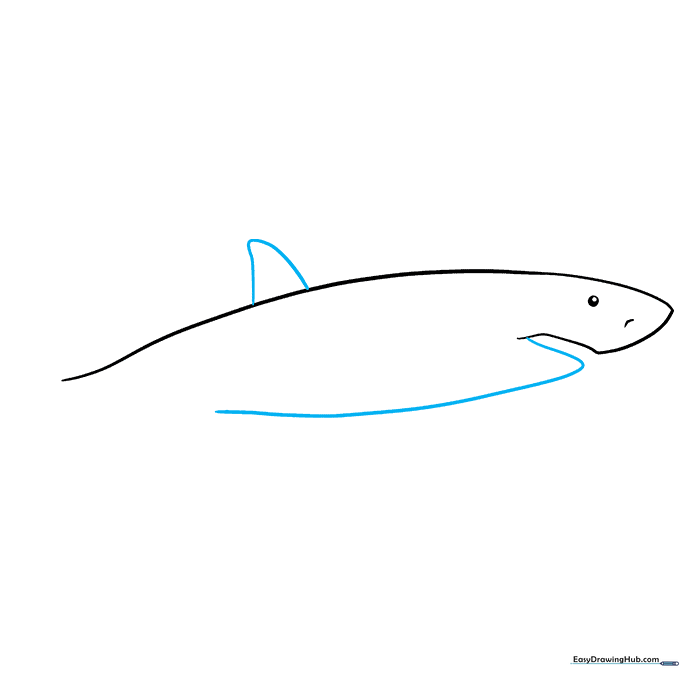
Step 4: Creating the Mouth and Nostrils
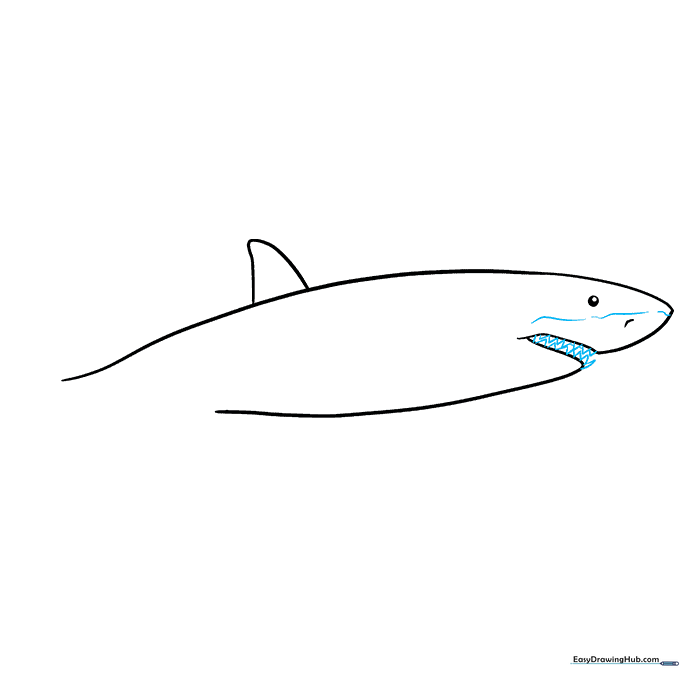
Draw jagged, triangular shapes for teeth inside the mouth. Add three small wavy lines between the eye and the nose area. Tip: Keep the teeth slightly irregular to make the shark look more authentic.
Step 5: Refining the Tail and Underbelly
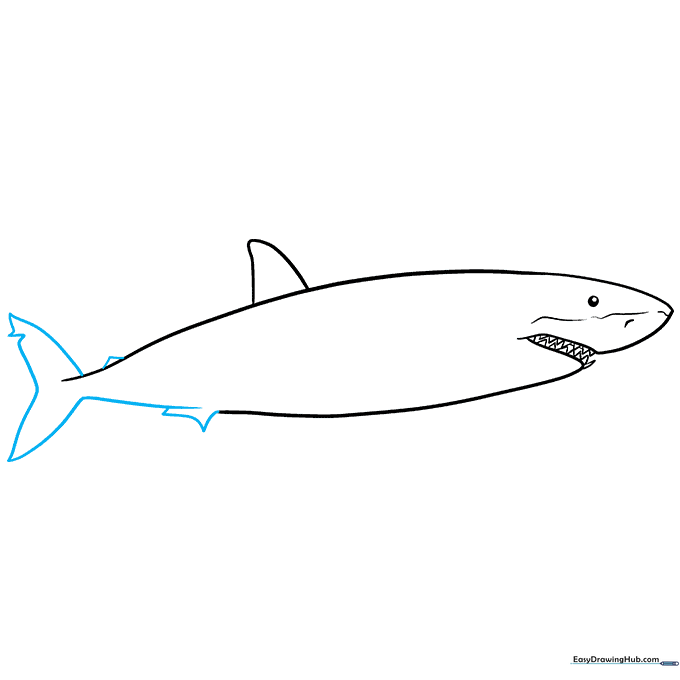
Outline the tail with two triangles, creating a jagged notch at the tip. Add a rectangular shape with a pointed end under the body for the pectoral fin. Tip: Use light pressure here so you can easily adjust the fin's angle.
Step 6: Adding Tail Detail
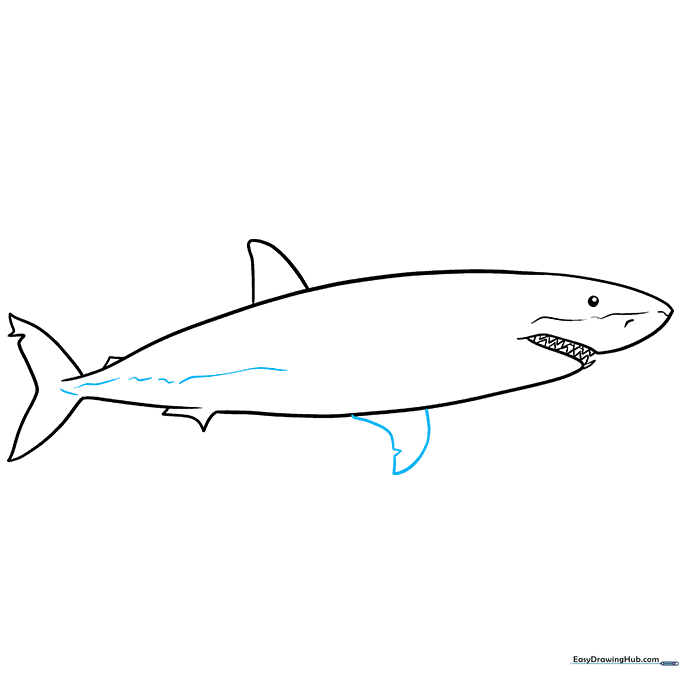
Draw a curved triangle with a small notch for the lower tail fin. Add wavy lines near the base of the tail to suggest muscle movement. Tip: These small lines help the shark look like it is swimming through water.
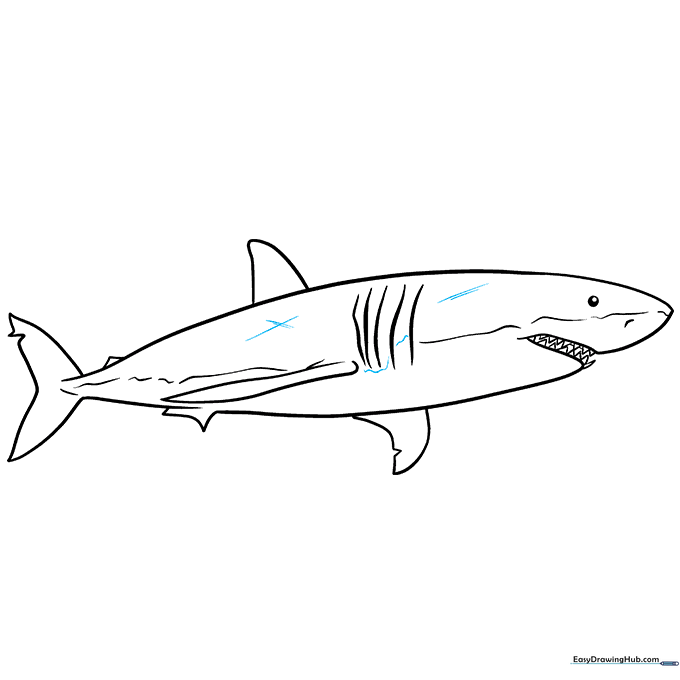
Step 7: Finalizing the Fins
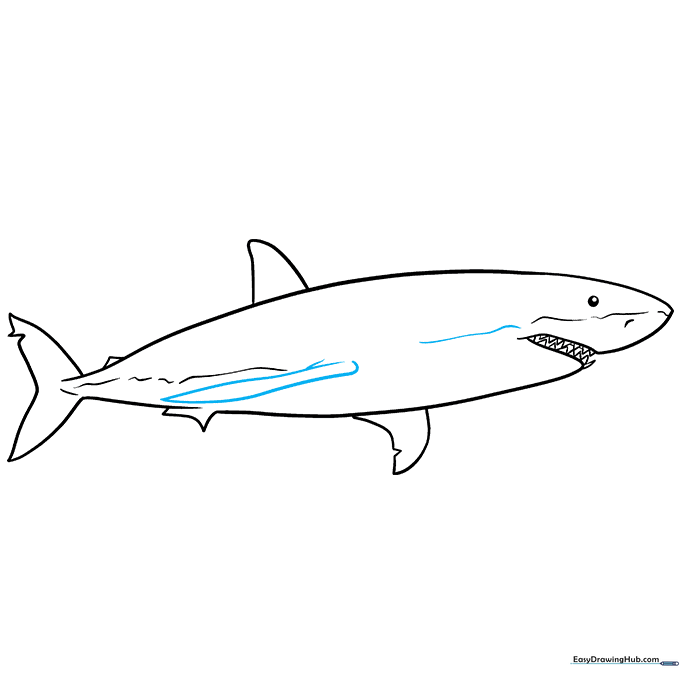
Draw a narrow, pointed fin on the left side. Add a small dash above it and a wavy line near the mouth to define the jaw structure. Tip: Keep the fin narrow to maintain the shark's sleek, hydrodynamic appearance.
Step 8: Adding Gill Slits
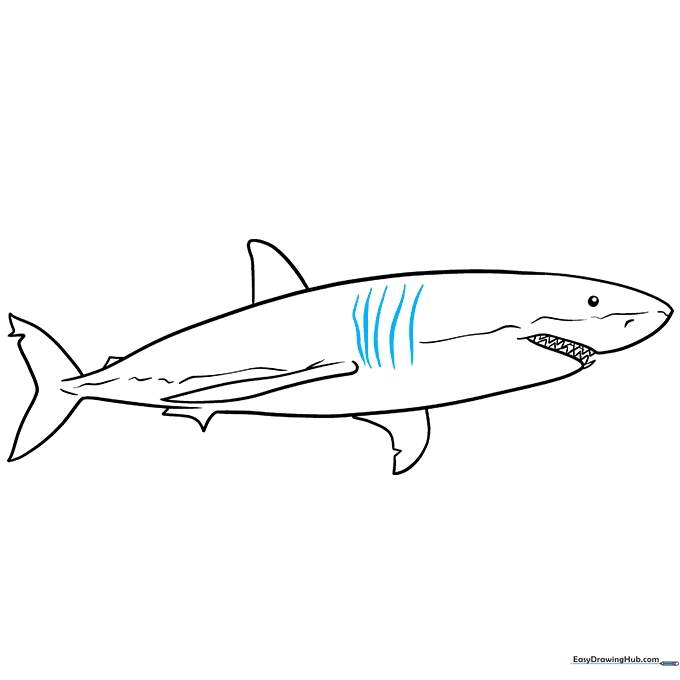
Sketch five rough, vertical lines on the side of the body to represent the gills. Tip: Space them evenly and make them slightly curved to follow the shape of the shark's body.
Step 9: Inking and Final Details
Use a black pen to outline your shark. Fill in the eye, use thick lines for the main body, and light, thin strokes for the gills. Tip: Varying your line weight adds professional-looking contrast to your drawing.
Step 10: Adding Color and Shading
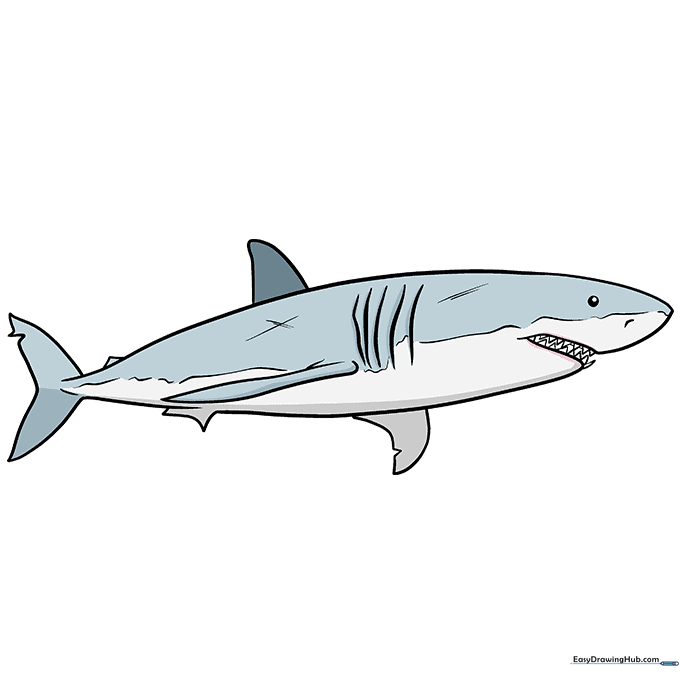
Color the top of the shark light gray, leaving the underside white. Use a darker gray to shade the bottom of the body and around the fins. Add a touch of pink near the mouth. Tip: Blending your gray pencil will create a smooth, realistic skin texture.
More Tutorials


