How to Draw a Realistic Panda: Easy 10-Step Guide
Ready to bring a giant panda to life on paper? This tutorial is designed for young artists ages 7+ and beginners looking to master realistic animal proportions. You only need a pencil, an eraser, and a piece of paper to get started. Follow along to build your panda from the nose out, focusing on simple shapes that create a professional, furry look.
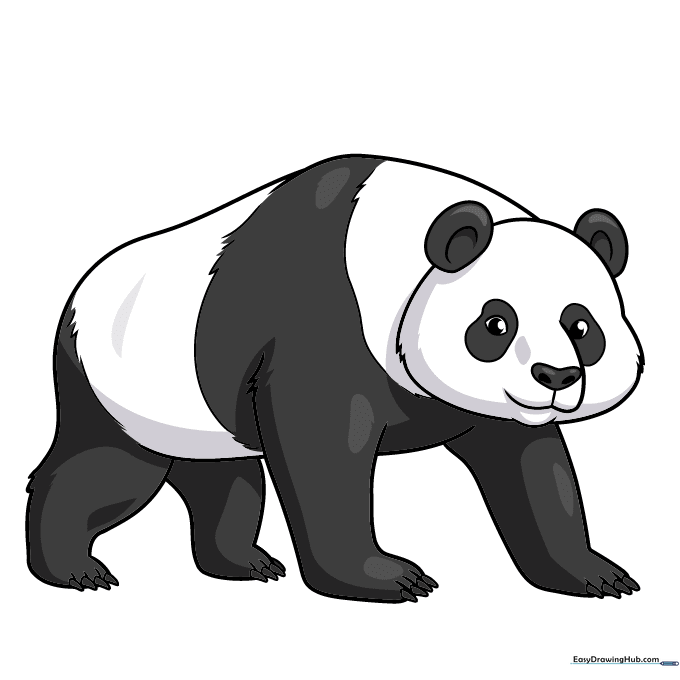
🎯 Final Result

Step-by-Step Instructions
Step 1: Sketching the Nose and Eyes
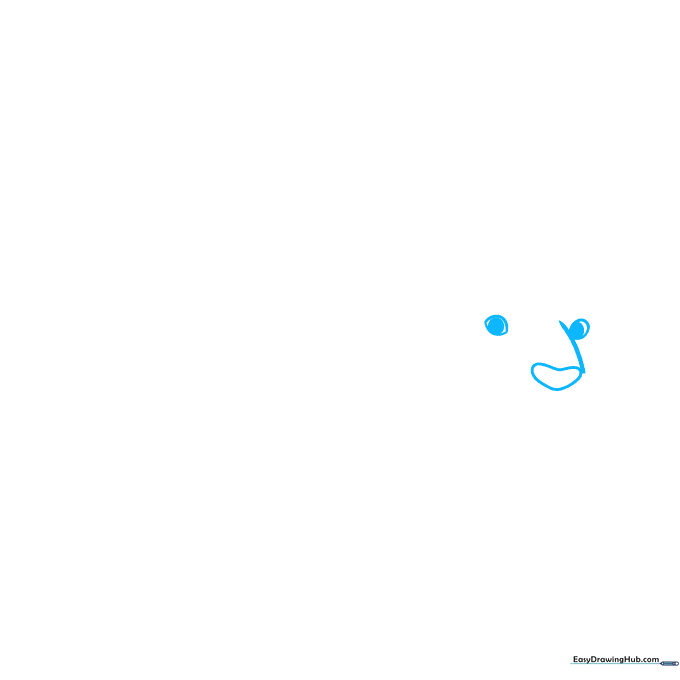
Start by drawing a small, flattened heart shape for the nose. Above it, draw two circles for the eyes and add tiny, dark pupils. Teacher's Tip: Keep your pencil pressure light here so you can easily adjust the spacing if the eyes look a bit too far apart.
Step 2: Defining the Snout and Head
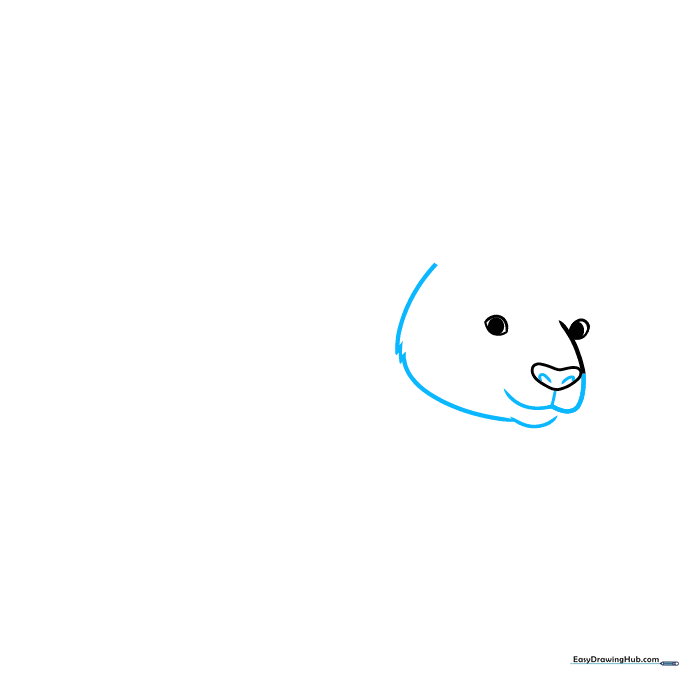
Draw a 'W' shape under the nose to form the mouth. Use short, jagged lines to outline the sides of the head to suggest fluffy fur. Add two small lines inside the nose for nostrils. Teacher's Tip: Use a 'flicking' motion with your pencil to make the fur look natural and soft.
Step 3: Adding the Ears
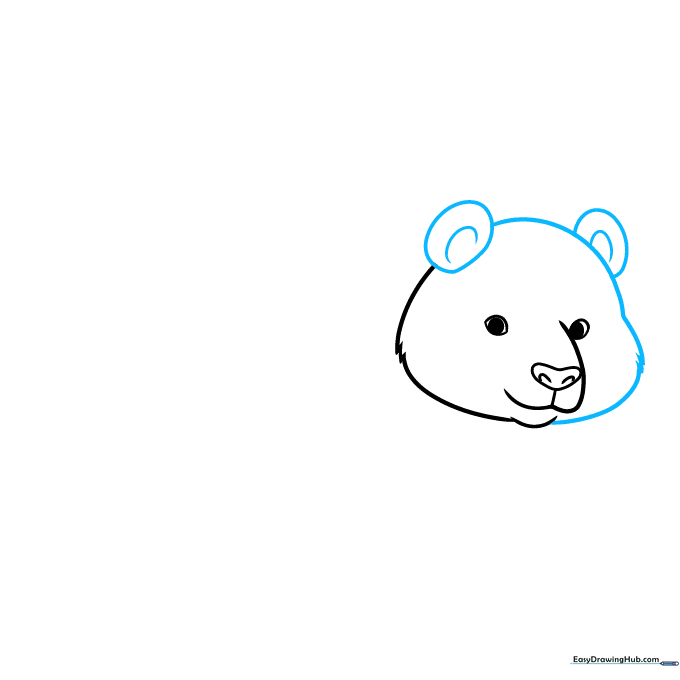
Draw two oval shapes at the top of the head for the ears, adding a 'C' curve inside each to show depth. Connect them with a soft, rounded line across the top of the head. Teacher's Tip: Make sure the ears are placed slightly to the sides rather than perfectly on top to give it a more realistic bear-like look.
Step 4: Sketching the Front Leg
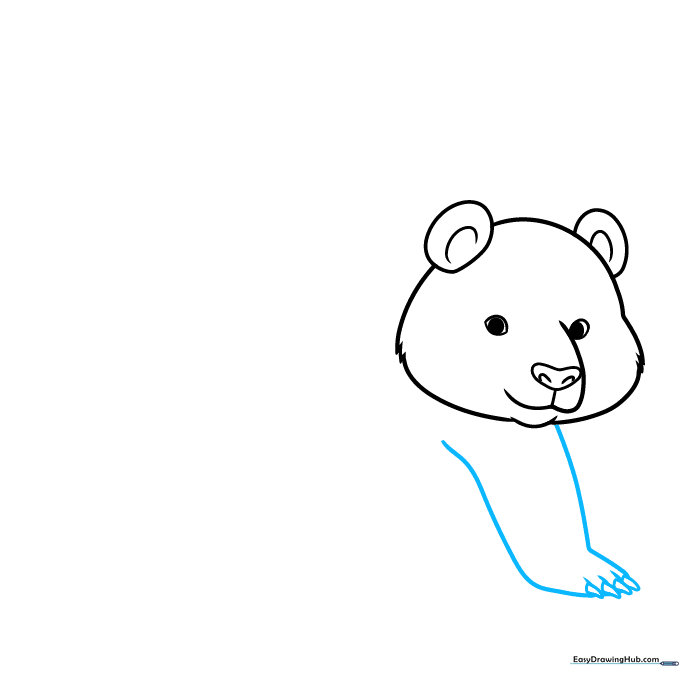
Extend two long, curved lines downward to create the first front leg. Add four small triangles at the bottom for claws. Teacher's Tip: Pandas have thick limbs, so don't make the leg too skinny—keep the lines slightly bowed outward.
Step 5: Adding the Second Leg
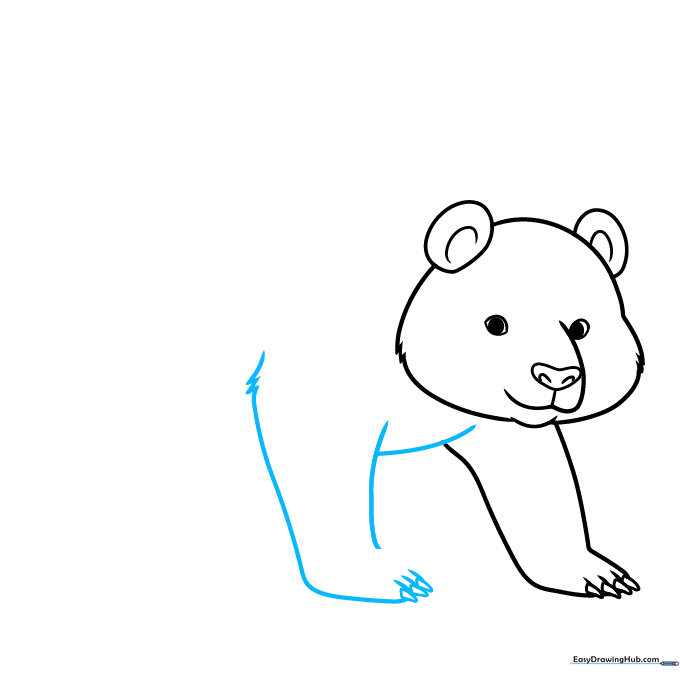
Draw the second front leg using similar curved lines, adding claws and using jagged strokes at the top to suggest the fur where the leg meets the chest. Teacher's Tip: Overlapping the lines slightly helps create the illusion that one leg is in front of the other.
Step 6: Drawing the Back and Belly

Connect the head to the body with a long, sweeping curved line for the back, and another for the belly. This forms the main torso of your panda. Teacher's Tip: Keep this line smooth to show the panda's rounded, healthy shape.
Step 7: Sketching the Rear Legs
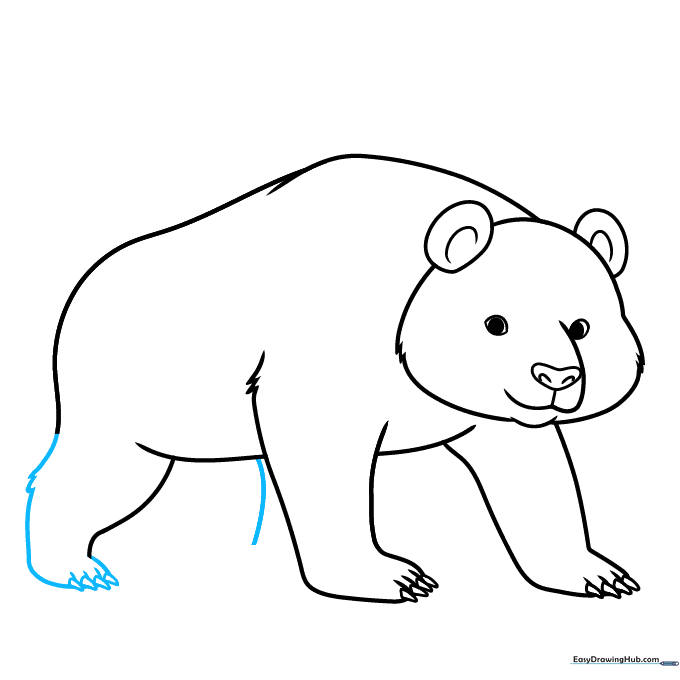
Use curved lines and small triangles to draw the powerful rear legs. Teacher's Tip: The back legs should look slightly thicker than the front ones to support the panda's weight.
Step 8: Finalizing the Legs
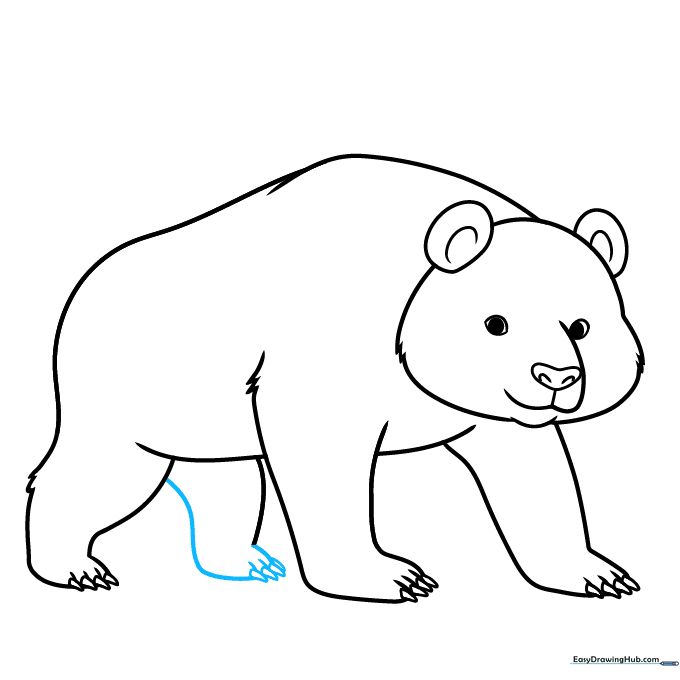
Refine the rear legs with additional curved lines to show the muscle structure. Teacher's Tip: If your lines look too stiff, add a few tiny 'V' shapes to suggest fur patches.
Step 9: Adding Final Details
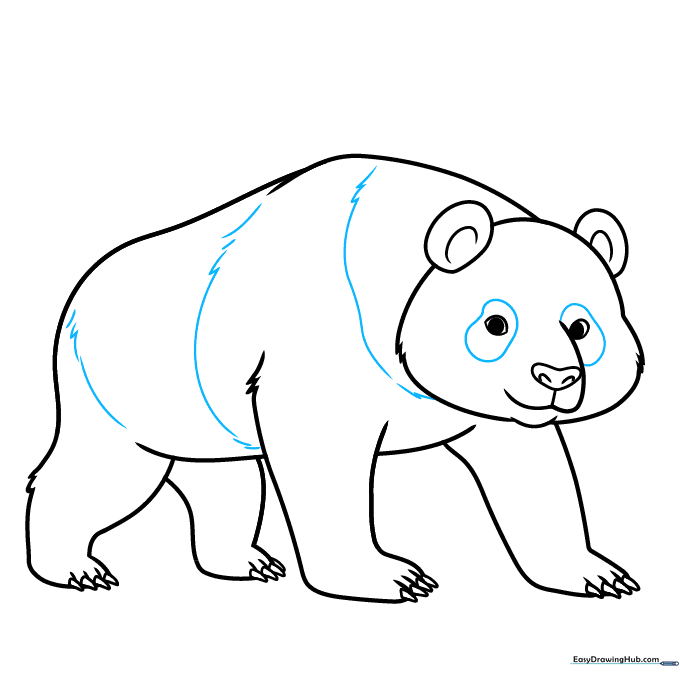
Draw the signature eye patches around the eyes and add fur texture lines across the body. Teacher's Tip: The eye patches should be oval-shaped and slightly tilted to give the panda its classic look.
Step 10: Color Your Panda
Your outline is complete! Use black to fill in the ears, eye patches, and legs, leaving the rest white. Teacher's Tip: Use a light grey pencil to add soft shadows under the chin and belly to give your drawing a 3D effect.
More Tutorials


