How to Draw a Realistic Dolphin: Easy 10-Step Guide
Ready to bring the ocean to your sketchbook? This tutorial is perfect for young artists ages 7+ who want to move beyond cartoons and capture the graceful form of a bottlenose dolphin. All you need is a pencil, an eraser, and a sheet of paper to start building your marine life masterpiece.
🎯 Final Result

Step-by-Step Instructions
Step 1: Sketching the Head and Eye
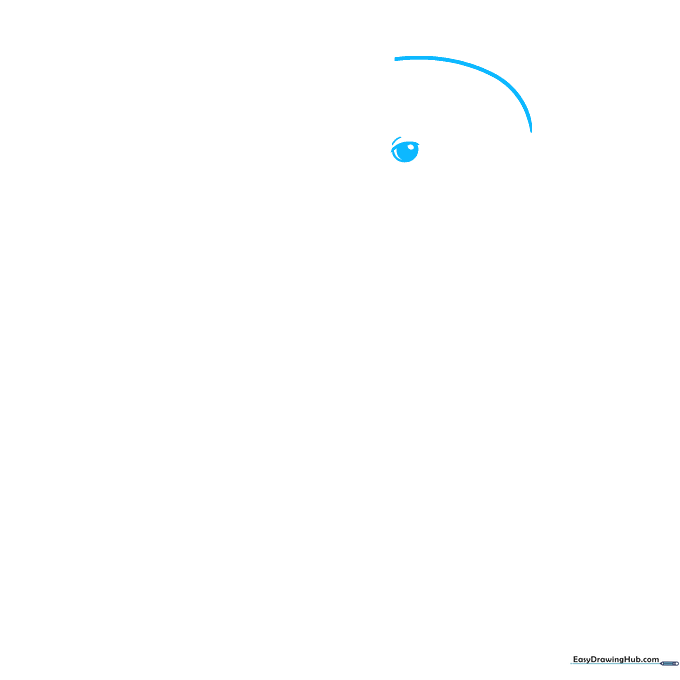
Start by drawing a smooth, gentle curve to form the dolphin's forehead. Next, sketch the eye using two concentric circles; shade the center to create a pupil. Teacher's Tip: Keep your pencil pressure light here so you can easily adjust the shape if the head looks a bit too round or flat.
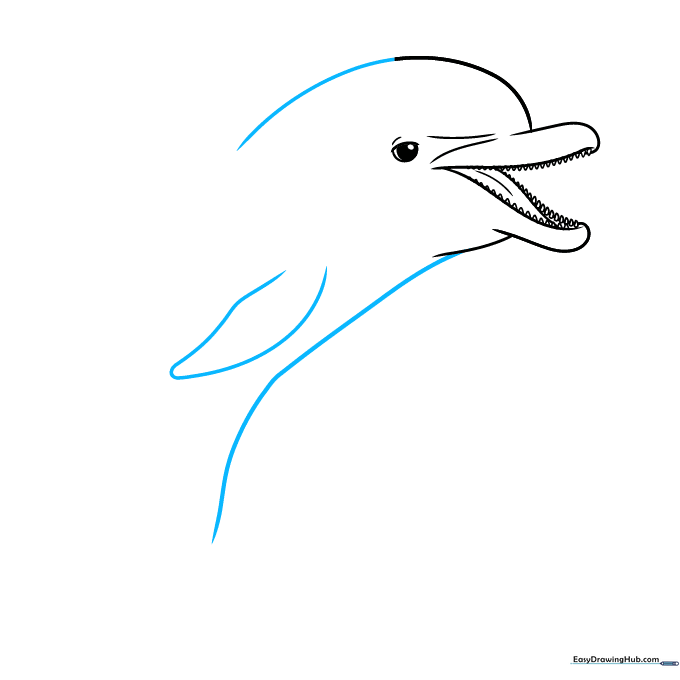
Step 2: Defining the Beak
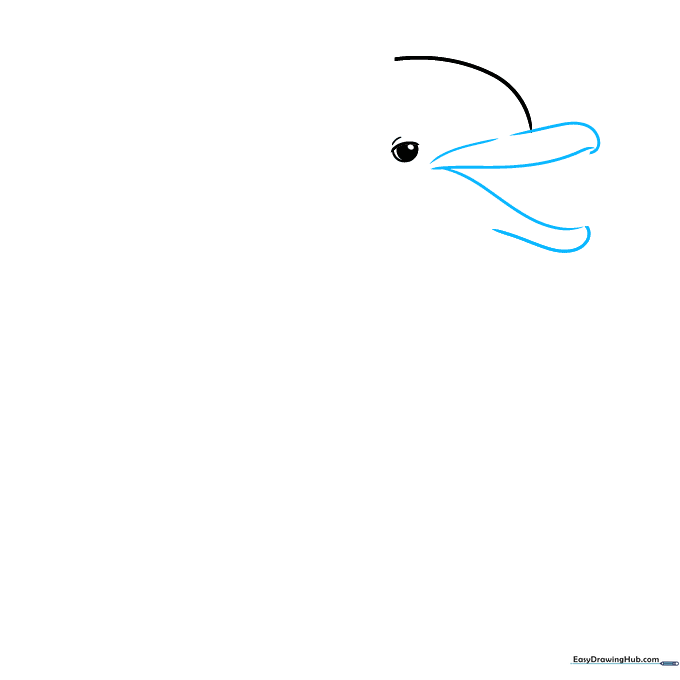
Use a series of short, angled lines to create a 'V' shape for the open mouth. Teacher's Tip: Think of this as the dolphin's 'smile.' Don't worry about making the lines perfectly straight; nature is full of soft, organic curves.
Step 3: Adding Top Teeth
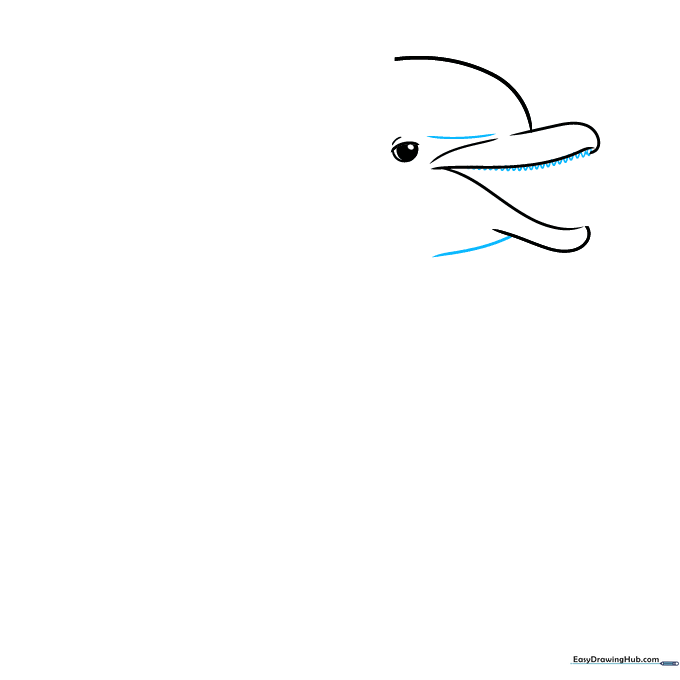
Draw curved lines extending from the beak, then add small, rounded triangles along the top jaw to represent teeth. Teacher's Tip: Space the teeth out slightly so they don't look like a solid block; this adds a touch of realism.
Step 4: Drawing the Tongue and Lower Teeth
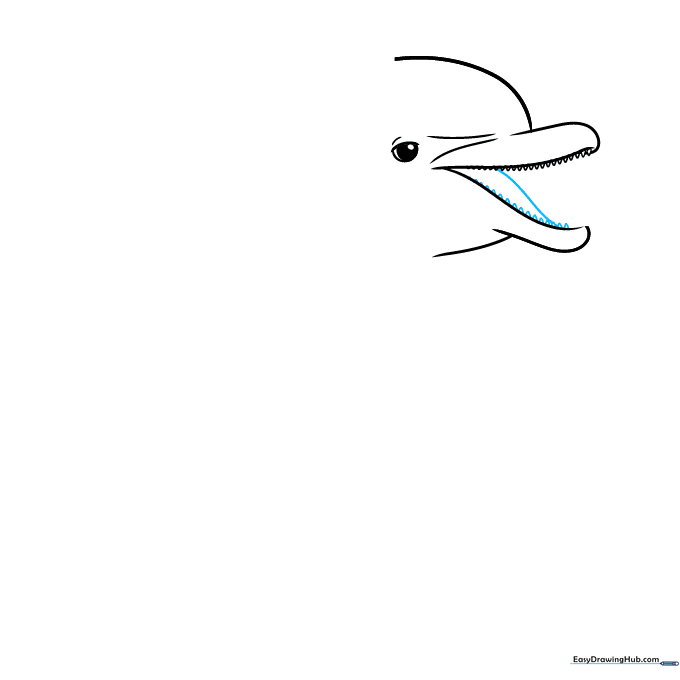
Sketch a curved line inside the mouth to show the tongue, then add the bottom row of triangular teeth. Teacher's Tip: The tongue should look like a soft, rounded hill inside the mouth cavity.
Step 5: Finishing the Jawline

Add a contour line to the tongue and complete the lower teeth on the opposite side. Teacher's Tip: Check that your teeth are roughly the same size to maintain consistency in your drawing.
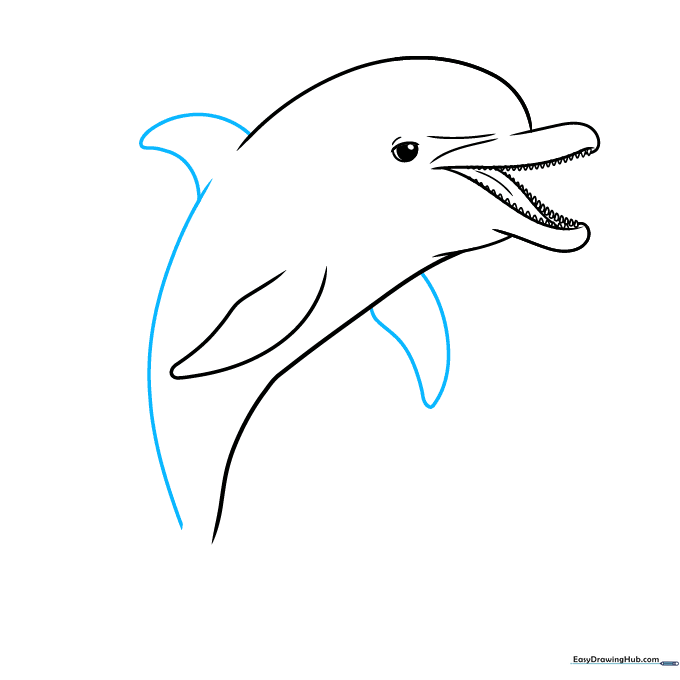
Step 6: The Pectoral Fin
Extend the head lines to form the body and draw a curved, pointed shape for the pectoral fin. Teacher's Tip: Dolphins are sleek; make sure your fin curves back slightly to suggest movement.
Step 7: Dorsal Fin and Back
Draw the second pectoral fin and the iconic dorsal fin on the back. Connect these with a long, sweeping curve for the back. Teacher's Tip: The dorsal fin should look like a shark's fin but with a softer, more rounded tip.
Step 8: The Tail Fin

Use two curved lines to create the flukes (tail fin). Teacher's Tip: The tail should be wide and powerful, so don't be afraid to make it look strong and broad.
Step 9: Refining the Outline

Add final contour lines to the belly and head to give the dolphin a 3D feel. Teacher's Tip: Use these lines to smooth out any sharp corners, making the dolphin look like it's gliding through water.
Step 10: Bring Your Dolphin to Life with Color

Your outline is complete! Use shades of blue and grey to color your dolphin. Teacher's Tip: Try using a lighter grey on the belly and a darker blue-grey on the back to mimic natural countershading, which helps dolphins blend into the ocean.
More Tutorials


