How to Draw a Realistic Cow: Simple 9-Step Guide
Ready to bring a farm friend to life? This tutorial is perfect for ages 6+ and requires only a pencil, eraser, and paper. You will learn how to map out basic shapes to create a realistic cow silhouette, helping you master proportion and animal anatomy in a fun, screen-free way.
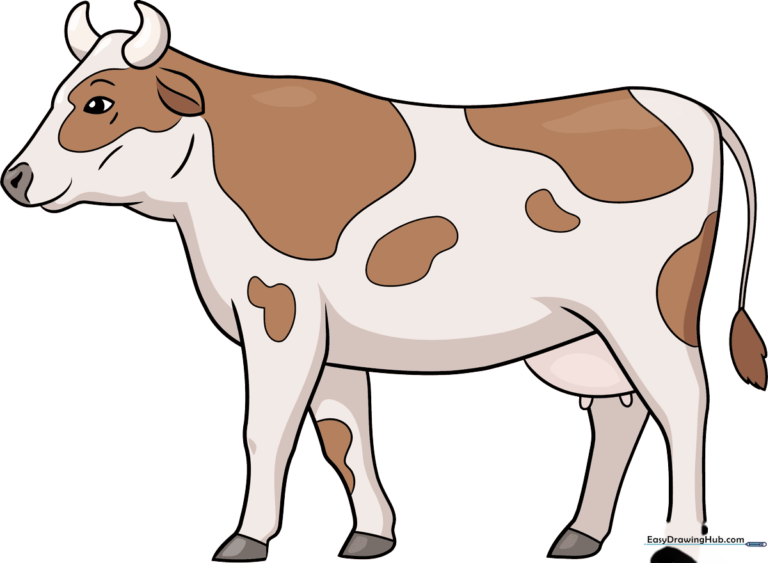
🎯 Final Result
Step-by-Step Instructions
Step 1: Sketching the Head
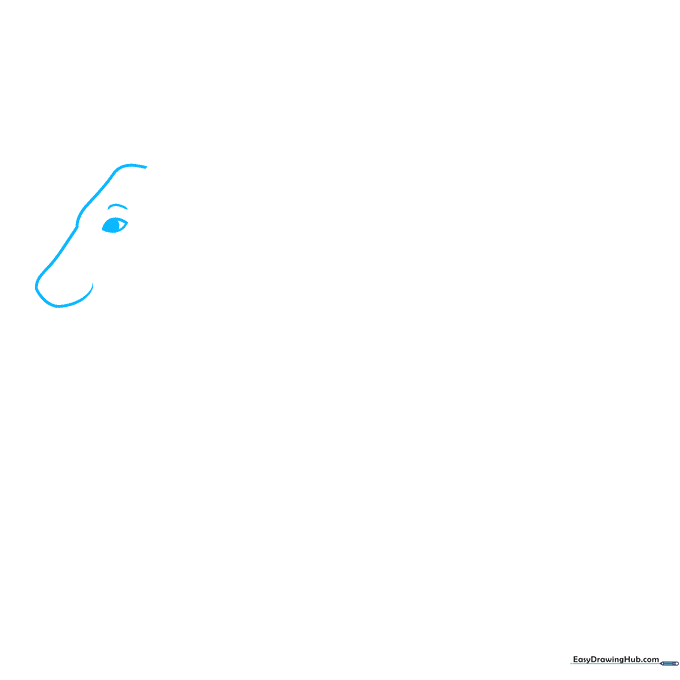
Draw a long, curved line that loops back on itself to form the muzzle. Add an almond-shaped eye with a simple eyebrow above it. Teacher's Tip: Keep the eye shape simple—a gentle curve is all you need to give your cow a friendly expression.
Step 2: Adding Horns and Ears

Add the triangular horns and a pointed ear to the top of the head. Sketch a small, wavy triangle for the nostril. Teacher's Tip: Cows have very expressive ears; try tilting yours slightly to give the cow personality.
Step 3: Defining the Neck and Chest
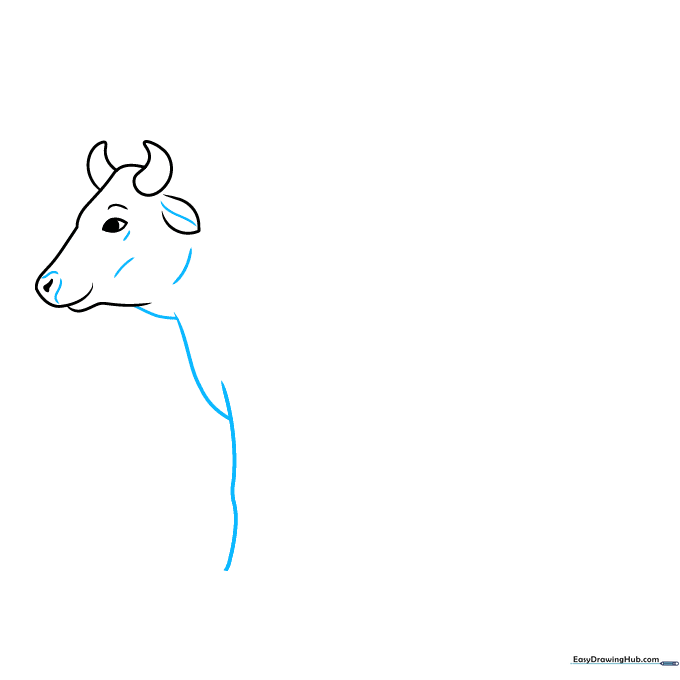
Draw overlapping 'Y' shaped lines from the jaw to form the neck and chest. Add small details to the snout. Teacher's Tip: Use short, light strokes to suggest the texture of the cow's skin around the neck.
Step 4: Sketching the Front Leg
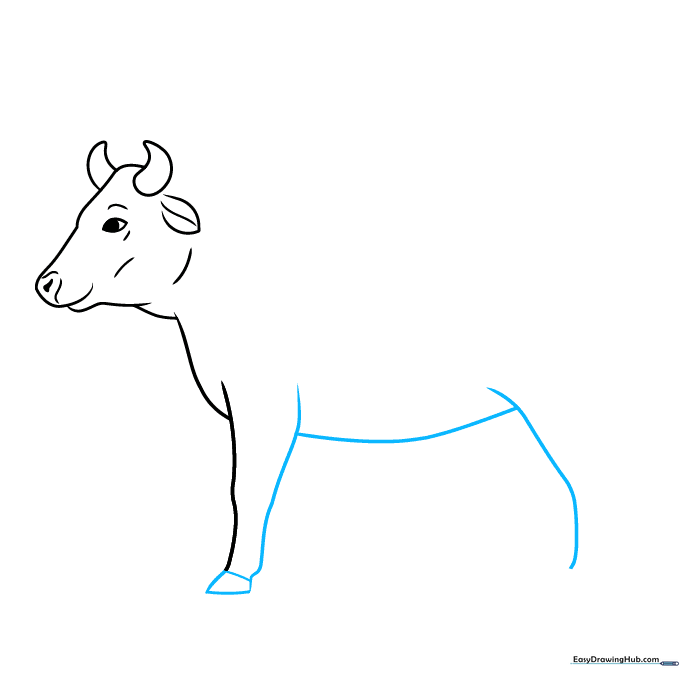
Draw an irregular rectangle for the hoof, then connect it to the chest with long lines. Teacher's Tip: Keep the leg slightly wider at the top and narrower at the hoof to make it look sturdy.
Step 5: Forming the Body

Draw the rear hoof and connect it to the head with a long, sweeping line for the back. Teacher's Tip: This long line is the 'spine' of your drawing—make it smooth and continuous.
Step 6: Adding the Udder
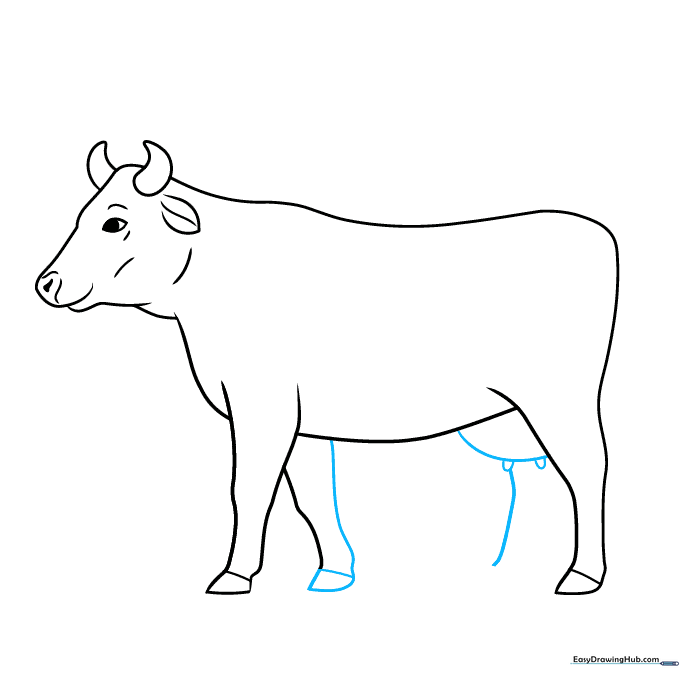
Draw the udder using a partial circle and small 'U' shapes for the teats. Teacher's Tip: Keep these shapes rounded to maintain the realistic look of the cow.
Step 7: The Tail
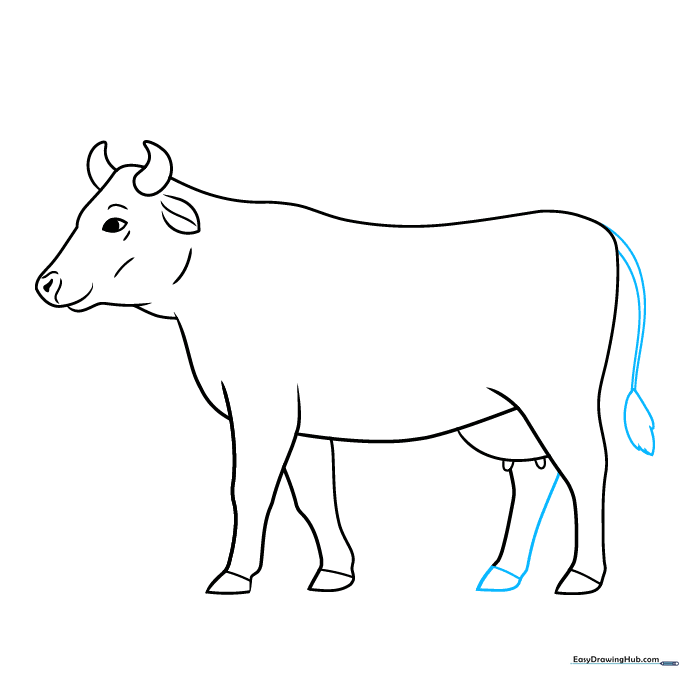
Finish the remaining legs and add a long, curved tail with a tuft of fur at the end. Teacher's Tip: Use jagged, short lines for the tail tuft to make it look like real hair.
Step 8: Adding Spots
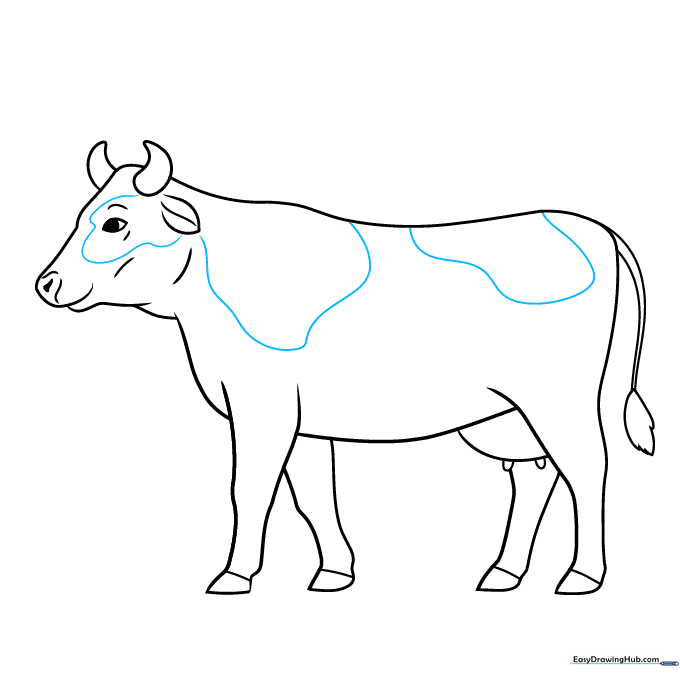
Draw large, irregular shapes across the body for spots. Teacher's Tip: Don't make them too symmetrical; real cows have random, unique patterns.
Step 9: Final Touches
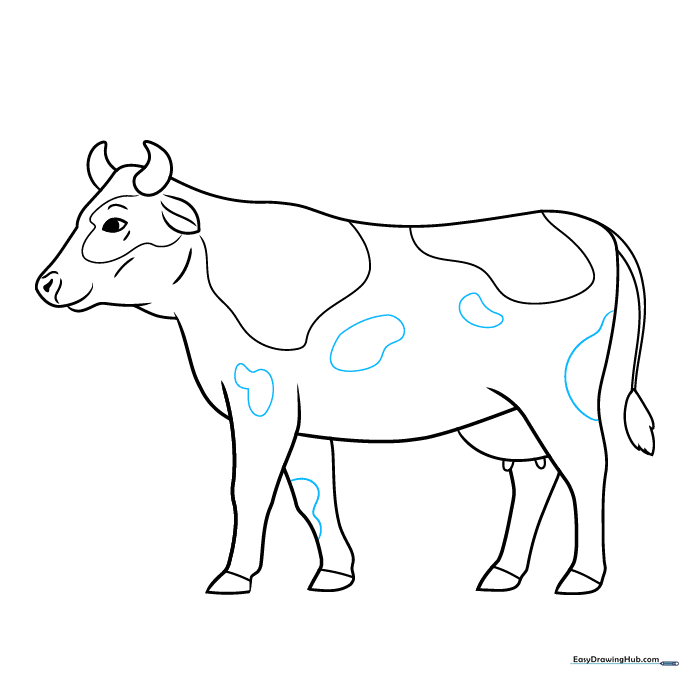
Add smaller spots to the legs and body to complete your outline. Teacher's Tip: Check your drawing against the reference to ensure all lines are connected.
Step 10: Color Your Cow
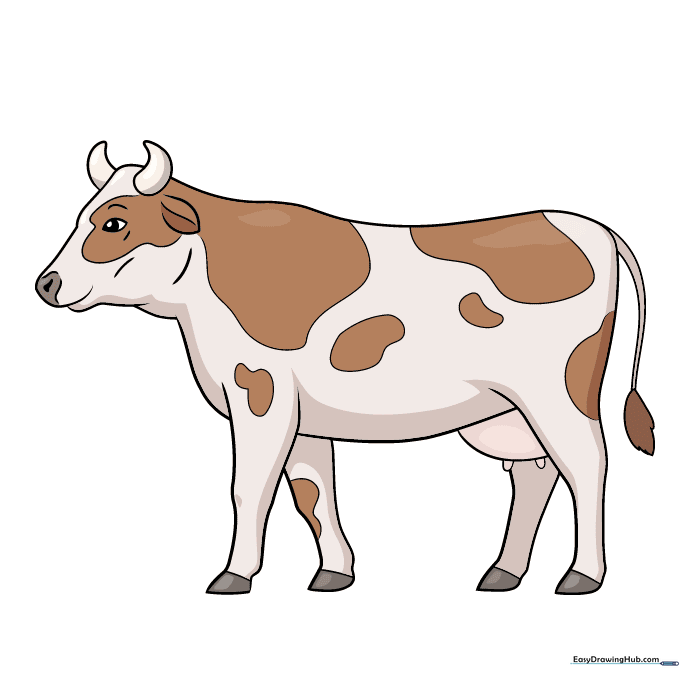
Bring your cow to life with color! Use black, brown, or cream shades. Teacher's Tip: Use light pressure with your colored pencils to create soft shading, making the cow look more 3D.
More Tutorials


