How to Draw Mother Teresa: Simple Step-by-Step Guide
Capture the gentle spirit of Mother Teresa with this approachable portrait tutorial. Designed for ages 8+, this lesson focuses on facial proportions and expressive line work. You will need a pencil, an eraser, and a black marker to bring this historical figure to life.
🎯 Final Result

Step-by-Step Instructions
Step 1: Sketching the Eyes
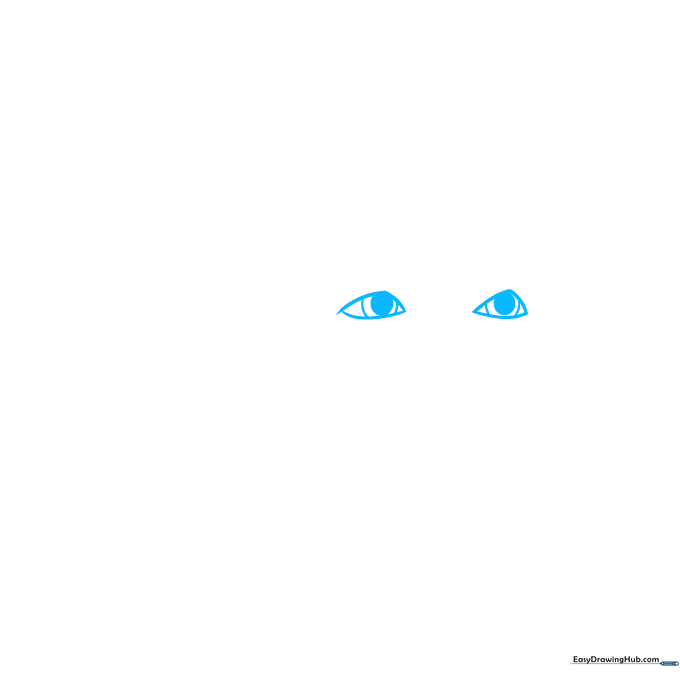
Start by drawing two almond-shaped outlines for the eyes. Add small circles inside for the pupils and shade them in. Teacher's Tip: Keep your pencil pressure light here so you can easily adjust the symmetry if needed.
Step 2: Defining Brows and Nose
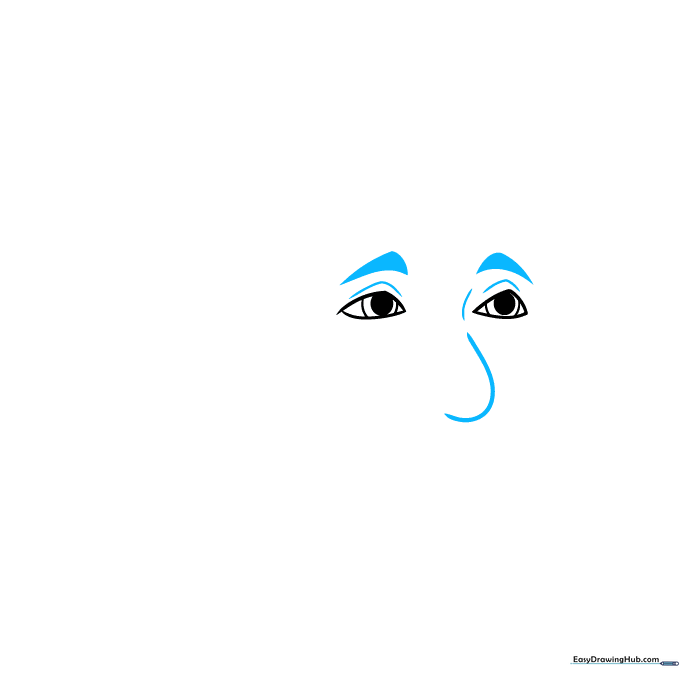
Add thick, expressive eyebrows above the eyes to show character. Use a simple curved line to define the bridge of the nose. Teacher's Tip: Use short, quick strokes to mimic the natural texture of eyebrows.
Step 3: Face Shape and Smile

Draw a long, soft curve for the jawline. Add a gentle, smiling mouth and small dimples. Teacher's Tip: A slight curve upward at the corners of the mouth creates a warm, compassionate expression.
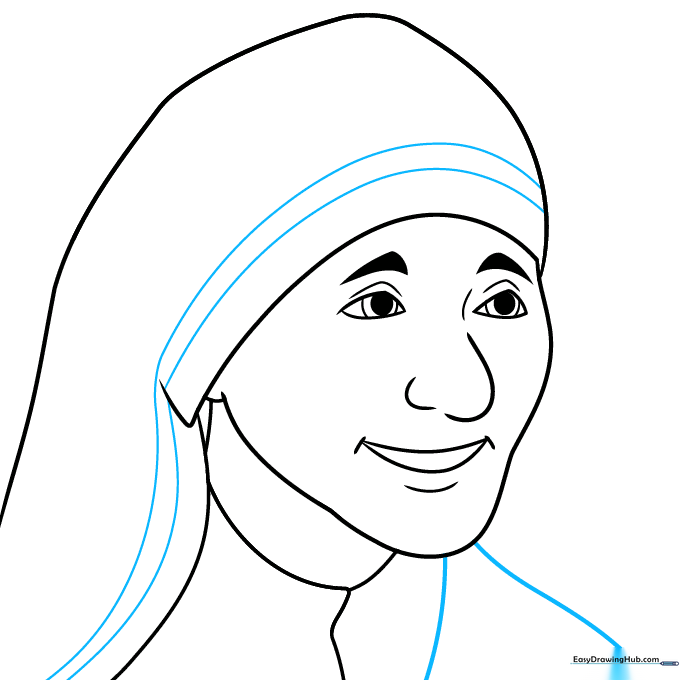
Step 4: Adding the Headscarf
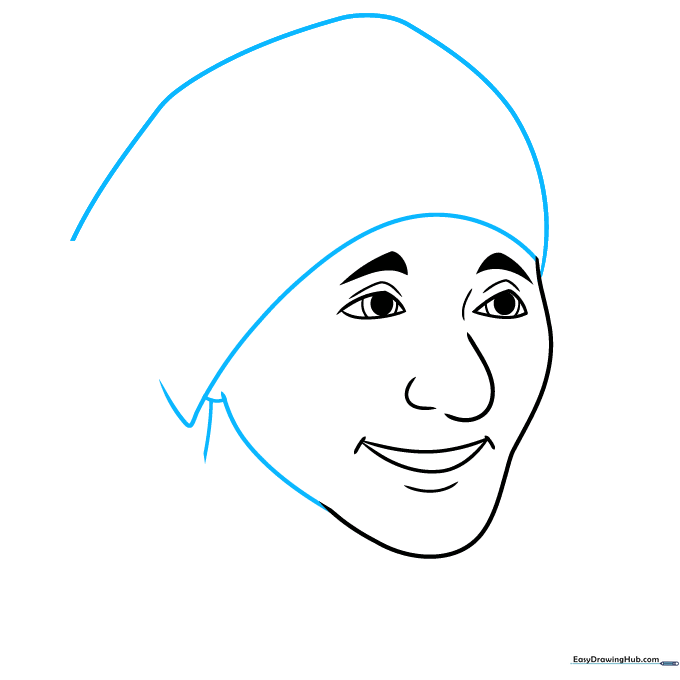
Sketch the iconic headscarf using long, flowing lines that frame the face and cover the ears. Teacher's Tip: Think of the scarf as a soft fabric draped over the head; keep your lines rounded, not sharp.
Step 5: Drawing the Sari
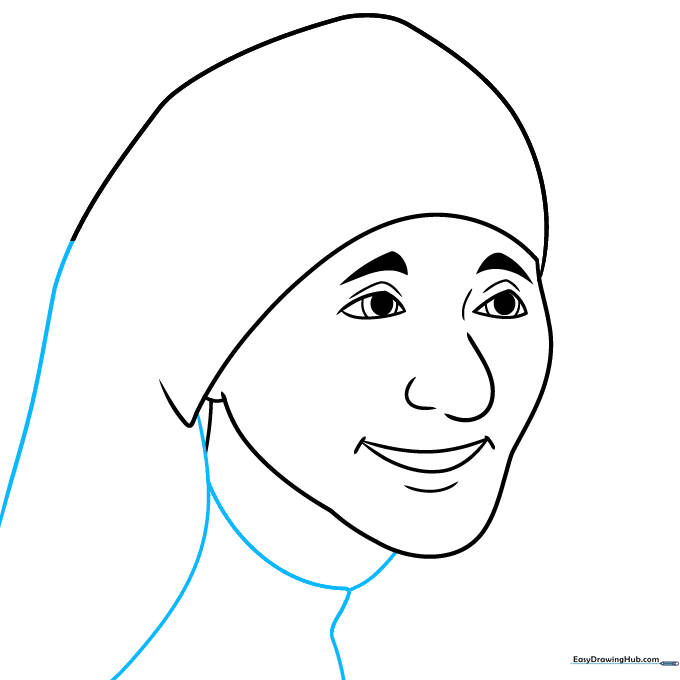
Extend the scarf down to the shoulders and draw the neckline of the sari. Teacher's Tip: Use a single continuous line for the drape to make the fabric look natural and flowing.
Step 6: Adding Fabric Detail
Draw parallel lines along the edge of the scarf to show the folds of the fabric. Teacher's Tip: Keep these lines spaced evenly to create a clean, professional look.
Step 7: The Signature Stripes
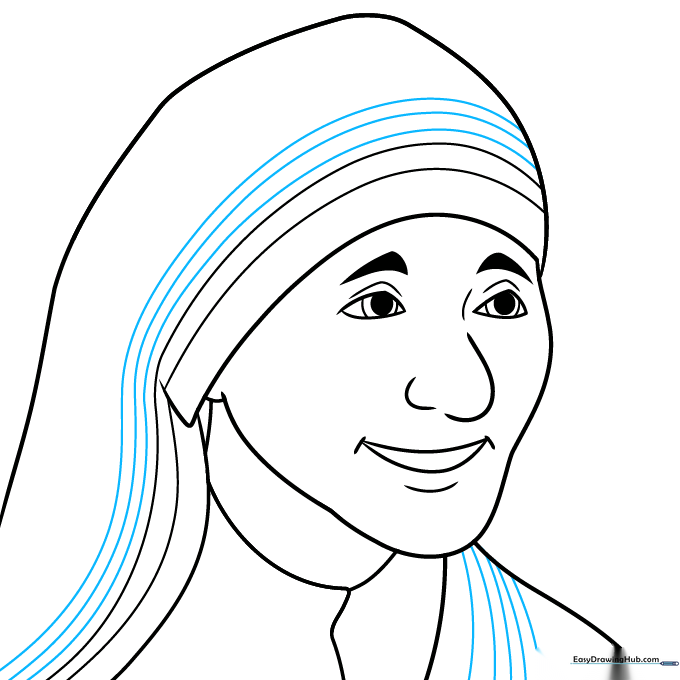
Add the iconic blue stripes to the headscarf and shoulder. Teacher's Tip: These three lines are a historical detail—take your time to keep them parallel.
Step 8: Refining Features
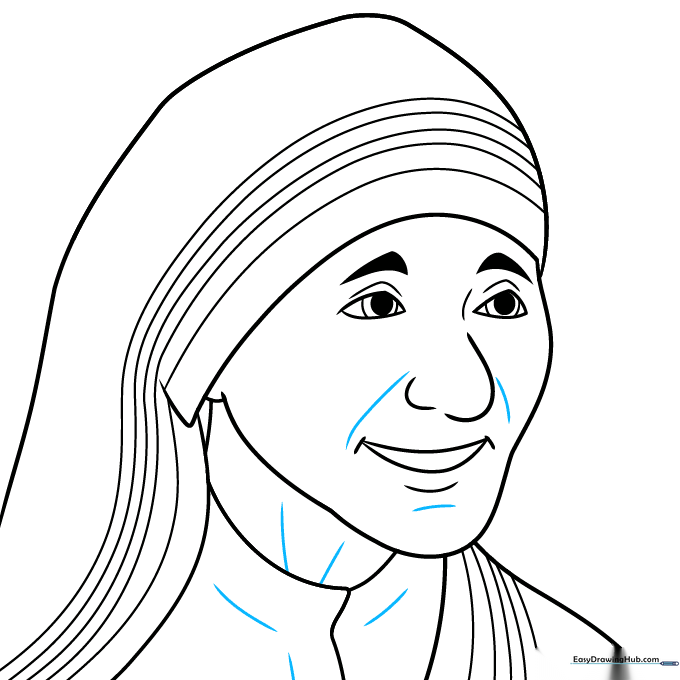
Use small, light curved lines to contour the lips and chin. Teacher's Tip: Less is more! A few subtle lines suggest age and wisdom without over-complicating the drawing.
Step 9: Final Contours
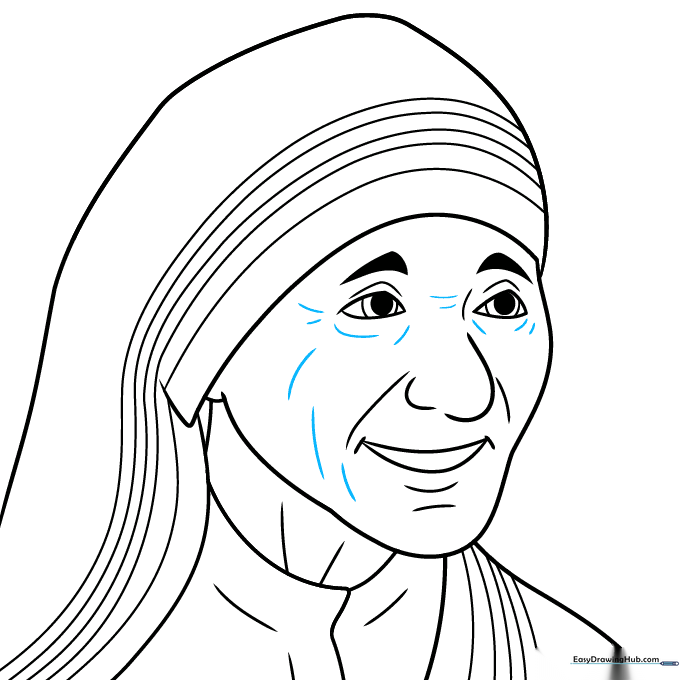
Add soft lines around the eyes and cheeks to complete the facial structure. Teacher's Tip: Use a very sharp pencil for these final details to keep the lines crisp.
Step 10: Adding Color

Time to color! Use white for the sari and a deep, vibrant blue for the stripes. Teacher's Tip: Use a light grey pencil to add soft shadows in the folds of the white fabric to give it depth.
More Tutorials


