How to Draw Mickey Mouse Face: Easy 9-Step Guide
Bring the world's most famous mouse to life with this simple, screen-free drawing lesson. Designed for children ages 5 and up, this guide uses basic shapes to build confidence and artistic ability. All you need is a pencil, an eraser, and a piece of paper to get started.
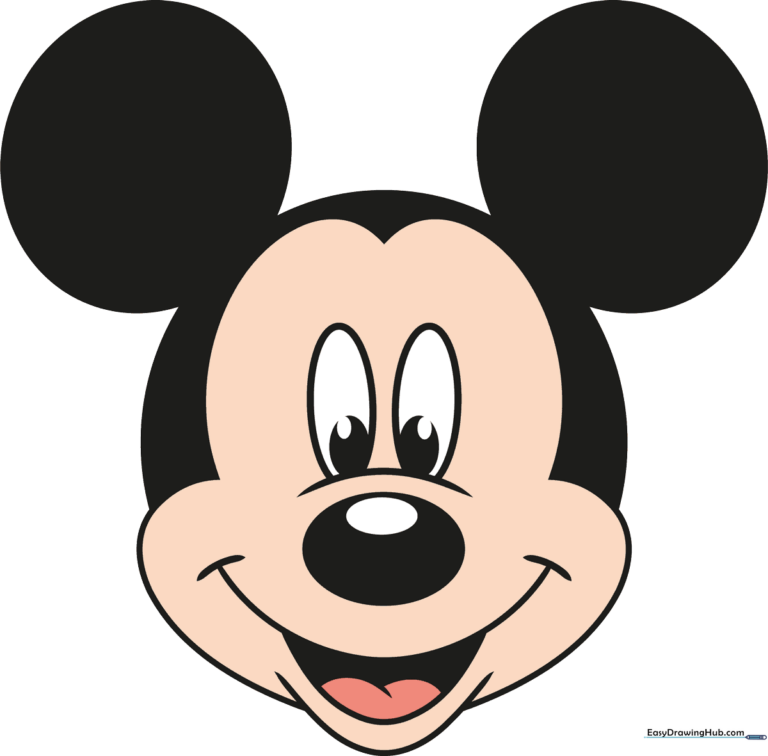
🎯 Final Result
Step-by-Step Instructions
Step 1: Sketching the Muzzle Base

Draw a wide, shallow semi-circle for the bottom of the face, then add a soft curve above it to define the muzzle area. Teacher's Tip: Keep your pencil pressure light here so you can easily adjust the shape later.
Step 2: Placing the Eyes

Draw two vertical ovals sitting just above the muzzle curve. Teacher's Tip: Try to space them evenly so Mickey looks balanced and friendly.
Step 3: Adding the Nose and Pupils

Draw a small circle for the nose between the eyes. Add smaller, dark-filled ovals inside the eye shapes. Teacher's Tip: Filling in the pupils makes the character look alive!
Step 4: Drawing the Mouth

Add a small semi-circle under the nose, then draw a larger loop to form the open mouth. Teacher's Tip: Keep the mouth shape rounded to give him that classic happy expression.
Step 5: Defining the Smile

Sketch a parallel line under the mouth and add small dashes at the corners of the smile. Teacher's Tip: These little lines add character and depth to the expression.
Step 6: Adding the Tongue

Draw two small hills inside the mouth to represent the tongue. Teacher's Tip: Keep these curves soft and rounded so they look natural.
Step 7: Outlining the Cheeks

Add two curved lines on either side of the face to define the cheeks. Teacher's Tip: These curves should flow smoothly from the eyes down to the jawline.
Step 8: Drawing the Head Shape

Draw two large, rounded hills above the eyes to complete the top of the head. Teacher's Tip: Make sure these are wide enough to support the ears in the next step.
Step 9: Adding the Ears
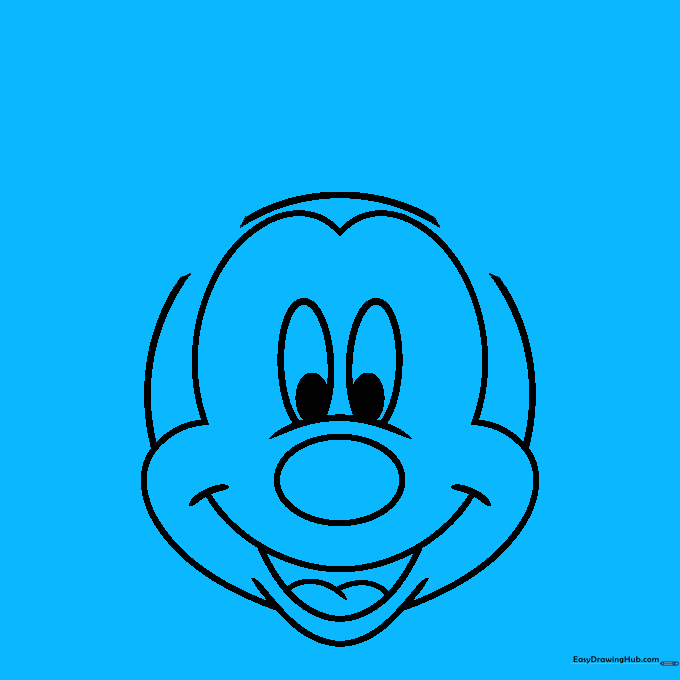
Finish by adding two large circles on top of the head for the ears. Teacher's Tip: Mickey's ears are iconic, so make them nice and big!
Step 10: Coloring and Final Touches
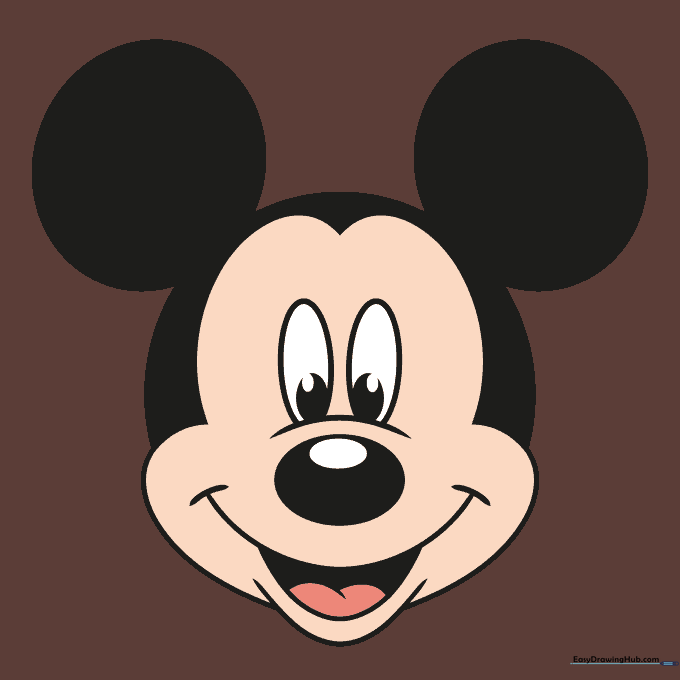
Outline your drawing with a black marker for a clean look. Color the face tan, the ears and nose black, and the tongue pink. Teacher's Tip: Use smooth, circular motions when coloring to keep the texture even.
More Tutorials


