How to Draw Mario’s Face: Easy Step-by-Step Guide
Bring the world's most famous plumber to life with this simple drawing guide, perfect for artists ages 5 and up. All you need is a pencil, an eraser, and a piece of paper to master Mario's iconic look. Follow these steps to build confidence in your character sketching skills while having fun.
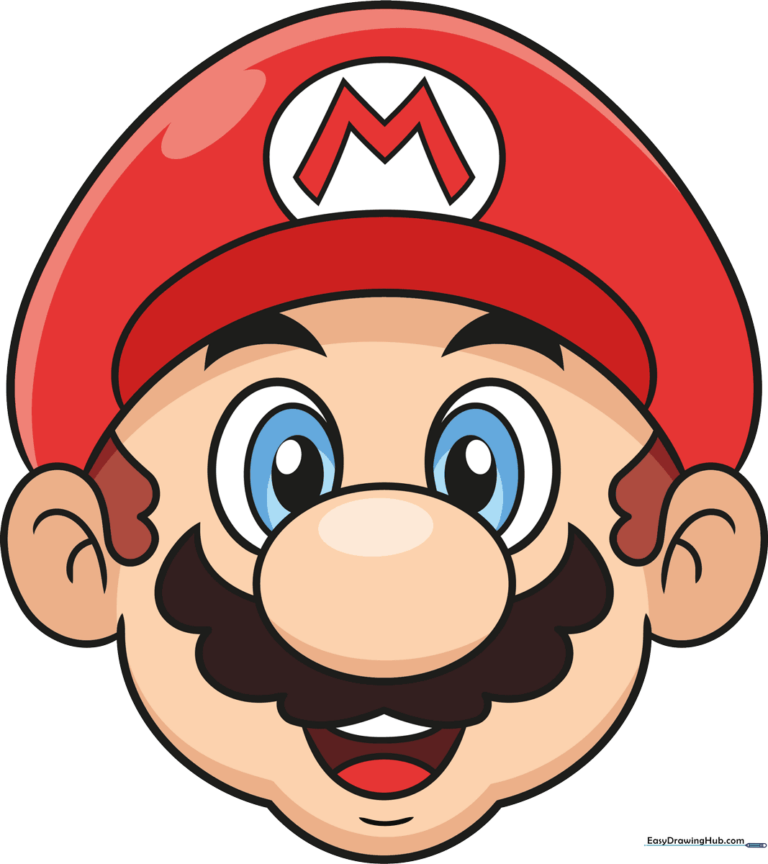
🎯 Final Result
Step-by-Step Instructions
Step 1: Sketching the Nose and Eyes
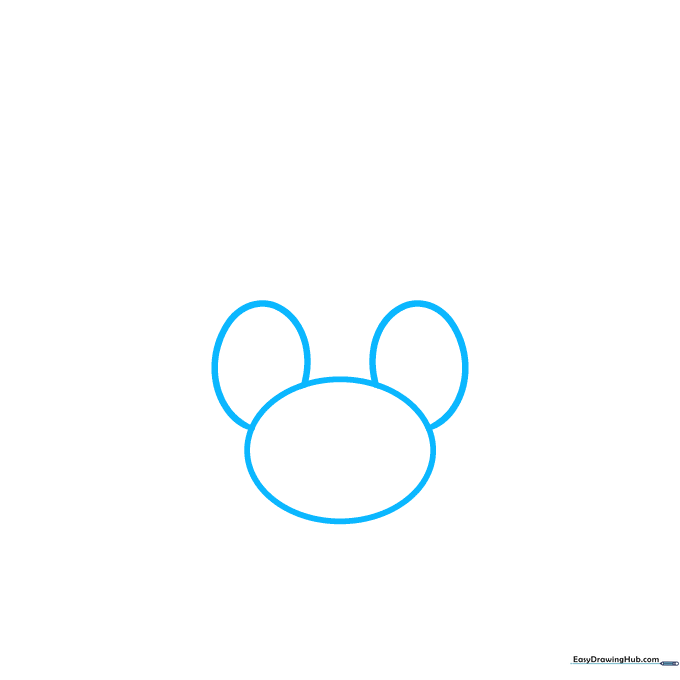
Start by drawing a large, rounded oval for Mario’s nose. Above it, sketch two smaller ovals for his eyes, letting them overlap the nose slightly. Teacher’s Tip: Keep your pencil lines light and loose so you can easily adjust the shape if needed.
Step 2: Defining Pupils and Mustache Base
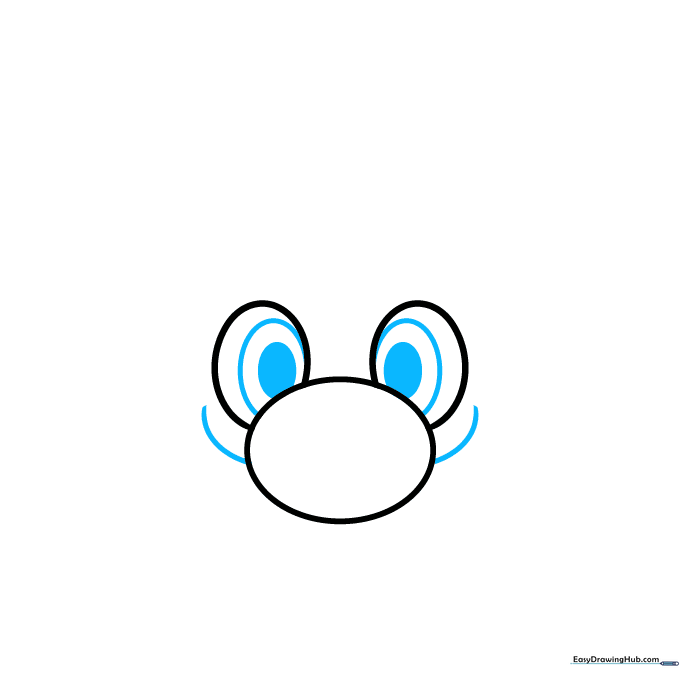
Draw two smaller ovals inside each eye and shade them in to create the pupils. Then, draw a curved line extending outward from the base of the nose on both sides. Tip: Use a steady hand for these curves to give the mustache a smooth, natural flow.
Step 3: Shaping the Mustache
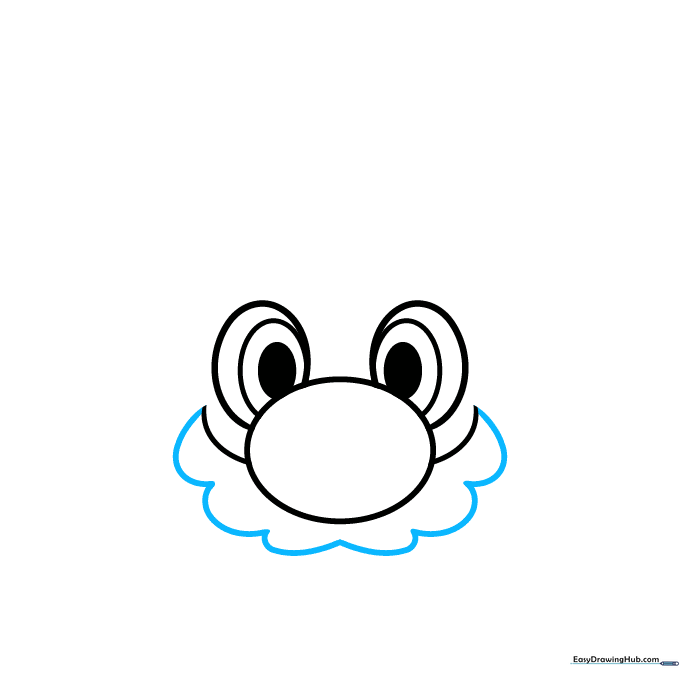
Connect the ends of your mustache lines using a scalloped, wavy pattern. This gives Mario his signature bushy look. Tip: Try to make the scallops symmetrical to keep his face looking balanced.
Step 4: Adding the Mouth and Chin
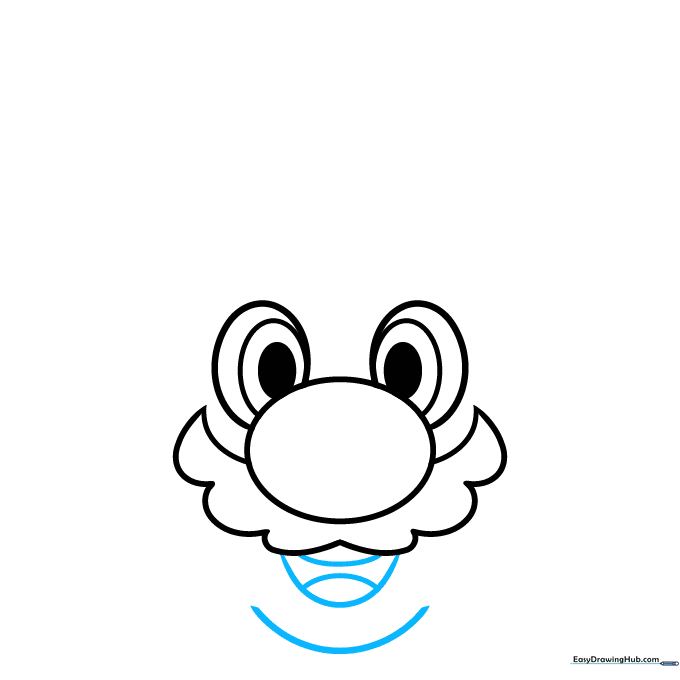
Draw a 'U' shape below the mustache for the mouth, adding two curved lines inside to represent the tongue and teeth. Finish this step by drawing a soft curve beneath the mouth for the chin. Tip: Keep the chin line subtle so it doesn't look too sharp.
Step 5: Drawing the Face Outline and Ears
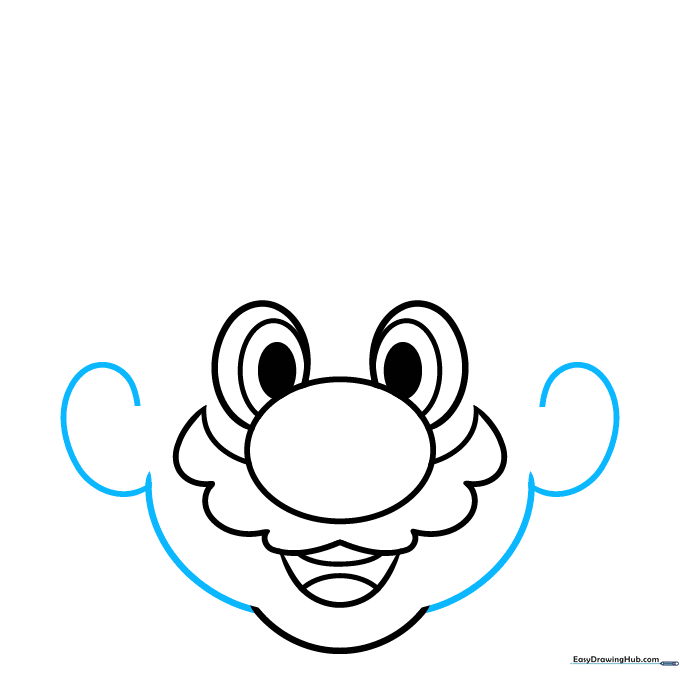
Extend curved lines from the chin upward to create the cheeks. Add a 'C' shape on each side for the ears. Tip: Ensure the ears align with the space between the eyes and the nose for proper proportions.
Step 6: Connecting the Head

Draw a long, sweeping curved line connecting the tops of the ears to form the top of the head. Add small, overlapping curves inside the ears for detail. Tip: A smooth, continuous line here makes the head shape look much more professional.
Step 7: Eyebrows and Hair
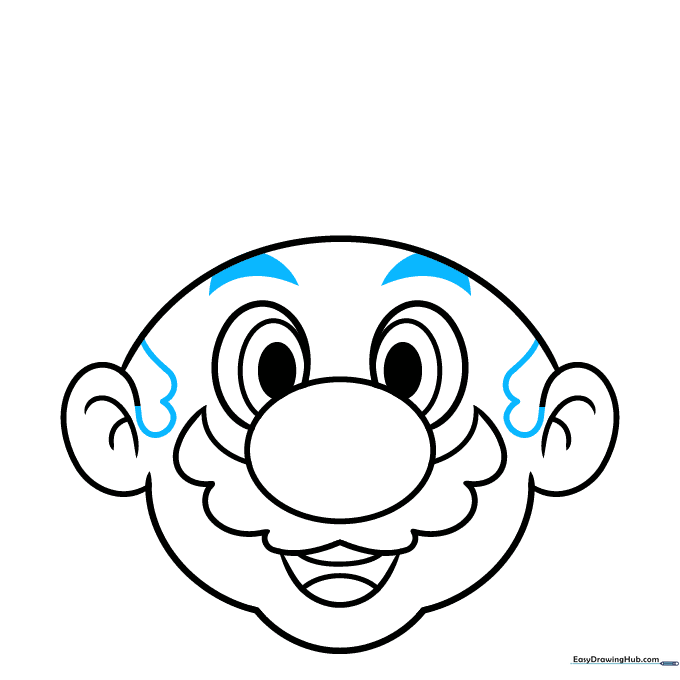
Shade in thick, curved shapes above the eyes for eyebrows. Add small tufts of hair near the ears using connected curved lines. Tip: Don't press too hard on the eyebrows; keep them dark but clean.
Step 8: Sketching the Hat
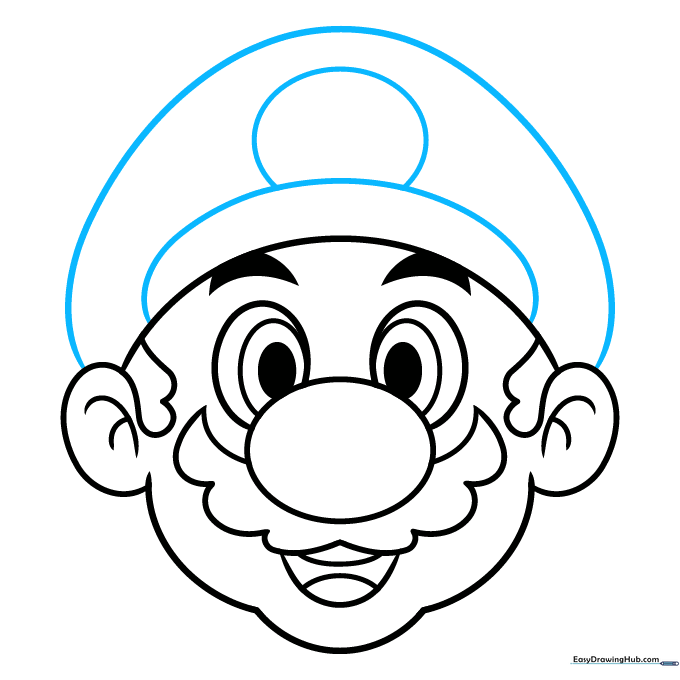
Draw a long curved line from ear to ear to define the brim of Mario's hat. Add two more curved lines above it to complete the hat's shape. Tip: This is the most recognizable part of his outfit, so take your time to get the curve right.
Step 9: The 'M' Emblem
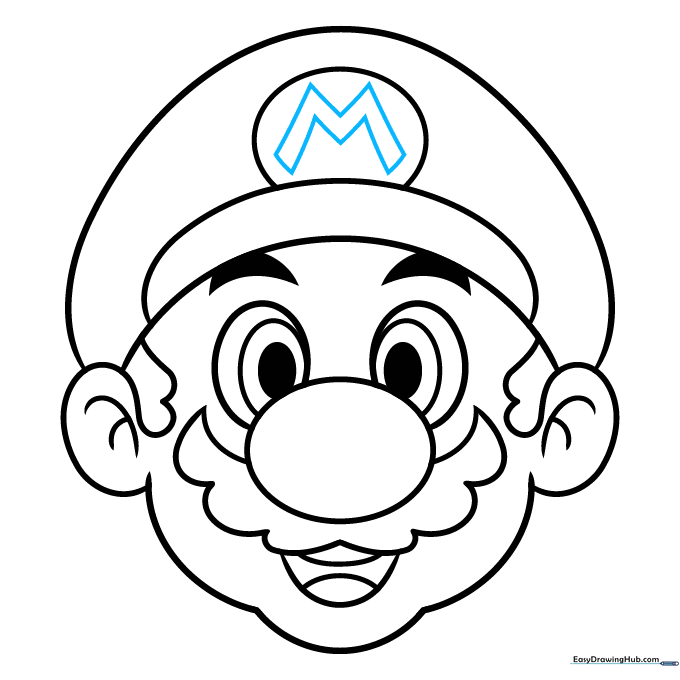
Draw a small oval on the front of the hat, then use straight lines to form a bold 'M' inside it. Tip: Draw the 'M' lightly first to ensure it is centered before darkening the lines.
Step 10: Bringing Mario to Life with Color
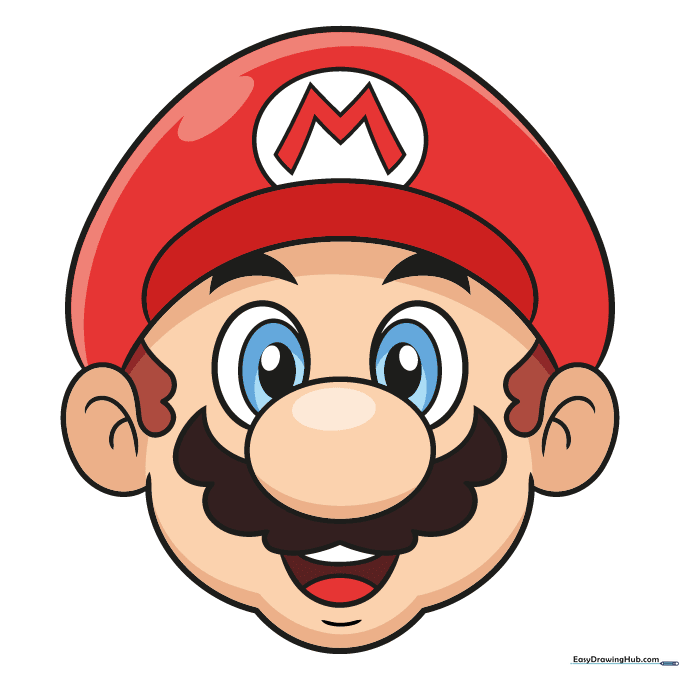
Your outline is complete! Now, add color: use peach for the skin, brown for the hair, black for the mustache, blue for the eyes, and bright red for the hat. Tip: Use light, circular motions when coloring to keep the texture smooth and even.
More Tutorials


