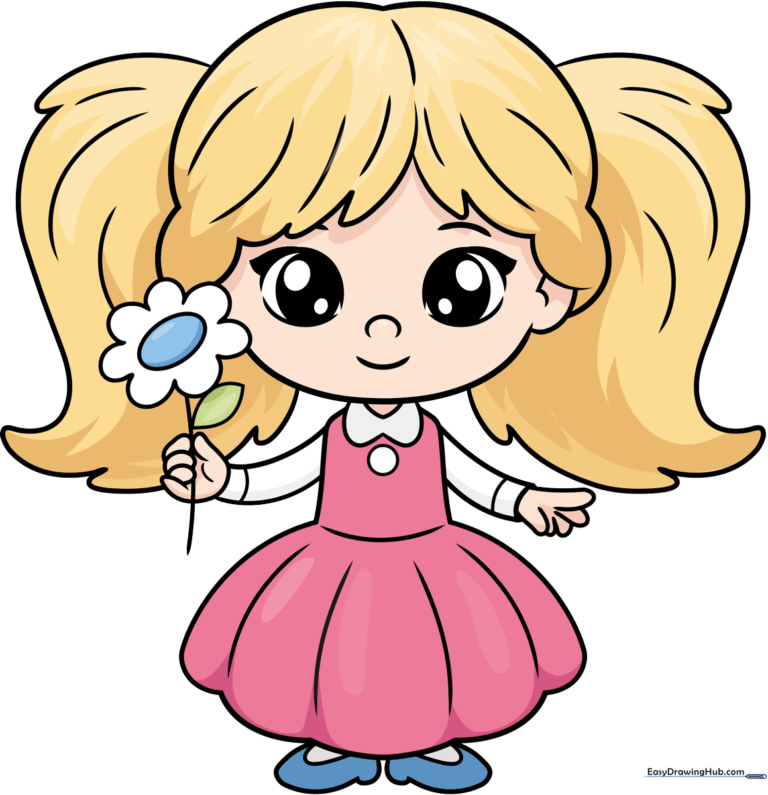
How to Draw a Cute Girl: Simple 10-Step Drawing Guide
Designed for young artists ages 5 and up, this tutorial breaks down character drawing into manageable, fun shapes. You will need a pencil, an eraser, and your favorite coloring supplies to bring this character to life. Follow along to master basic facial proportions and expressive cartoon features.
🎯 Final Result
Step-by-Step Instructions
Step 1: Sketching the Expressive Eyes
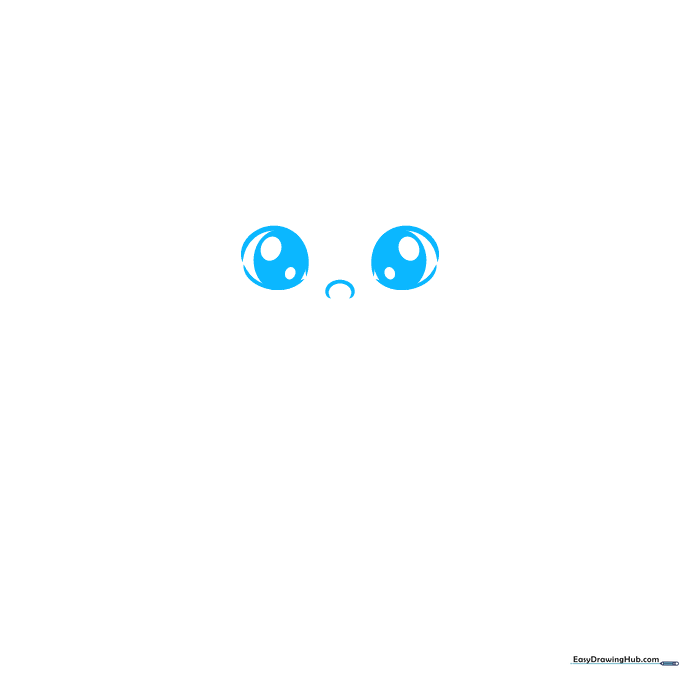
Draw two large, rounded shapes for the eyes. Teacher's Tip: Keep your pencil pressure light so you can easily adjust the shape. Leave the corners slightly open to give the eyes a friendly, open look.
Step 2: Adding Lashes and Face Shape
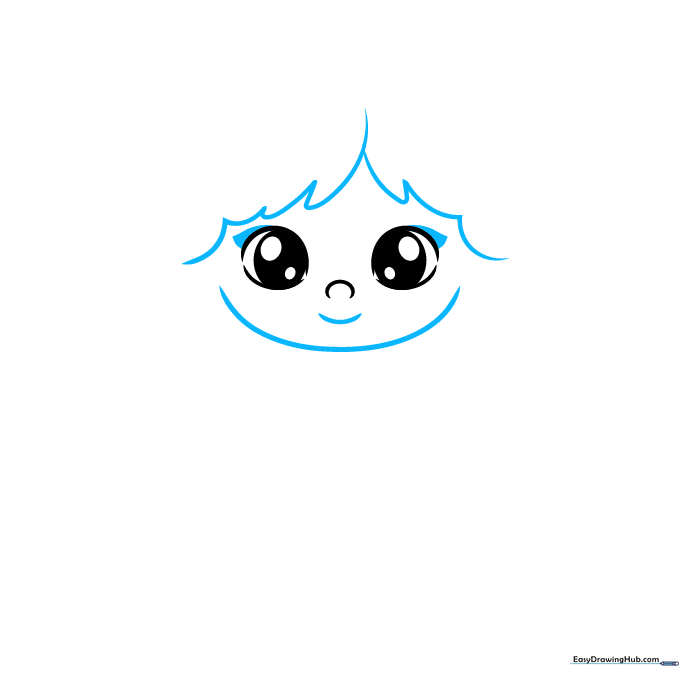
Add small curved triangles above the eyes for eyelashes, then sketch the chin and hairline. Teacher's Tip: Use short, flicking motions with your pencil to make the hair look natural and soft rather than stiff.
Step 3: Defining Ears and Hairline
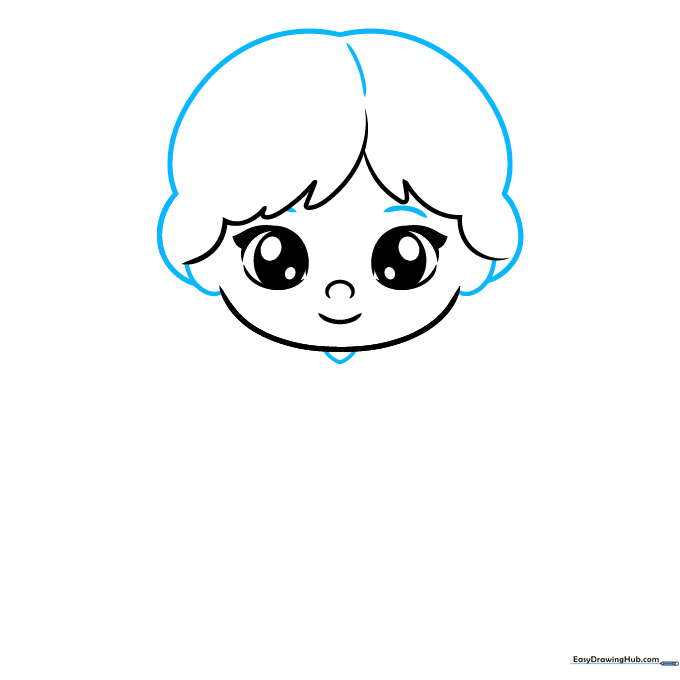
Draw the ears and the top of the hair, adding a line for the hair part. Teacher's Tip: Ensure the ears align roughly with the middle of the eyes for correct facial balance.
Step 4: Sketching the Torso and Arm
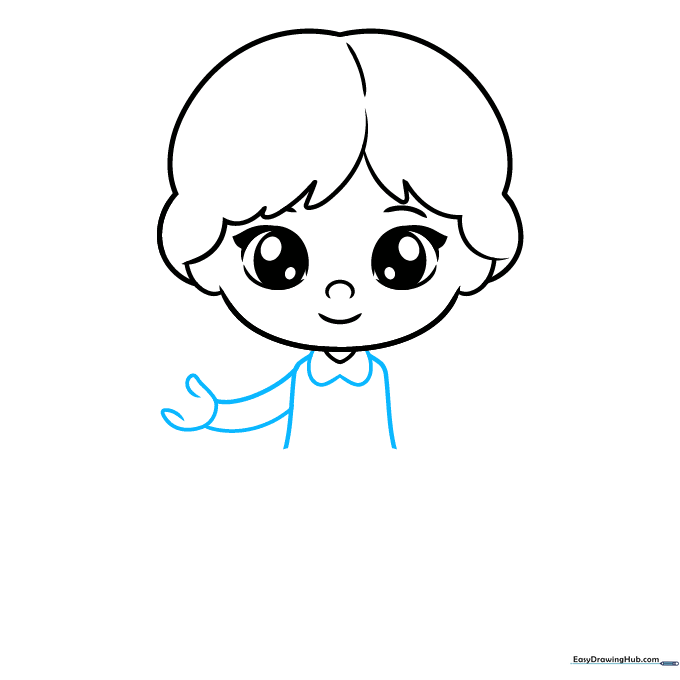
Draw the collar and torso, then extend one arm outward. Teacher's Tip: Keep the lines for the arm parallel to make it look like a sleeve; this helps children understand basic shape construction.
Step 5: Adding the Flower Detail
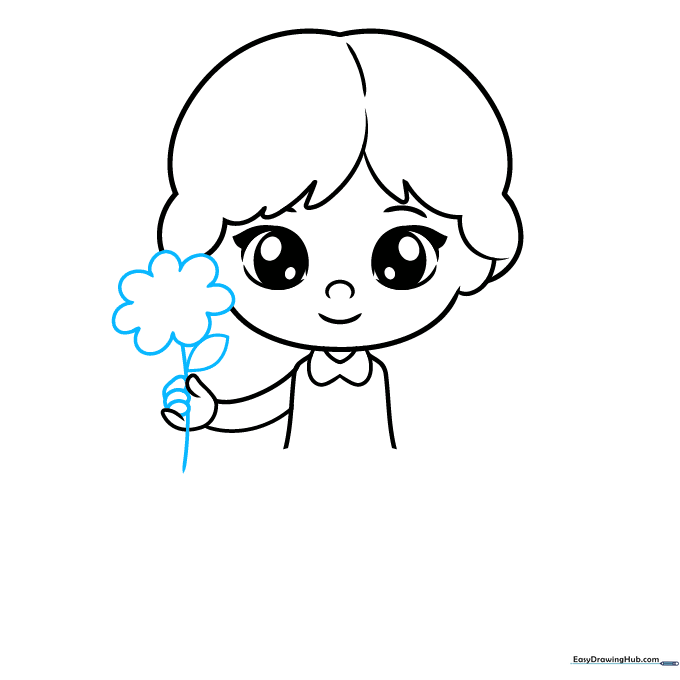
Draw a flower in the girl's hand using a stem and 'U' shaped petals. Teacher's Tip: Encourage kids to draw the flower slightly larger than they think they need to—it makes the hand look more realistic.
Step 6: Completing the Arms
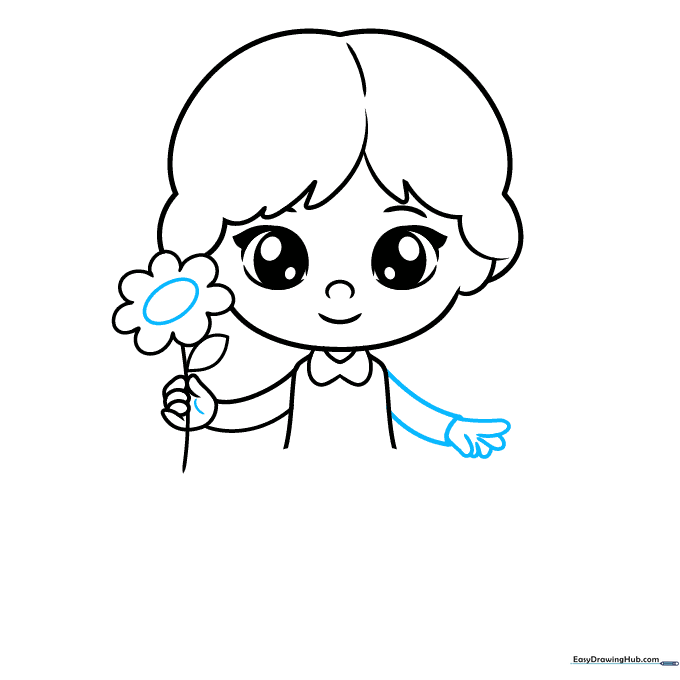
Add the center of the flower and draw the second arm hanging at her side. Teacher's Tip: Use overlapping lines to show the hand is resting, which adds depth to your drawing.
Step 7: Drawing Pigtails
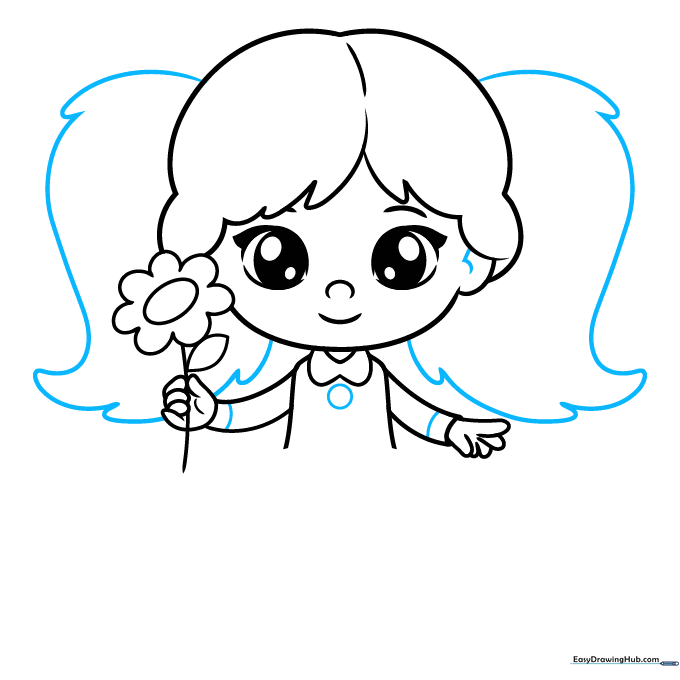
Sketch the pigtails on either side of her head. Teacher's Tip: Use 'teardrop' shapes to give the hair volume. If they look too thin, just thicken the outer lines!
Step 8: Adding the Skirt and Shoes
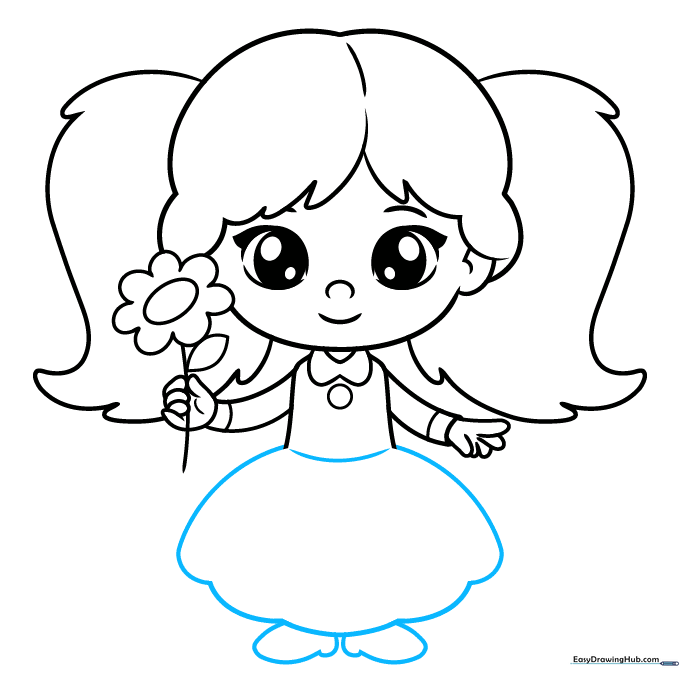
Draw a puffy skirt and simple shoes. Teacher's Tip: Keep the skirt lines curved to make it look like it has movement and fabric folds.
Step 9: Adding Texture Details
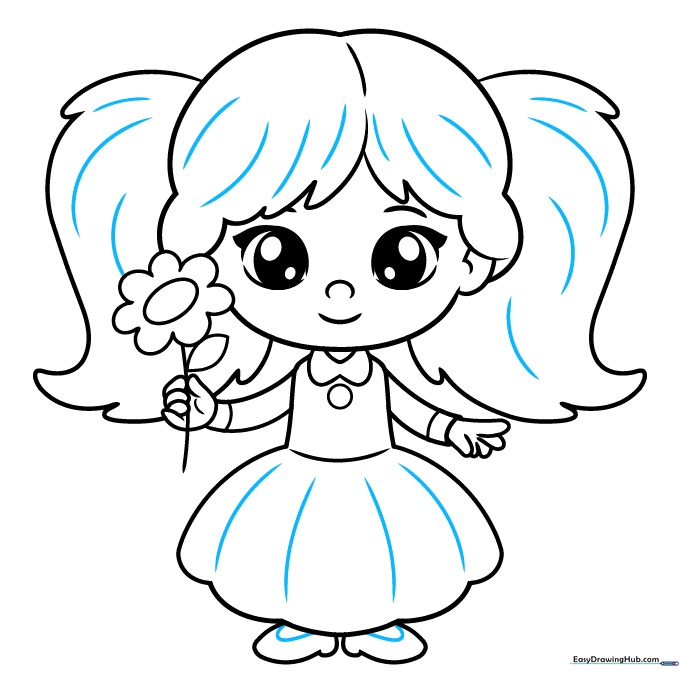
Add lines to the hair and skirt to show texture. Teacher's Tip: Don't overdo it—just a few lines here and there will suggest fabric folds and hair strands without cluttering the drawing.
Step 10: Bring It to Life with Color
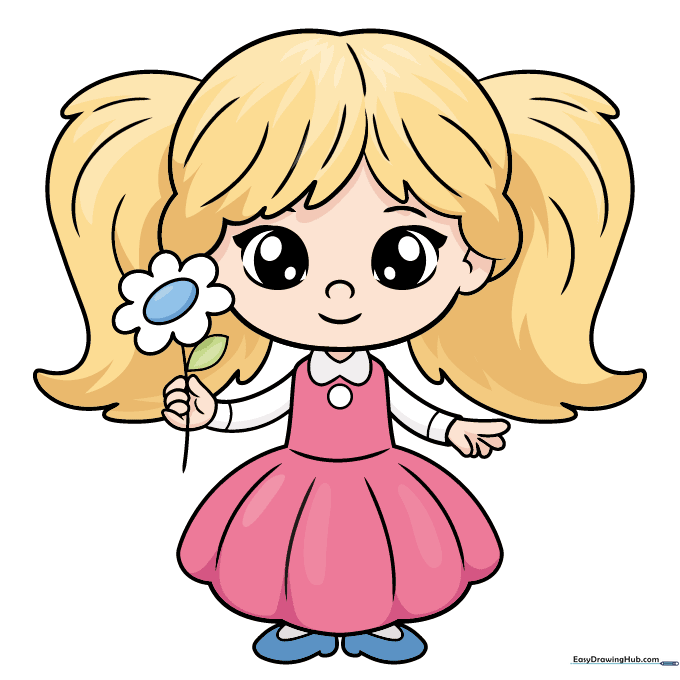
Time to color! Use your favorite markers or crayons. Teacher's Tip: Try using a lighter color for the hair highlights and a darker shade for the shadows to give your character a 3D effect.
More Tutorials


