How to Draw a Cute Gnome: Easy 6-Step Guide for Kids
Bring a touch of magic to your sketchbook with this friendly garden gnome! Designed for young artists ages 5 and up, this project requires only a pencil, paper, and an eraser. Follow these simple steps to build confidence in your drawing skills while creating a whimsical character.
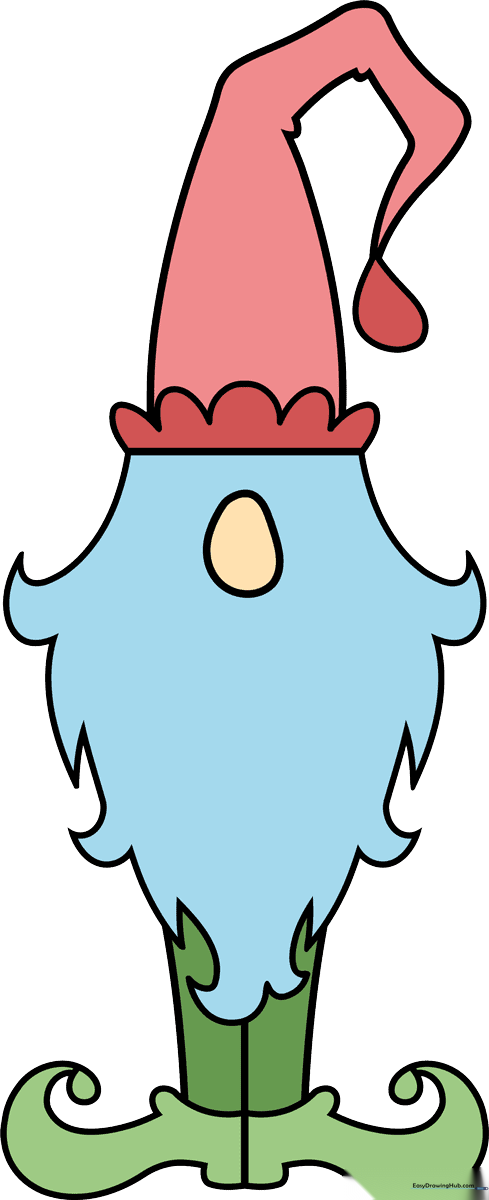
🎯 Final Result
Step-by-Step Instructions
Step 1: Sketching the Pointy Hat

Start by drawing a horizontal line for the base, then add a series of scalloped 'hills' above it. Extend two curved lines upward to form the cone of the hat. Teacher's Tip: Keep your pencil lines light and loose—if the hat looks a bit wobbly, that just gives it more character!
Step 2: Adding the Beard Texture
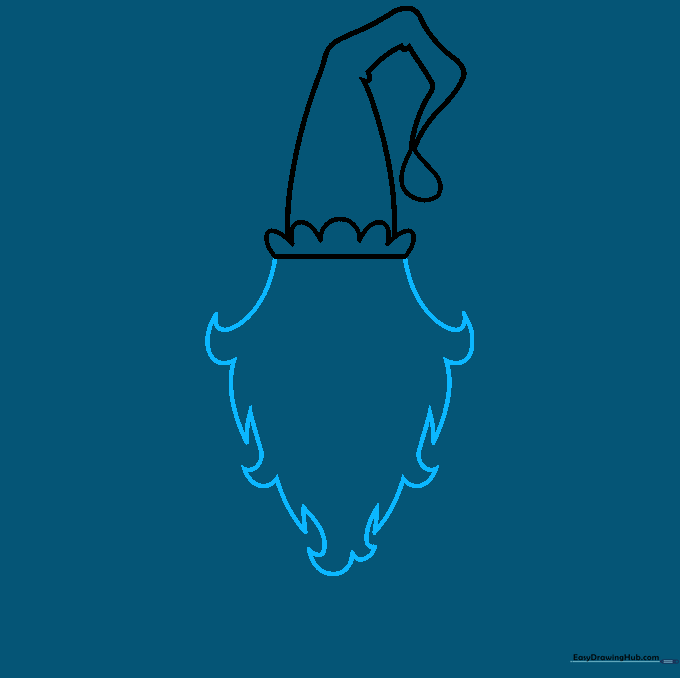
Draw hook-like shapes on either side of the hat to begin the beard. Add a curve underneath, then pull the lines down into soft triangles. Teacher's Tip: Vary the size of your triangles to make the beard look fluffy and full rather than perfectly symmetrical.
Step 3: Drawing the Legs and Shoes

Sketch three straight lines for the legs, connecting them with a curved, bowl-like shape. Add long curves for the feet and finish with small rectangles for the shoes. Teacher's Tip: Adding a tiny teardrop shape to the tip of each shoe gives your gnome a classic, storybook look.
Step 4: Creating the Nose
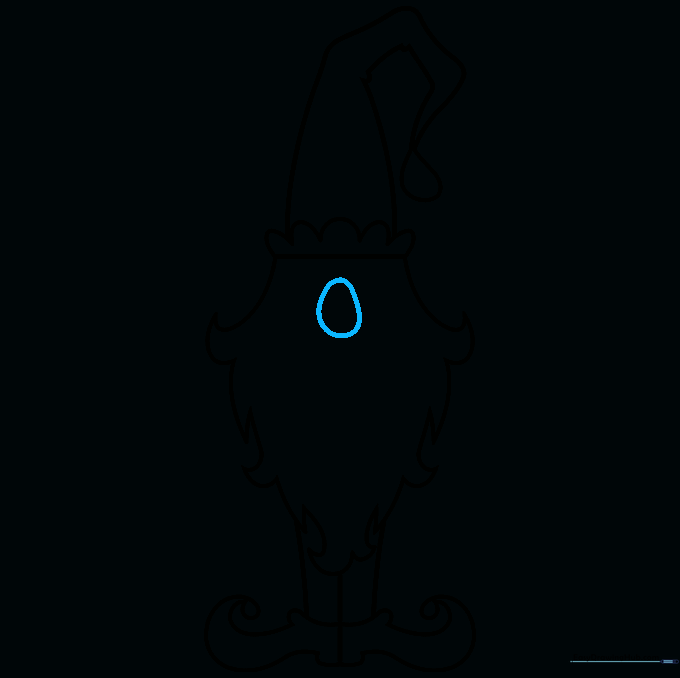
Draw a loose, rounded egg shape near the center of the beard area. This will be your gnome's friendly nose. Teacher's Tip: Don't worry about making it perfectly round; a slightly lopsided nose adds personality to your character.
Step 5: Outlining Your Masterpiece

Go over your final pencil lines with a black pen or fine-liner marker. Once the ink is dry, gently erase any remaining pencil marks. Teacher's Tip: Use a steady hand and try to keep your lines smooth for a professional cartoon finish.
Step 6: Adding Color
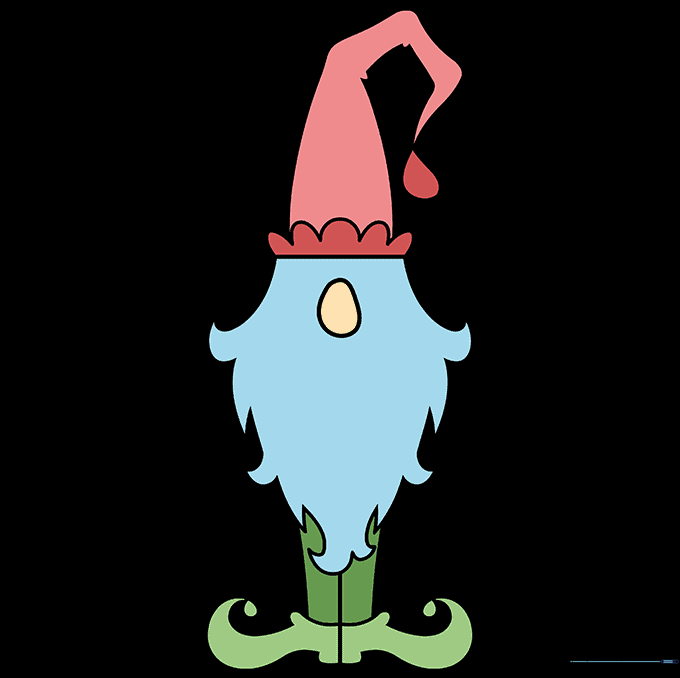
Bring your gnome to life with color! Use blue for the hair, a vibrant reddish-pink for the hat, and green for the shoes. Add a soft peach or tan for the nose. Teacher's Tip: Try using light pressure with your crayons to create a soft, blended look.
More Tutorials


