How to Draw a Globe: Easy 10-Step Guide for Beginners
Bring the world to your sketchbook with this simple globe drawing tutorial, perfect for ages 6 and up. You’ll only need a pencil, an eraser, and a steady hand to map out the continents. Follow along to build your confidence in drawing circular objects and basic geography.
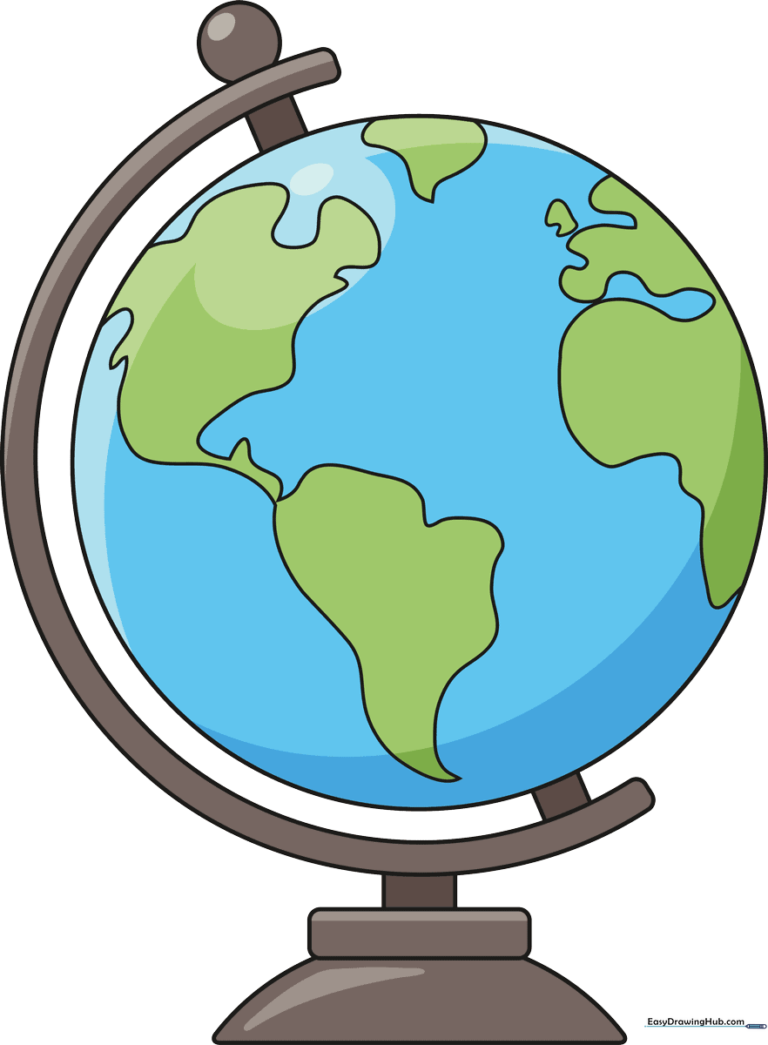
🎯 Final Result
Step-by-Step Instructions
Step 1: Sketching the Earth's Sphere
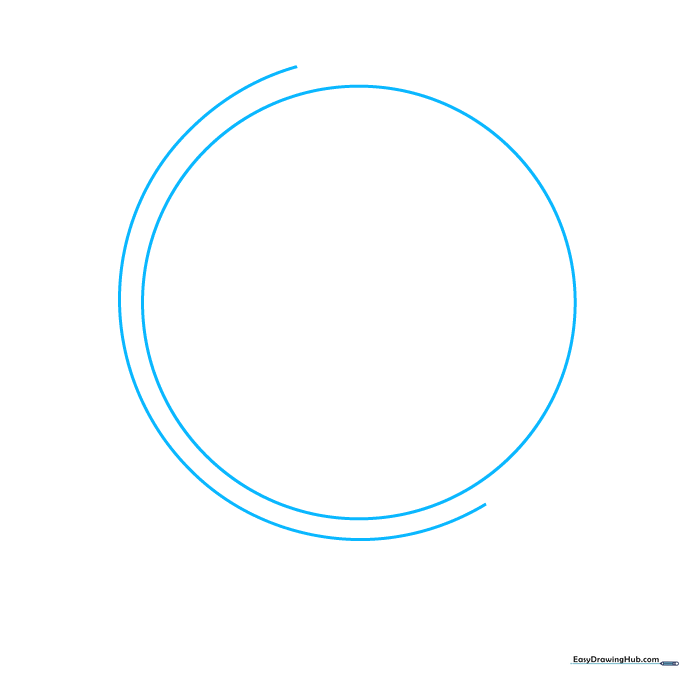
Draw a clean circle to represent the Earth. Tip: Use a light touch with your pencil so you can easily erase any overlapping lines later. If you struggle with circles, try tracing the bottom of a small cup!
Step 2: Constructing the Meridian Stand
Draw a large 'C' shaped curve around the left side of your circle. This is the meridian, the metal ring that holds the globe. Tip: Keep the curve smooth and parallel to the edge of your circle for a professional look.
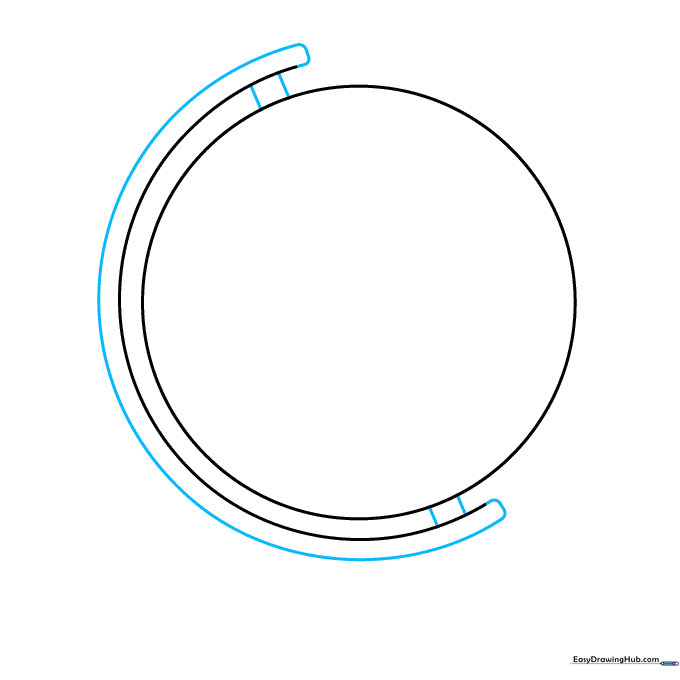
Step 3: Defining the Axis and Base
Draw a smaller 'C' outside the first to give the meridian thickness, then add a small circle at the top for the axis pivot. Tip: Use short, straight lines to connect the globe to the stand—this creates the illusion of a 3D object.
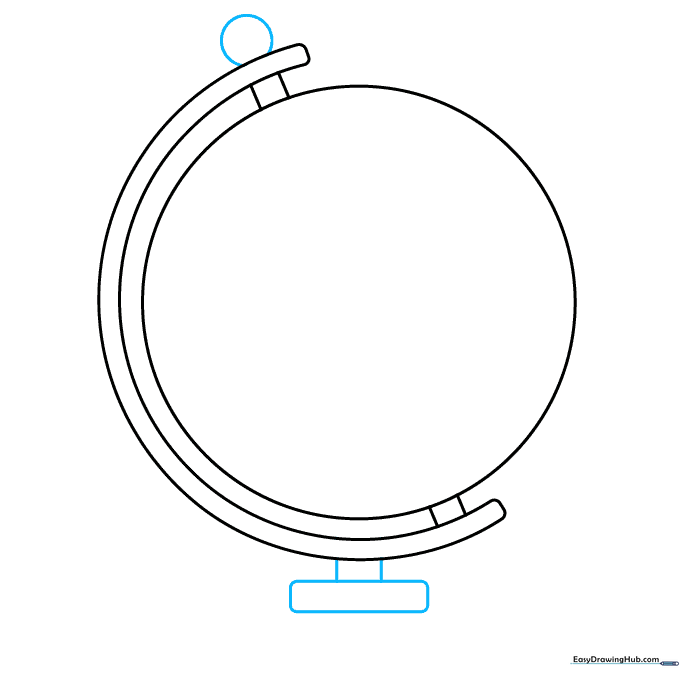
Step 4: Building the Stand Base
Draw a horizontal rectangle below the stand and connect it with two vertical lines. Finish with a semicircle at the bottom. Tip: Ensure your base is centered so your globe doesn't look like it's going to tip over!
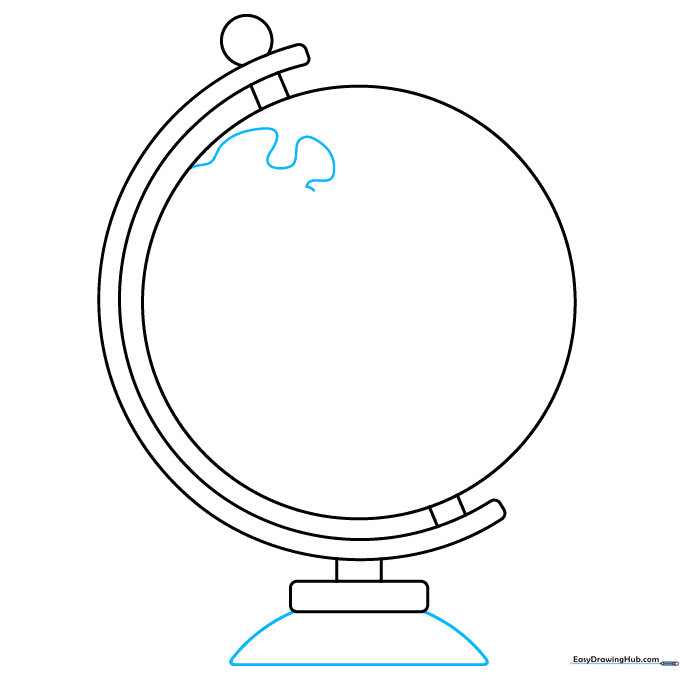
Step 5: Mapping North America
Start drawing the continents! Use a long, curved line near the top of the globe to trace the northern coast of Canada. Tip: Don't worry about being perfectly accurate to a real map; focus on the flow of the curves.
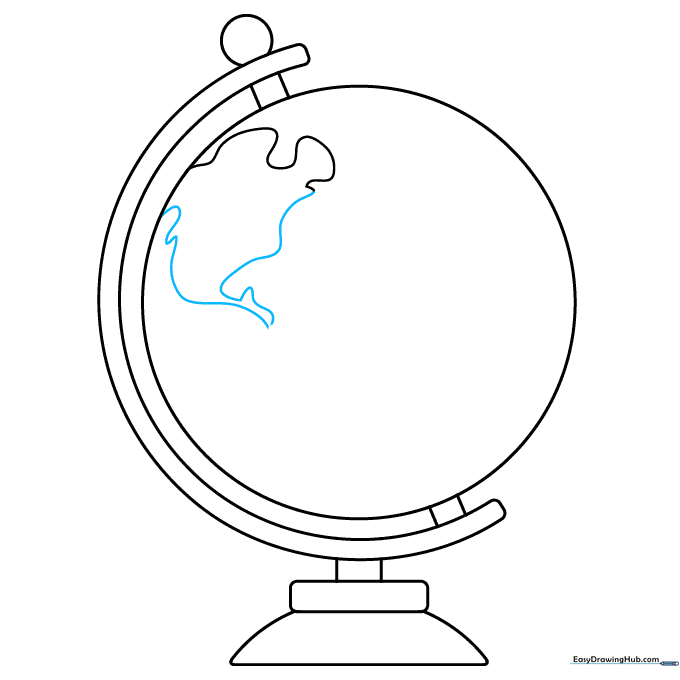
Step 6: Outlining the United States and Mexico
Continue your curved lines downward to define the shape of the United States and Mexico. Tip: Keep your pencil strokes fluid—continents are made of natural, organic shapes, not sharp, jagged lines.
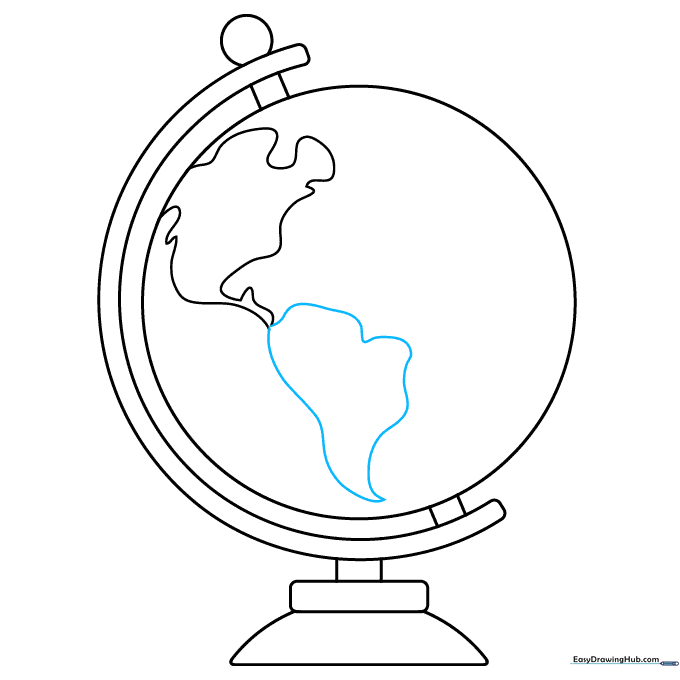
Step 7: Adding South America
Extend two curved lines from Central America, meeting at a point at the bottom to form South America. Tip: Remember that South America tapers off towards the bottom, so make your lines get closer together as you go down.
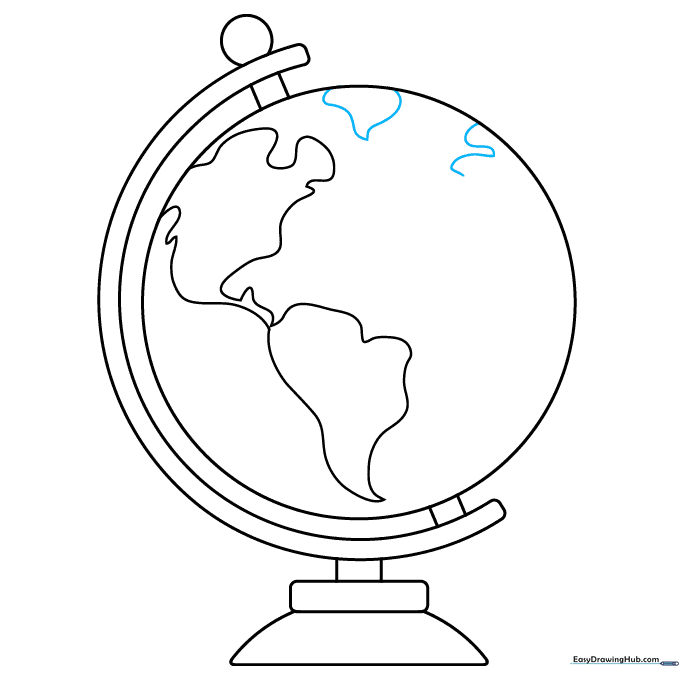
Step 8: Greenland and Europe
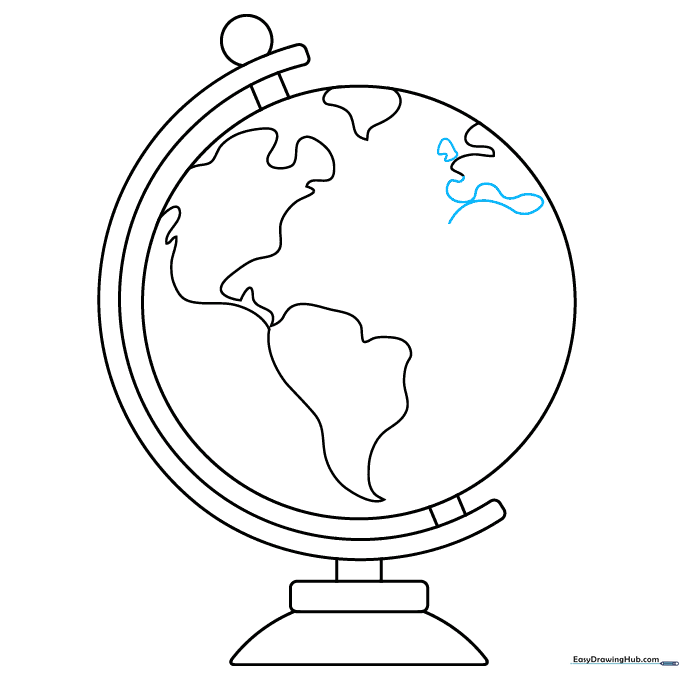
Enclose the large island of Greenland near the top, then start a curved line to the right to begin the shape of Europe. Tip: Greenland is quite large, so don't make it too tiny!
Step 9: Africa and Great Britain
Continue the European line down to form the top of Africa, and add a small island shape for Great Britain. Tip: Africa has a very distinct, rounded shape—try to make it look like a large, slightly lopsided oval.
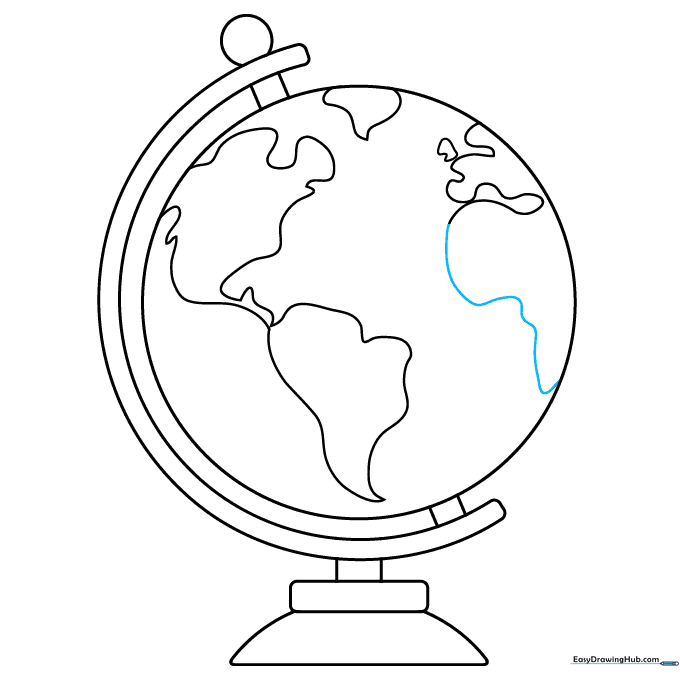
Step 10: Final Touches and Coloring
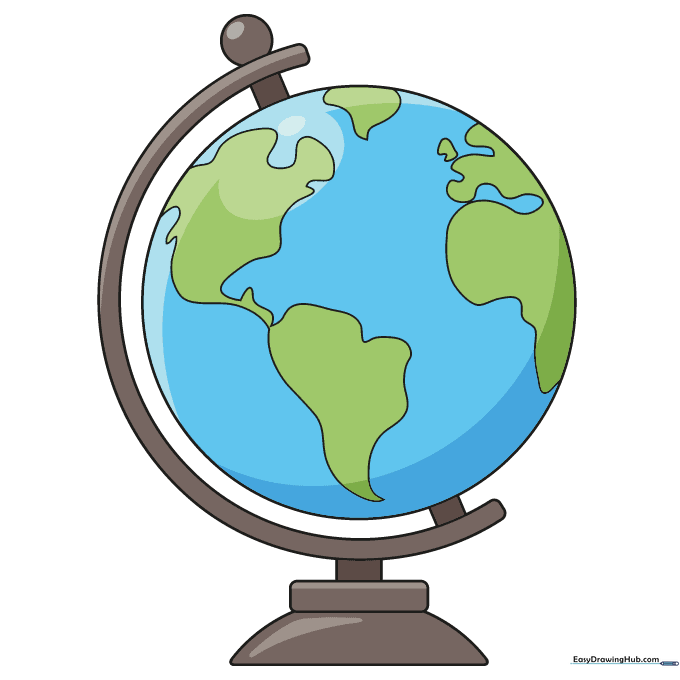
Finish the outline of Africa and erase any extra guidelines. Now, bring it to life with color! Use blue for oceans and green or brown for land. Tip: Try using different shades of blue to show deep vs. shallow water for a more realistic effect.
More Tutorials


