How to Draw a Father’s Day Crown Card: Easy Step-by-Step
Looking for a meaningful, screen-free activity for Father's Day? This tutorial is perfect for children ages 5 and up to create a personalized 'Best Dad Ever' crown card. You only need a pencil, paper, and your favorite coloring supplies to build confidence and fine motor skills while crafting a gift he'll cherish.
🎯 Final Result

Step-by-Step Instructions
Step 1: Sketching the Ribbon Base
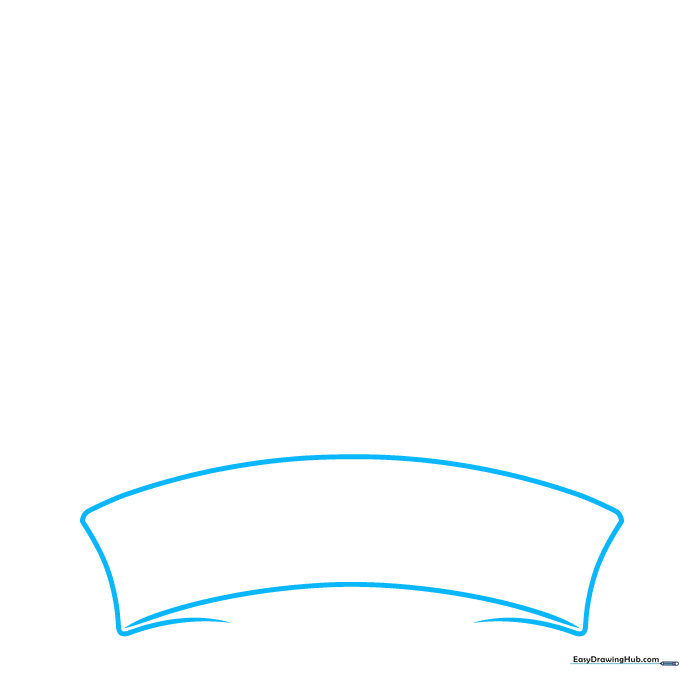
Start by drawing a soft, curved rectangle to form the center of your ribbon banner. Teacher's Tip: Keep your pencil pressure light so you can easily adjust the shape if needed before finalizing your lines.
Step 2: Adding Ribbon Tails
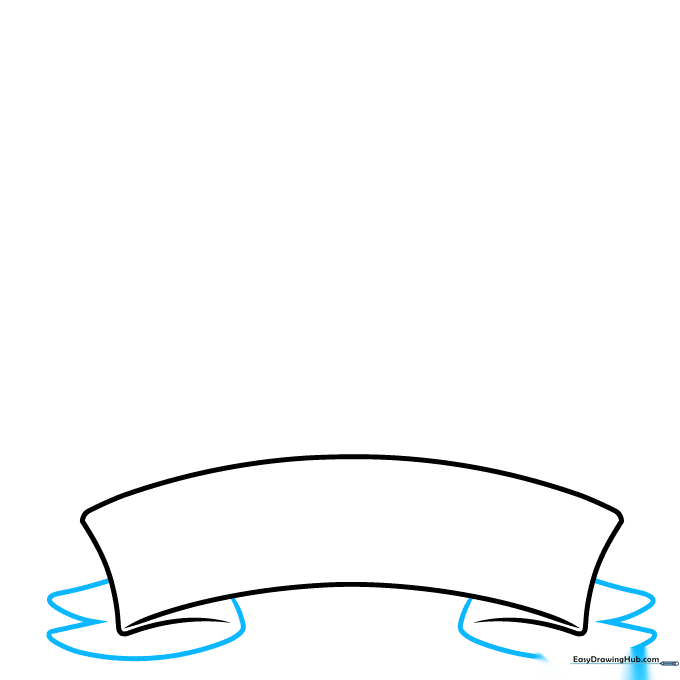
Add depth by drawing the ribbon ends. Use small 'V' shapes to create the classic notched look at the tips. Teacher's Tip: Make sure the 'V' cuts are symmetrical to keep the banner looking balanced.
Step 3: Starting the Lettering
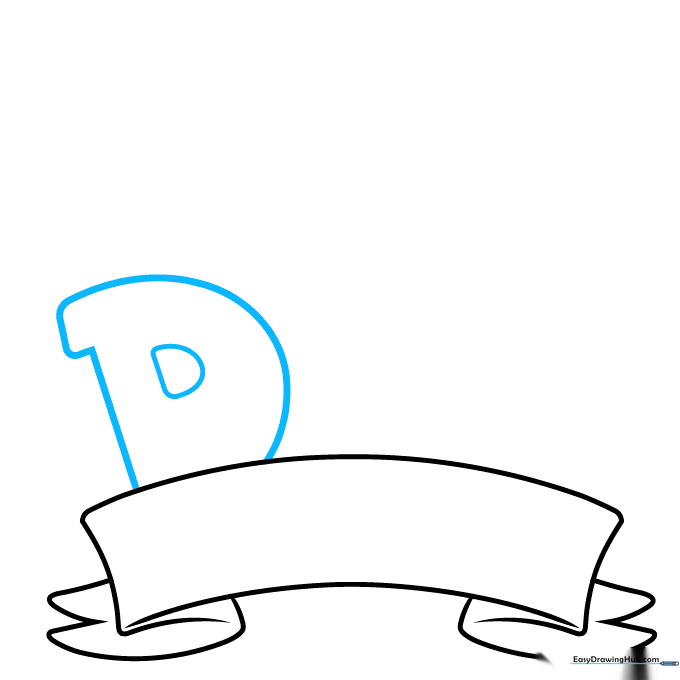
Draw a bold, block-style letter 'D' centered on the ribbon. Teacher's Tip: Use a ruler if you want perfectly straight edges, or embrace a hand-drawn look for extra charm.
Step 4: Continuing the Word
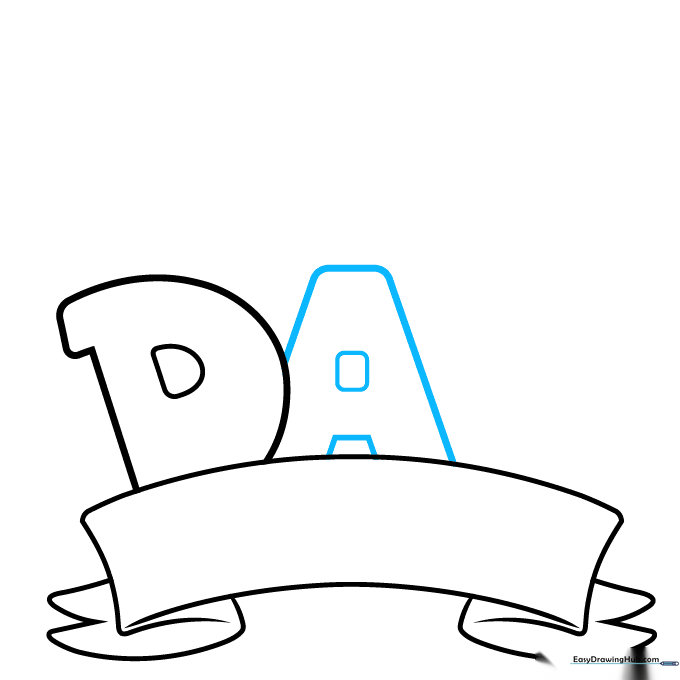
Add the letter 'A' next to the 'D'. Teacher's Tip: Overlap the letters slightly to make them look like they are part of a cohesive design.
Step 5: Finishing 'DAD'
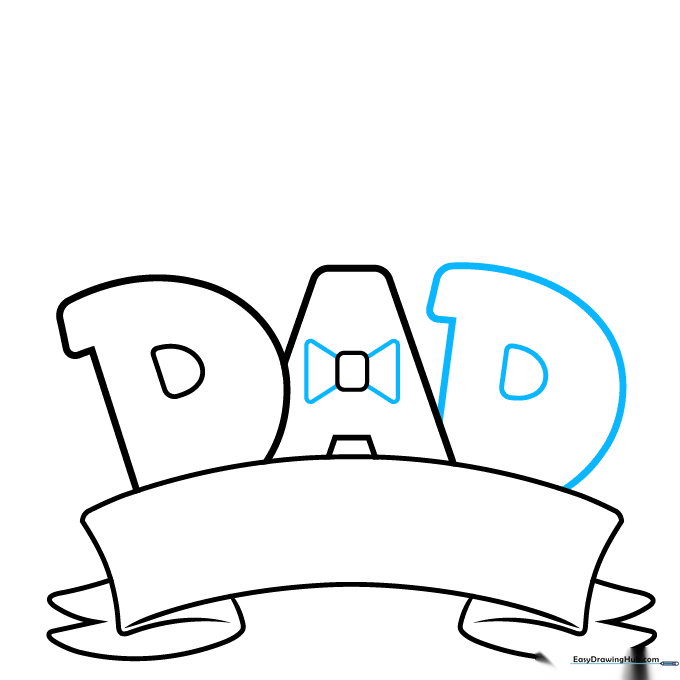
Add the final 'D' and draw small trapezoids on the sides of the 'A' to create a fun bowtie detail. Teacher's Tip: This adds a playful, celebratory touch to your card!
Step 6: Drawing the Crown
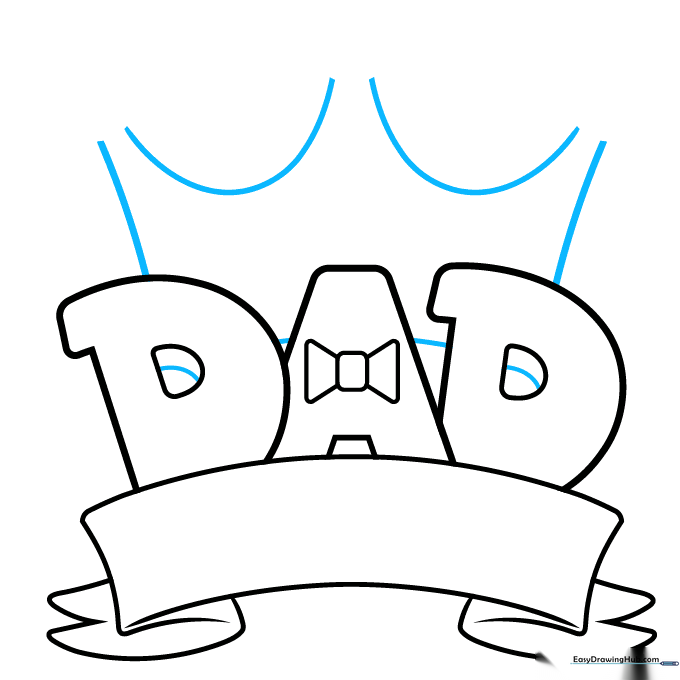
Add 3D depth to the letters with a curved line, then sketch a large crown rising behind the ribbon. Teacher's Tip: Use wide 'U' shapes for the crown points to keep them looking bold and royal.
Step 7: Detailing the Crown
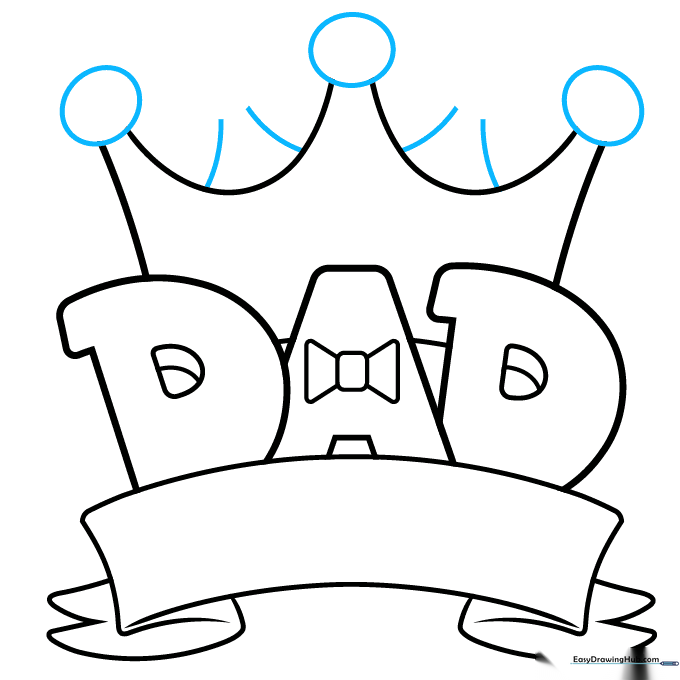
Place small circles on top of each crown point. Add two more points between the originals to fill out the shape. Teacher's Tip: These circles look like jewels—don't be afraid to make them nice and round!
Step 8: Adding 'BEST'

Finish the crown points with circles and write 'BEST' across the front of the crown. Teacher's Tip: Take your time with the lettering; it's the centerpiece of your message.
Step 9: Adding 'EVER'

Complete your message by writing 'EVER' on the ribbon banner below. Teacher's Tip: Check your spacing before you start writing so the word fits perfectly across the ribbon.
Step 10: Color and Personalize

Your drawing is ready! Use markers, colored pencils, or crayons to bring it to life. Teacher's Tip: Use Dad's favorite colors to make this card extra special and personal.
More Tutorials


