How to Draw an Elephant Head: Easy Step-by-Step Guide
Bring a friendly elephant to life with this simple, guided drawing lesson perfect for artists ages 5 and up. You only need a pencil, an eraser, and a piece of paper to get started. By following these steps, you will master basic shapes and symmetry while building confidence in your artistic abilities.
🎯 Final Result

Step-by-Step Instructions
Step 1: Sketching the Eyes

Draw two gentle, rounded hills for the eyes. Add a small dash above each for eyebrows, then sketch circles with smaller pupils inside. Teacher's Tip: Keep the eyes symmetrical to give your elephant a friendly, balanced expression.
Step 2: Defining the Face Shape

Sketch a curved line on either side of the eyes to define the cheeks. Add two overlapping loops on each side with a small dash in between. Tip: These loops will eventually become the base for the large, floppy ears.
Step 3: Adding the Tusk
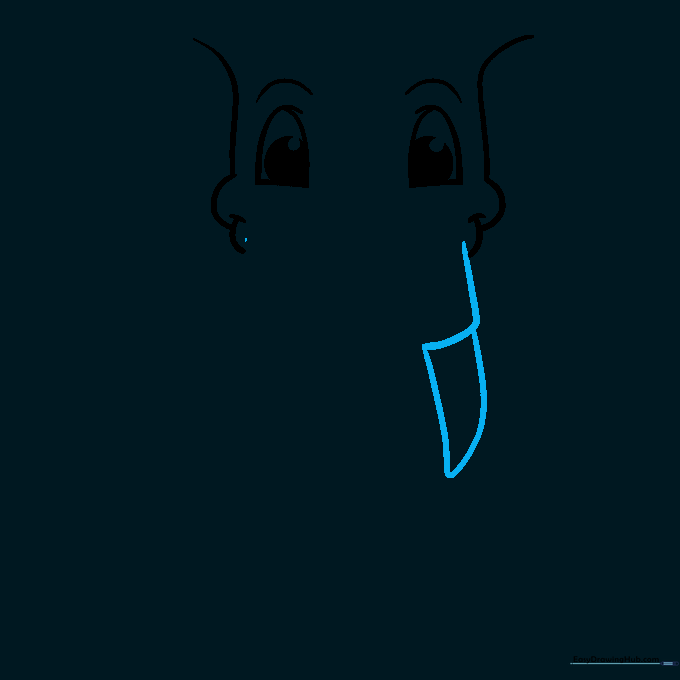
Draw a backward L-shape on the right side of the face, then use a triangle to outline the tusk. Tip: Elephants have curved tusks, so make your triangle slightly rounded rather than perfectly sharp.
Step 4: Balancing the Tusks
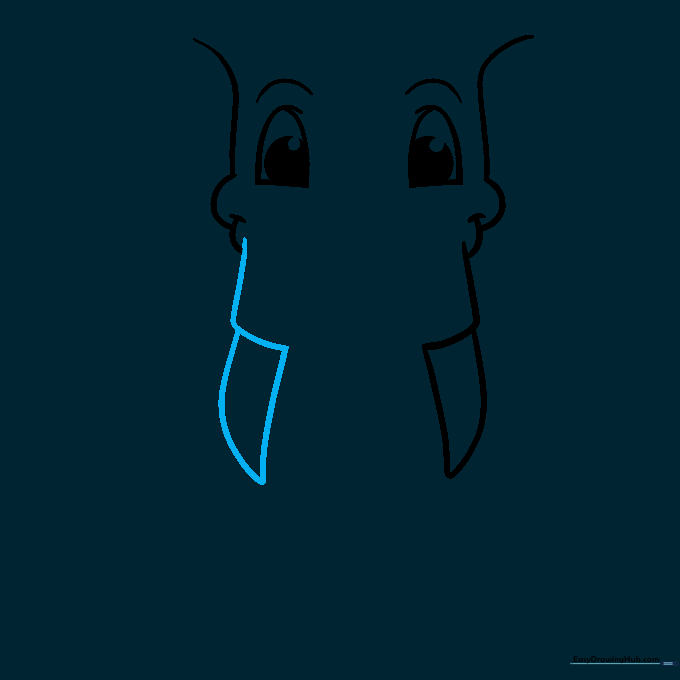
Repeat the previous step on the left side to create the second tusk. Tip: Try to match the size and angle of the first tusk to keep your elephant looking symmetrical.
Step 5: Drawing the Right Ear
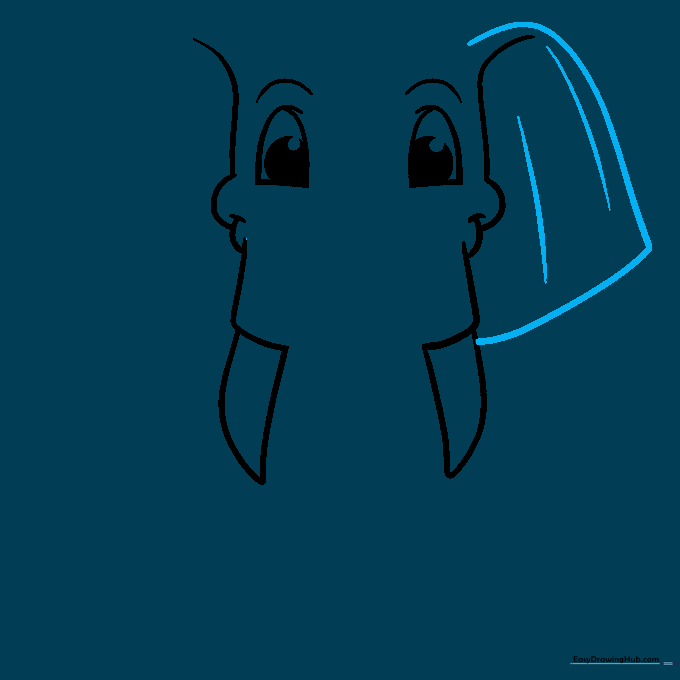
Outline the right ear using a large curve that resembles an umbrella shape. Add a few lines inside to show the ear's folds. Tip: Elephants have very large ears, so don't be afraid to make this shape nice and big!
Step 6: Drawing the Left Ear
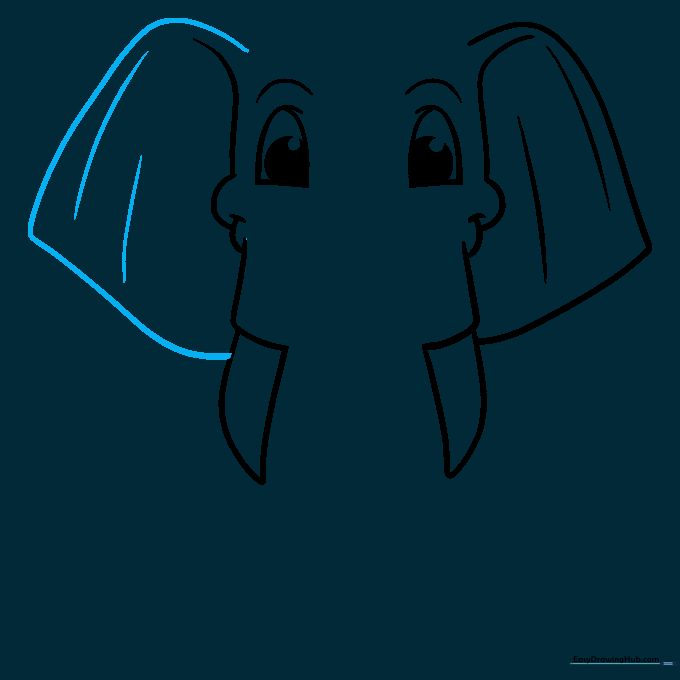
Mirror the shape from the previous step to draw the left ear. Tip: Imagine a line down the center of the face to help you place the ears at the same height.
Step 7: Starting the Trunk
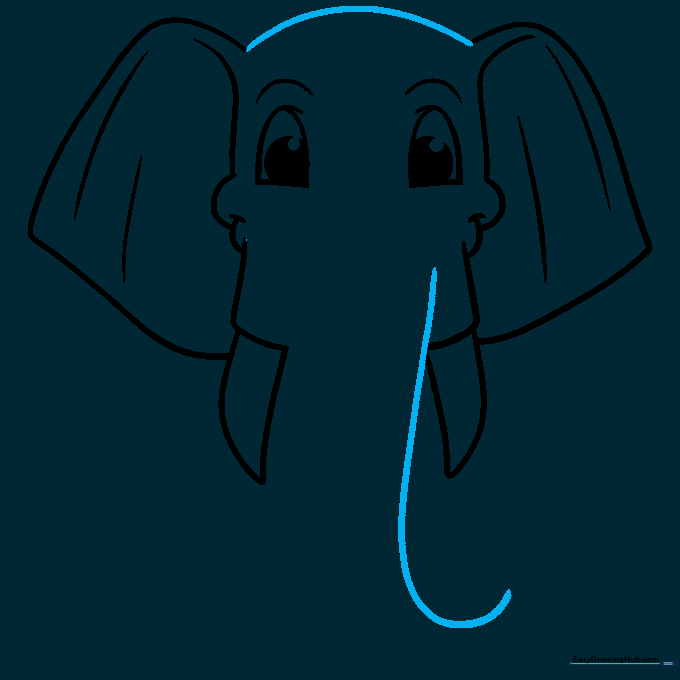
Connect the ears with a smooth curve across the forehead. Then, draw a J-shape starting from the center of the face to begin the trunk. Tip: A gentle curve makes the trunk look more natural and flexible.
Step 8: Finishing the Trunk

Sketch another J-shape to complete the width of the trunk, adding a small heart shape at the very end for a cute touch. Tip: The heart shape is a fun way to represent the tip of the trunk!
Step 9: Adding Texture
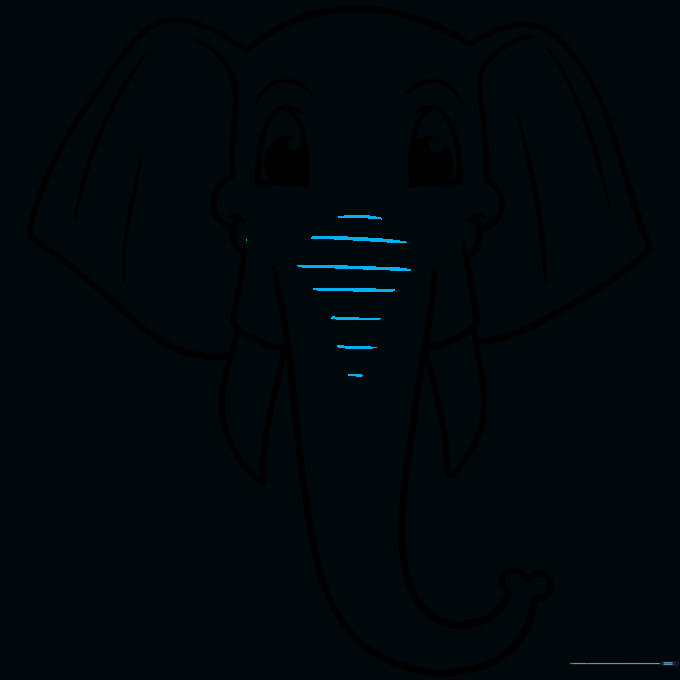
Draw light, horizontal lines along the trunk to represent the natural wrinkles of an elephant's skin. Tip: Keep these lines short and slightly curved to follow the shape of the trunk.
Step 10: Coloring Your Elephant

Outline your drawing with a black pen. Use two shades of gray to color the skin, leaving the eye highlights white for a bright look. Use pink for the trunk tip and tan for the tusks. Tip: Layering your colors helps create depth and makes your drawing pop!
More Tutorials


