How to Draw a Dragon Head: Easy 10-Step Guide for Kids
Ready to bring a mythical creature to life? This tutorial is perfect for young artists ages 6+ who want to master fantasy character design. You only need a pencil, an eraser, and a piece of paper to start building your dragon's unique personality.
🎯 Final Result

Step-by-Step Instructions
Step 1: Sketching the Eye

Start by drawing the dragon's eye. Use a curved line for the brow and a half-circle for the eye shape. Teacher's Tip: Keep the pupil oval-shaped to give your dragon a focused, intelligent look.
Step 2: Adding the Nose Horn
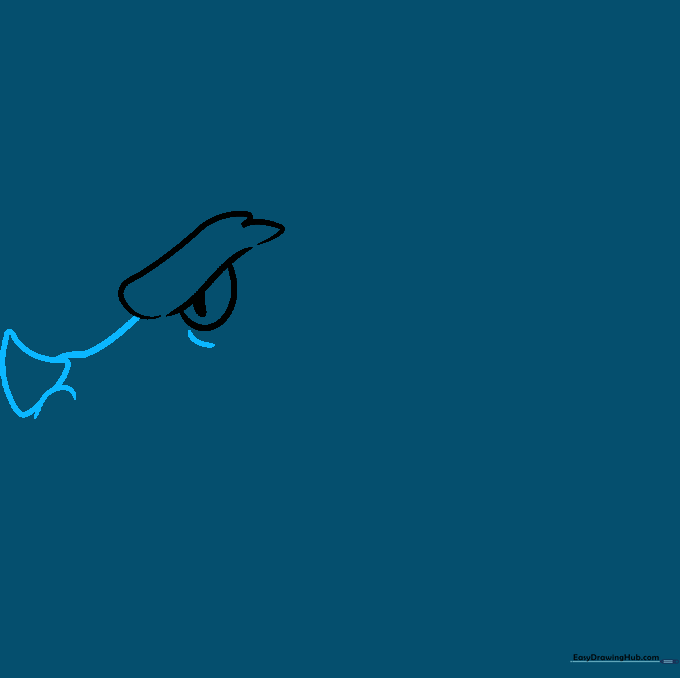
Draw a curved triangle for the nose horn and connect it to the brow. Add small, short lines to contour the nostril area. Teacher's Tip: Use light, feathery strokes to help the horn look sharp.
Step 3: Defining the Mouth
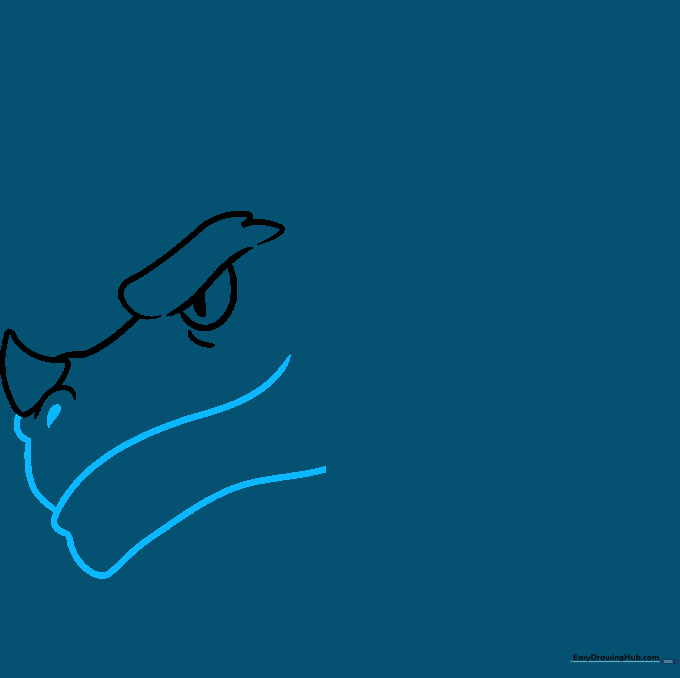
Shade a small teardrop shape for the nostril, then draw the upper lip and jawline. Teacher's Tip: Make the mouth line slightly wavy to give the dragon a bit of character.
Step 4: Drawing the Teeth
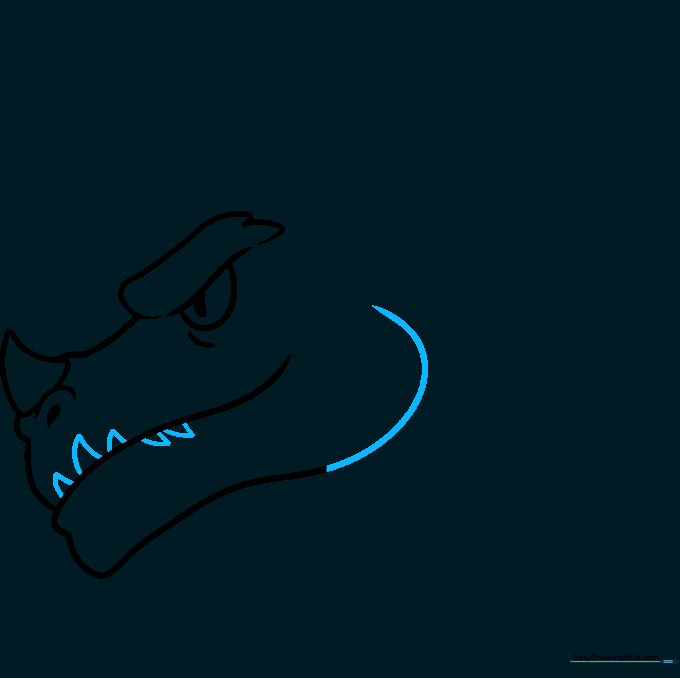
Use a 'C' shaped curve for the back of the jaw and add small triangles for teeth. Teacher's Tip: Don't make the teeth perfectly uniform; slightly different sizes make the dragon look more realistic.
Step 5: Jaw and Head Contours
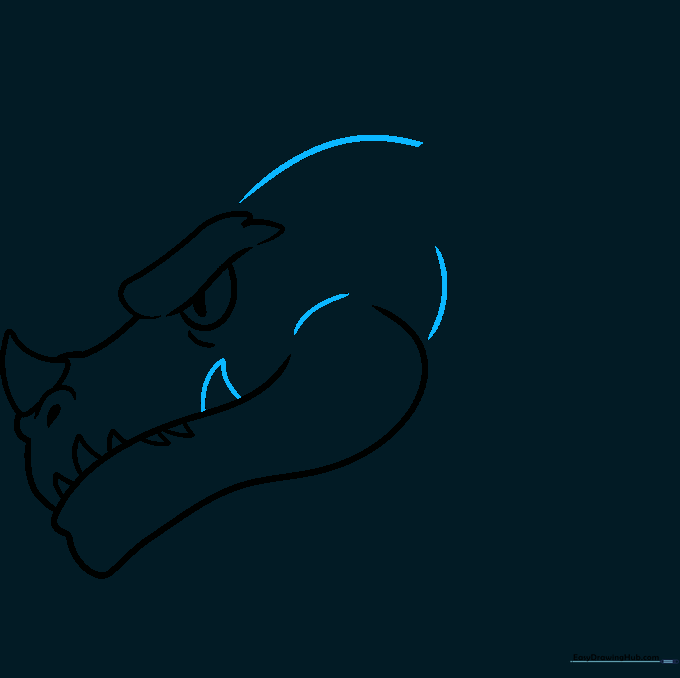
Add a larger triangular tooth and refine the jawline. Teacher's Tip: Use smooth, sweeping motions for the jawline to create a strong, powerful look.
Step 6: Adding the Head Horn
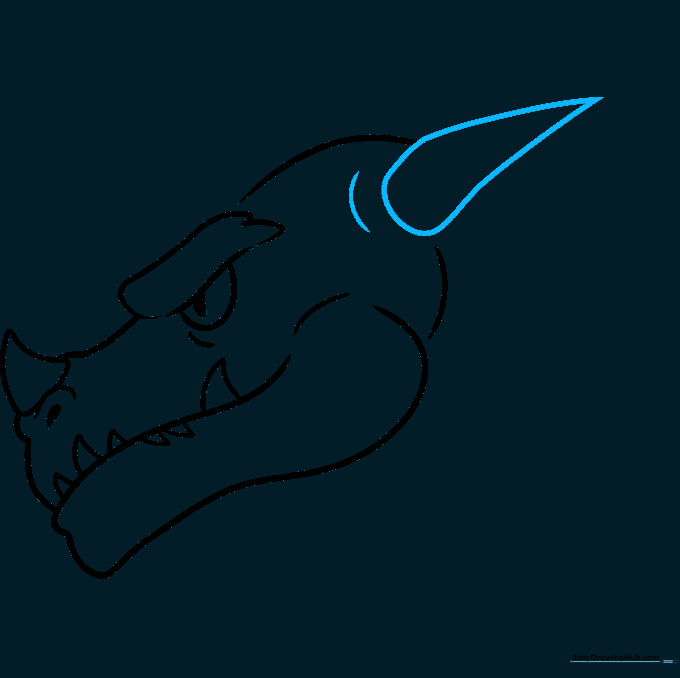
Draw a long, curved triangle for the main horn on the back of the head. Teacher's Tip: Make sure the base of the horn is wider than the tip to give it weight.
Step 7: The Neck Frill
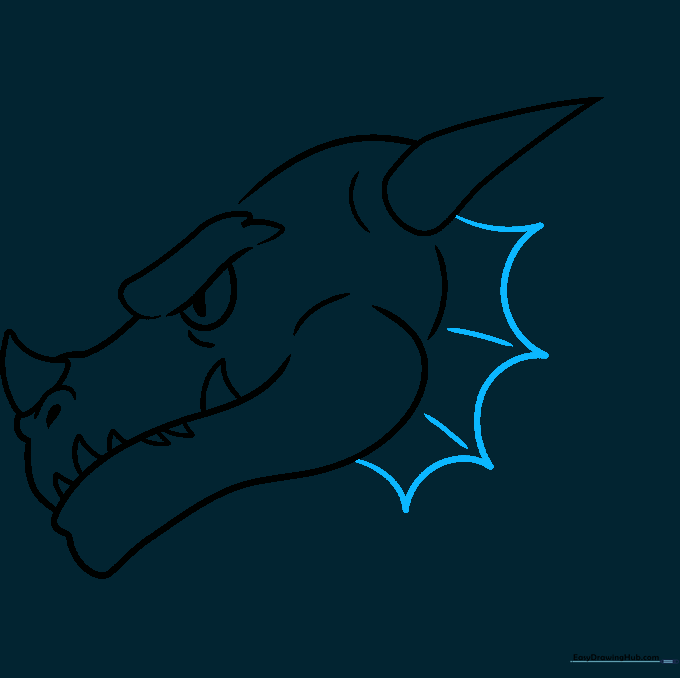
Outline the neck frill using pointed, curved lines. Teacher's Tip: Imagine these are like soft spikes—keep them rhythmic and consistent.
Step 8: Adding Head Spikes

Draw a series of spikes along the top of the head. Teacher's Tip: Use a 'zigzag' motion to keep the spikes looking sharp and uniform.
Step 9: Finishing the Neck

Complete the neck outline and add banding lines for texture. Teacher's Tip: These bands help show the dragon's neck is thick and muscular.
Step 10: Adding Color

Bring your dragon to life with color! We used seafoam green, but feel free to use your favorite colors. Teacher's Tip: Use darker shades near the neck and under the jaw to create a 3D shadow effect.
More Tutorials


